Advice Requested - CEL's (cam position actuators & intake flaps)

Good updates. Generally a very high pitcched whisle is a small leak of air getting sucked in like its a whissle. Check throttle body and Y pipe bolts along with the PCV. A good trick is to get a wet rag or towel and place it over areas where the sound is comming from. Generally if you get the noise to stop it’s because you found the leak and the vac pulled in the rag.

Also a lot of faults might not go away until you drive the car a few miles. Some of the adaptions need to run.

As for the PS sounds like you have it sorted out. But from what I found is there can be bubbles that pop up after filling and thinking its all purged. Try opening the cap and doing an end to end steering wheel turn looking to add fluid and let air excape if needed

So after a couple of frantic days, I’ve had a chance to regroup.

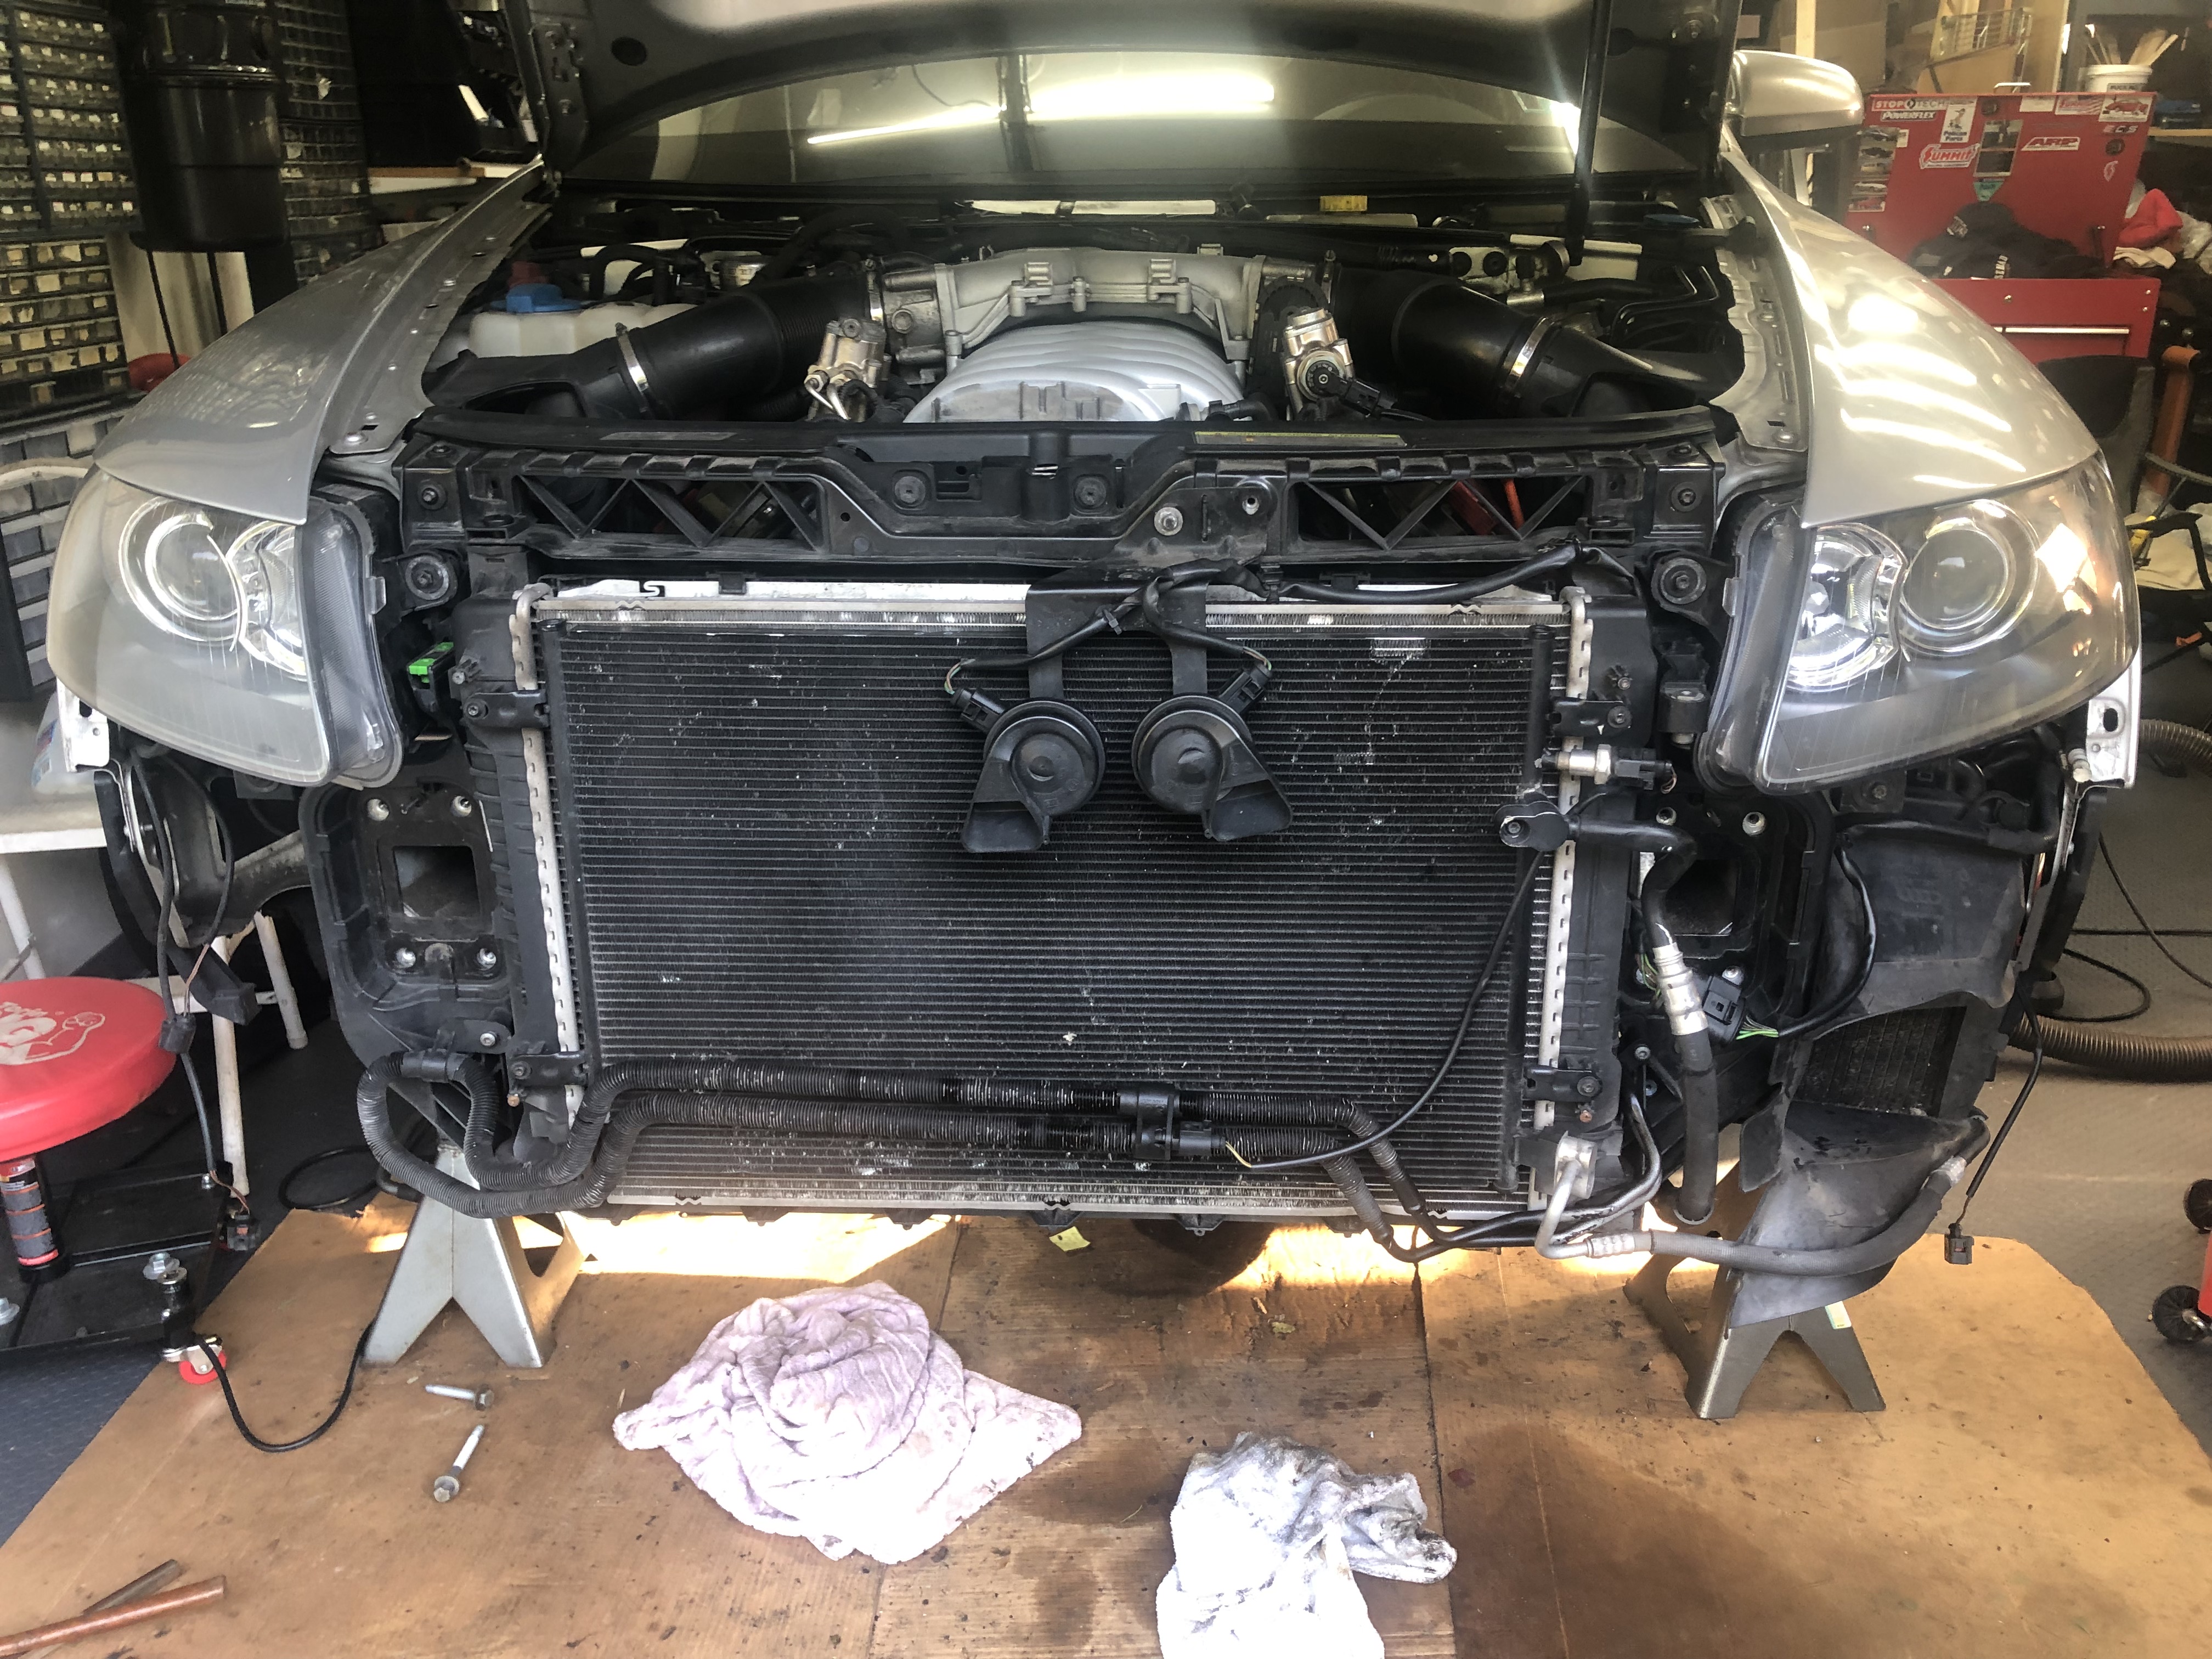
Picking back up from when I had the engine physically back in, I spent a great deal of time working through the electrical connections. I scoped the cylinders one more time and decided to skip the Windex treatment so I installed the sparks and coils. Starting from the top left I secured the wiring below the ECU’s, positioned the ECU’s, routed the starter and MAF/Coolant wires and finished connecting the coil wiring. Moving over to the plenum box, I reinstalled the wiring and connections, cleaned up the grounds and installed the upper strut tie bar. That allowed me to finish up the the few remaining connections and route the couple of lines that traverse across the front of the cowl area.

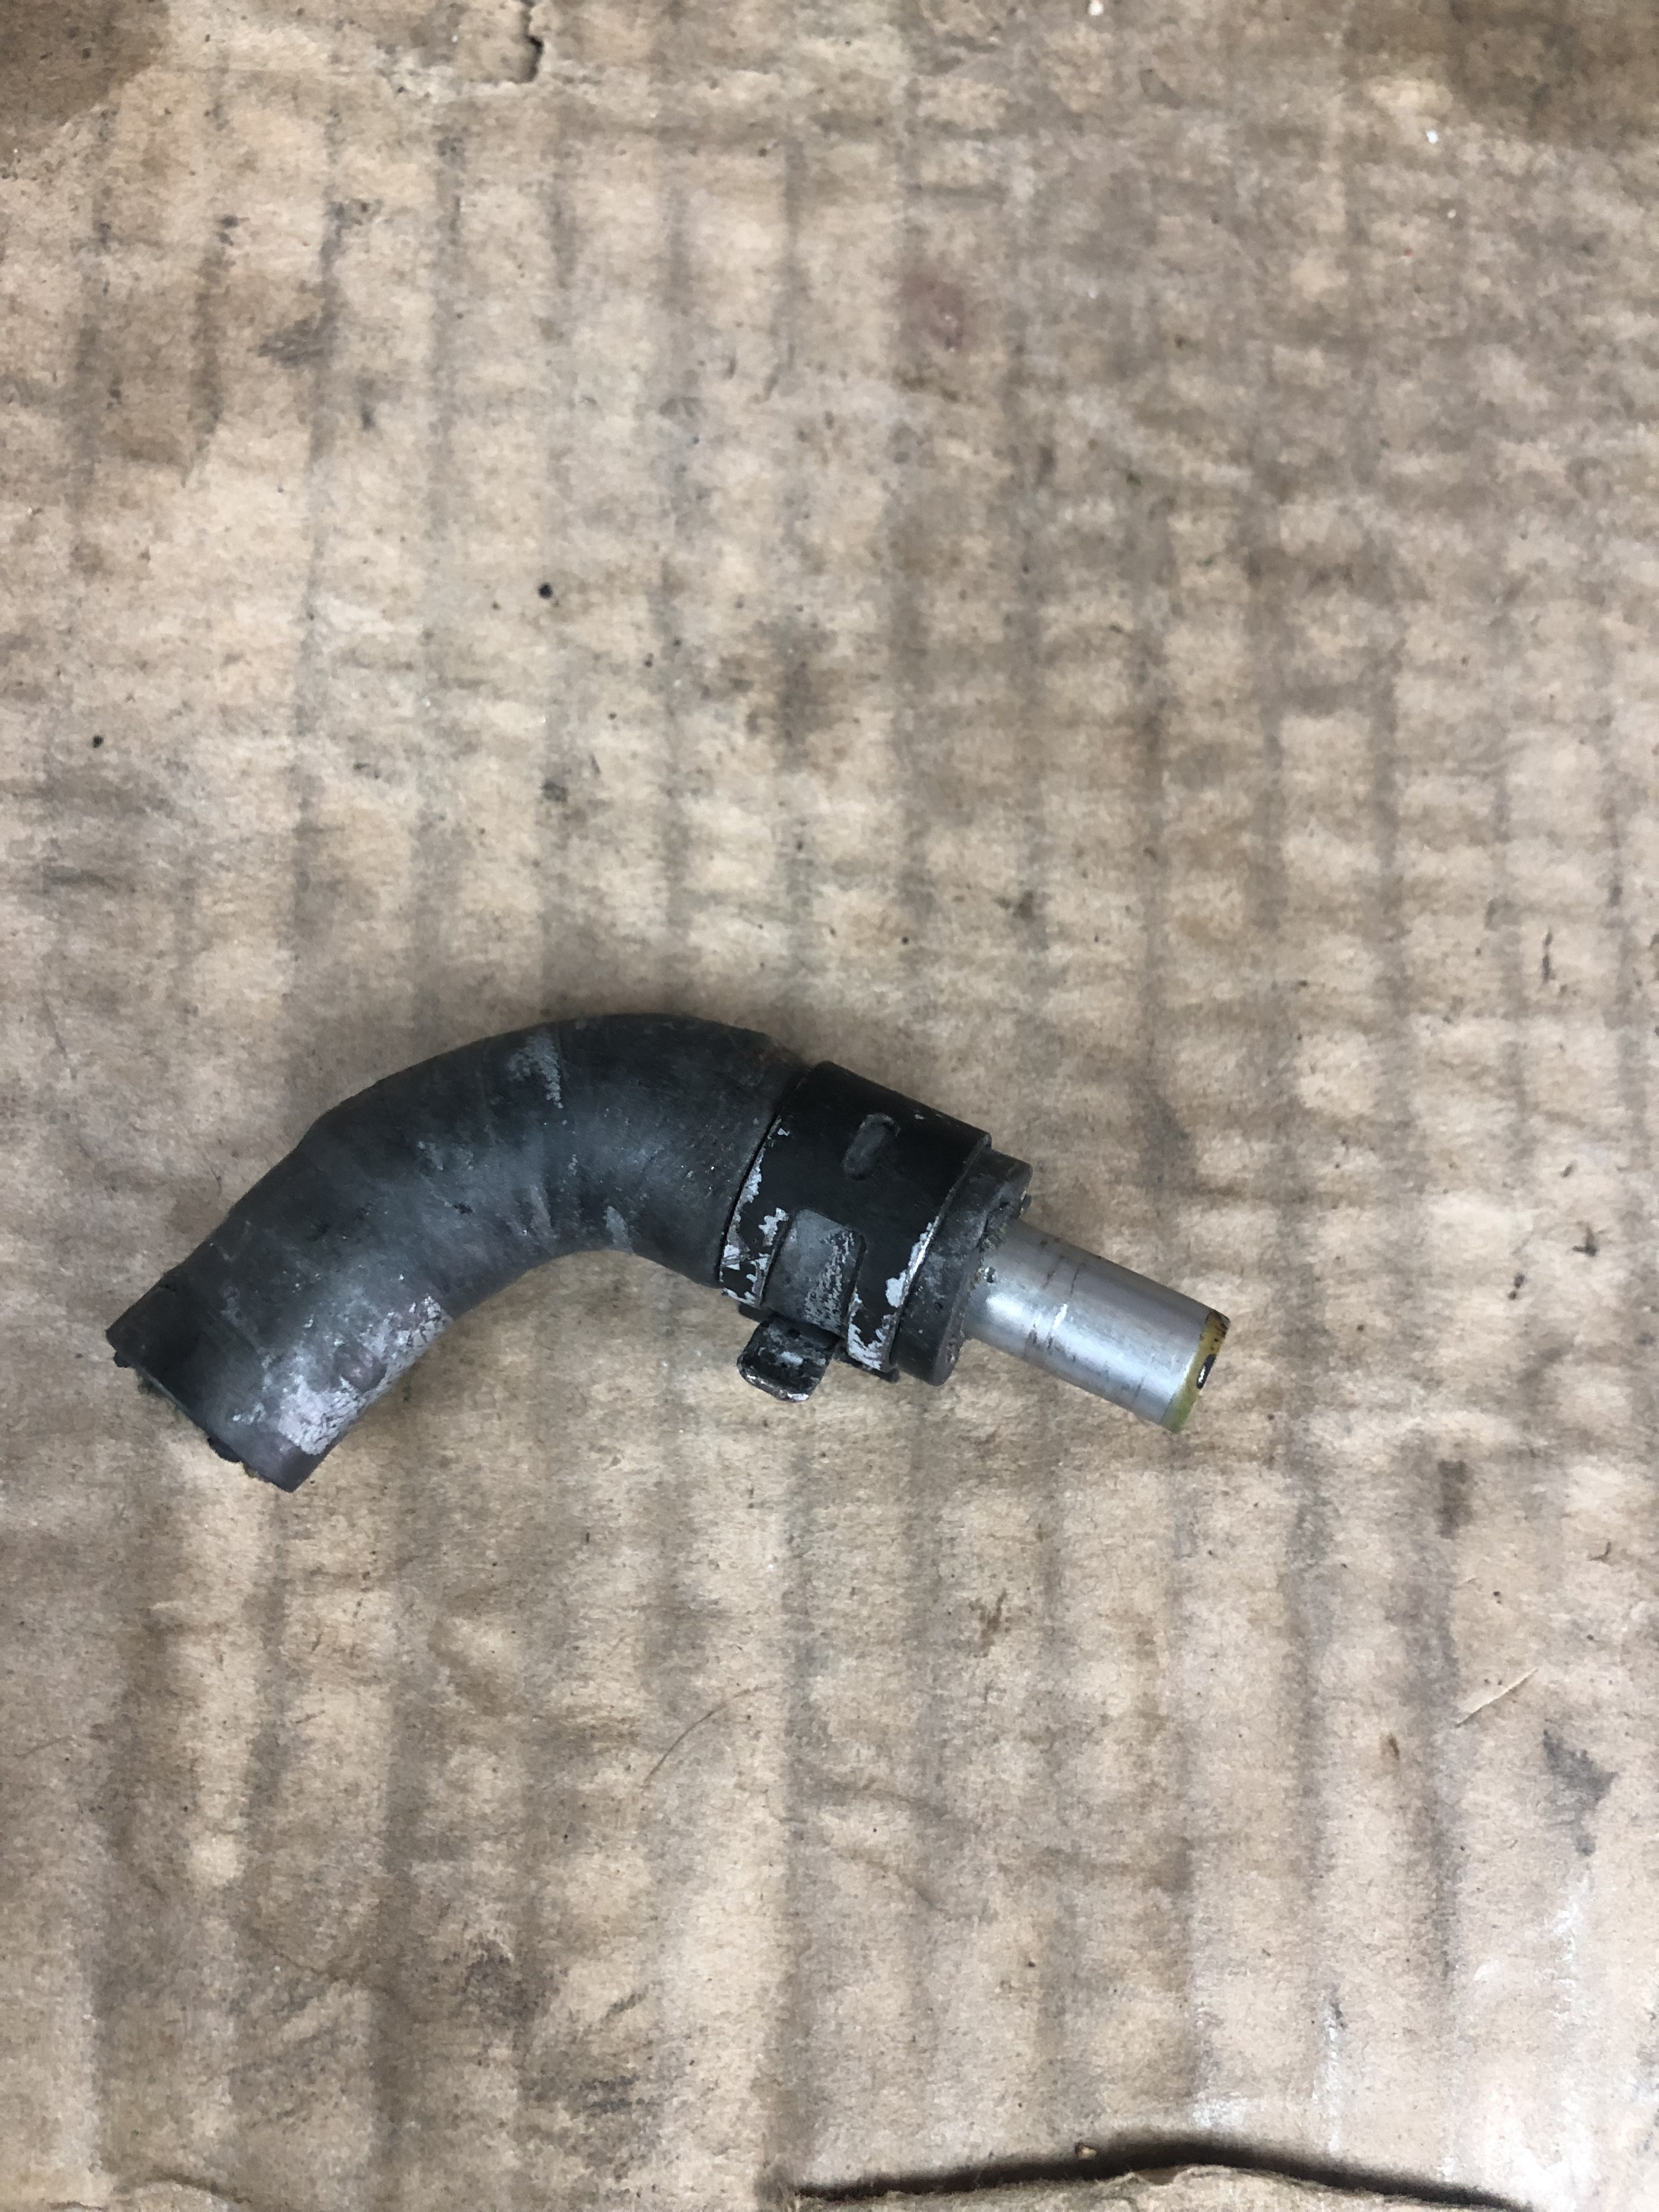
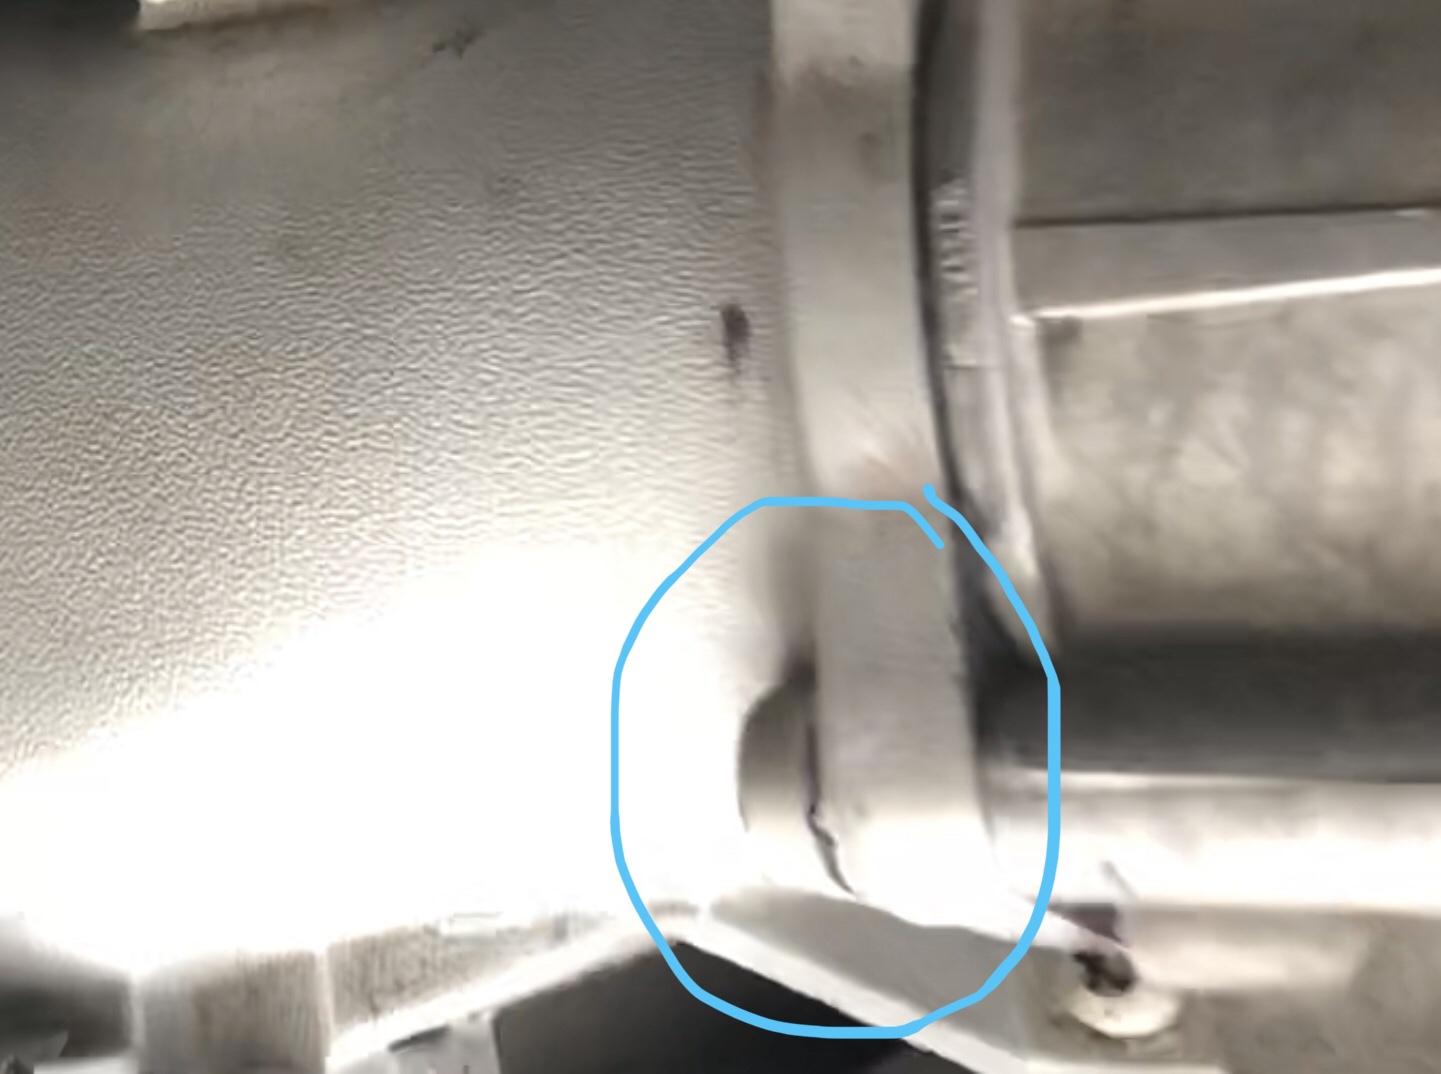
Next were the fuel and PCV lines, then I worked on the connections underneath the car. and only connected what I had to to test run the car. That included the exhaust and the O2 sensors and the transmission coolant sensor (I think that’s what it is). I removed the front engine hoist points and tie wrapped the air lines going to the front of the manifold. Next came the lock carrier, radiator, condenser and PS cooler. Since I had done this before, it was mainly from memory, but again I only hooked up what I had to.

One of the tools I had picked up along the way was a Schwabben Coolant fill tool. It serves two purposes:

  1. Leak test of the coolant system
  2. Fills the system without air getting in

That made the coolant fill pretty easy. For oil, I used Red Line with a custom mix of 0-40 and 5-50 weights - basically half and half. That gives me a small increment of heavier oil. I have been using this on the 911 for a few years. Once all that was done, the engine was ready to be test fired:

When I opened the door for the first time in a month, I smelled a mouse who had left this Earth. I looked briefly but could not locate his body. I’ll spend some more time later looking for his carcass, but I needed to clear the faults before starting for the first time. Using the key it cranked and started after a bit, ran a bit rough, but smoothed out. I turned it off, then restarted and it ran more normally, however the grinding began. As I mentioned it was just the PS pump and low fluid, but I didn’t know that at the time and called it quits for the night.

I had poured some Pentosin in until it reached the cold mark on the dipstick, but as noted in the panicky post, all of it was sucked in and I needed another half quart to satisfy the pump. I did that the next day. Thank God it was not the timing gear.

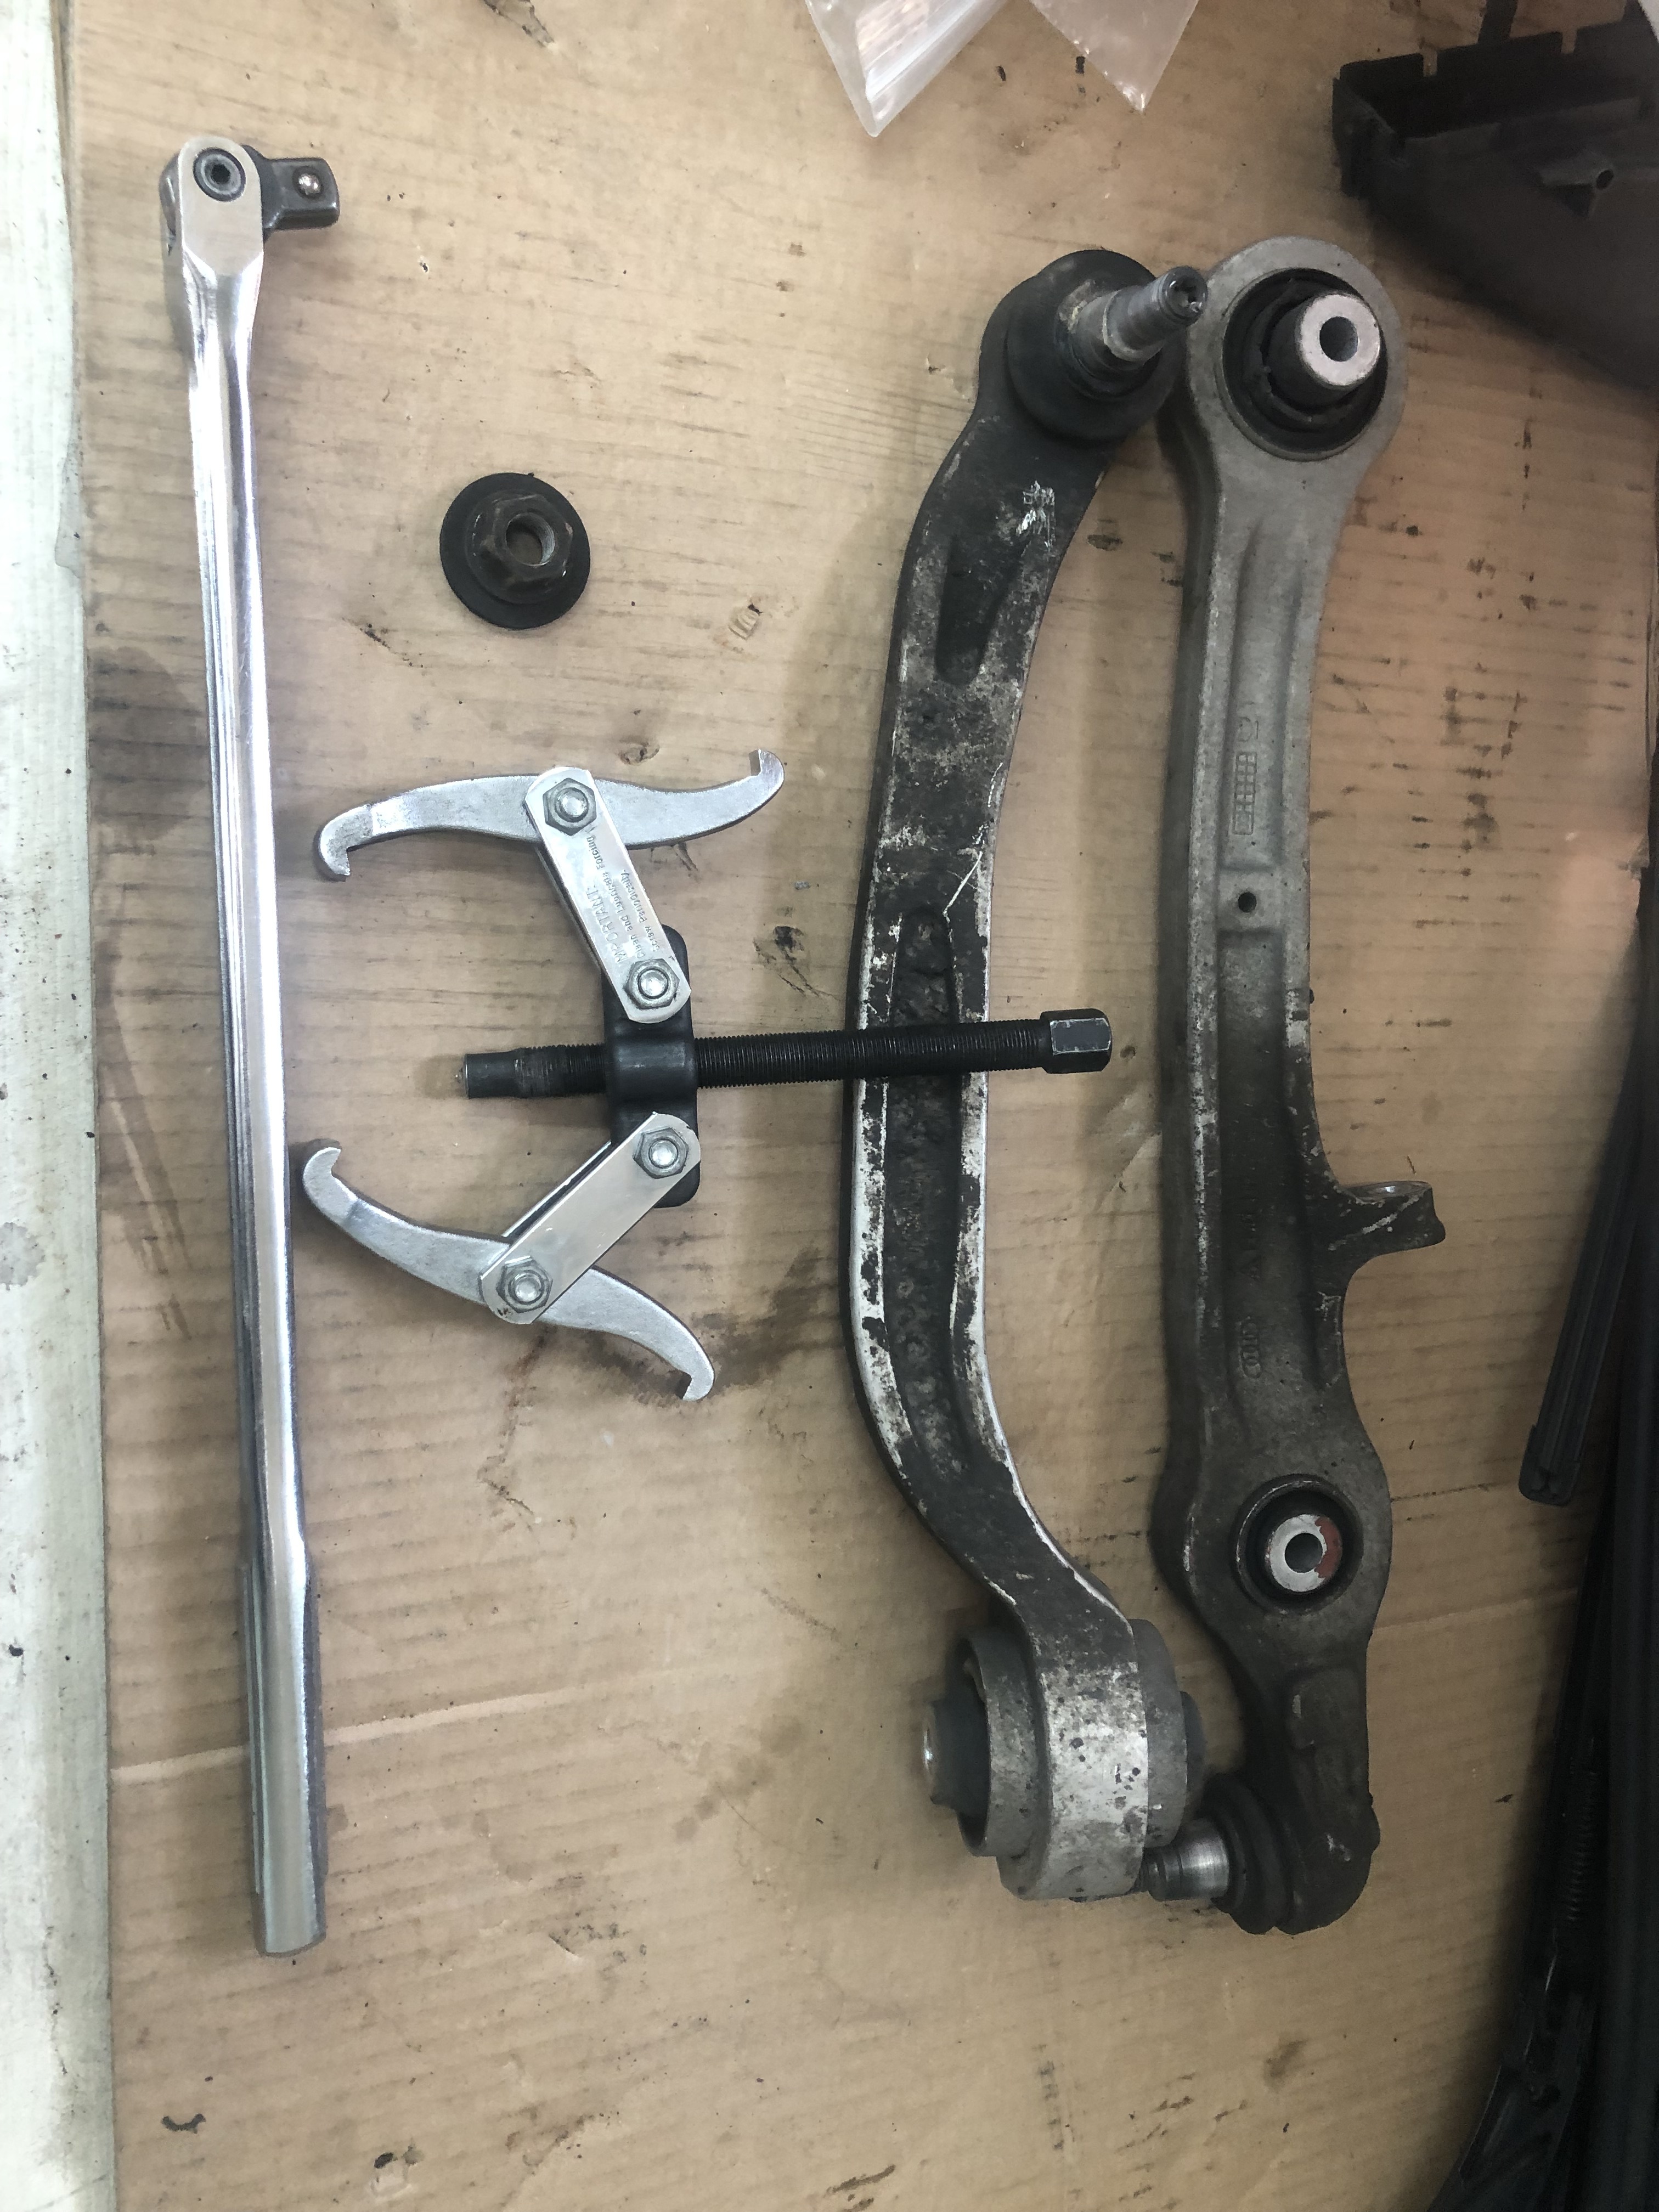
Working on the suspension requires some significant strength. At 58, even though I am in decent shape, I do not look forward to those tasks. I had left the drive train disconnected for two reasons:

  1. In case I needed to pull the engine I wanted the minimum connected to have to disconnect
  2. I wanted to work on the LCA’s since they were both original.

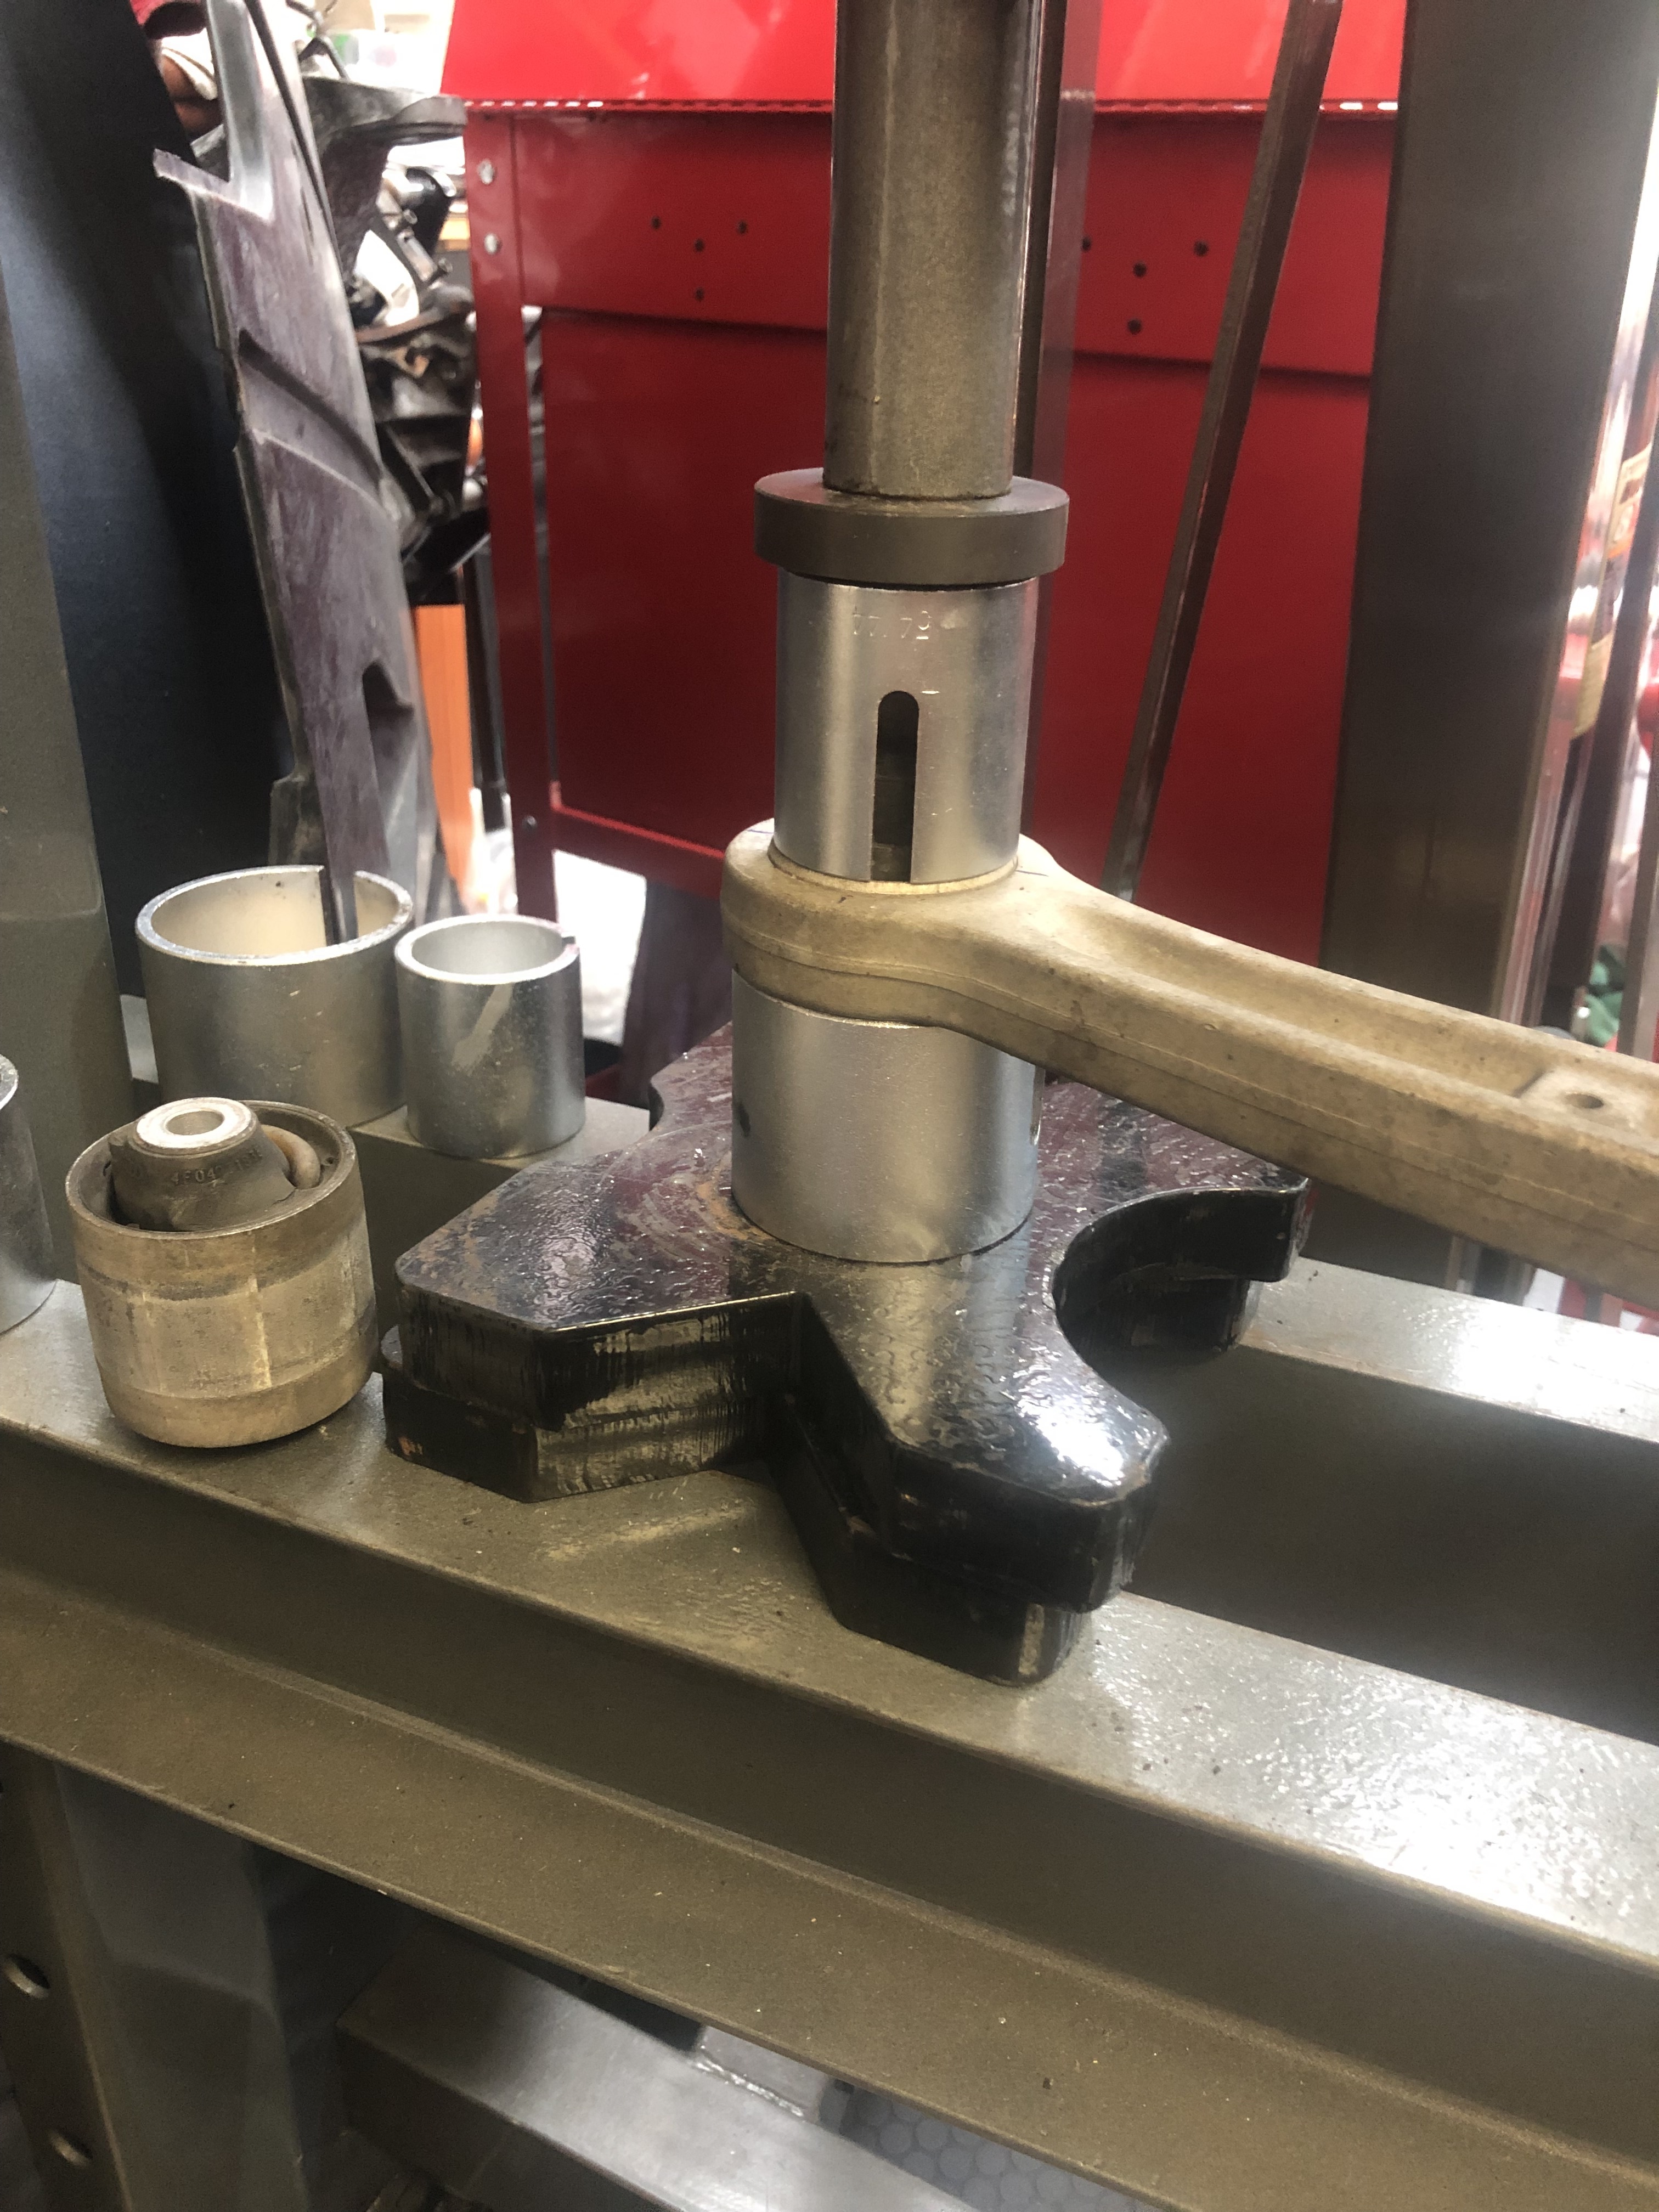
A while ago I acquired a 20 Ton cheapo press from HF. Really all you need is a higher quality bottle jack when the cheap one fails. I made the purchase when I had paid a local shop to press in some bushings a few years ago and they did a really crappy job. It has come in handy for a variety of suspension related tasks. The LCA’s on the S6 are fairly substantial:

Pulling the LCA’s was fairly straightforward. I temporarily reattached them to the subframe so the assembly wouldn’t twist when breaking the retaining nut free with a breaker bar. Once the nut was out of the way, I used a tie rod puller to pop the LCA’s out. Both ball joint pullers were too narrow to make it around the LCA ball joint cylinder.

Once they were out, I moved over the to the press and removed the inside bushings and replaced them with new Audi bushings.

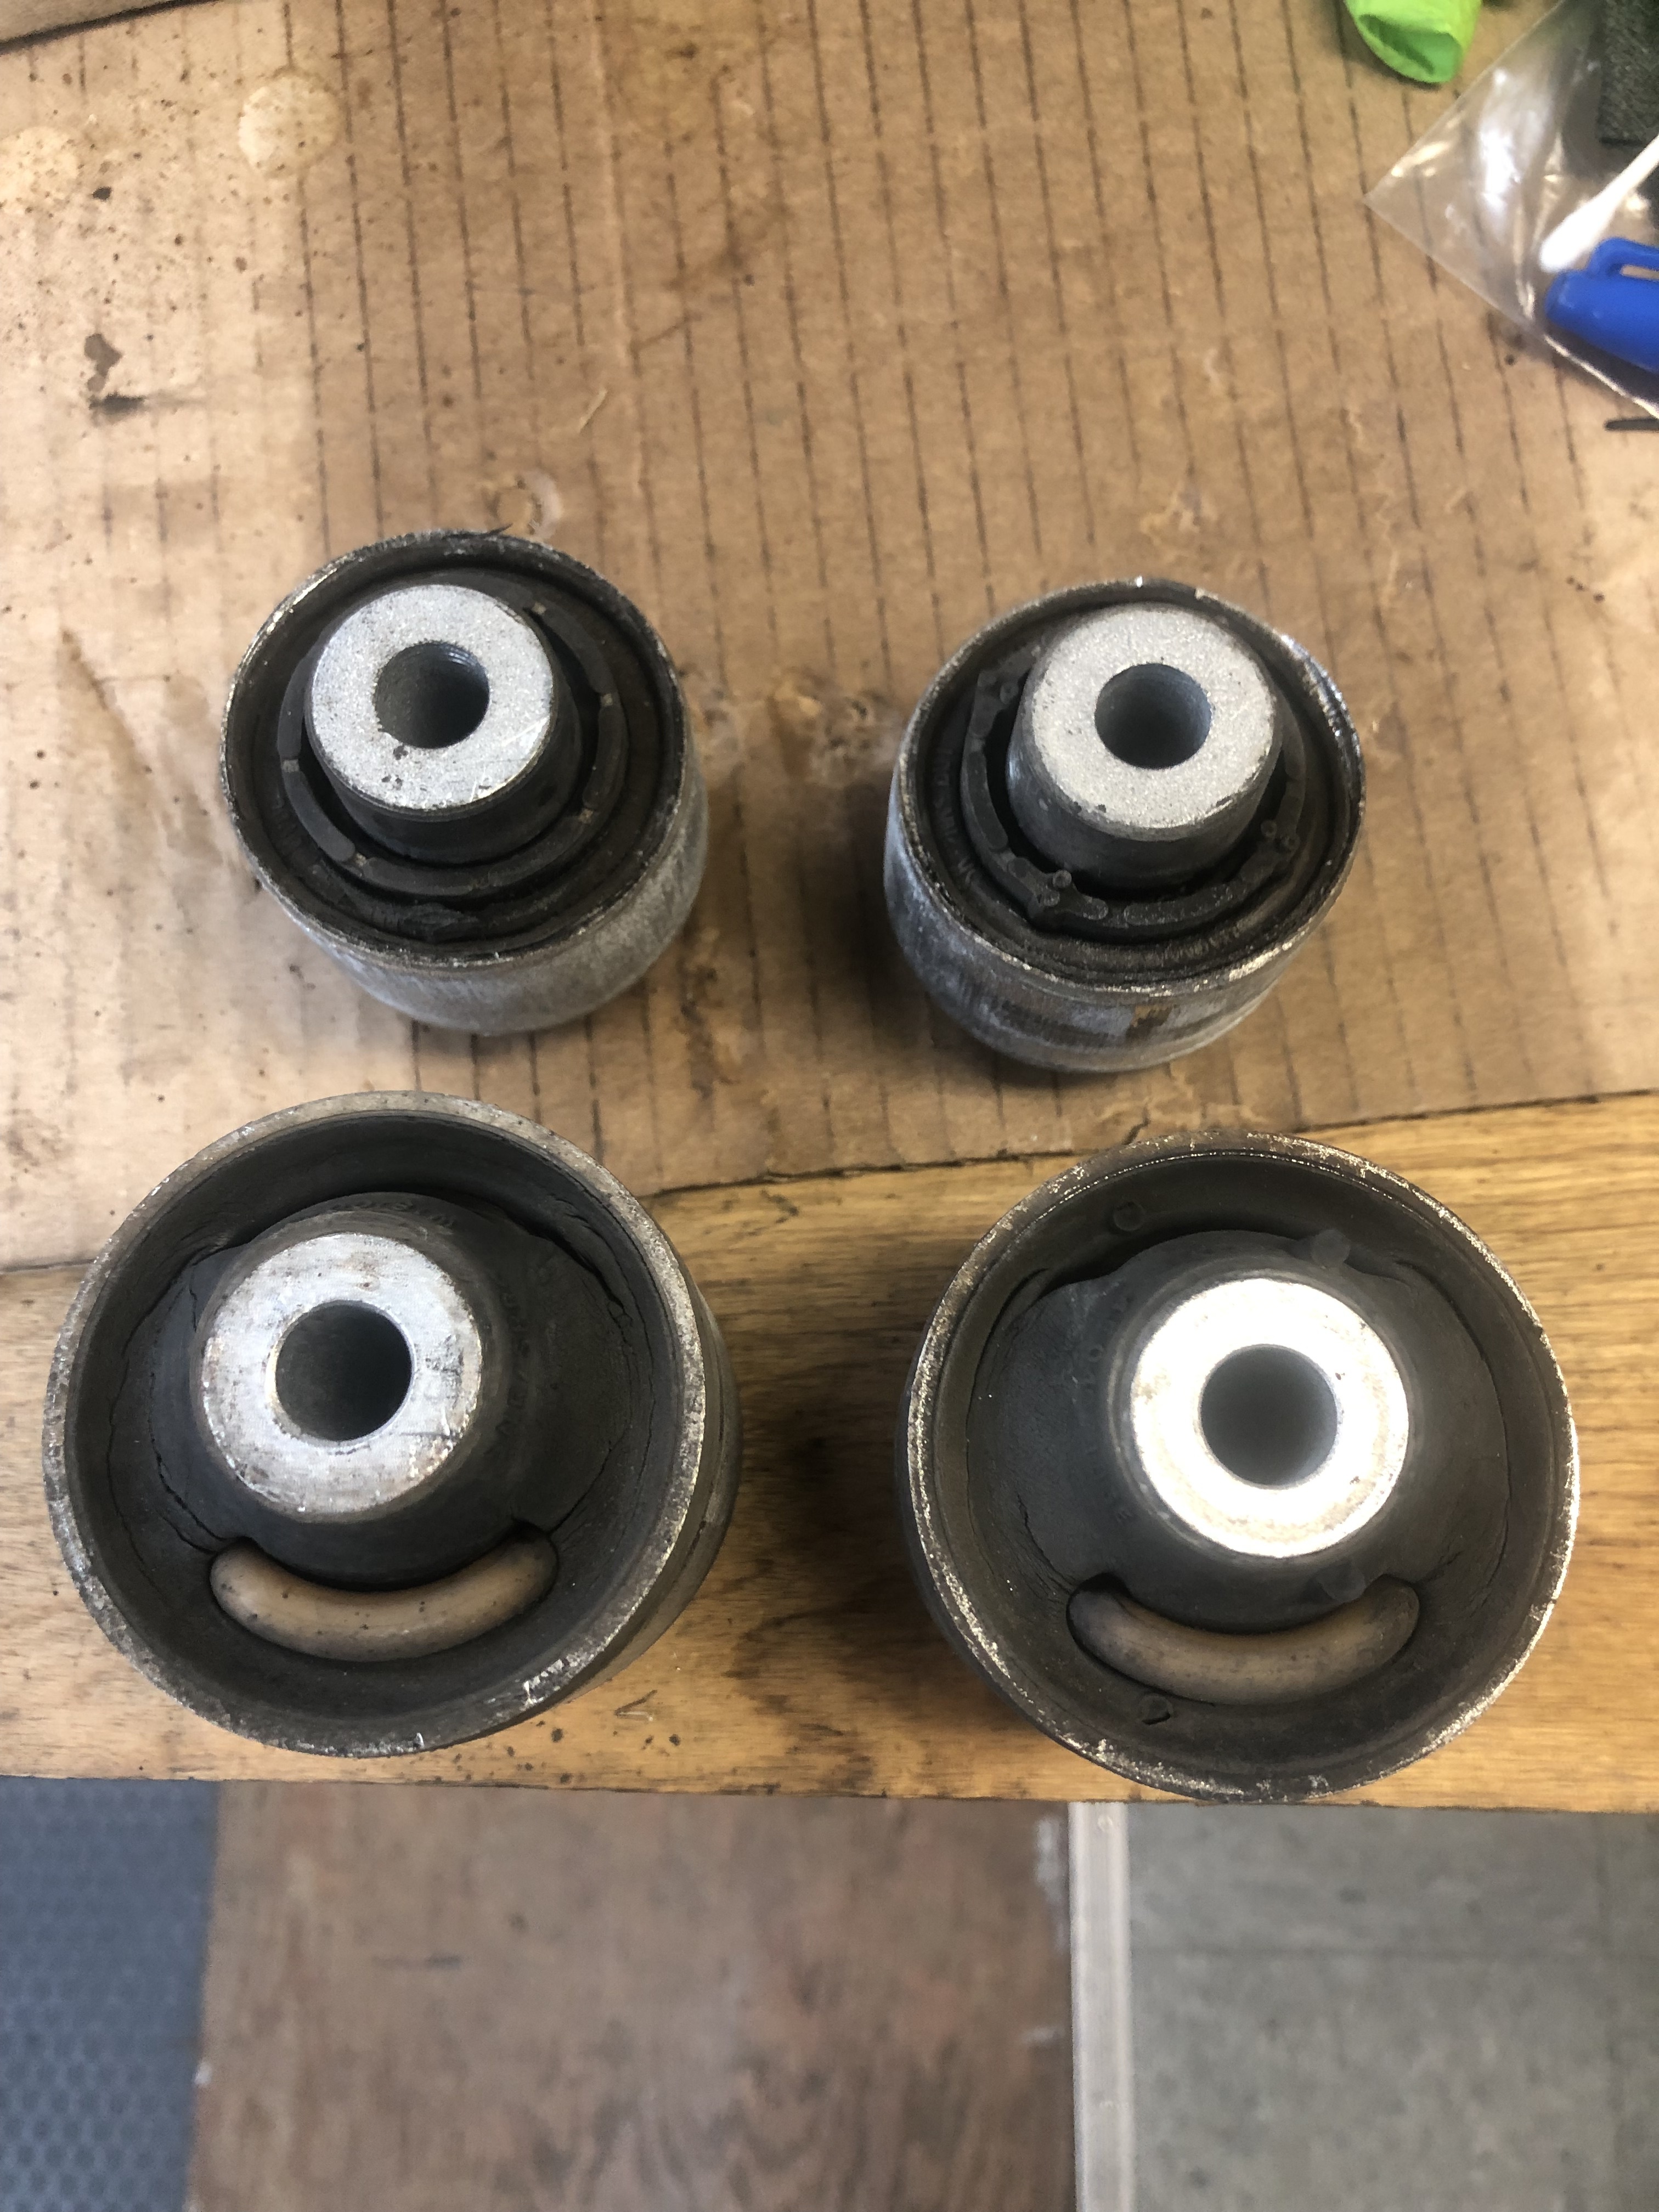
The old bushings weren’t horrible, but they were definitely worn, with the passenger side worse than the driver side:

The nuts holding them on are an unexpected 21 mm. While I have a socket for 21, I do not have a combination wrench at 21 mm. Removing them was fine, but installing required some creative thinking. I wound up using a C clamp to pull the LCA’s into the orifices on the knuckle and using 22 mm combination wrench and the torx bit to keep them from spinning when the clamp wasn’t sufficient. I finished connecting the LCA’s along with the shock, but did not tighten them to torque. I installed the drive shafts but also did not torque down the outer bolt, only the inside bolts.

I did torque down the subframe, installed the cross member, but I still must connect the rear drive shaft, which I will do tomorrow. Once that is done I’ll get the Quickjack back to a normal configuration and measure for the suspension height after installing the wheels. That will allow me to put it back in the air, use a jack to jack up the suspension on both sides and torque down the various pieces.

As mentioned the only whine is what I think is the PCV valve, but I will look at that later. I also still need to find the measuring blocks to make sure the cams are set properly.

It feels good to be moving forward again without any surprises.

Ed

Gee whiz, the last few things just beat the crap out of me.

First getting the driveshaft bolted back up was a interesting feat of power and geometry. There is very little room to wield a torque wrench there, and adding the fun of engaging and disengaging the parking brake made for a nice little warm up exercise routine. Little did I know what was in store for me with the suspension bolts.

I got the SUV adapters off the Quickjack, which is easier said than done since the car moves down and forward as it drops, so positioning the jack stands becomes interesting. But since this was my second go around (first was when I dropped the 997’s engine) it wasn’t too bad.

Then came jacking the suspension up on both sides and torquing everything down. First, would it have been that difficult to design things so you could actually get a freaking wrench on the bolt heads a little easier? Second, 70 nm and a 180 turn on those bolts is a bitch. I think if you can press 250, you’d be OK, but there are 4 of them to do. The sways and shock bolts are a breeze by comparison.

I still have to get the nose back on, but I am trashed right now, so that will wait until tomorrow.

I still have the whistle, and I haven’t started to track it down yet, but I will.

That is all.

Ed

Everything is back together, though I have to move the lock carrier into a service position so I can replace the correct O ring on the larger AC compressor connection.

I took it for a spin, without the nose on, and it accelerated, turned and stopped normally going at neighborhood speeds. The traction control light also went out, but I do need to scan again. I pulled it back in to get ready for the O ring.

I did some more looking at the whine, wound up breaking another throttle plenum bolt, removed the plenum, replaced the gasket with a new one I purchased (the new IM already had one on it) and the noise … got horribly worse. From a whistle I could deal with to a sonically damaging high pitch, high volume one.

I checked the bolts one more time, then started moving things around, when I moved the air valve on top of the throttle plenum the noise changed. Then moving my gloved hand around the driver side throttle body and the hose that connects the valve to the IM piece that connects to the PCV valve it changed more.

I decided that hose must have a leak, well not exactly. After getting everything out of the way and trying to disconnect the hose, this is what I had in my hand:

My guess is that is a pressed in fitting that shouldn’t pop out. While this may not be the source, it is now epoxied in place waiting 24 hours for it to dry and test.

Ed

Well that was not the source, nor was the throttle body gasket.

I have a cracked throttle plenum. What looks a scrape on the top is actually a hairline crack. Not sure how it happened since I am pretty careful with parts I pull off. I used some epoxy and it lasted about 30 seconds before air was drawn in again. O may try to rough it up a bit to see if I can get the epoxy to grab, but I need a new one. Anyway a new one is big bucks, so I will be checking some yards to see what might be out there.

No misfires, and except for a failed coolant reservoir cap, all connections seem to be tight and holding. I may have to postpone the inspection if I can’t get something quickly since that whine is ear splitting drive you crazy loud.

So, I will probably have one more post before wrapping this up.

Oh, one last time: How do you post a spreadsheet or a PDF? The button above is for images only.

Ed

I share your pain. I’ve got a noticeable crack where one of the throttle body bolts anchor on the driver side.

I’m tempted to take it off and try to epoxy it together. But I’m not sure how that will affect the TB bolt. And part of me thinks I shouldn’t touch it until I have access to a replacement. But that means I can’t remove the IM to glue in those flaps.

I would leave it alone unless you have an alternative.

Ed

@mixofia you can remove the intake with the throttle bodies still mounted…
so you don’t have to loosen the bolts.
I just changed it along with new bolts and gaskets it was 517 euros here.

1 Like

Yeah they are pricey. I found a used one with a 90 day warranty for $200 US.

Ed

Hmmm. So after a new to me throttle plenum, new gaskets and re-install, the whine is as bad as ever. It is an ear splitting, hearing damaging whine.

It is loudest at the bottom of the plenum. I am beginning to think the manifold I was sold is warped at the connection to the plenum.

Next step is to pull it and use some RTV on both sides of the gasket and see if that helps. I will also take a straight edge to the mount and check the tightness of the IM bolts.

This is really perplexing since I really didn’t do much in that area. The volume of the sound makes it very difficult to isolate the source, and it still seems related to the PCV or plumbing, but I really don’t want to buy a $200 hose on a guess.

I’ll keep you posted, but of all the complex tasks I have performed, to be thwarted by this is quite disheartening.

Ed

Are you able to apply pressure with your hand to the top of the plenum to see if that lessens the noise? You don’t think the plenum you received is also bad do you?

That’s what lead me to believe the little mark on the top was a crack. As I pressed it seemed to change the sound. When I applied some epoxy it seemed to quiet and then pick back up.

Using my stethescope it was really loud at both throttle bodies and the front of the plenum. Using a tube from a paper towel roll it seemed to be the loudest center of the plenum and between the lower edge of the plenum and the top of the IM.

I would doubt that both plenums had the same exact problem, and with the last go around seeming to identify the noise as from the interface between the IM and the plenum, I am hopeful that this is the issue.

I should know in about an hour. Unfortunately, while removing the tube that connects the PCV to the valve covers it broke in my hand, so I will have to get one anyway, and they are not cheap. By the way, I really detest the way these plastic fittings attach, especially the tube that goes to the valley from the passenger side air passage. It is almost impossible to squeeze the clip and not have the other edges slip over the connection point’s lip. I used a couple of thin flat metal pieces and small flat head screw drivers to slip it over. There must be better ways to secure these types of connections.

Ed

I always use brake cleaner to search for leaks.
I just start spraying the gaskets one by one and listen to the engine.

Ok, I am declaring my project officially complete (well almost - I need to replace the PCV tube I broke which will be at the parts guys on Tuesday).

The problem was the seal between the throttle plenum and the IM. I used some high temp RTV on both sides of the gasket and she is as quiet as a mouse.

I went on a short shakedown cruise and the car ran well. Suspension felt solid and and the engine ran smooth and strong.

I have a document I am almost finished recapping the work, once done I will post it someplace where anyone who would like can check it out. I also have a spreadsheet of the parts and supplies I purchased for the job that I will post that also.

In terms of the tools (at least for me) this is a representation of everything I used, save for the special tools like injector pullers and camshaft alignment tools:

I took on several tasks during the engine pull that was required to solve oil getting into the spark plug wells:

  1. All timing chain guides/tensioners replaced, RMS replaced
  2. Cam girdle gasket and RTV replaced
  3. Every non accessible coolant hose / O ring / Gasket replaced / Coolant temp sensor replaced
  4. Cam Adjuster O rings, valley breather gasket & tubes and Oil housing O rings replaced
  5. Injectors pulled, cleaned, re-O ringed and re-inserted
  6. Starter replaced
  7. Engine Mounts replaced
  8. Aux water pump replaced
  9. Spark plugs and Coils replaced & Oil Filter/Oil change
  10. Fuel Pressure Sensor replaced (I broke it on removal of the Intake
  11. Carbon Clean
  12. Exhaust gasket/nuts/studs replaced
  13. O2 sensors replaced
  14. LCA bushings replaced
  15. New Intake Manifold (broken flaps)
  16. JHM Spacers installed
  17. Valve cover gaskets replaced

Wednesday I will have the inspection, alignment and A/C refrigerant replacement done and the vehicle will be back in regular service. I need to get a small dent repaired and the rear bumper refinished from a parking lot hit and then the car should be 100% inside and out.

It has been quite the journey and would have been over a bit ago without the air leak. My guess is the IM is a little off since two different plenums had the same symptom and I probably should have gone the RTV route earlier, but as with most things, live and learn.

Thanks to everyone who contributed over the past 2 & 1/2 months, it would have been much more difficult without you. Hopefully there is some useful information contained in this thread for anyone looking to tackle a major engine out job.

Ed

1 Like

Good to hear Ed! Sounds like you’ve just about gotten things buttoned up

Brief update. Inspection passed, Had one of the readiness indicators not be set (I forget which now, but I believe it was EGR related). I will investigate that later and they were backed up on the alignment rack so I have to go back and get that done, but the car tracks true and no vibrations so the alignment wouldn’t off by much.

No CELS, car runs smooth and strong. See you in another 200K!

Ed

Excellent work on such a mammoth task. Did you end up completing the Bill of Material documentation you mentioned?

Yes I did, but I cannot figure out how to attach files. I’ll look on the site again and see what I can find out.

Ed

Attempt to attach files. And I get:

“Sorry, the file you are trying to upload is not authorized (authorized extensions: jpg, jpeg, png, gif).”

So it seems an XLS or PDF is not going to make it. If anyone has a suggestion I am open to it.

Ed