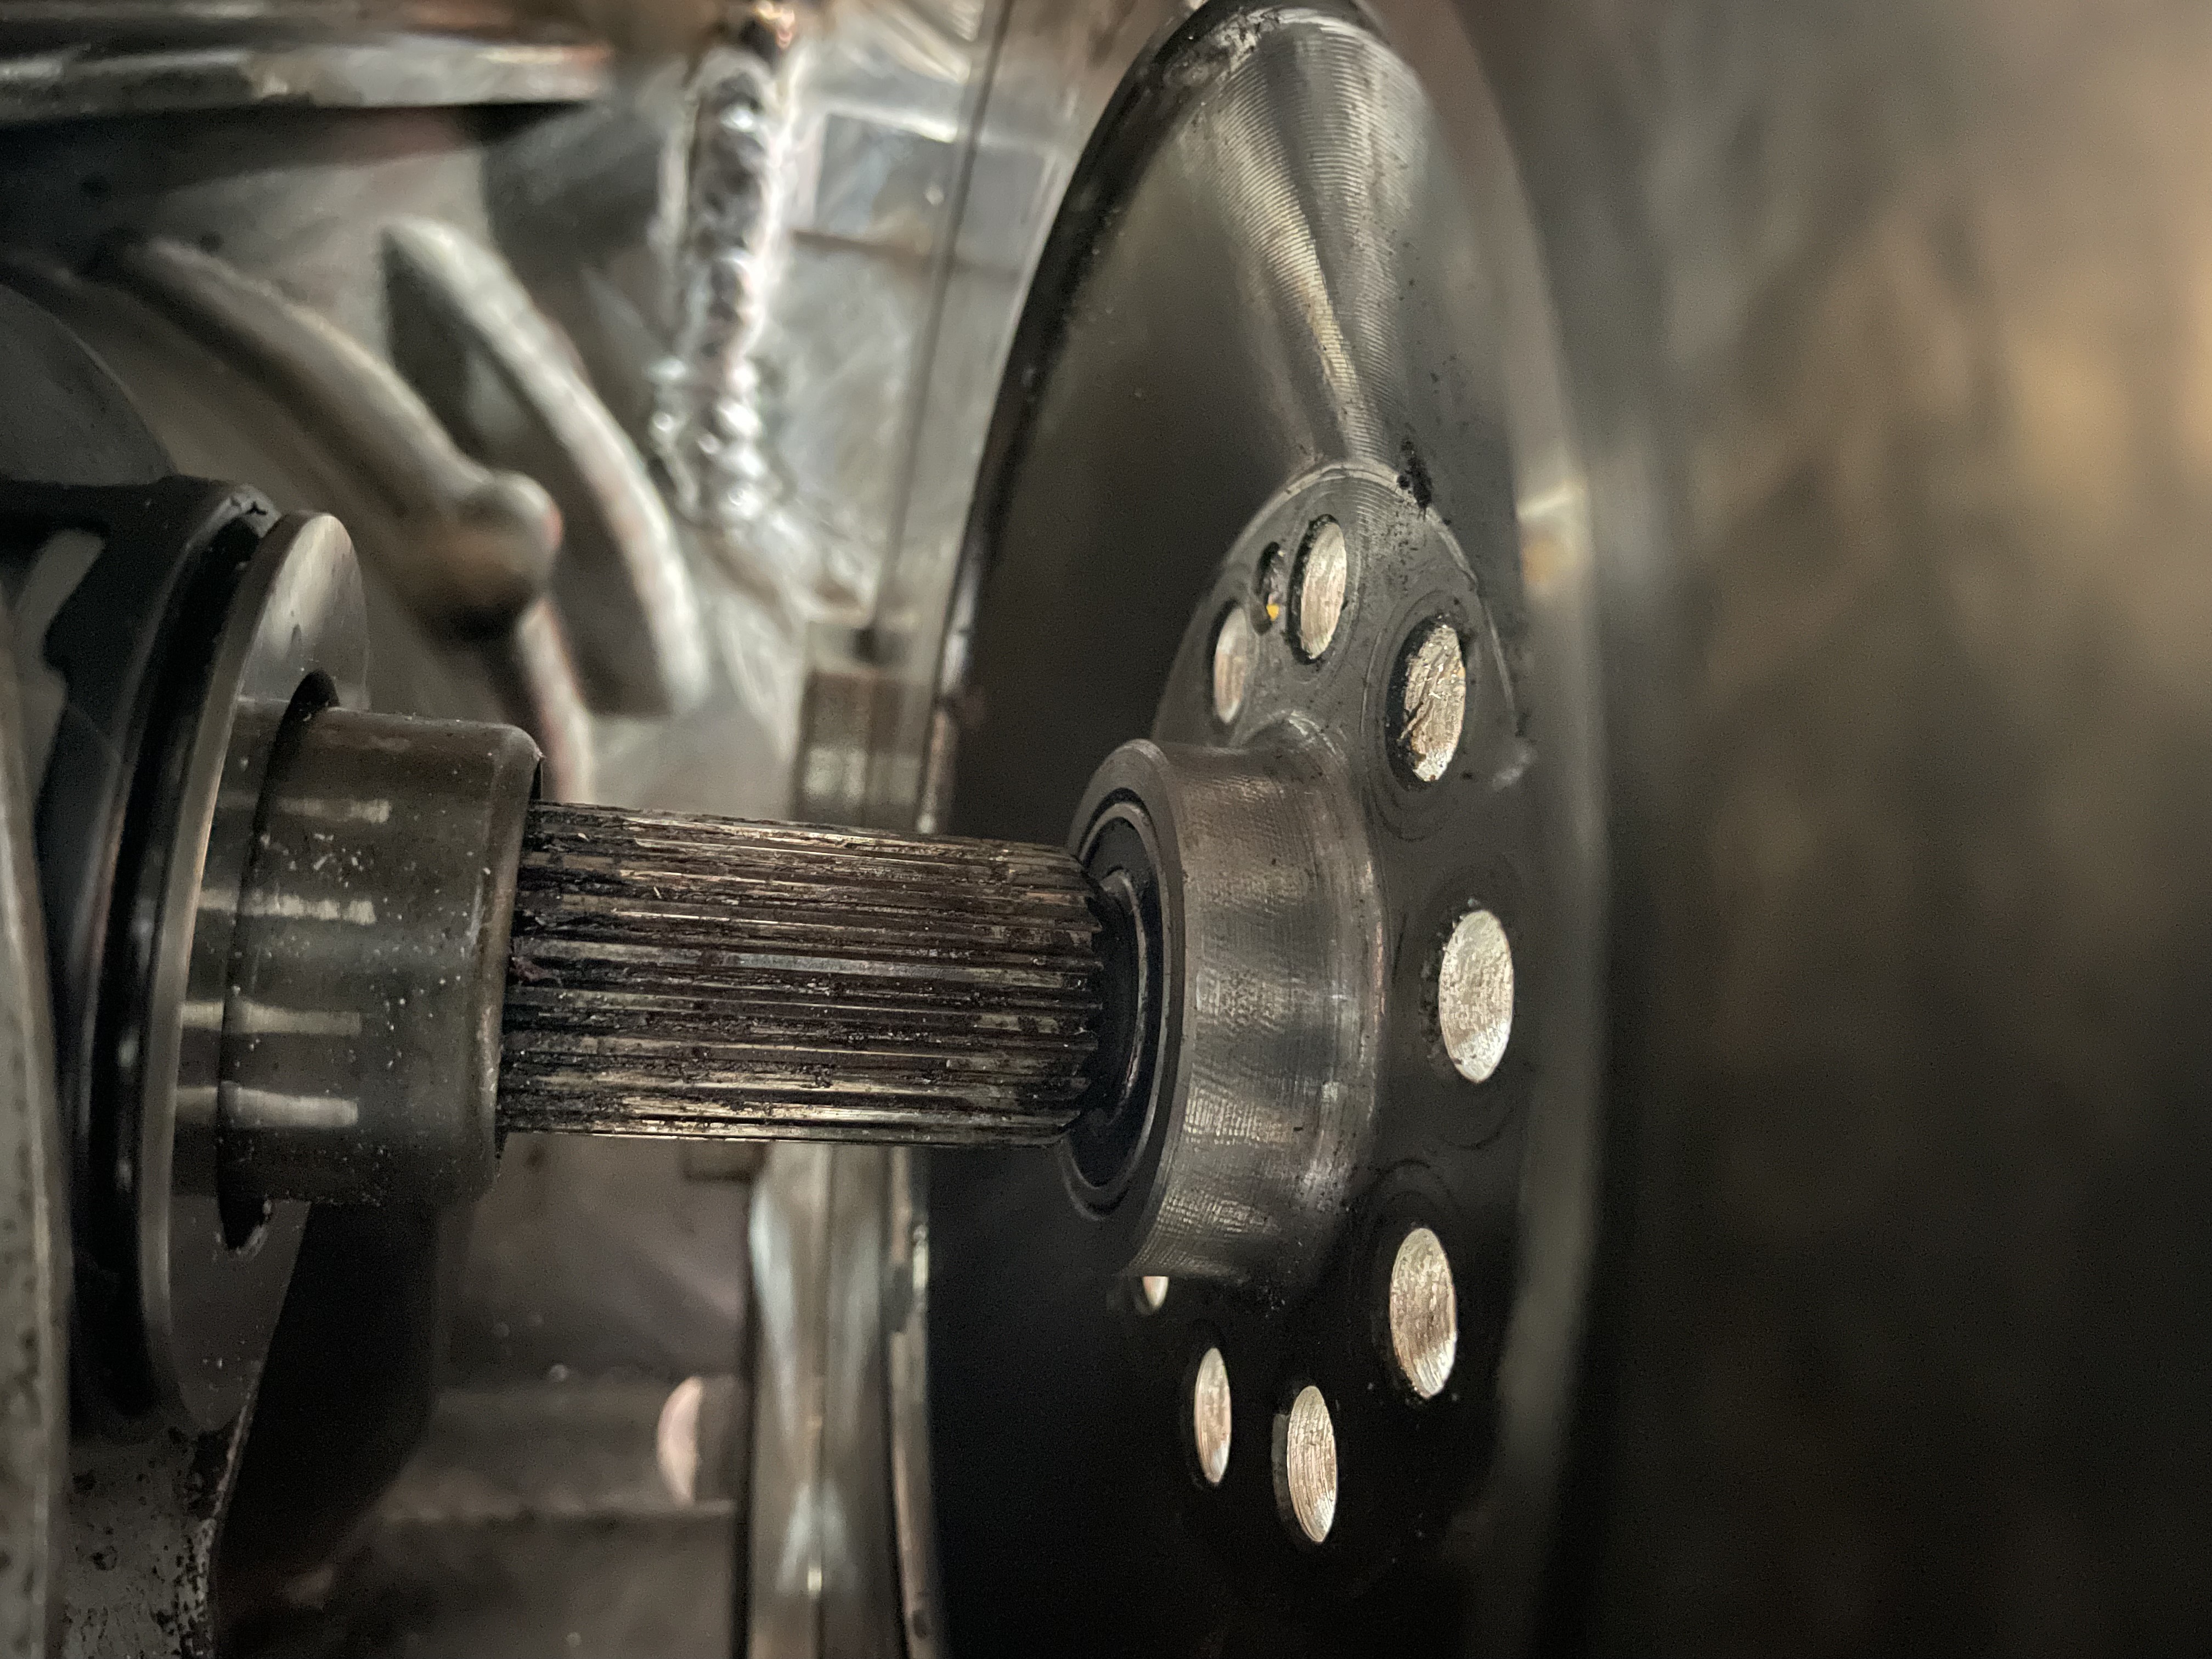
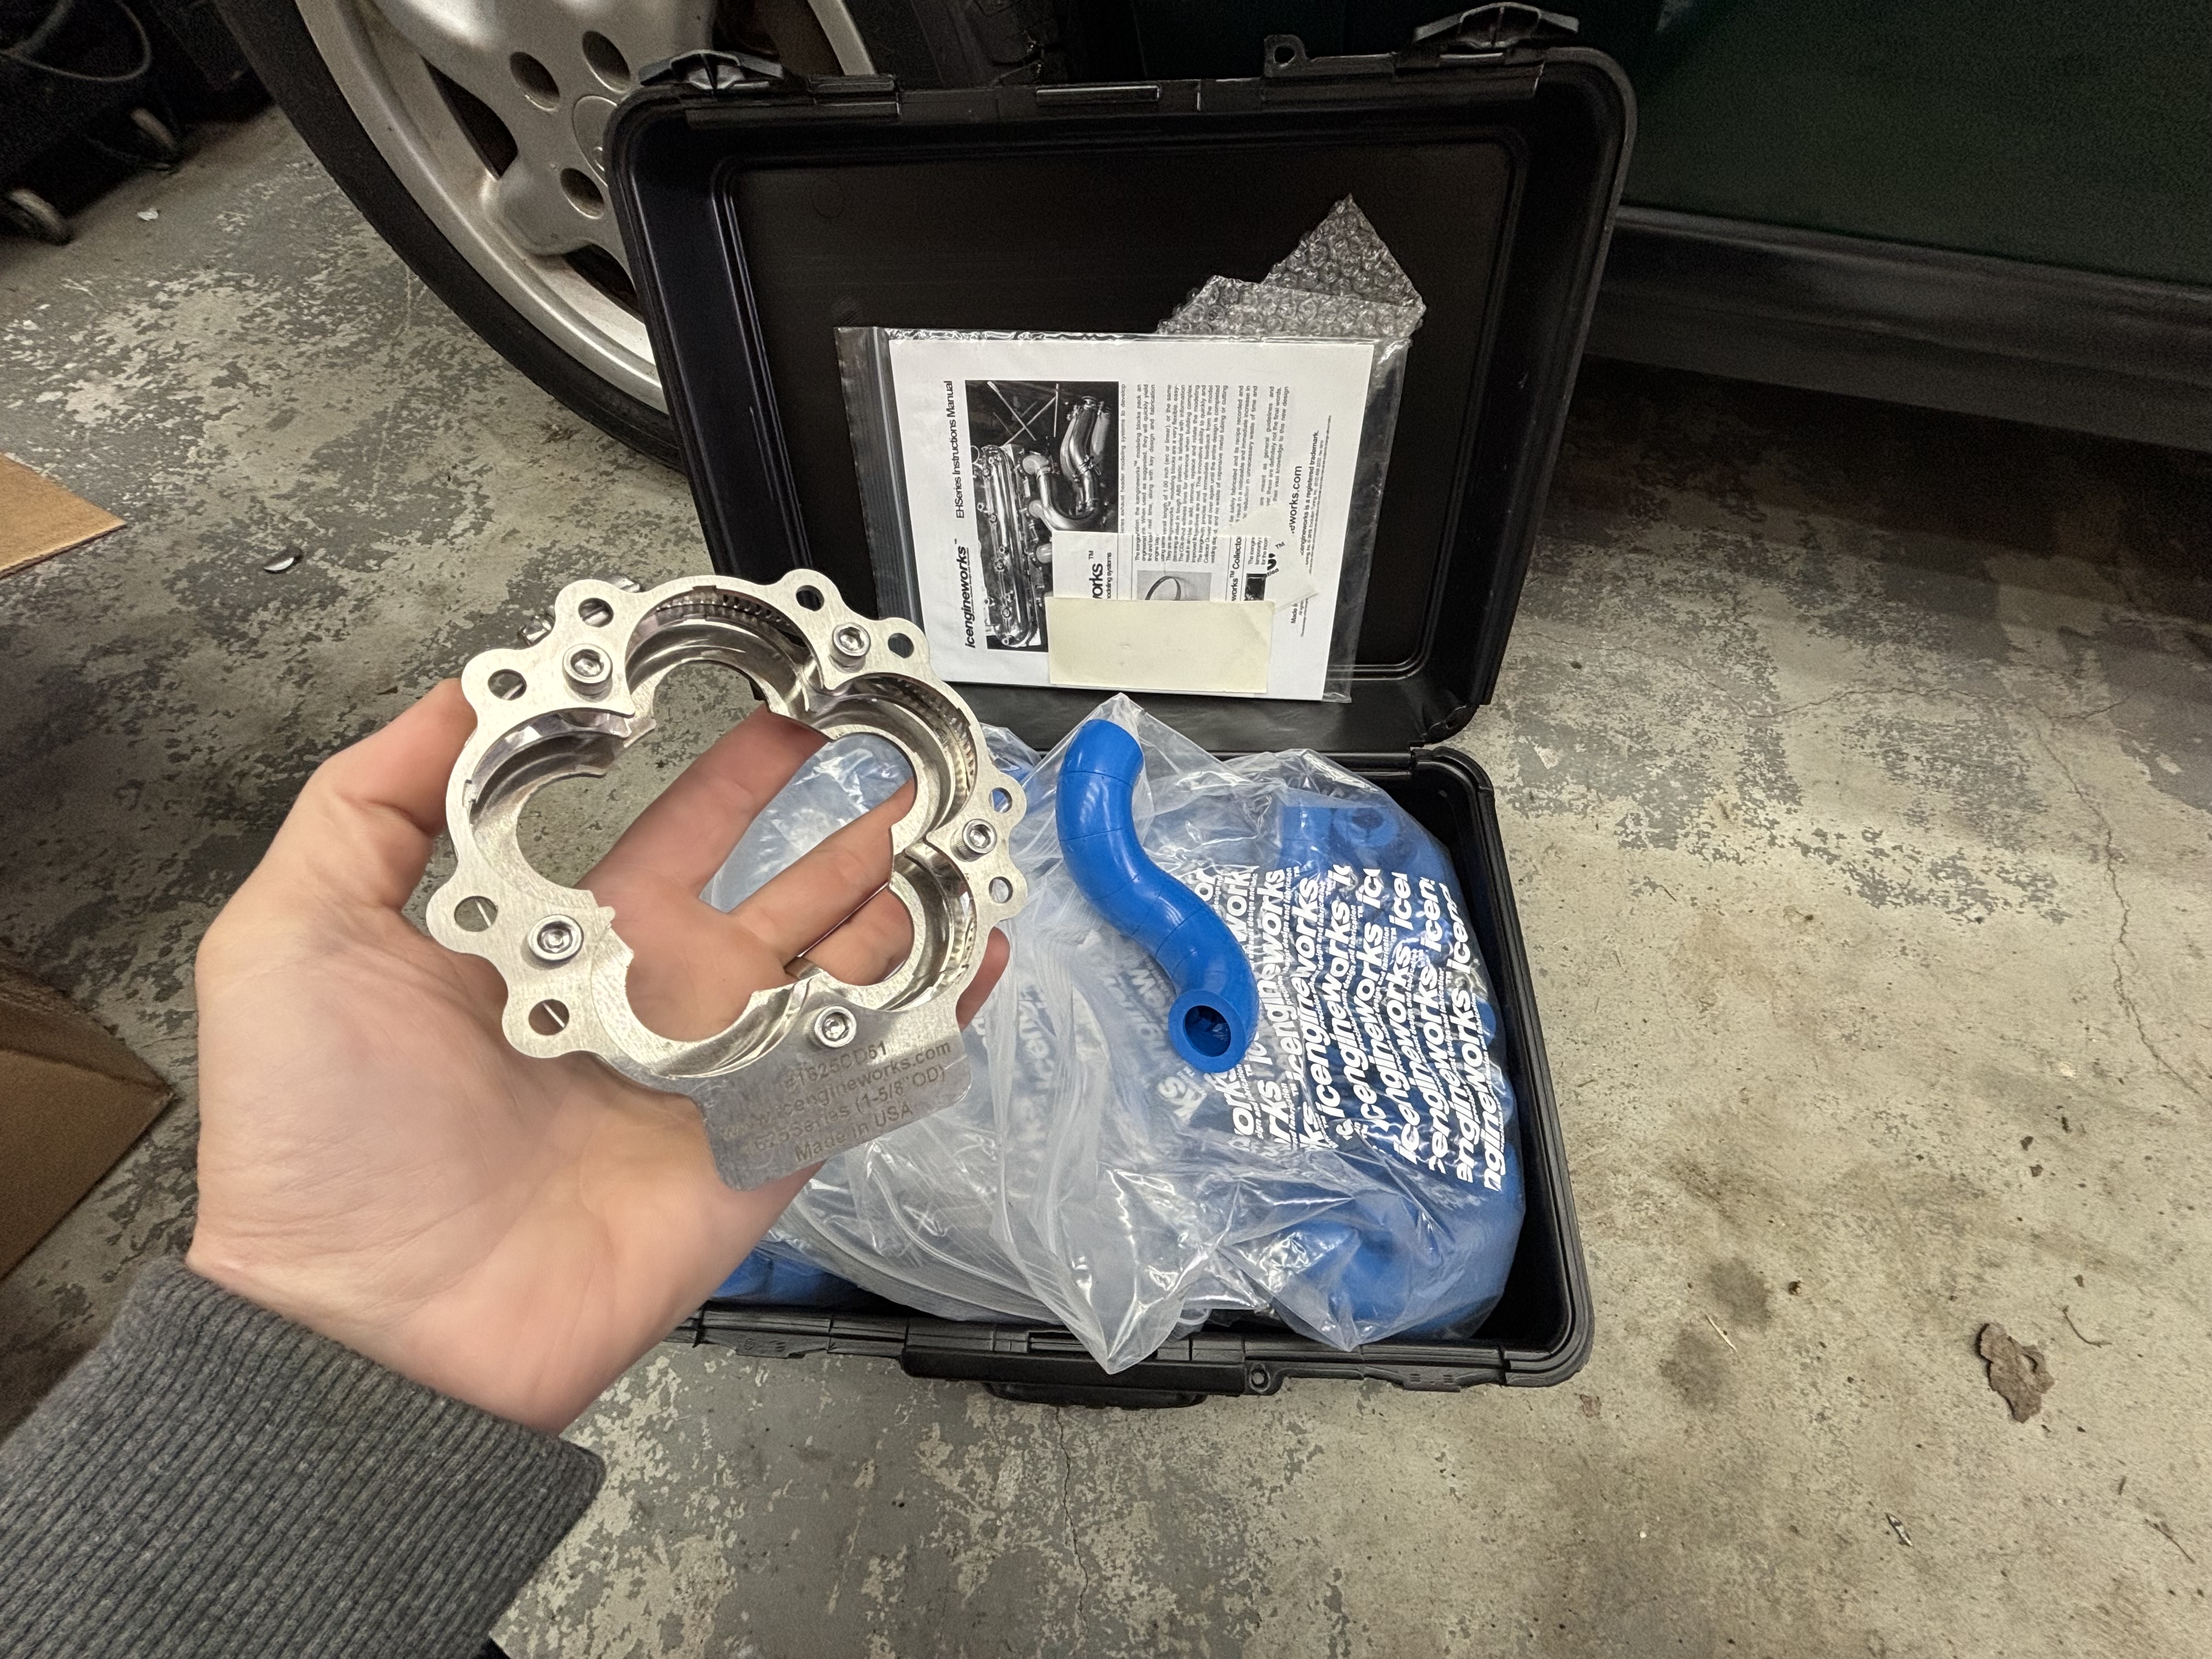
Printed a few options to get the spacing right on the 23 splines, version 2 is perfect
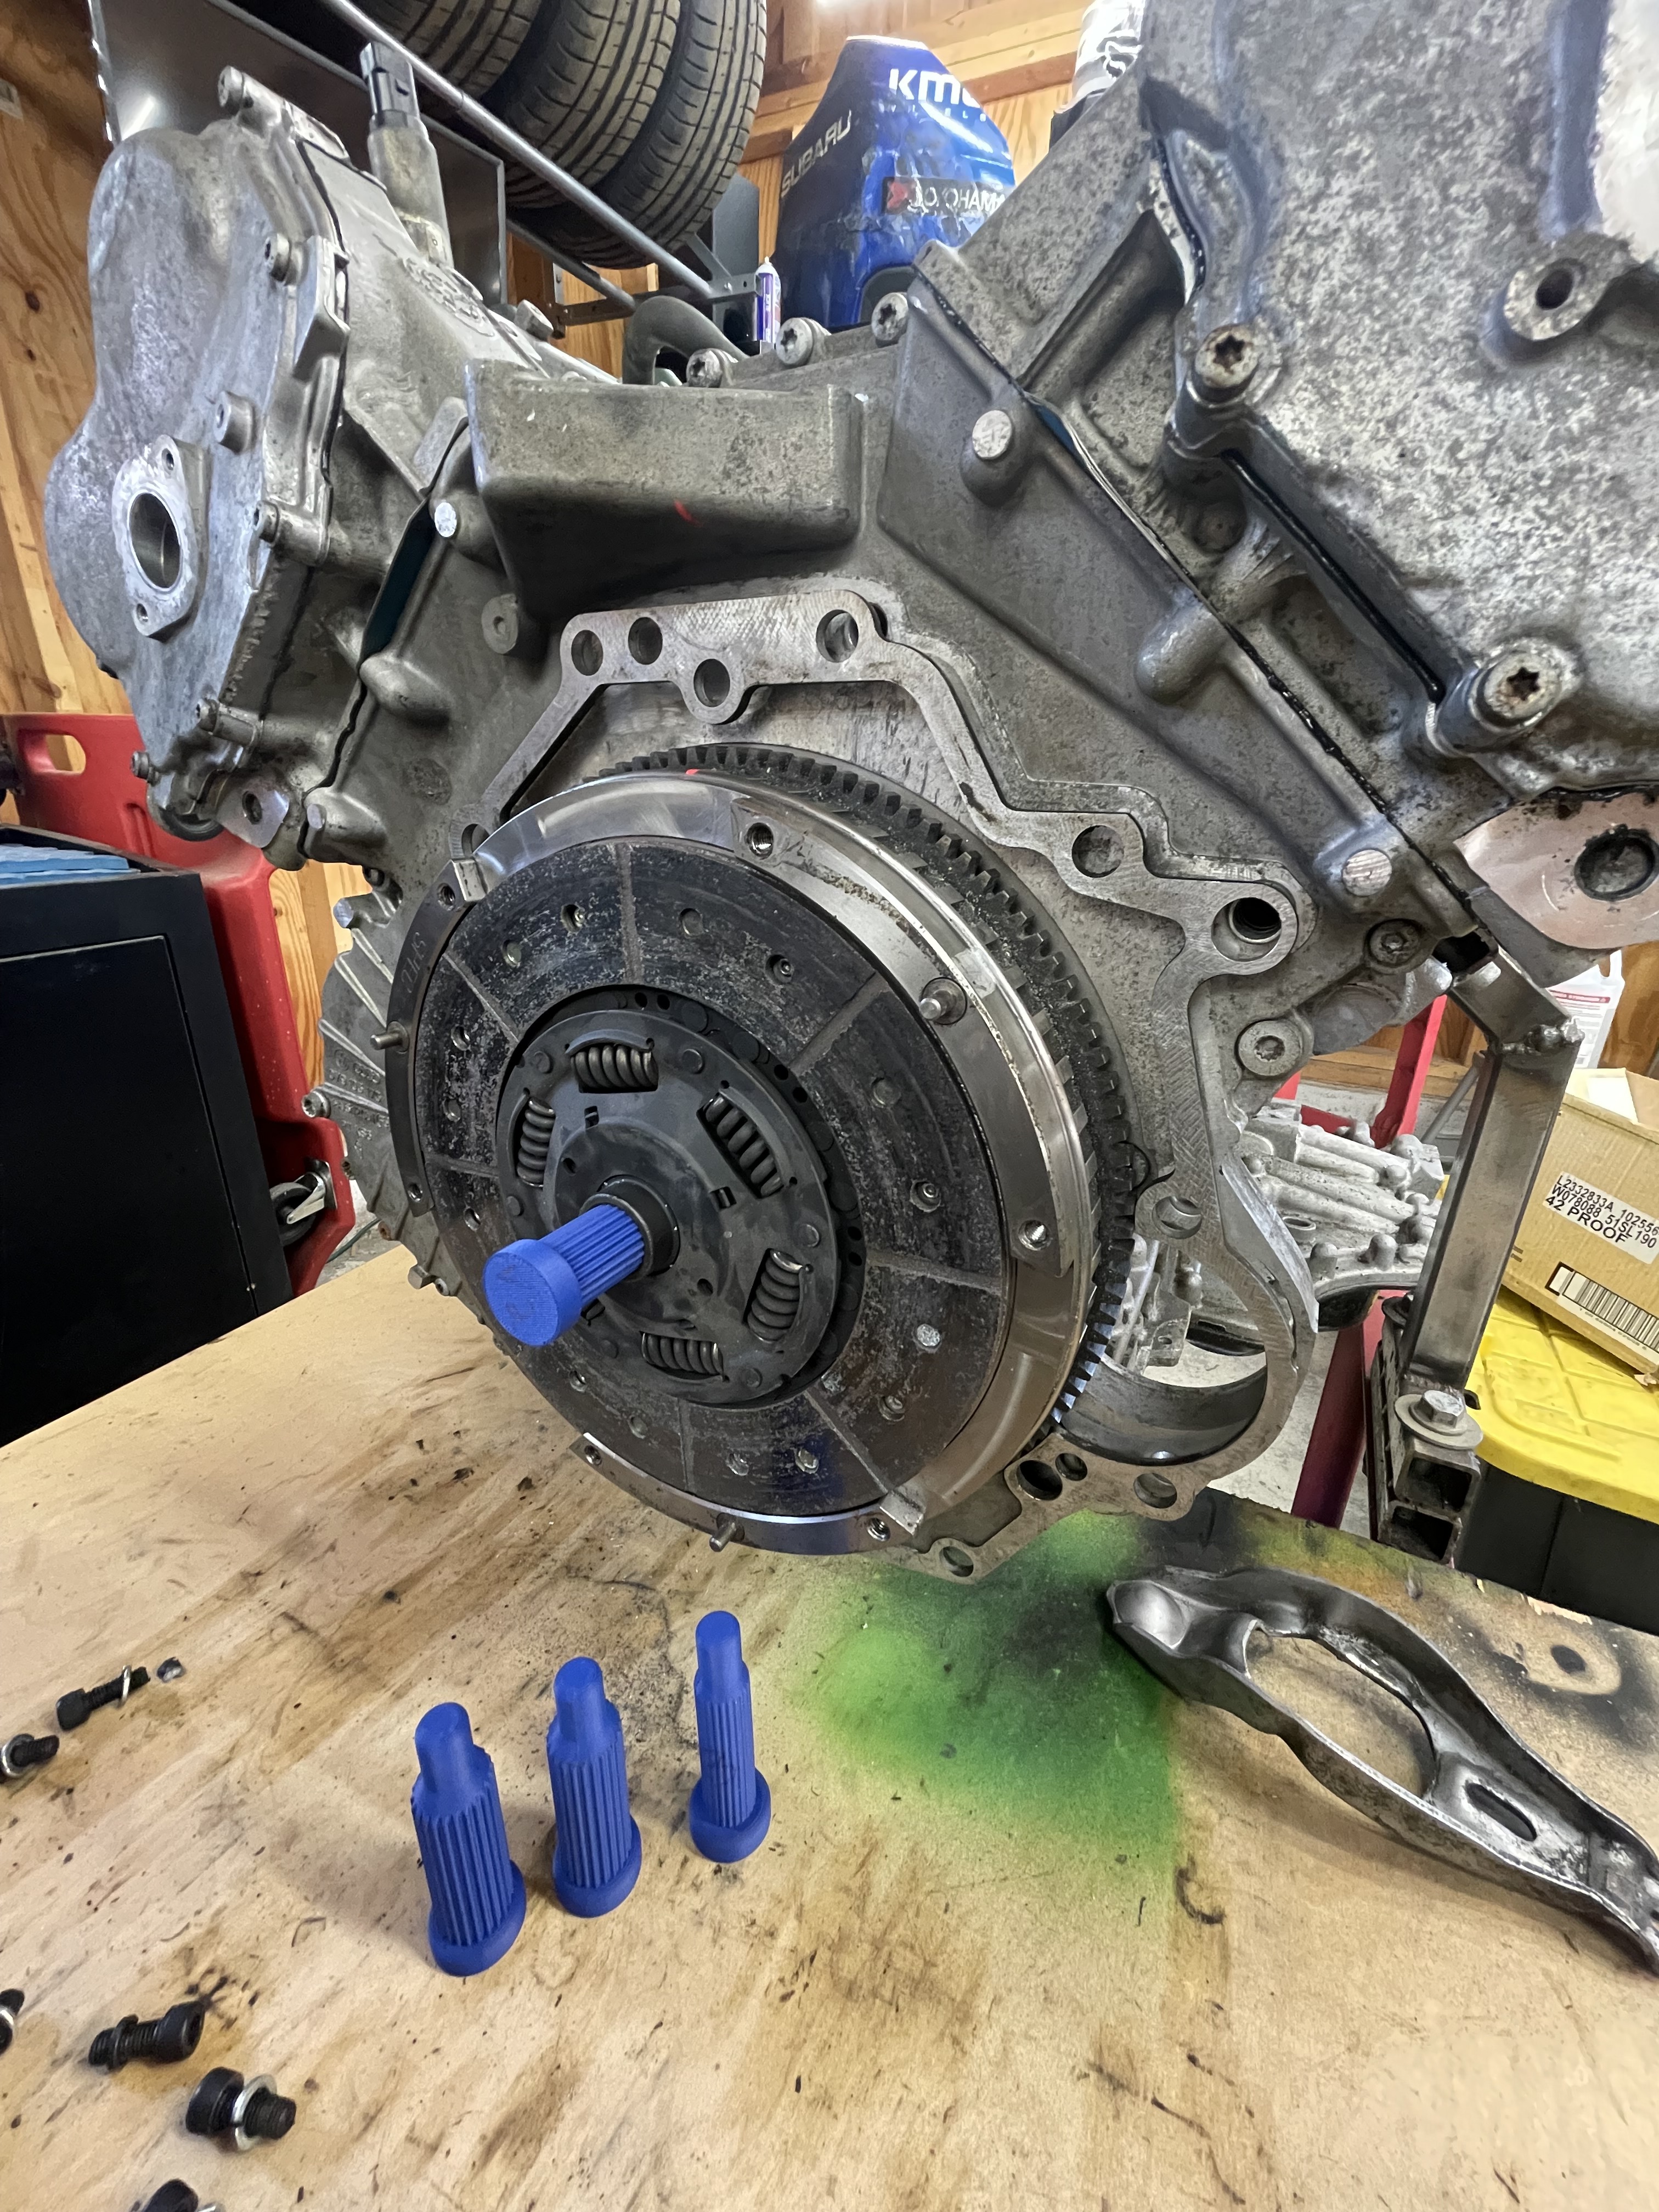
Have a buyer for the avant’s drivetrain so I’ll be starting on that this weekend 

Printed a few options to get the spacing right on the 23 splines, version 2 is perfect
Have a buyer for the avant’s drivetrain so I’ll be starting on that this weekend
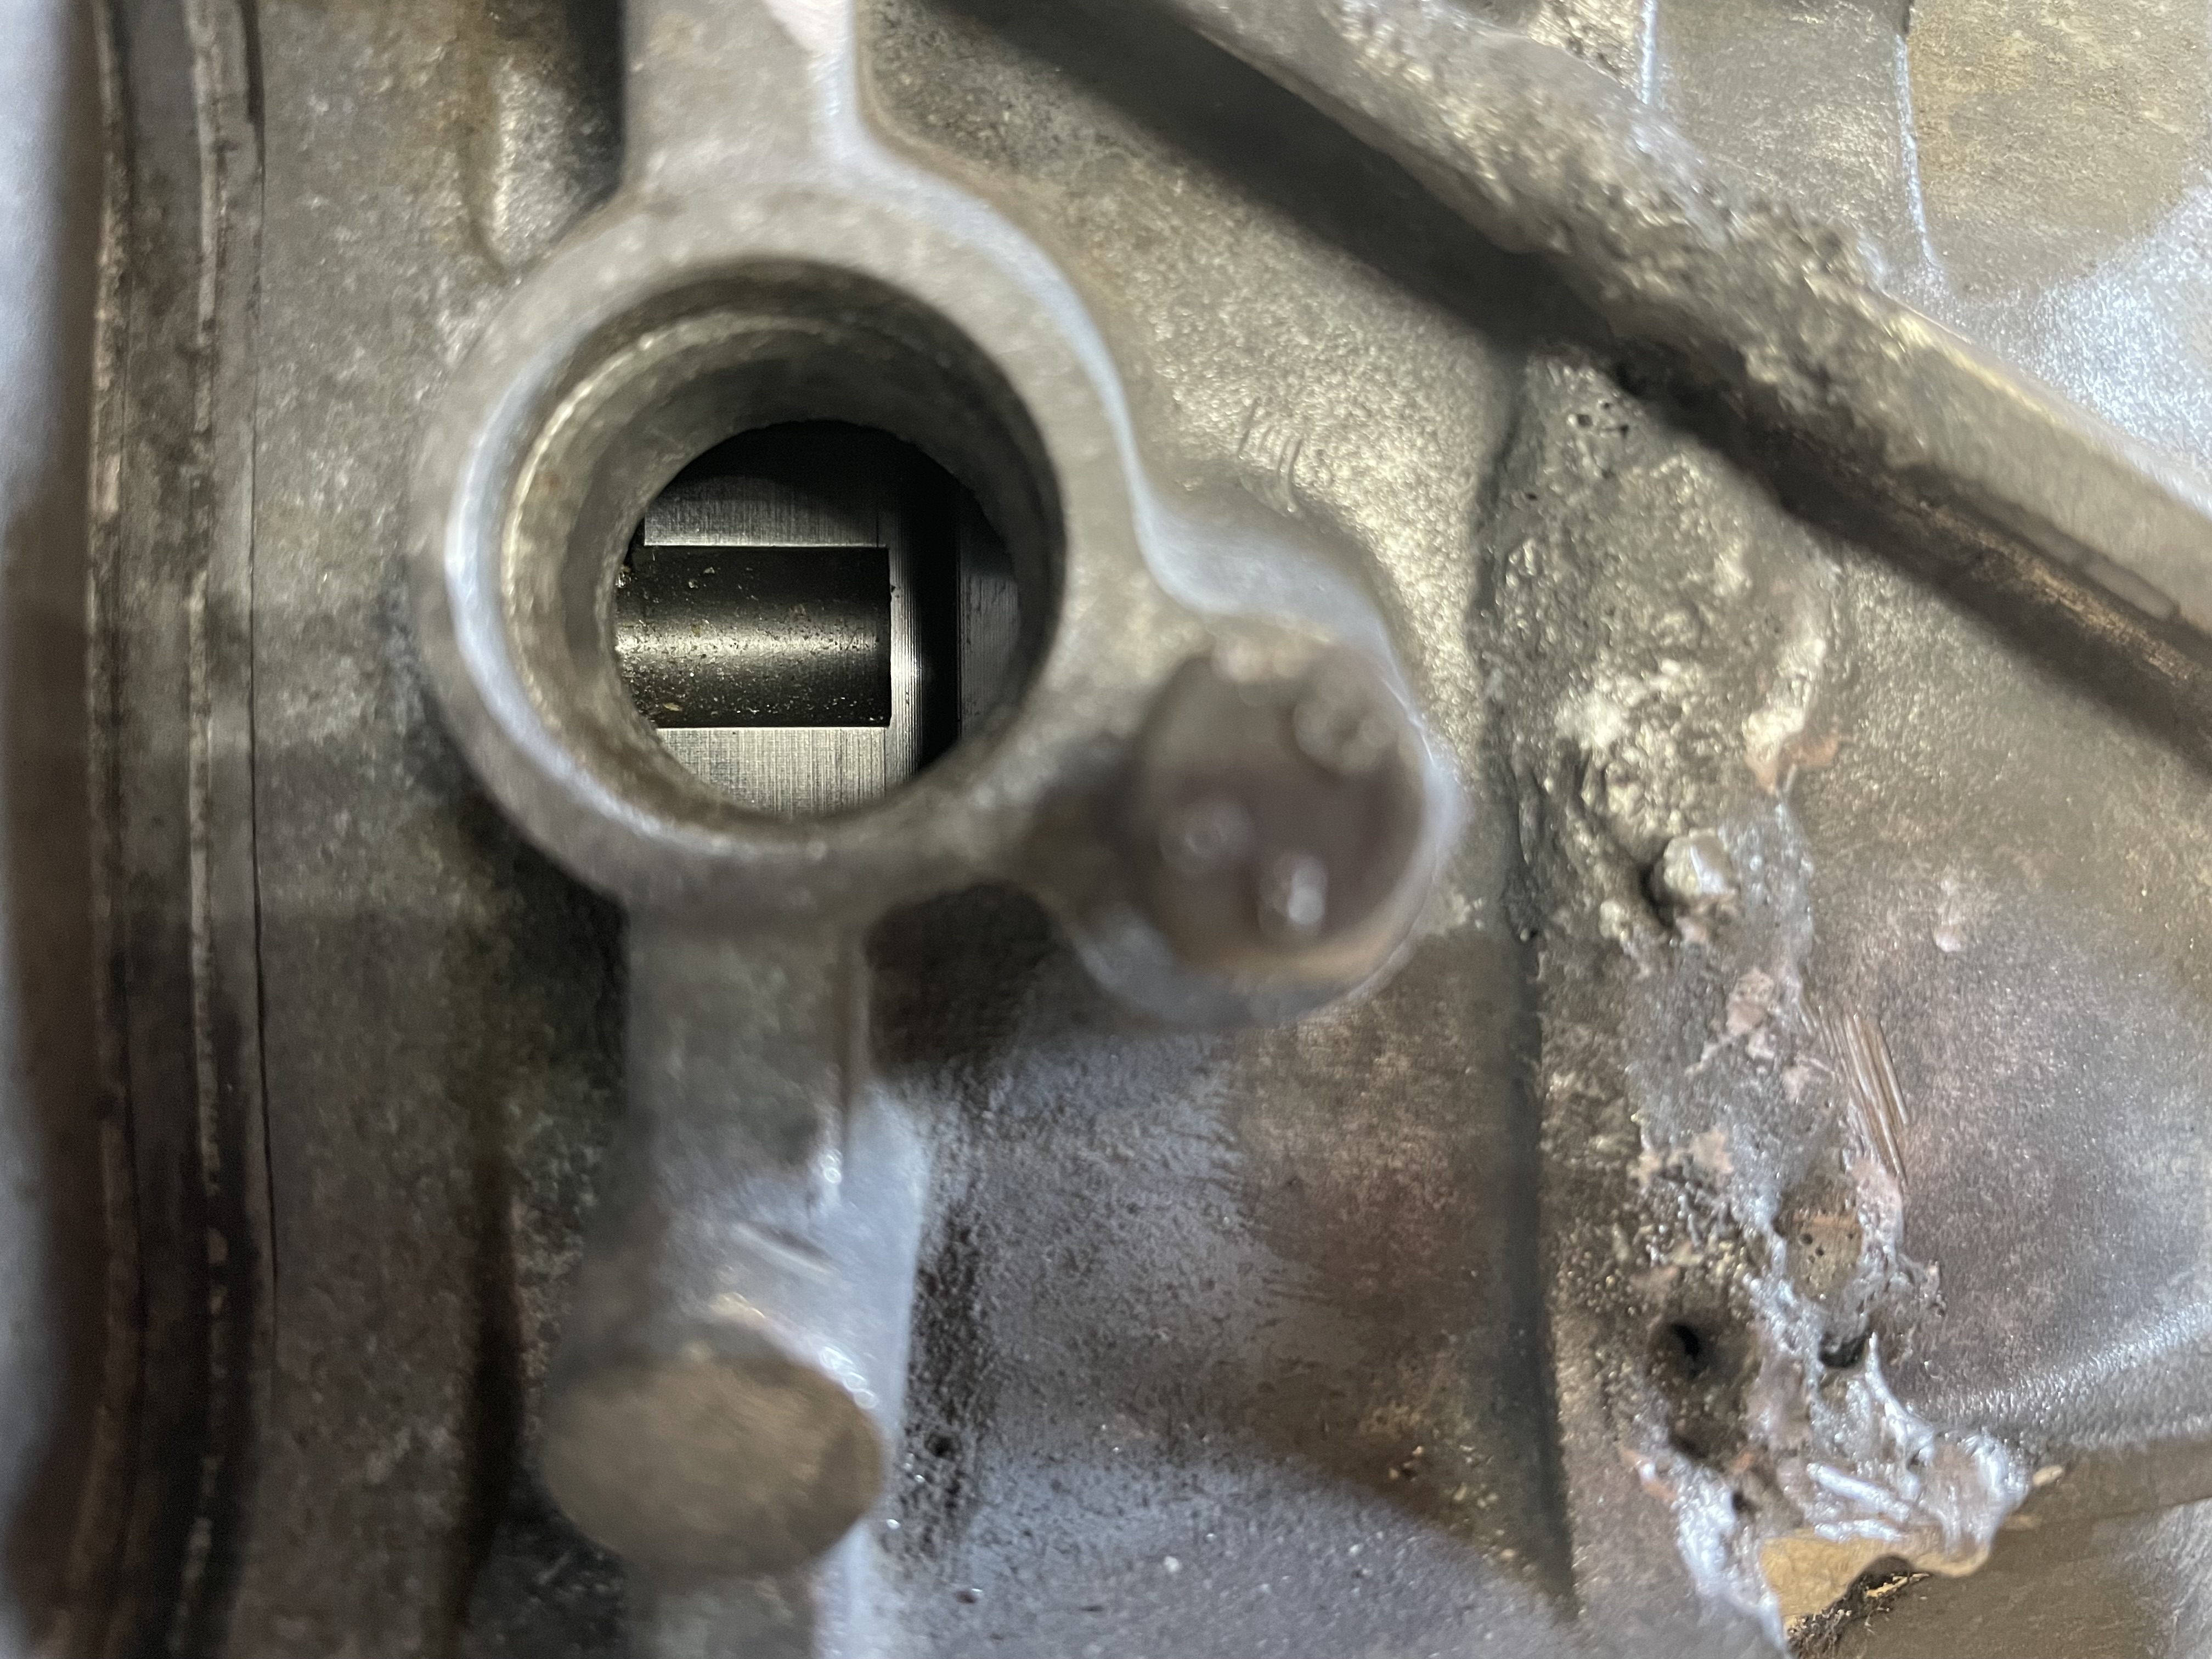
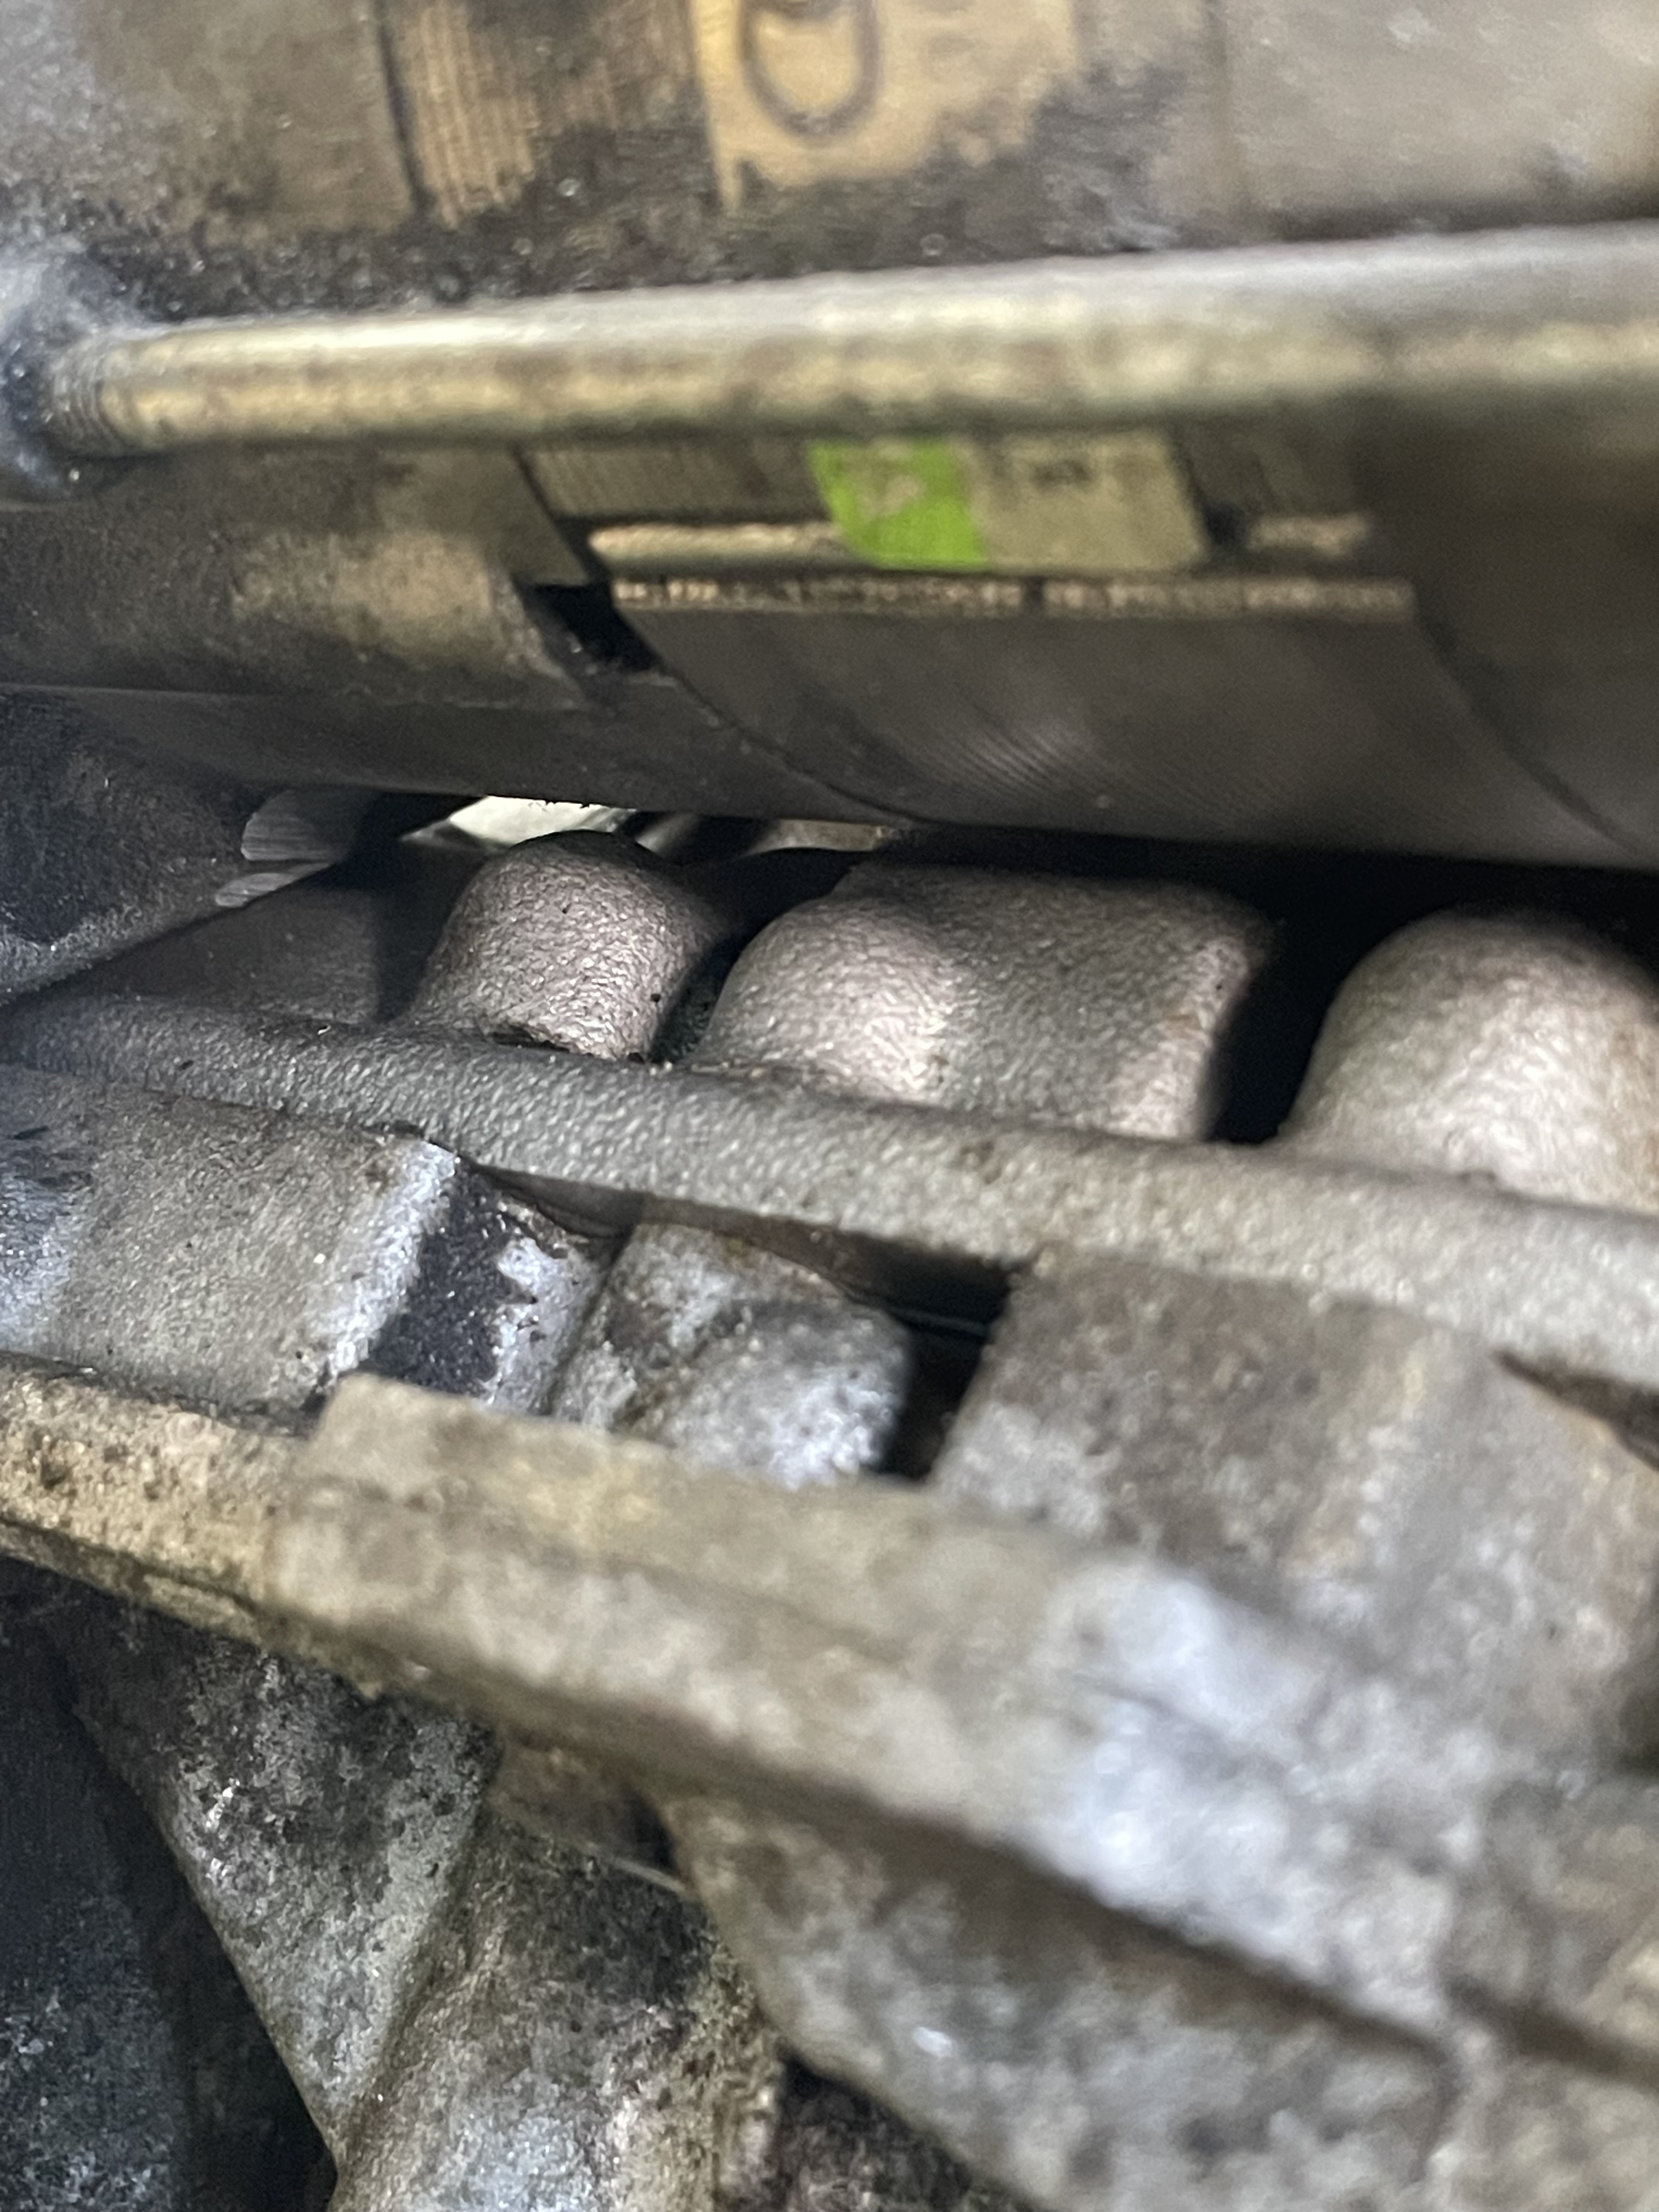
Hit an issue where the 0a3 was not sitting flush over the new clutch and flywheel setup. With an inspection camera I discovered the input shaft was just barely bottoming out, causing a 2-3mm space. After some consulting with Martin he told me he removed the spacer behind the flywheel. That gave just enough room to sit flush. I had to cut down my flywheel bolts, but hurtle is now overcome.
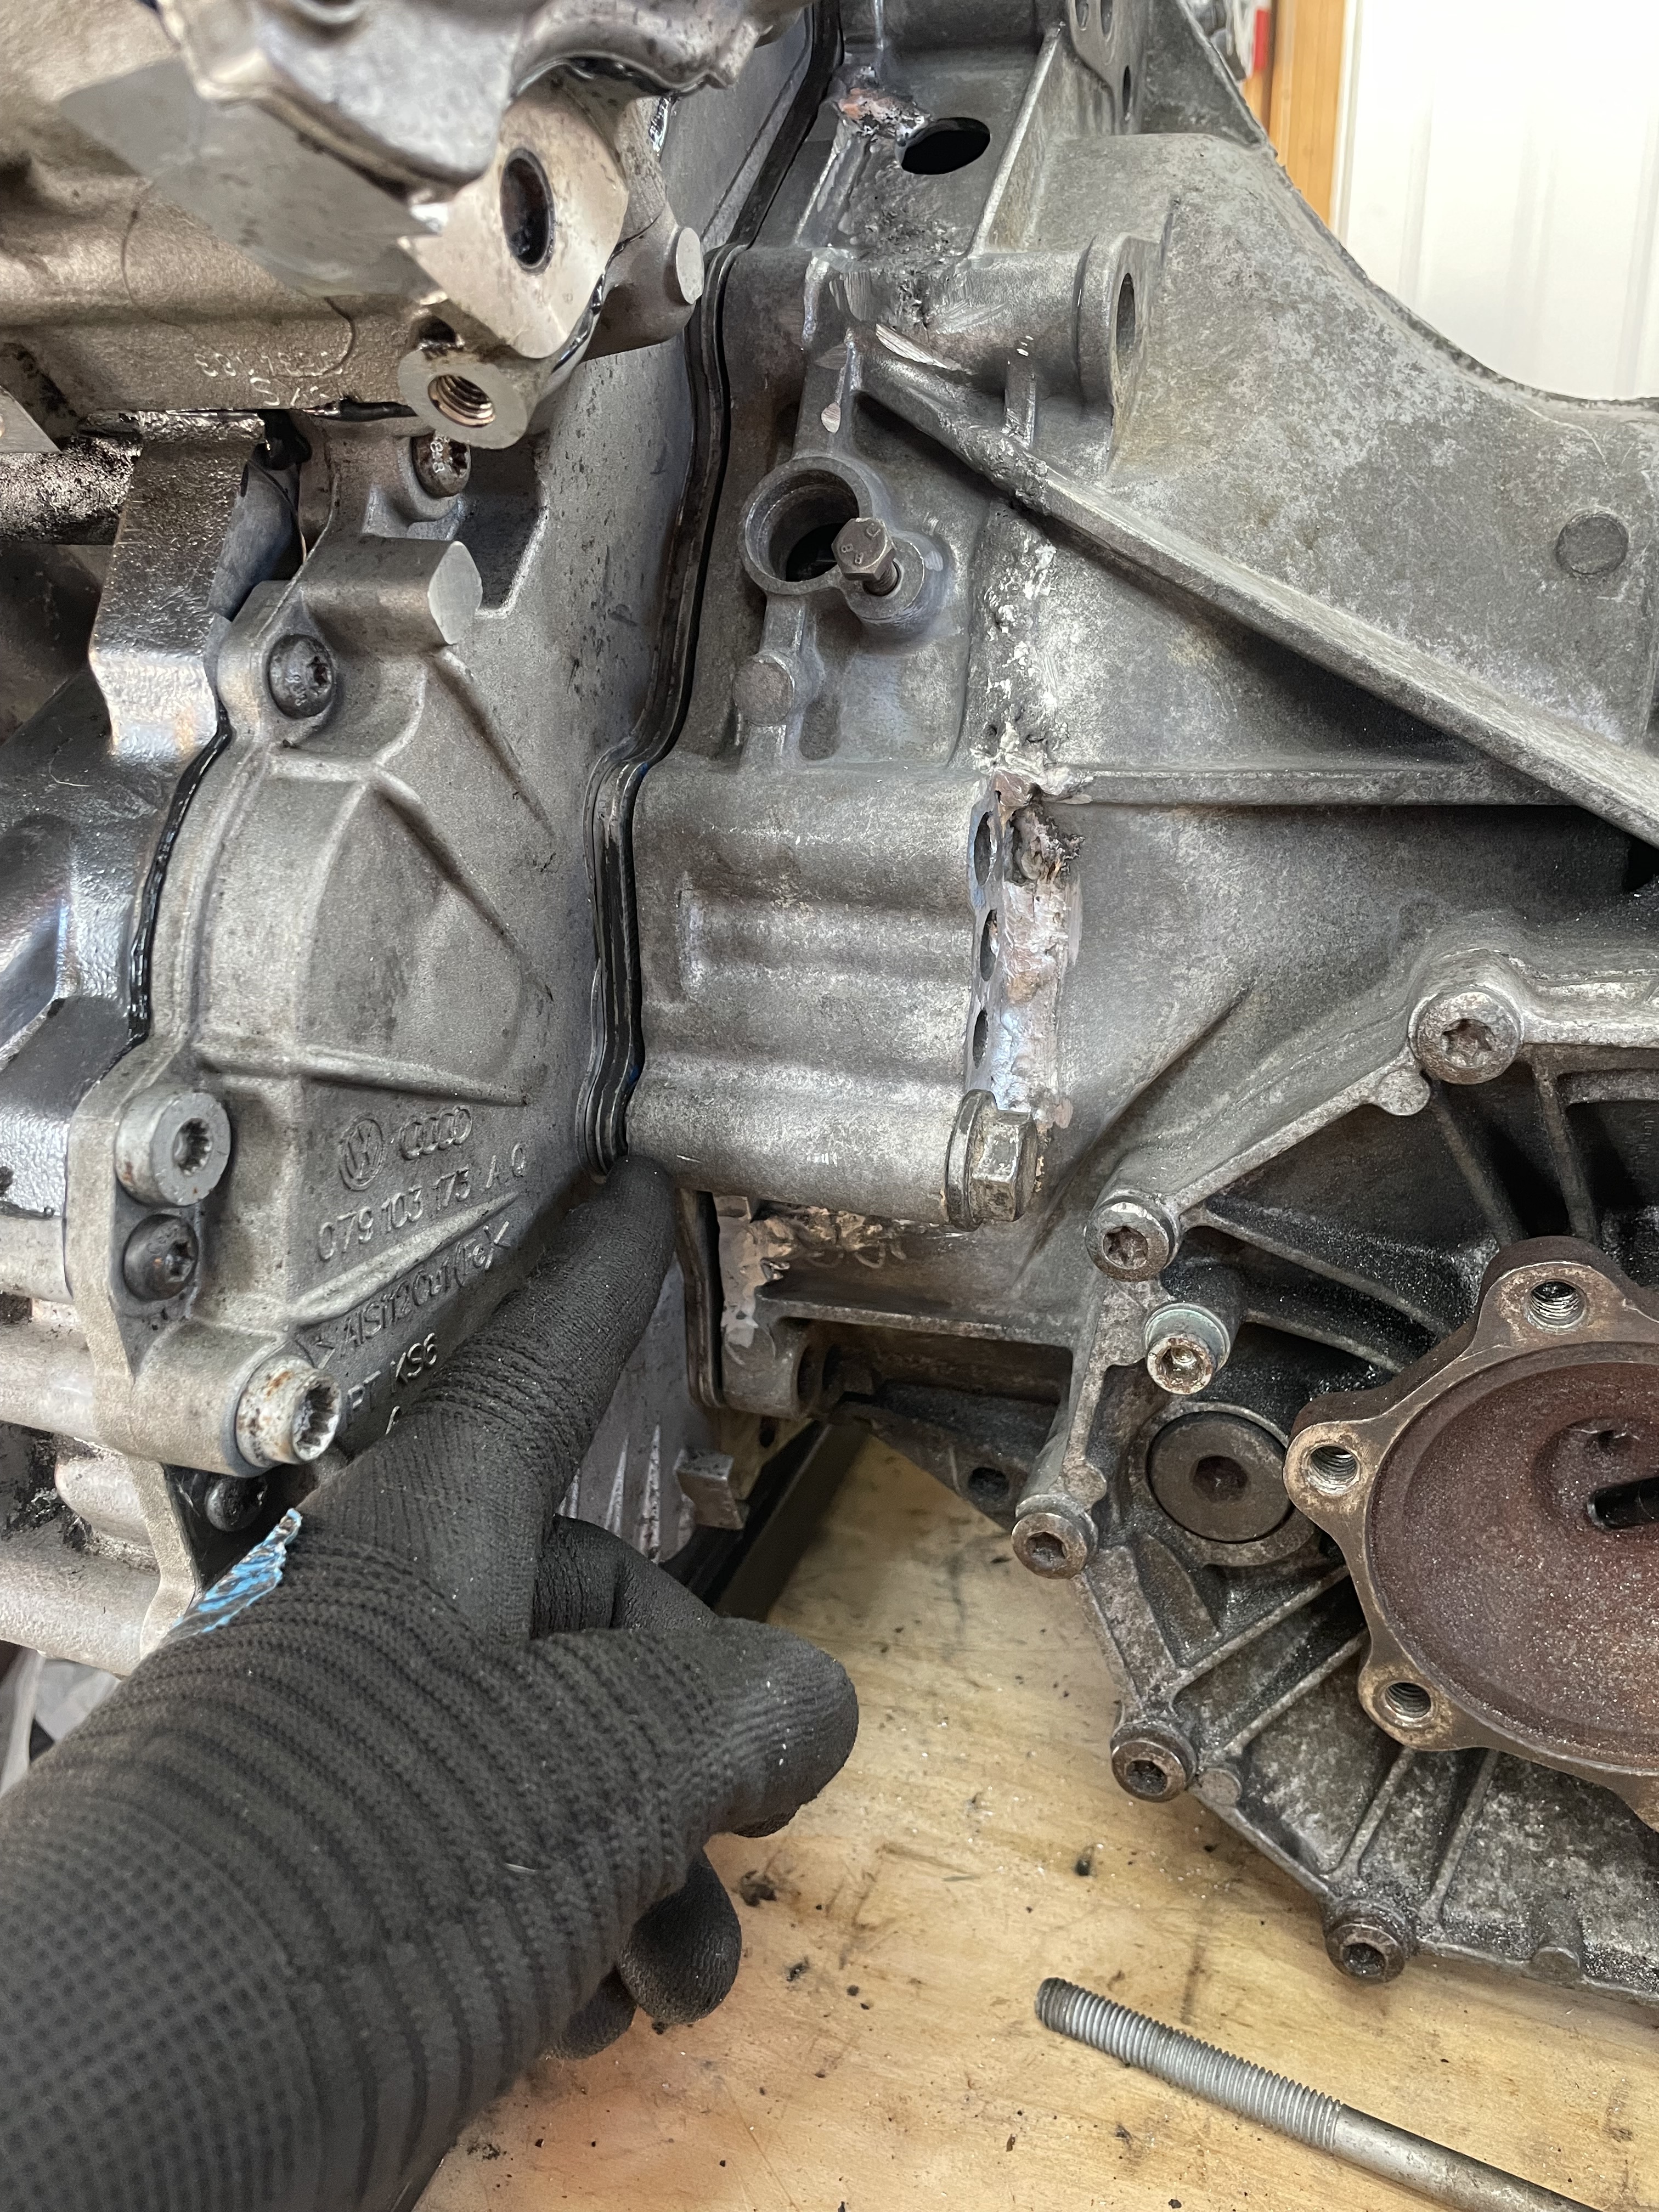
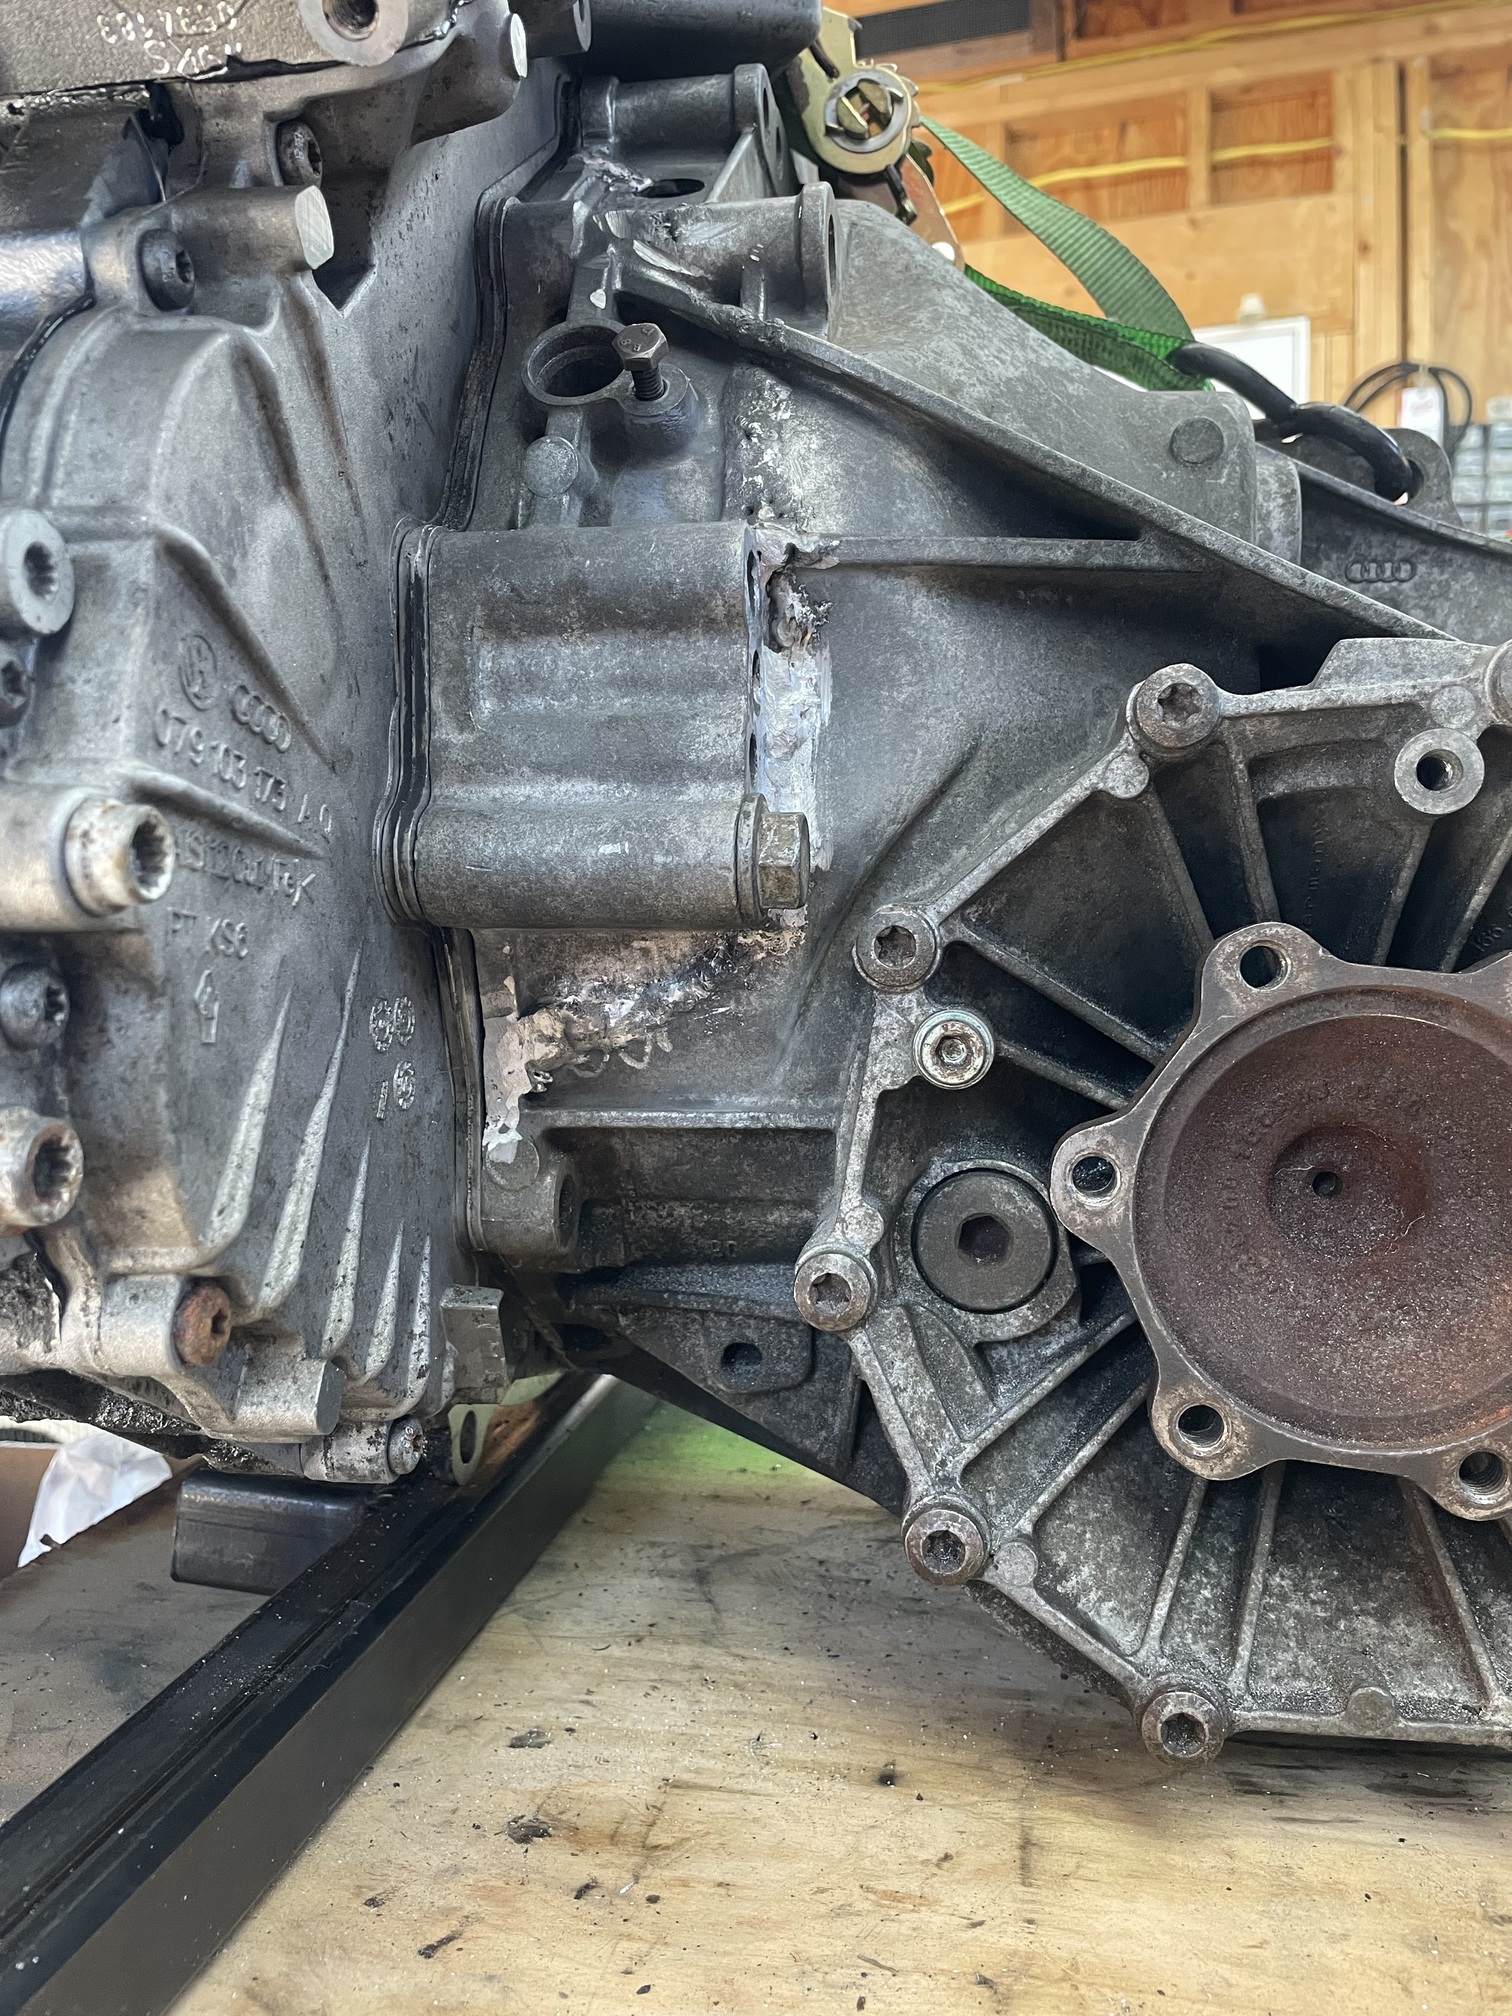
Added some more rod to the aluminum case repair. Cast aluminum isnt the best stuff to work with, but this seems to be a functional repair.
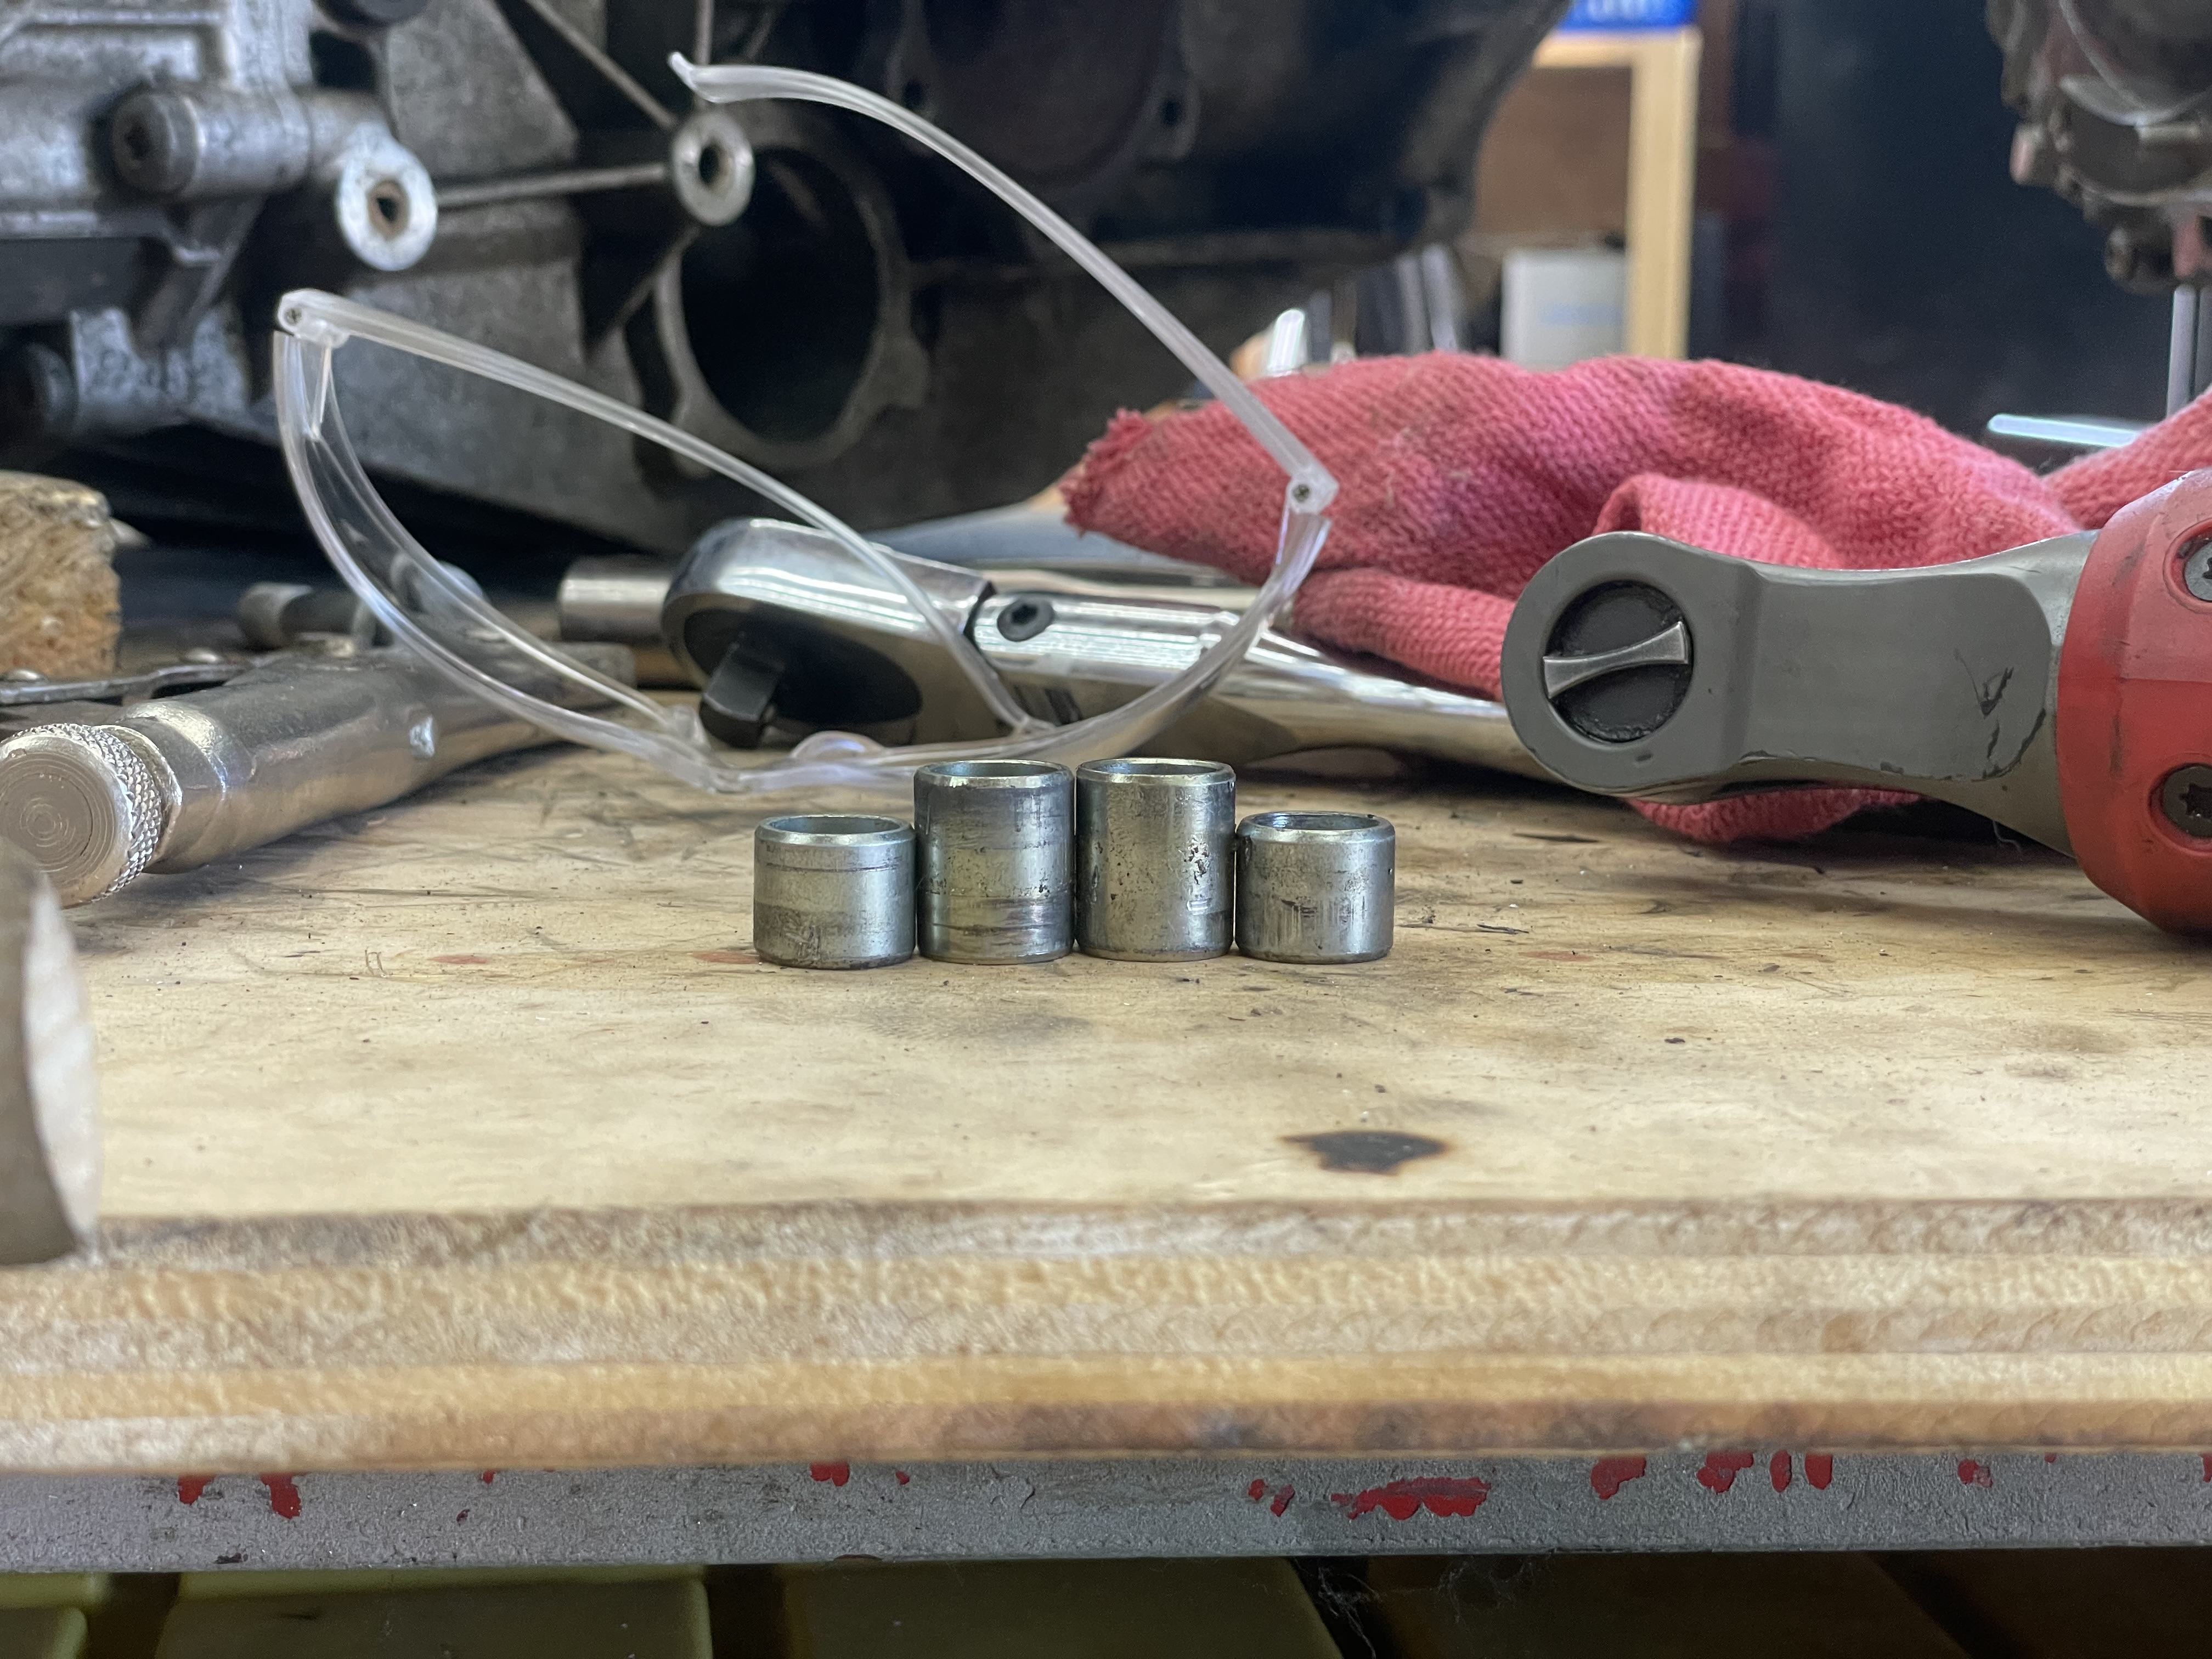
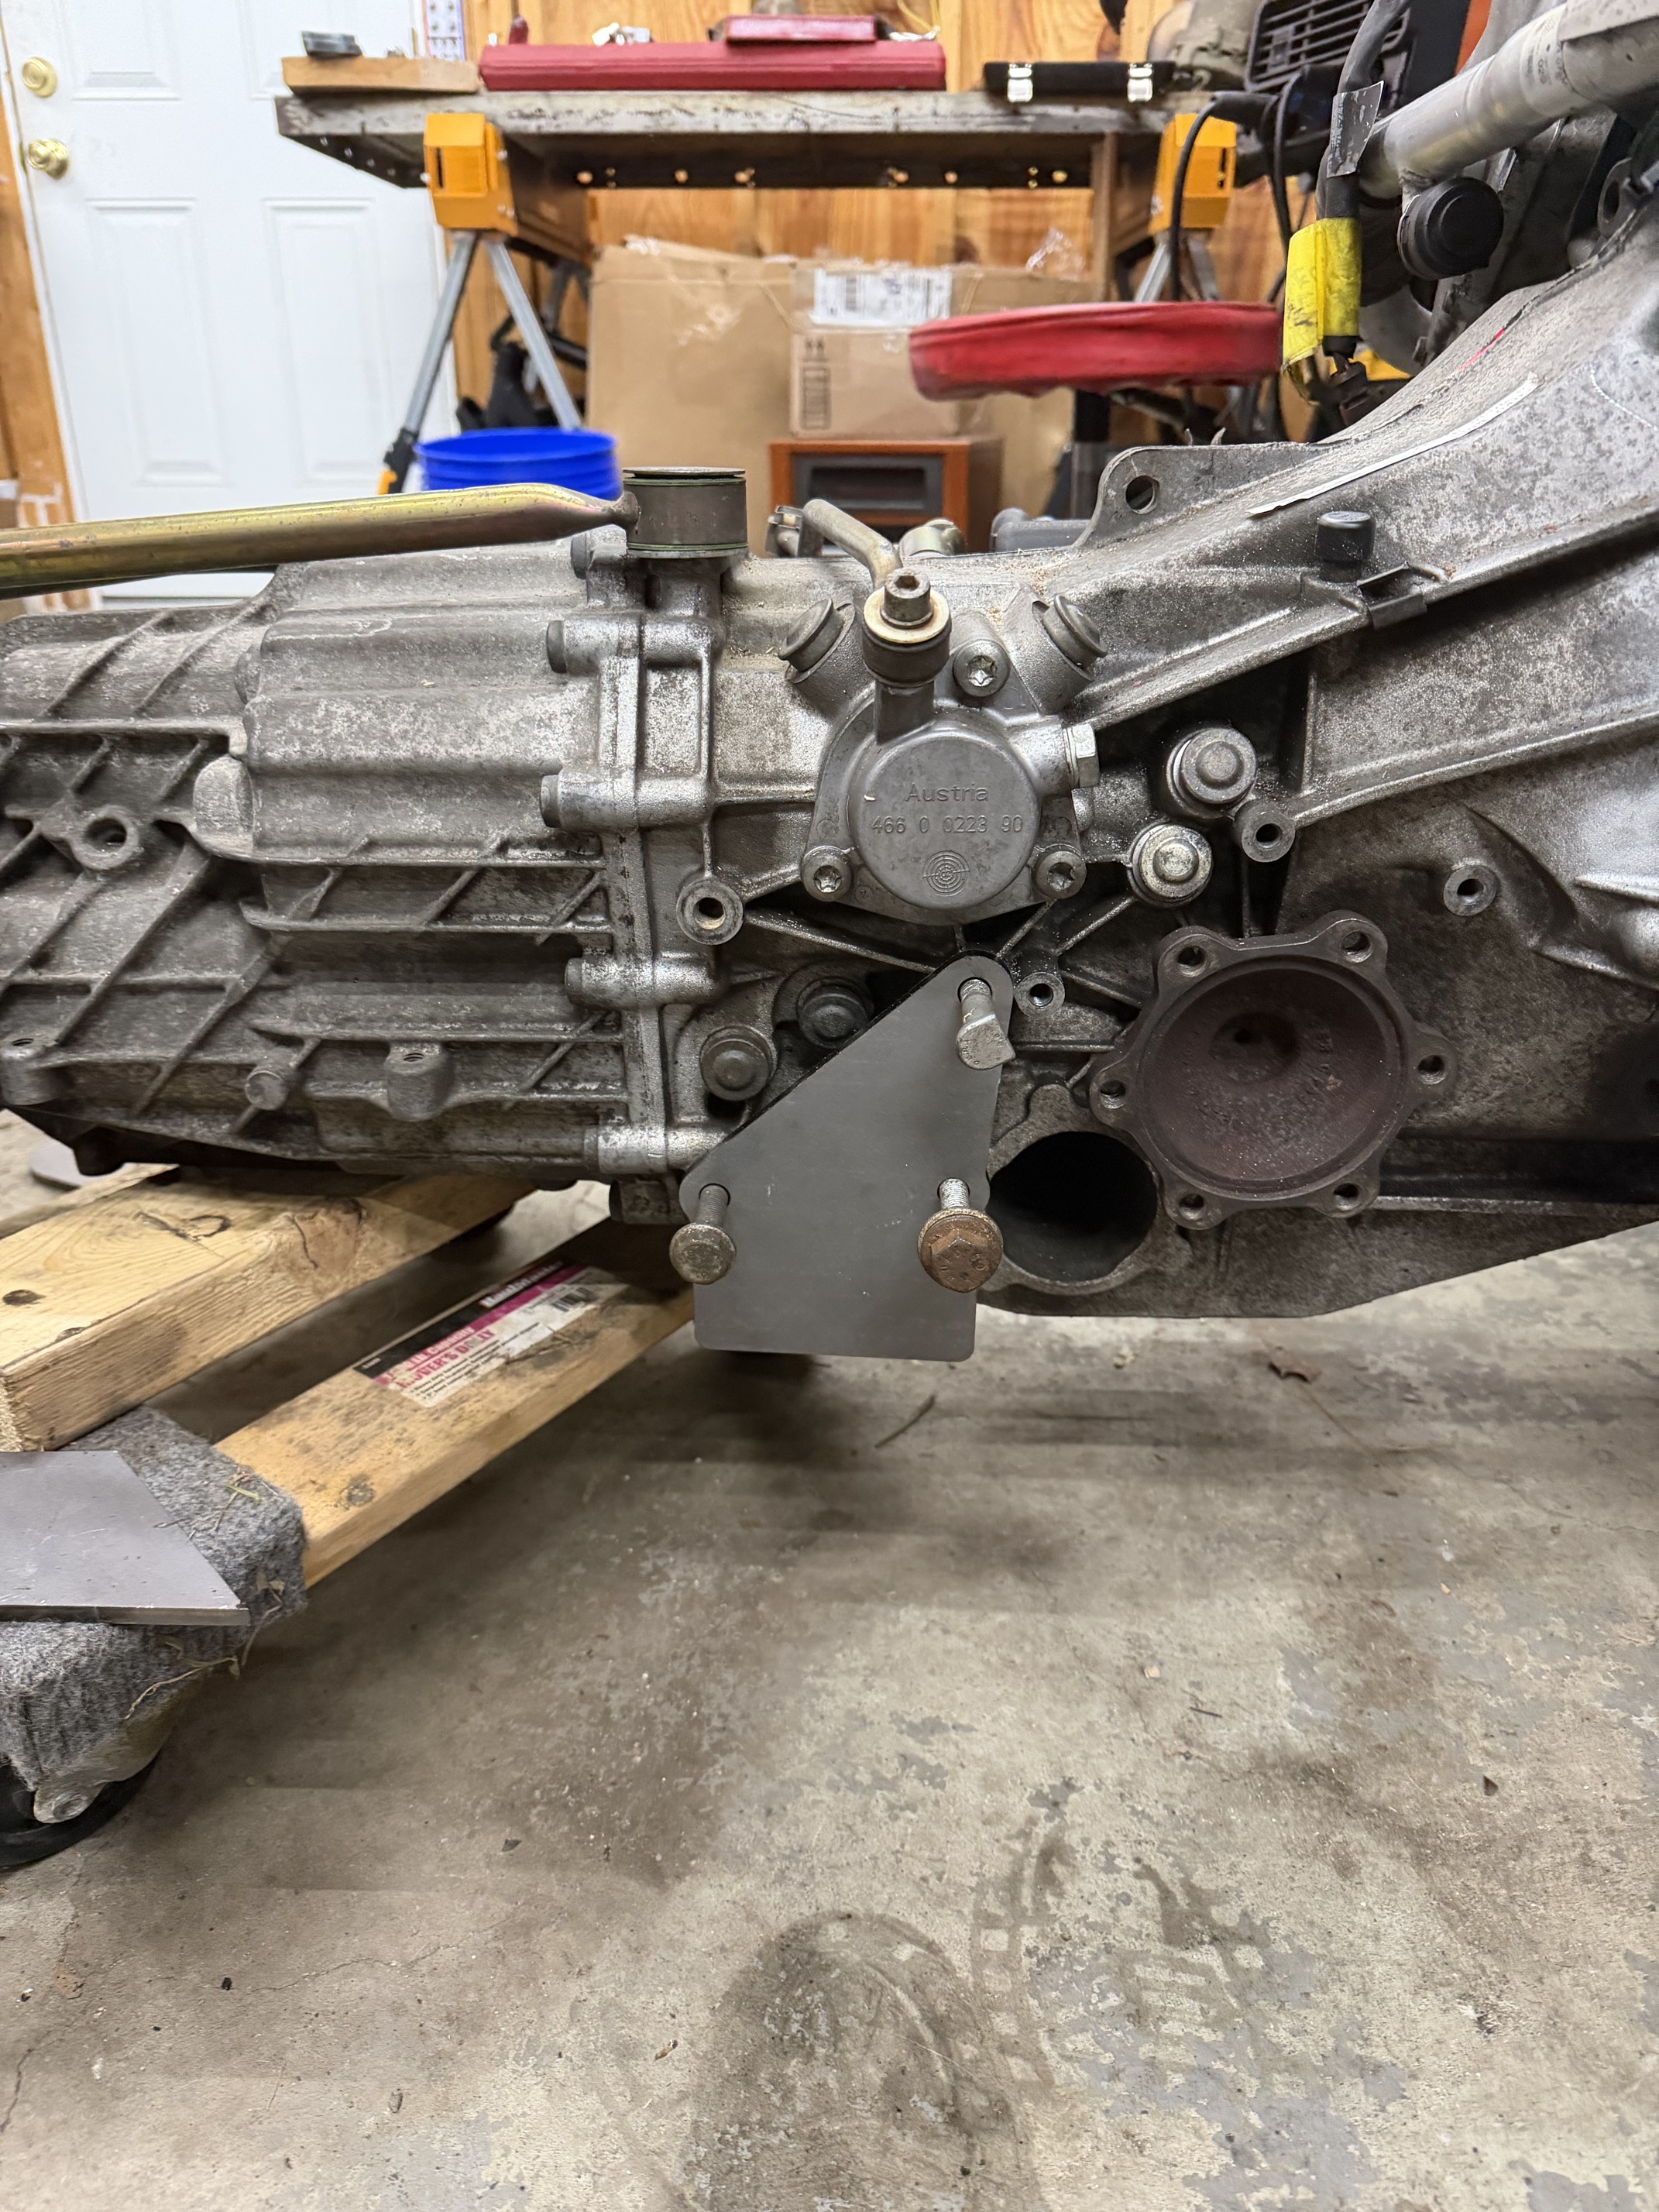
Swapped out the transmission alignment sleeves with some deeper ones I had laying around. Should make life a little easier with using the 5.5mm spacer.
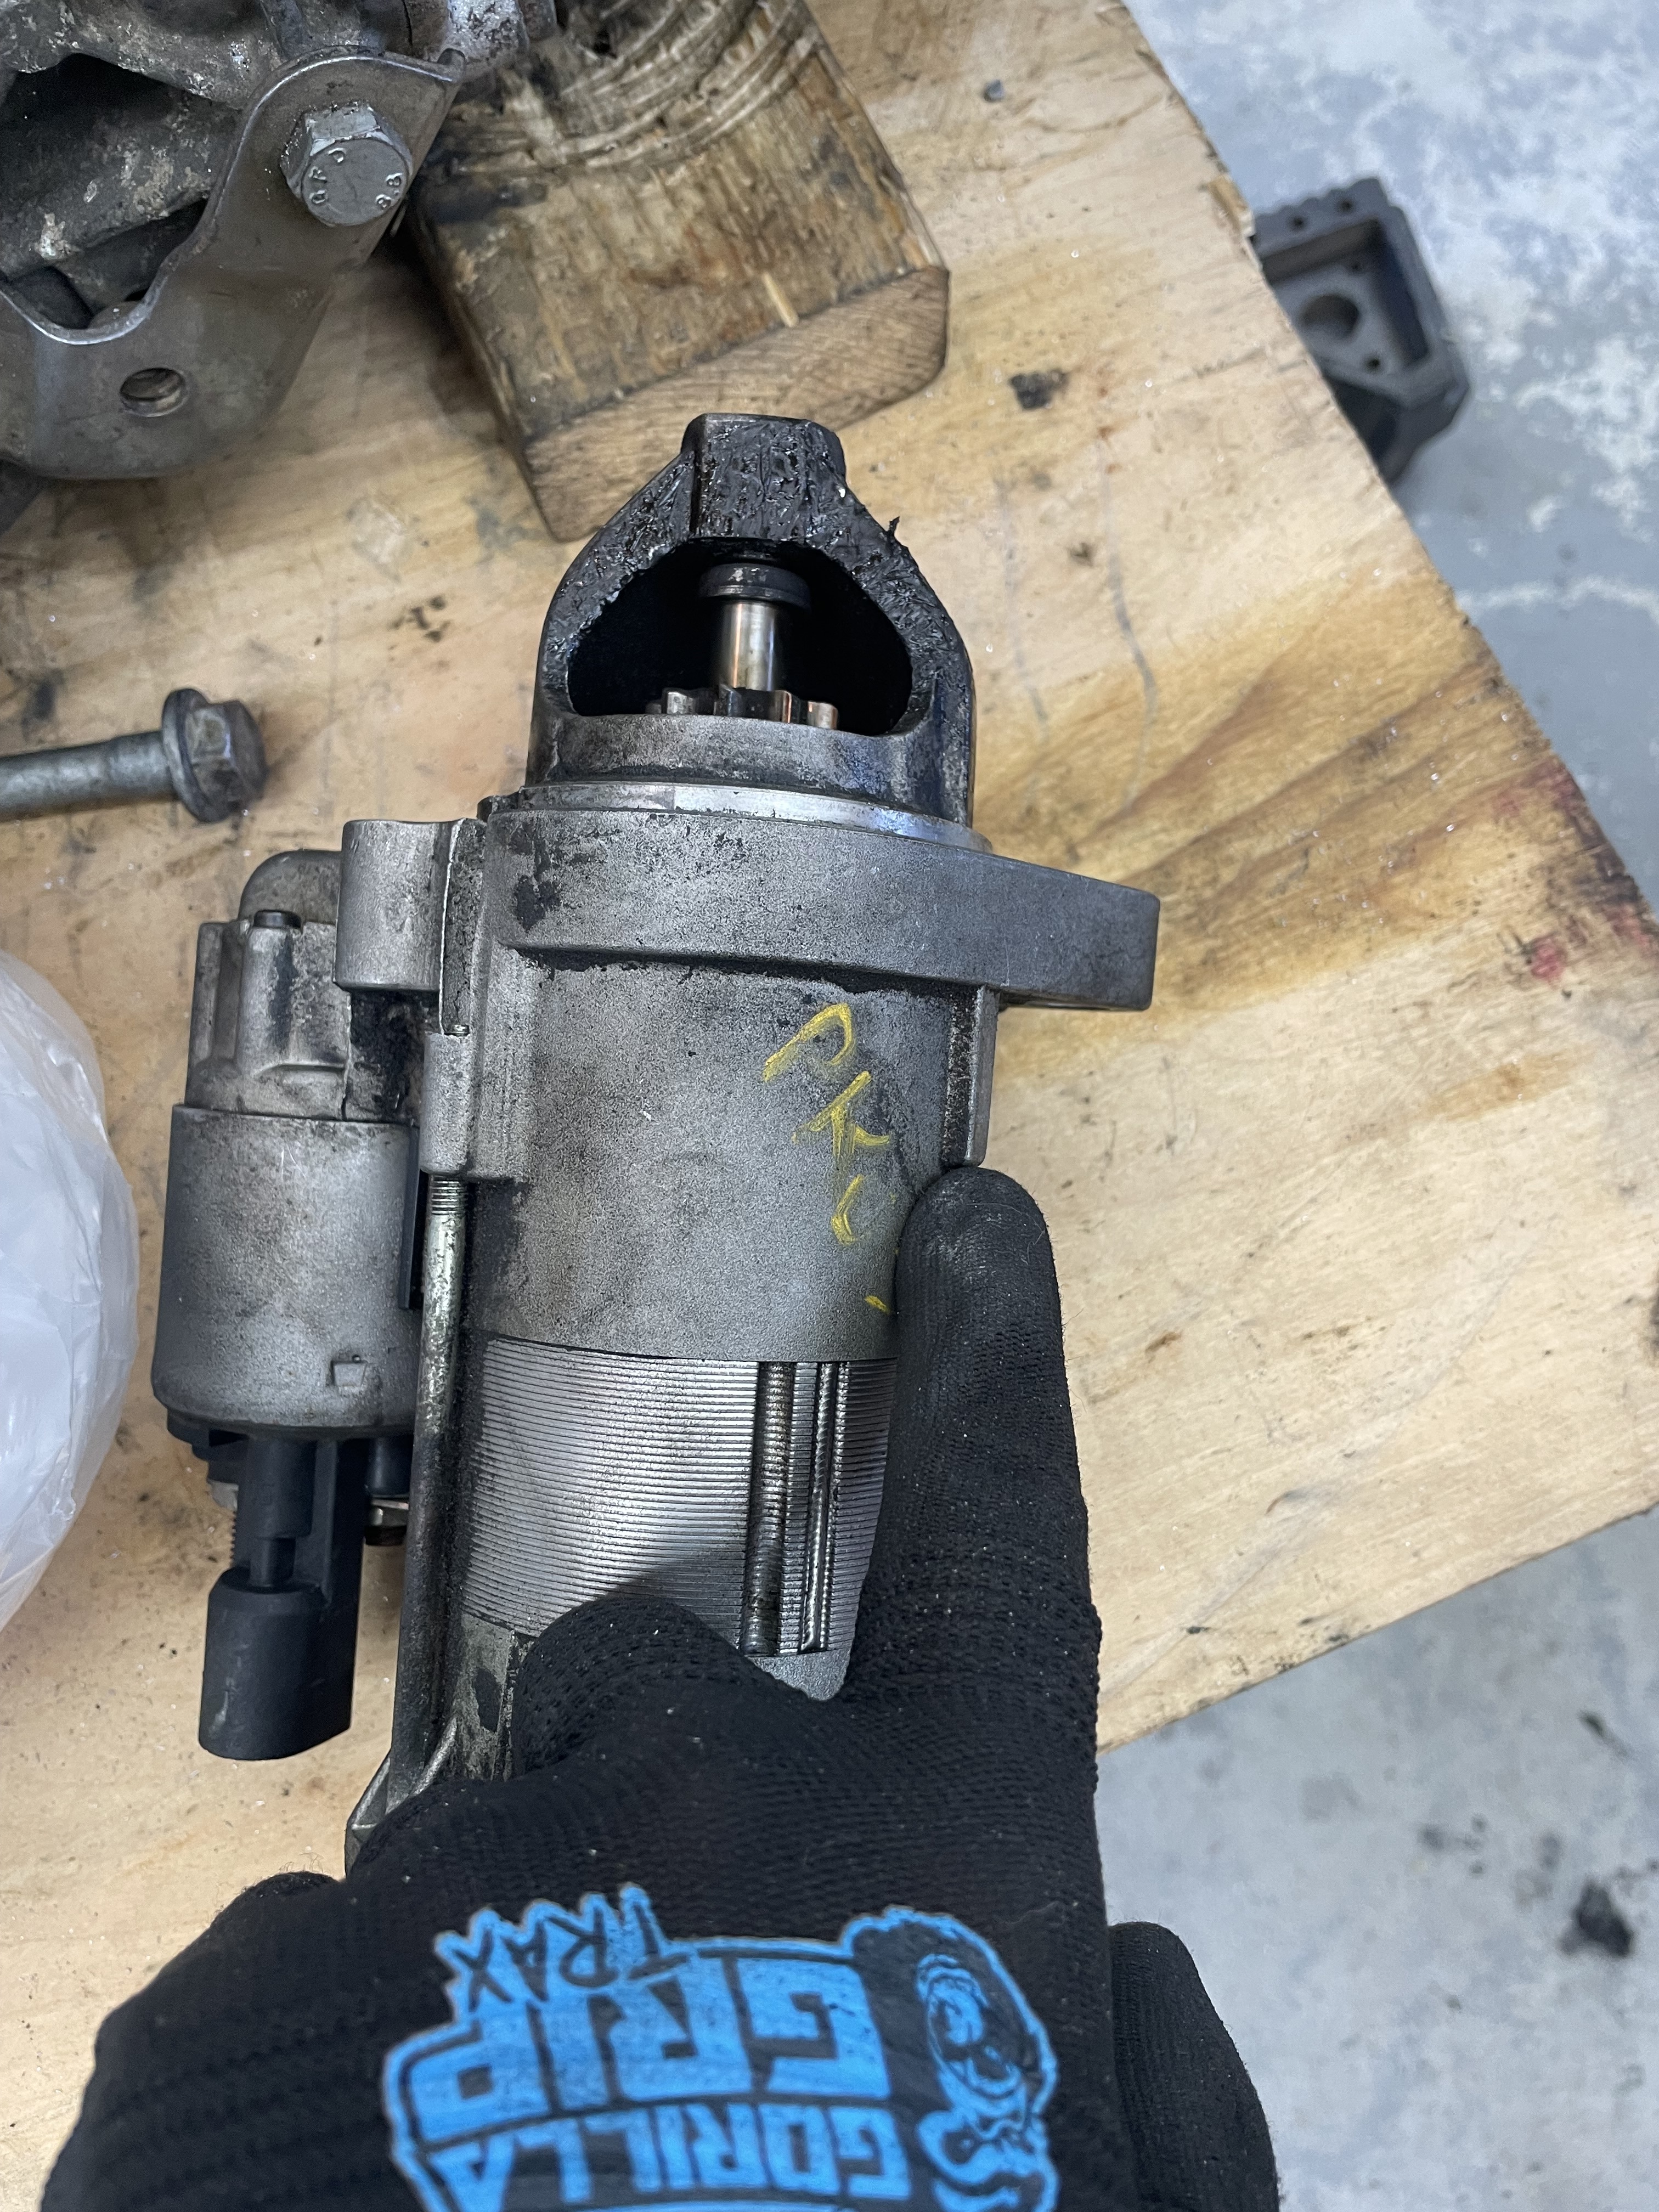
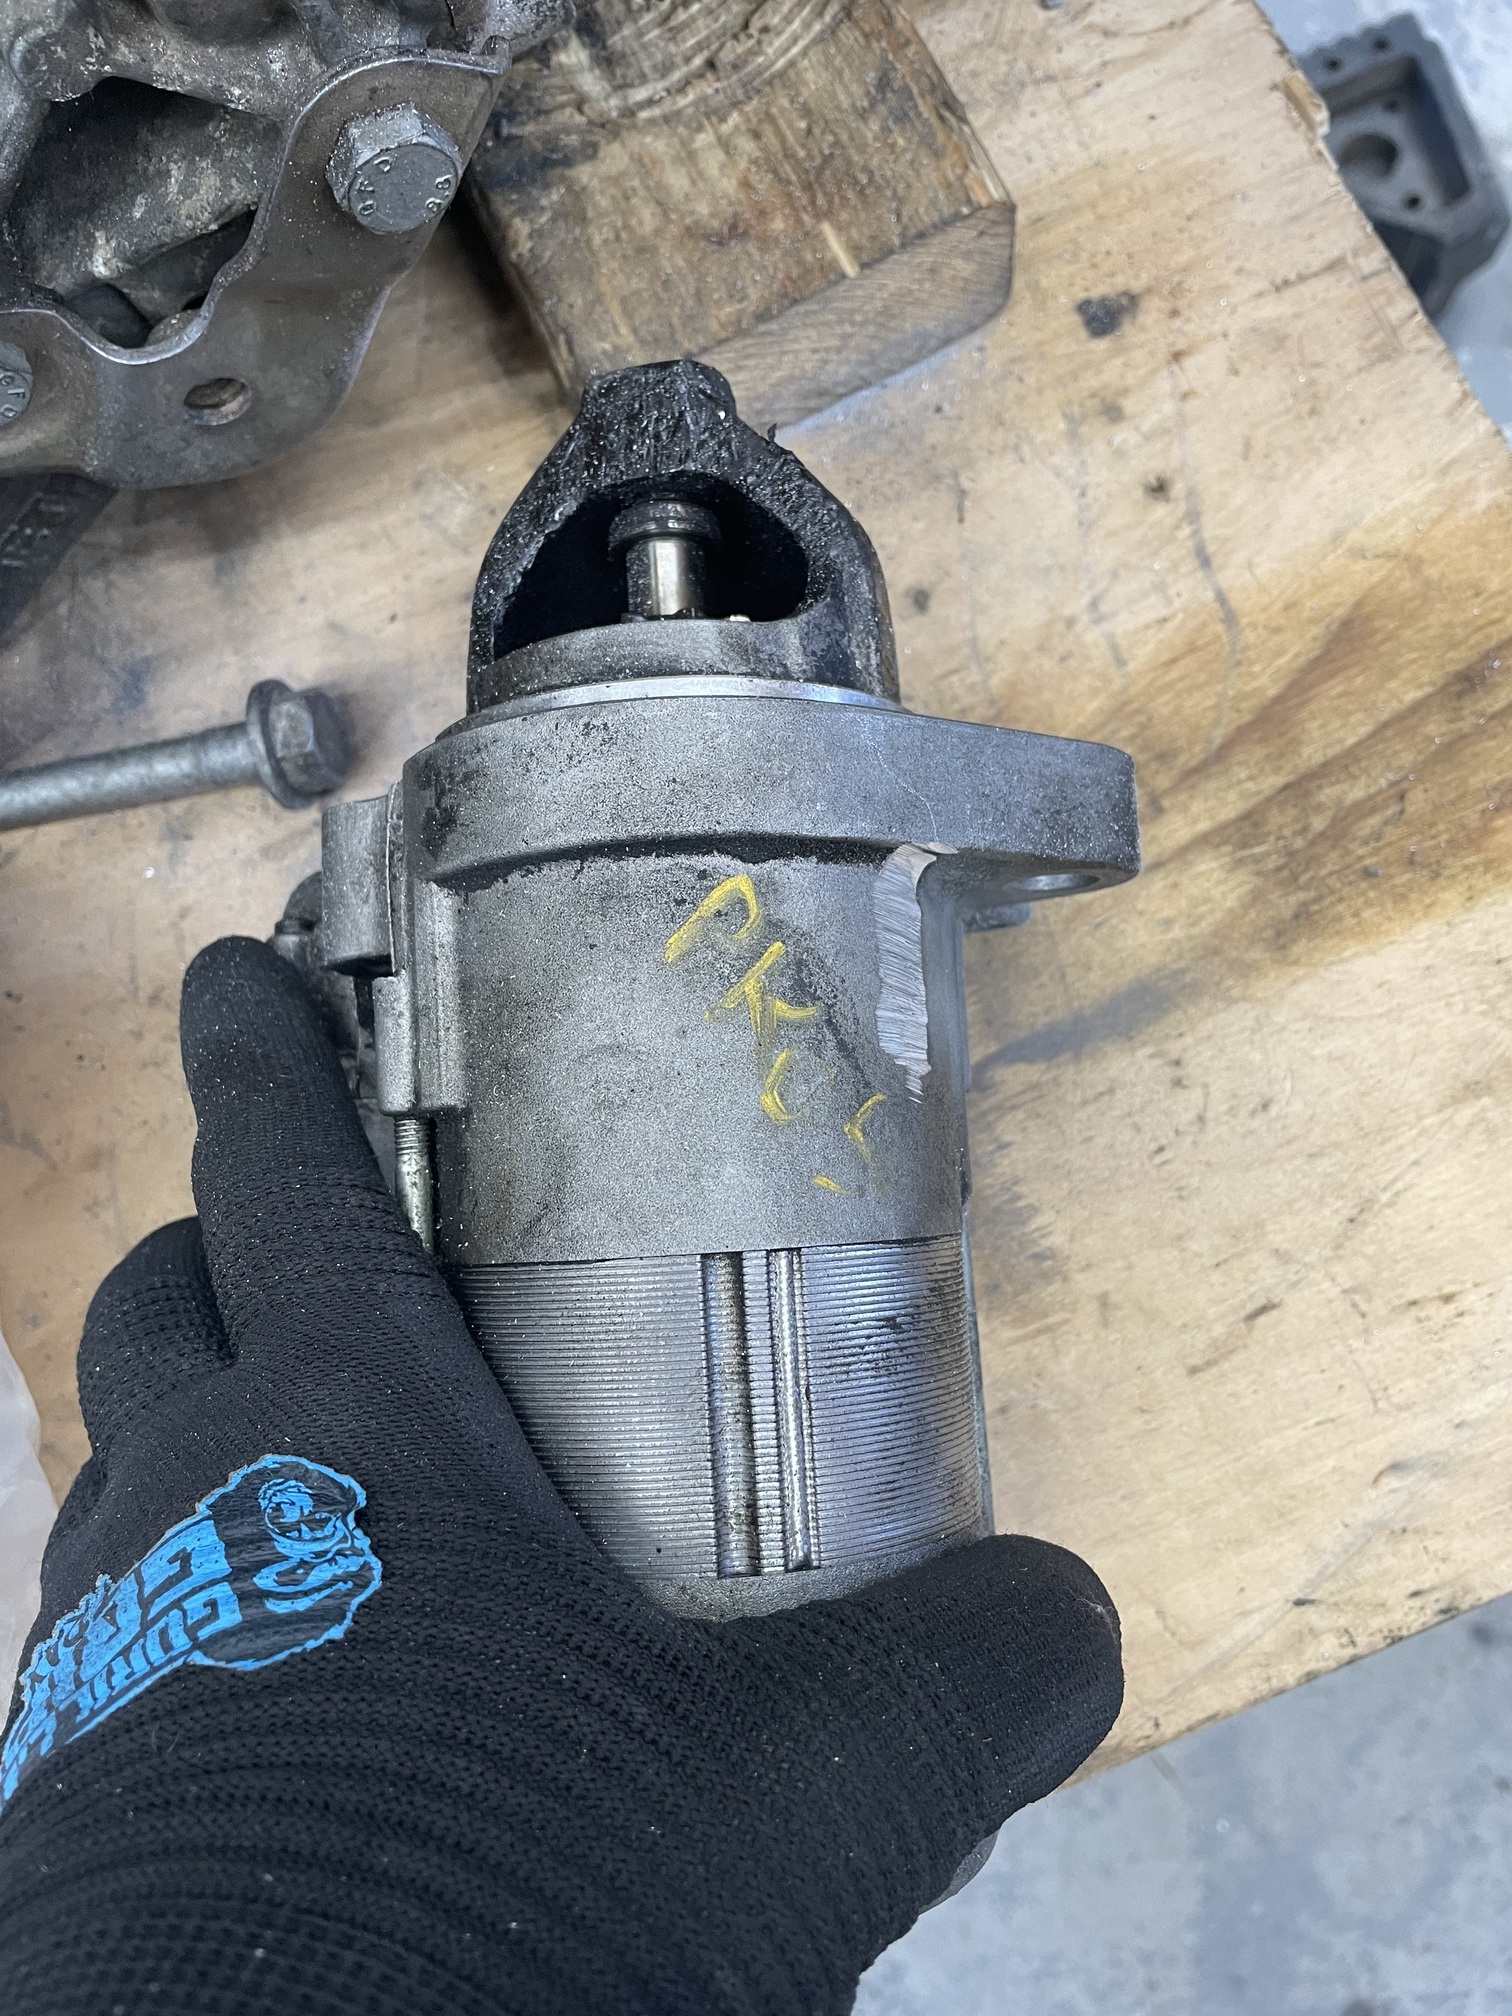
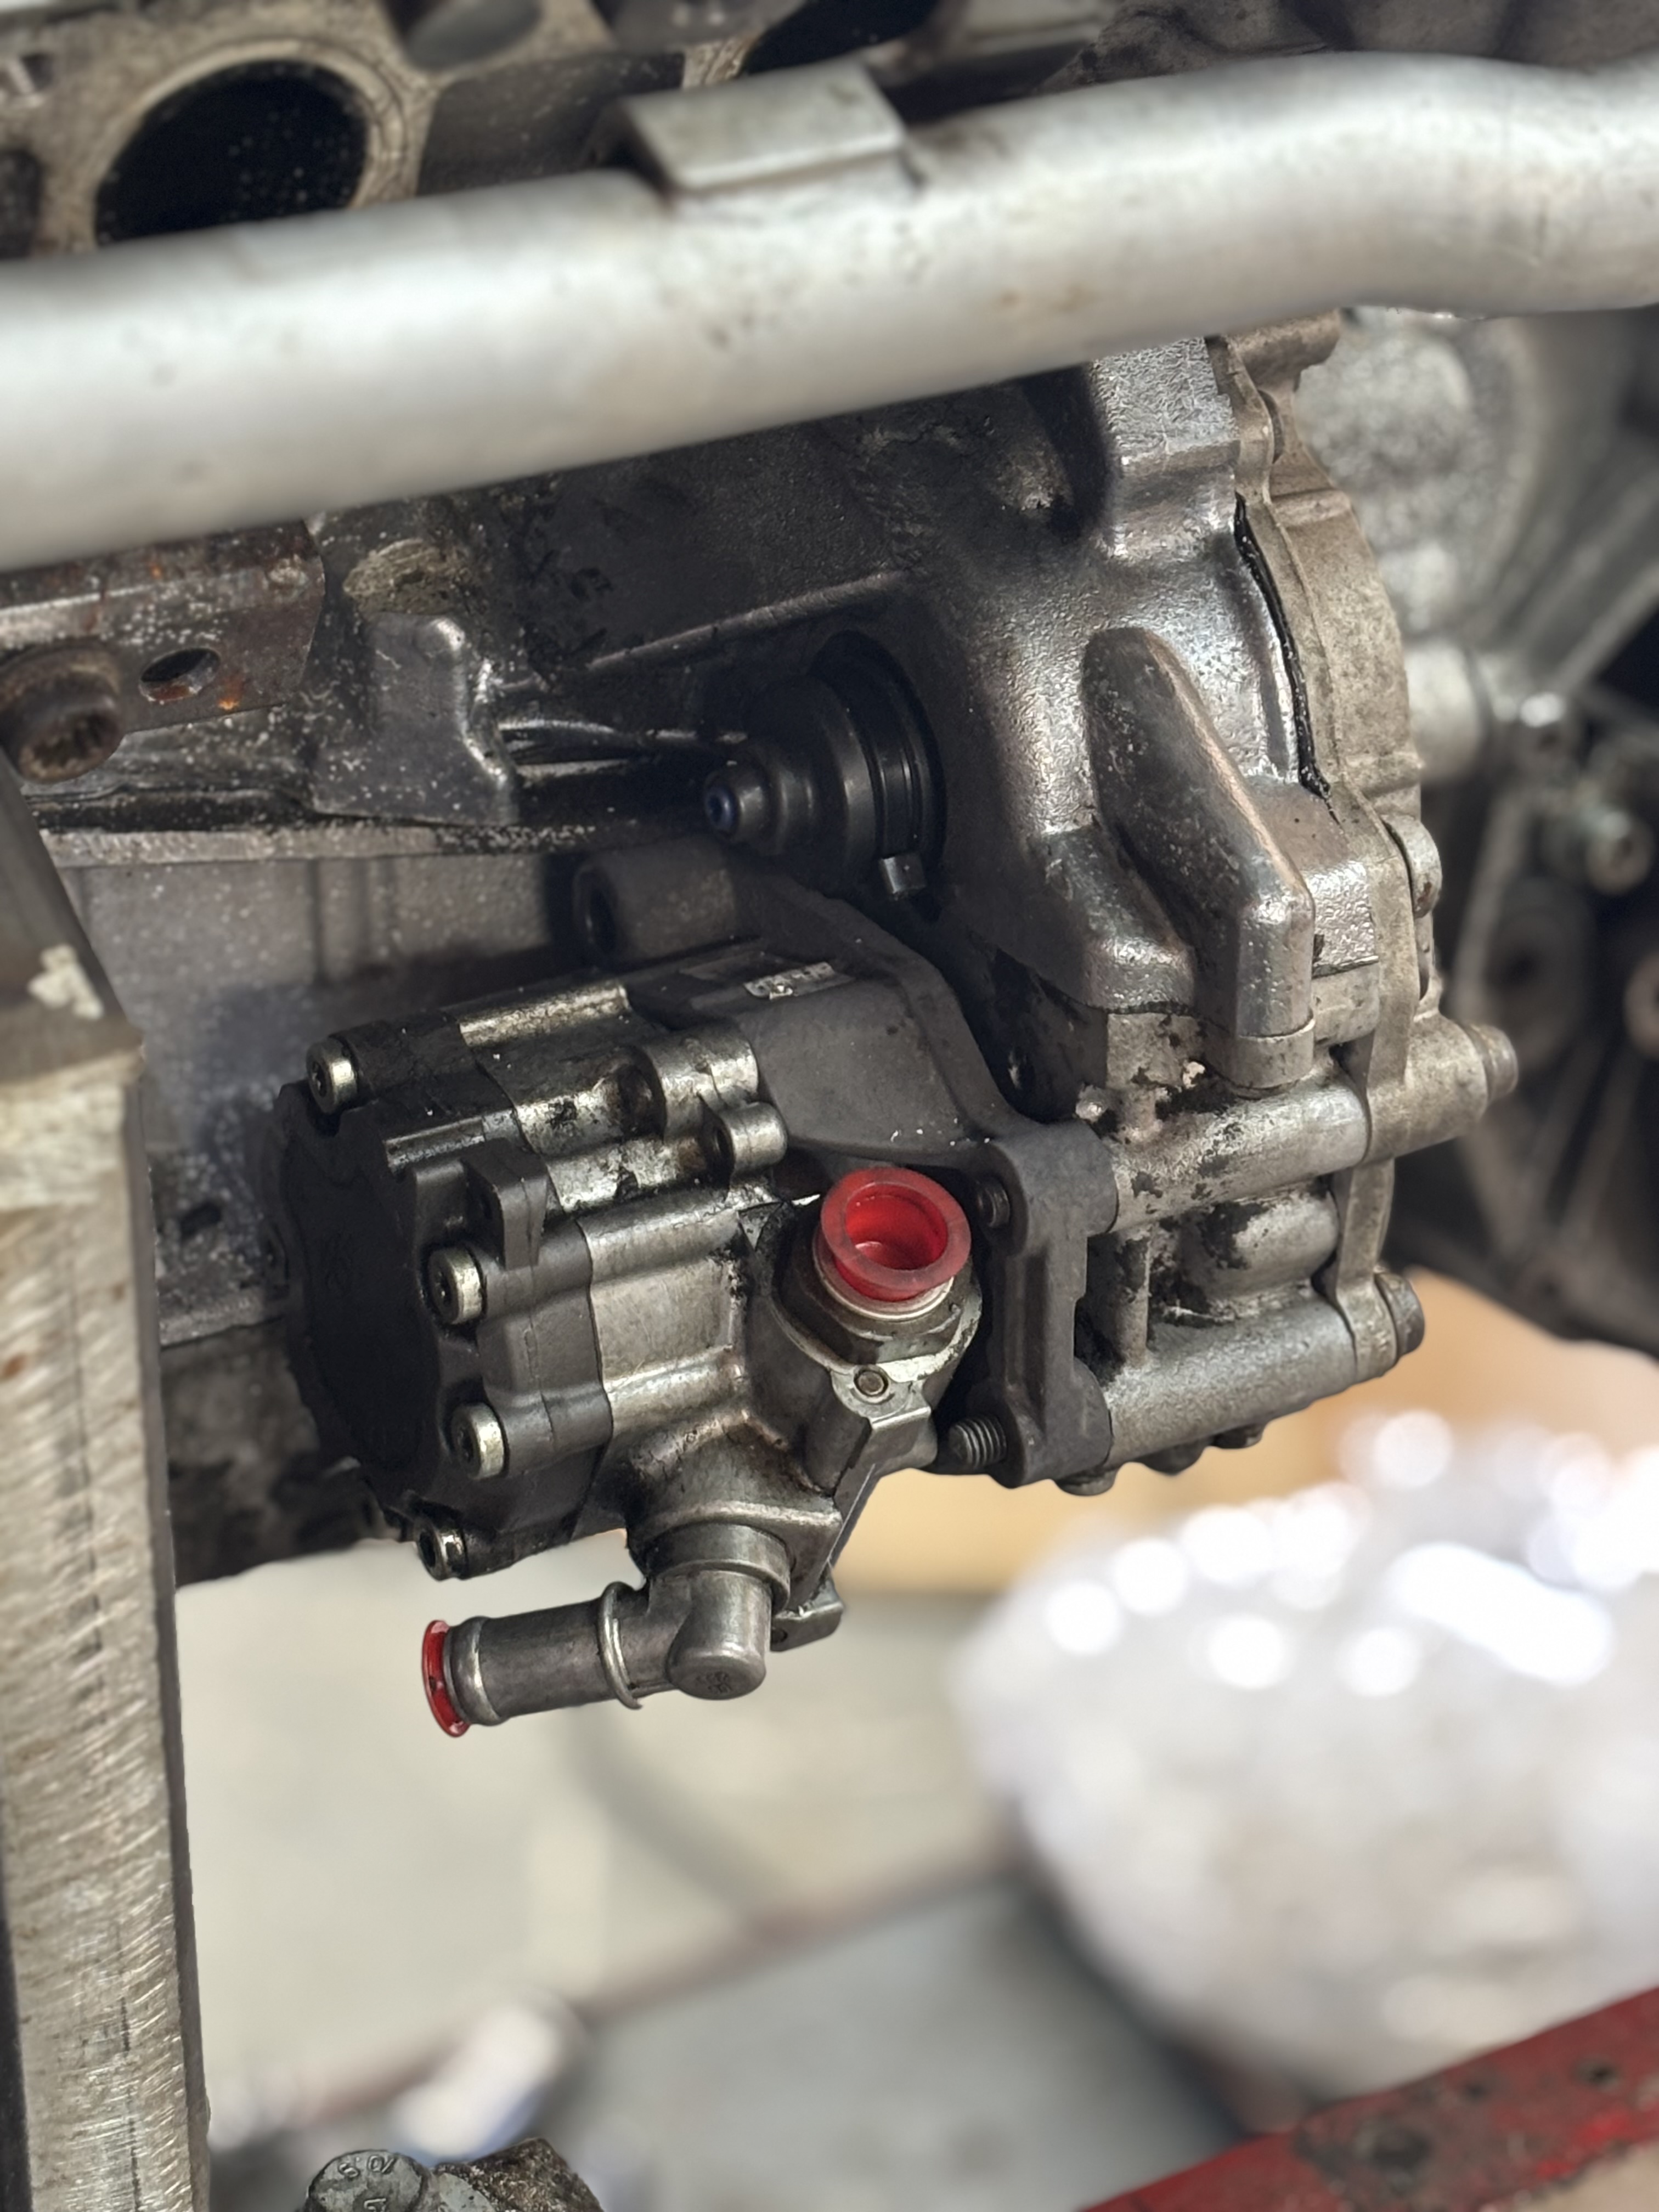
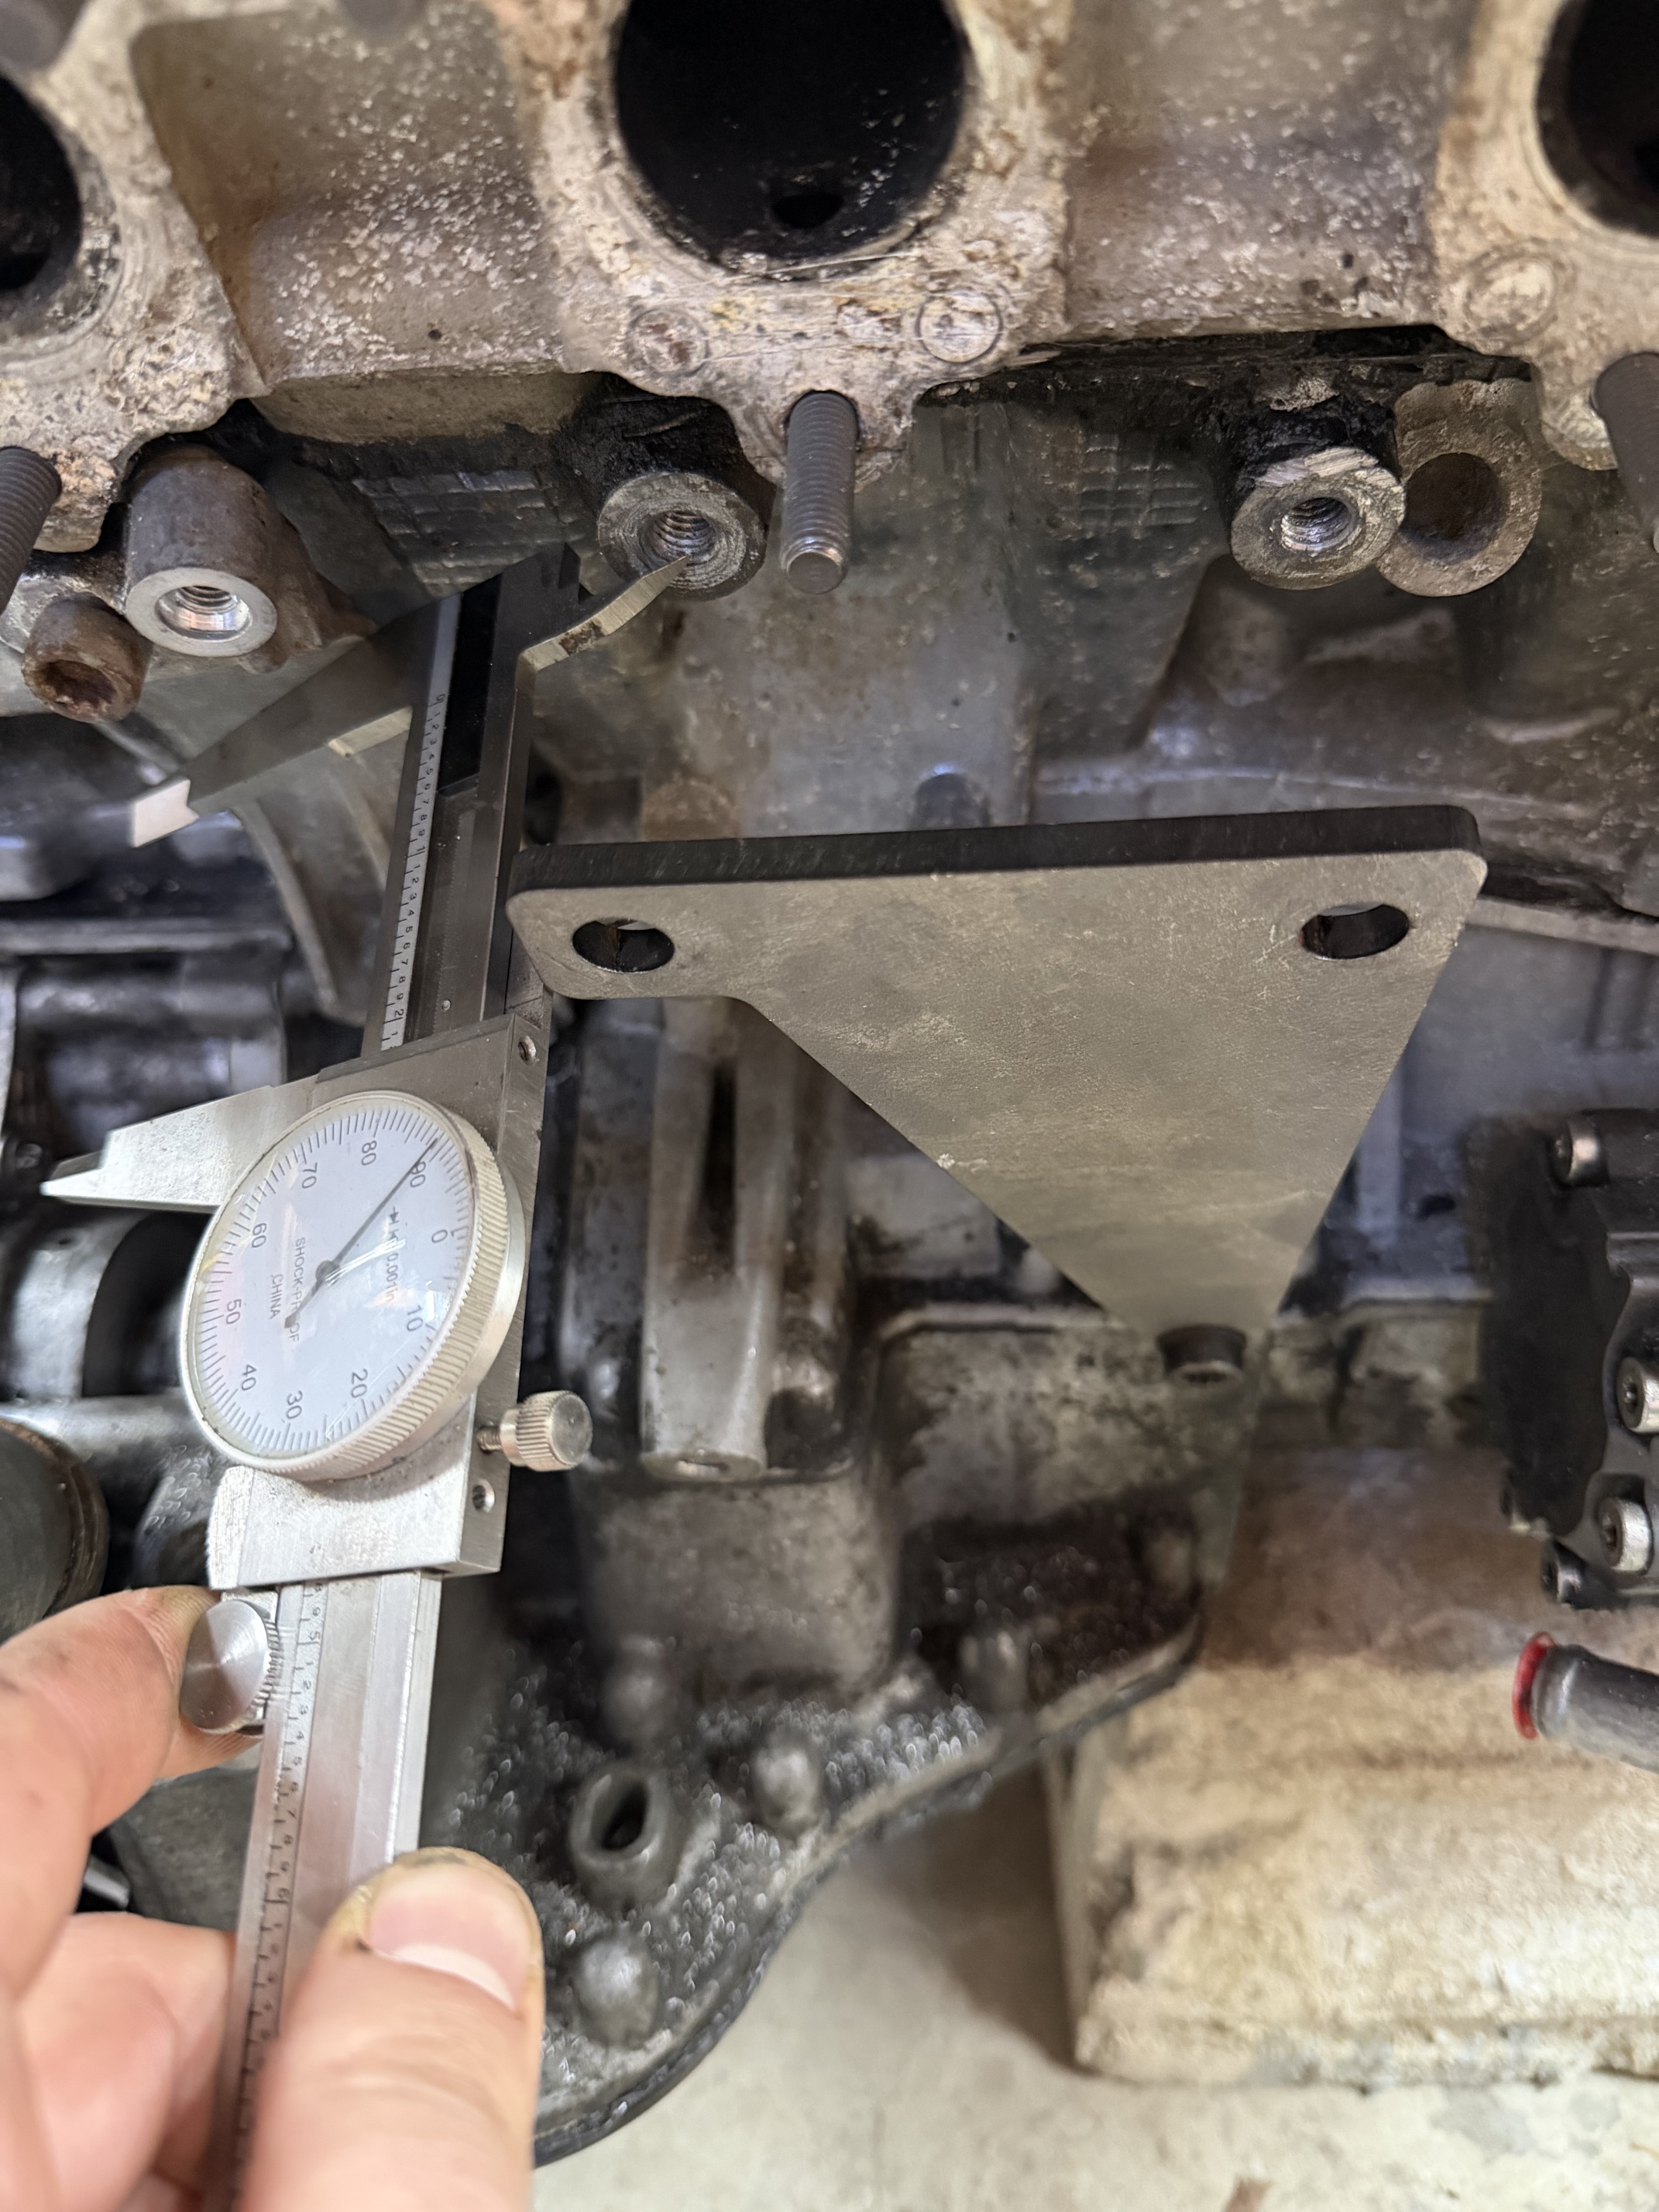
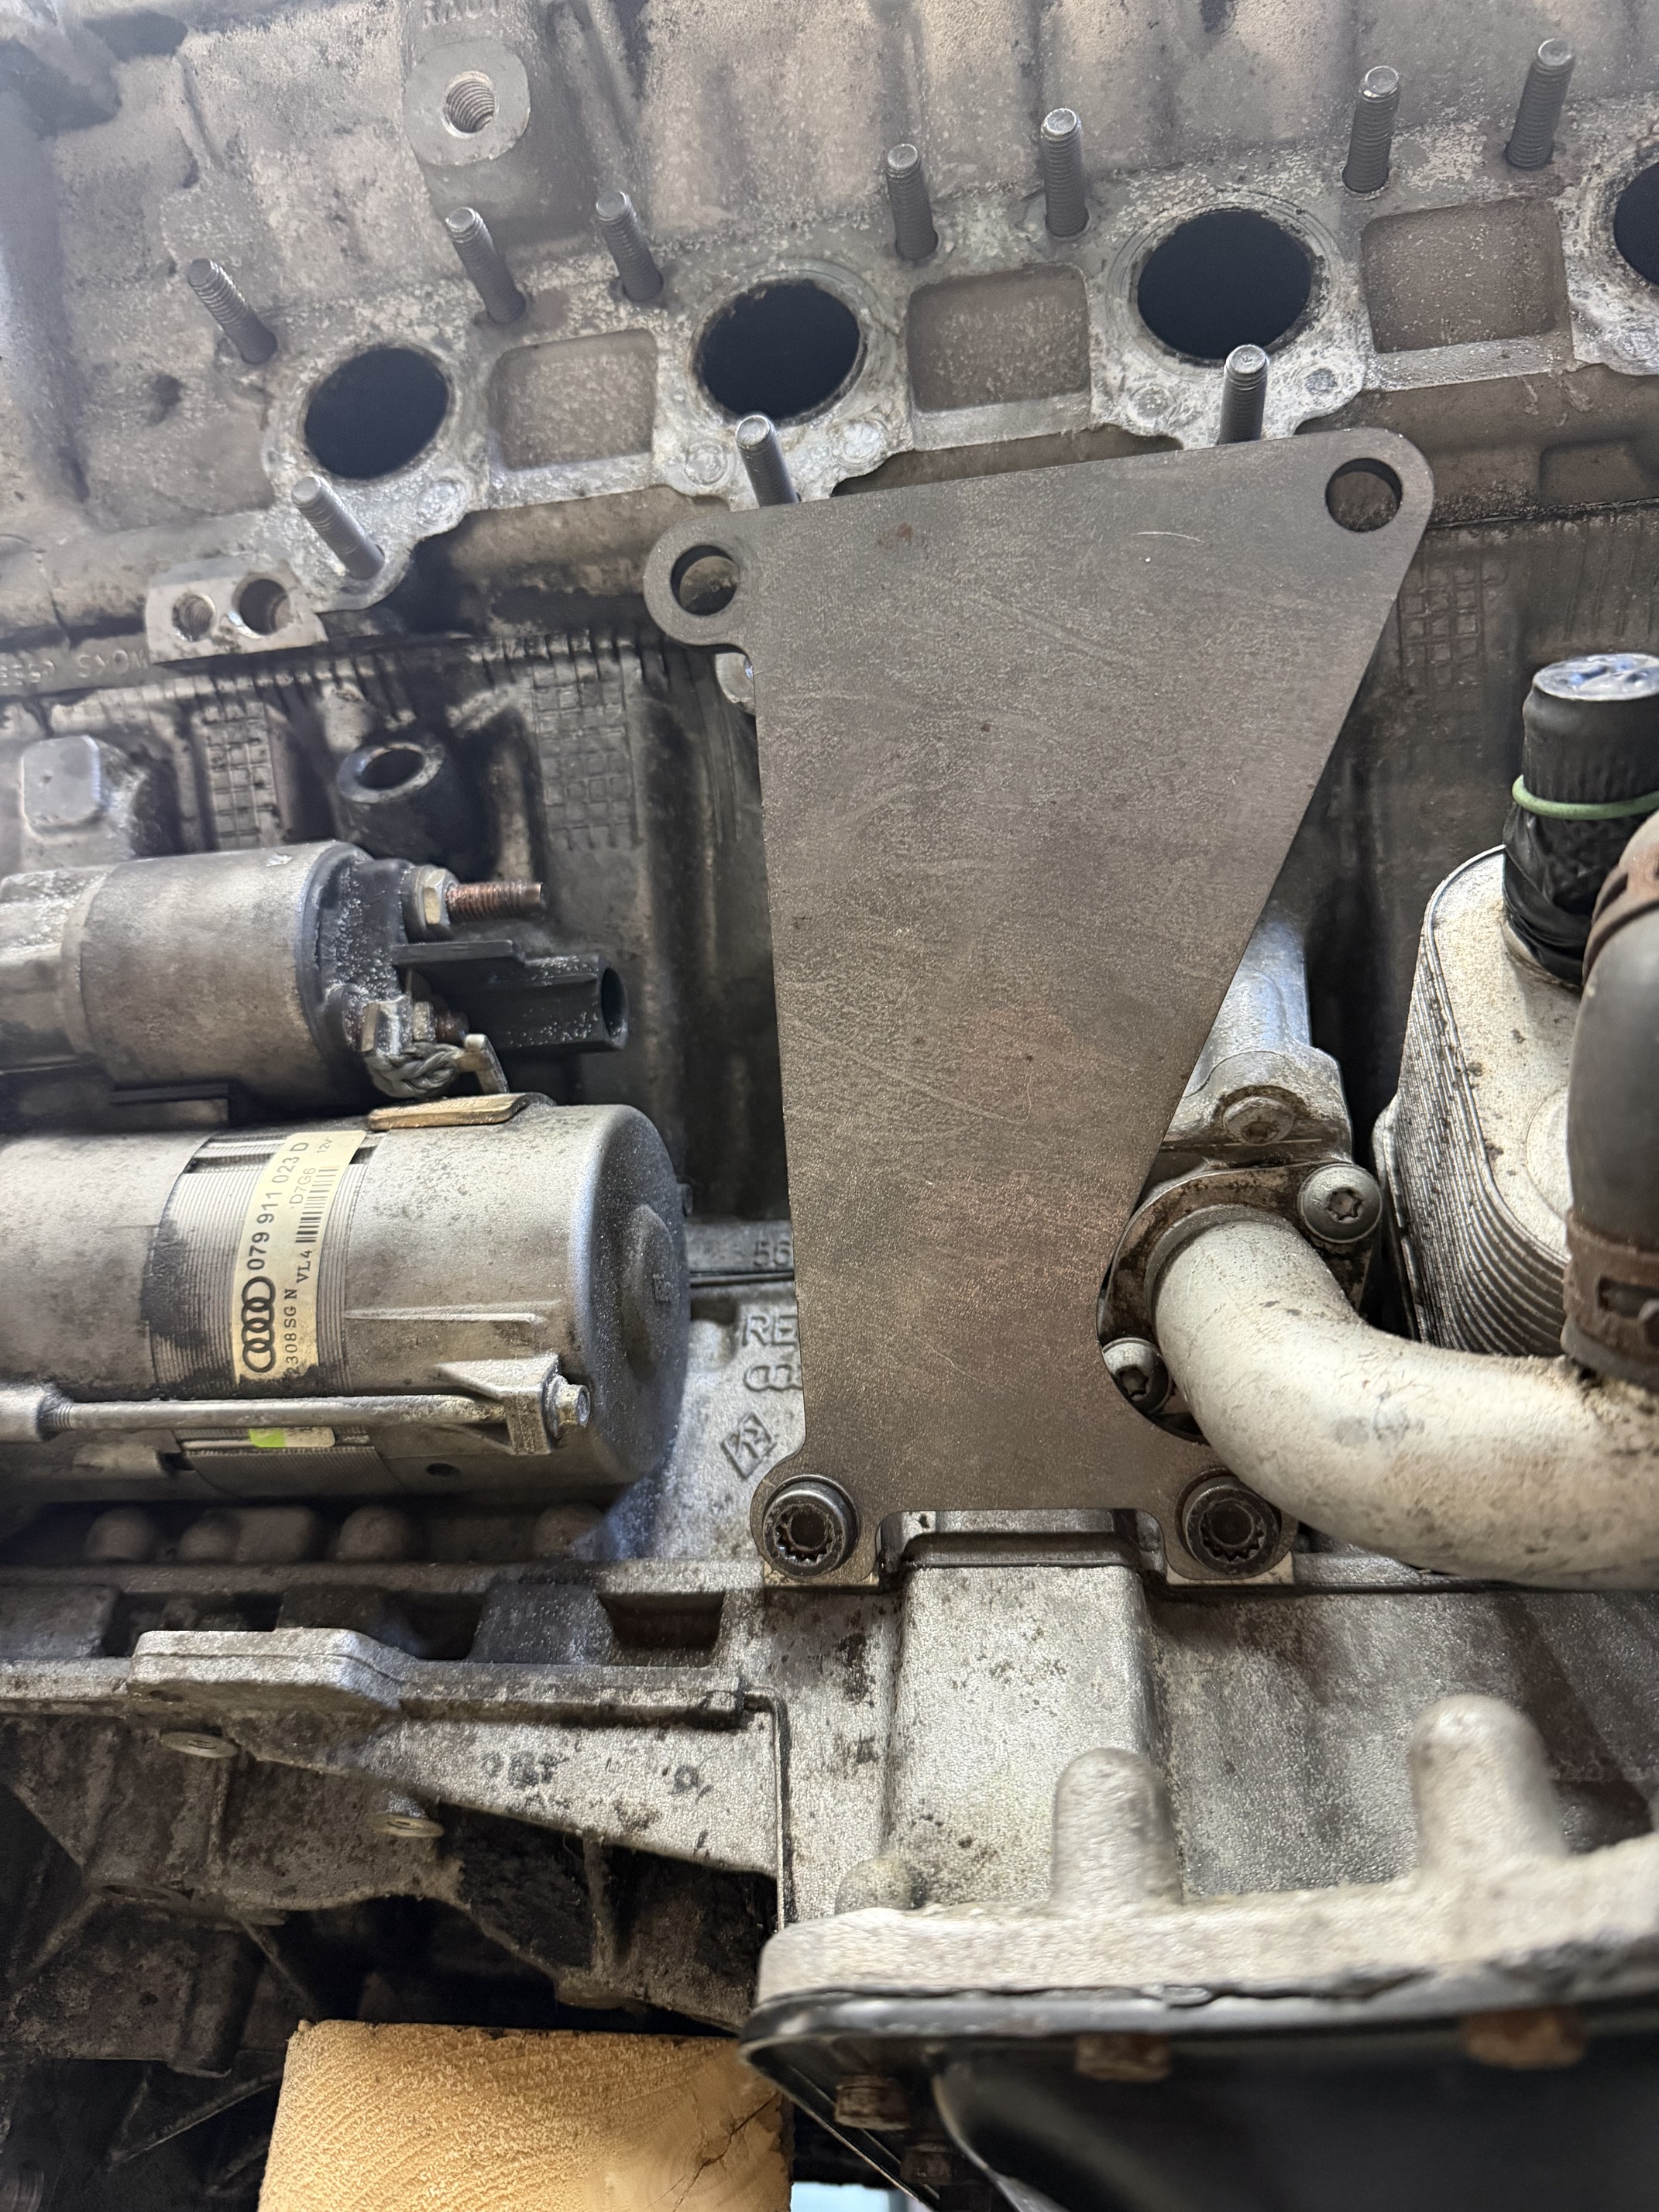
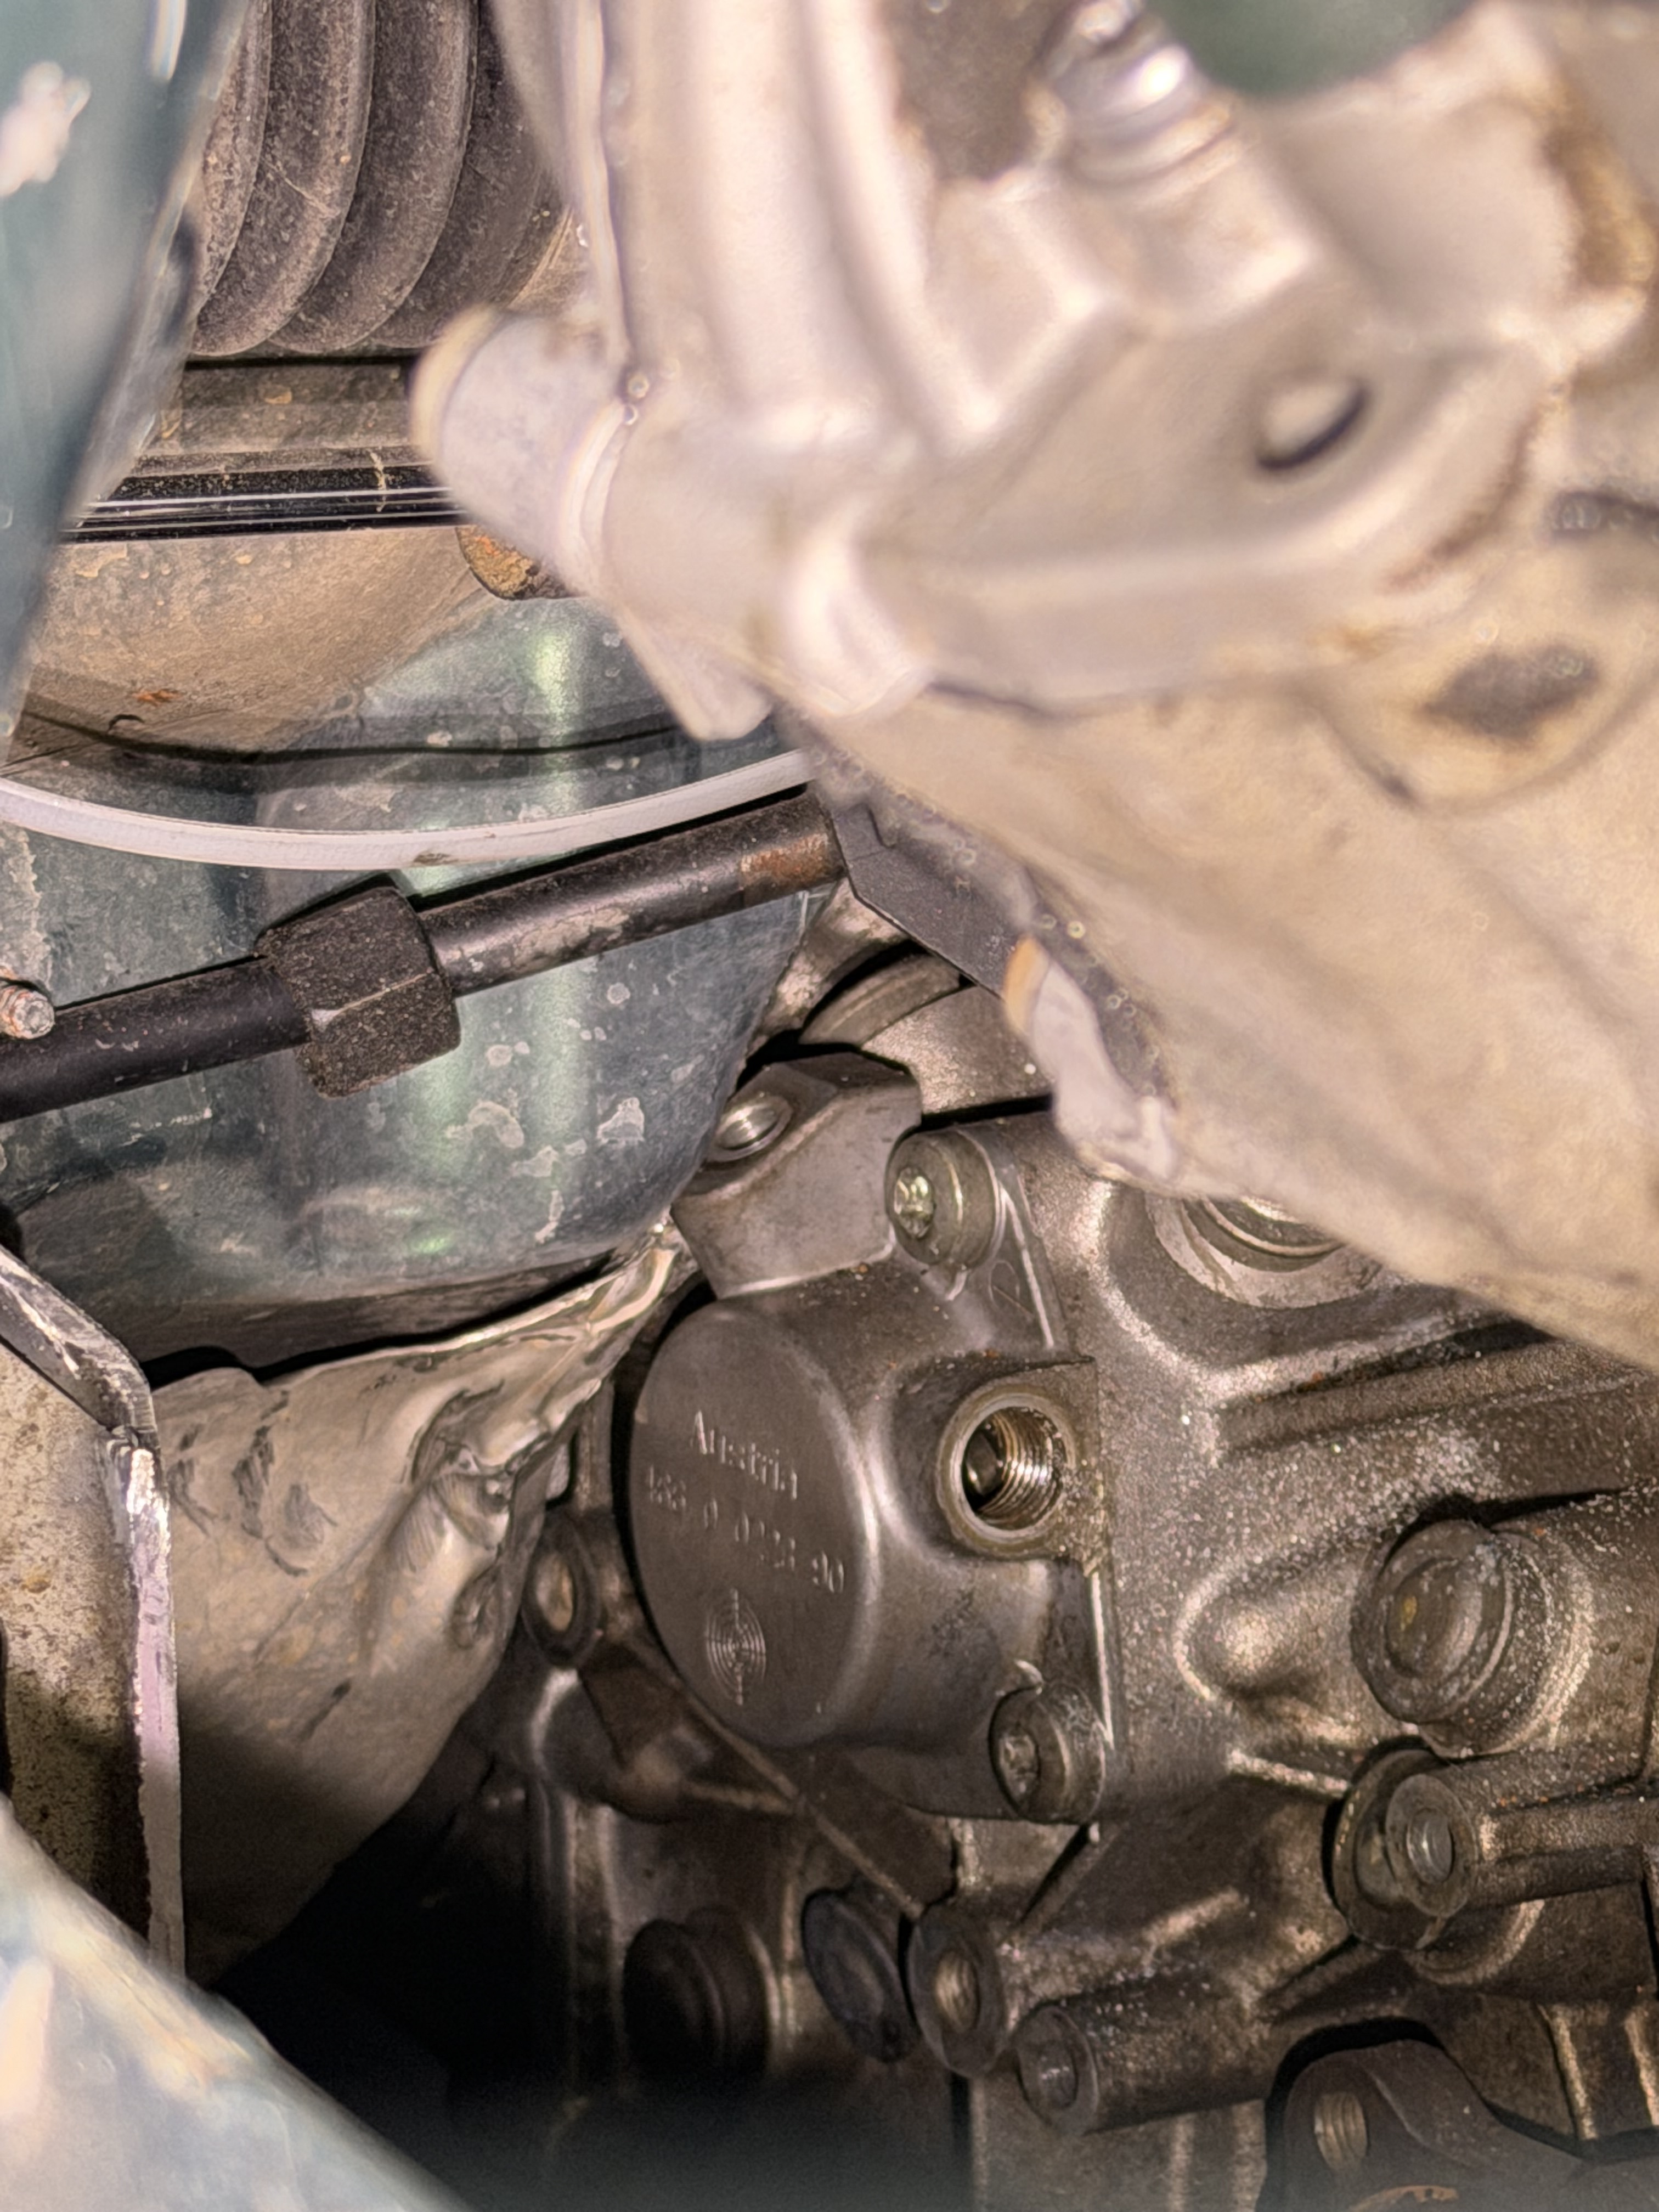
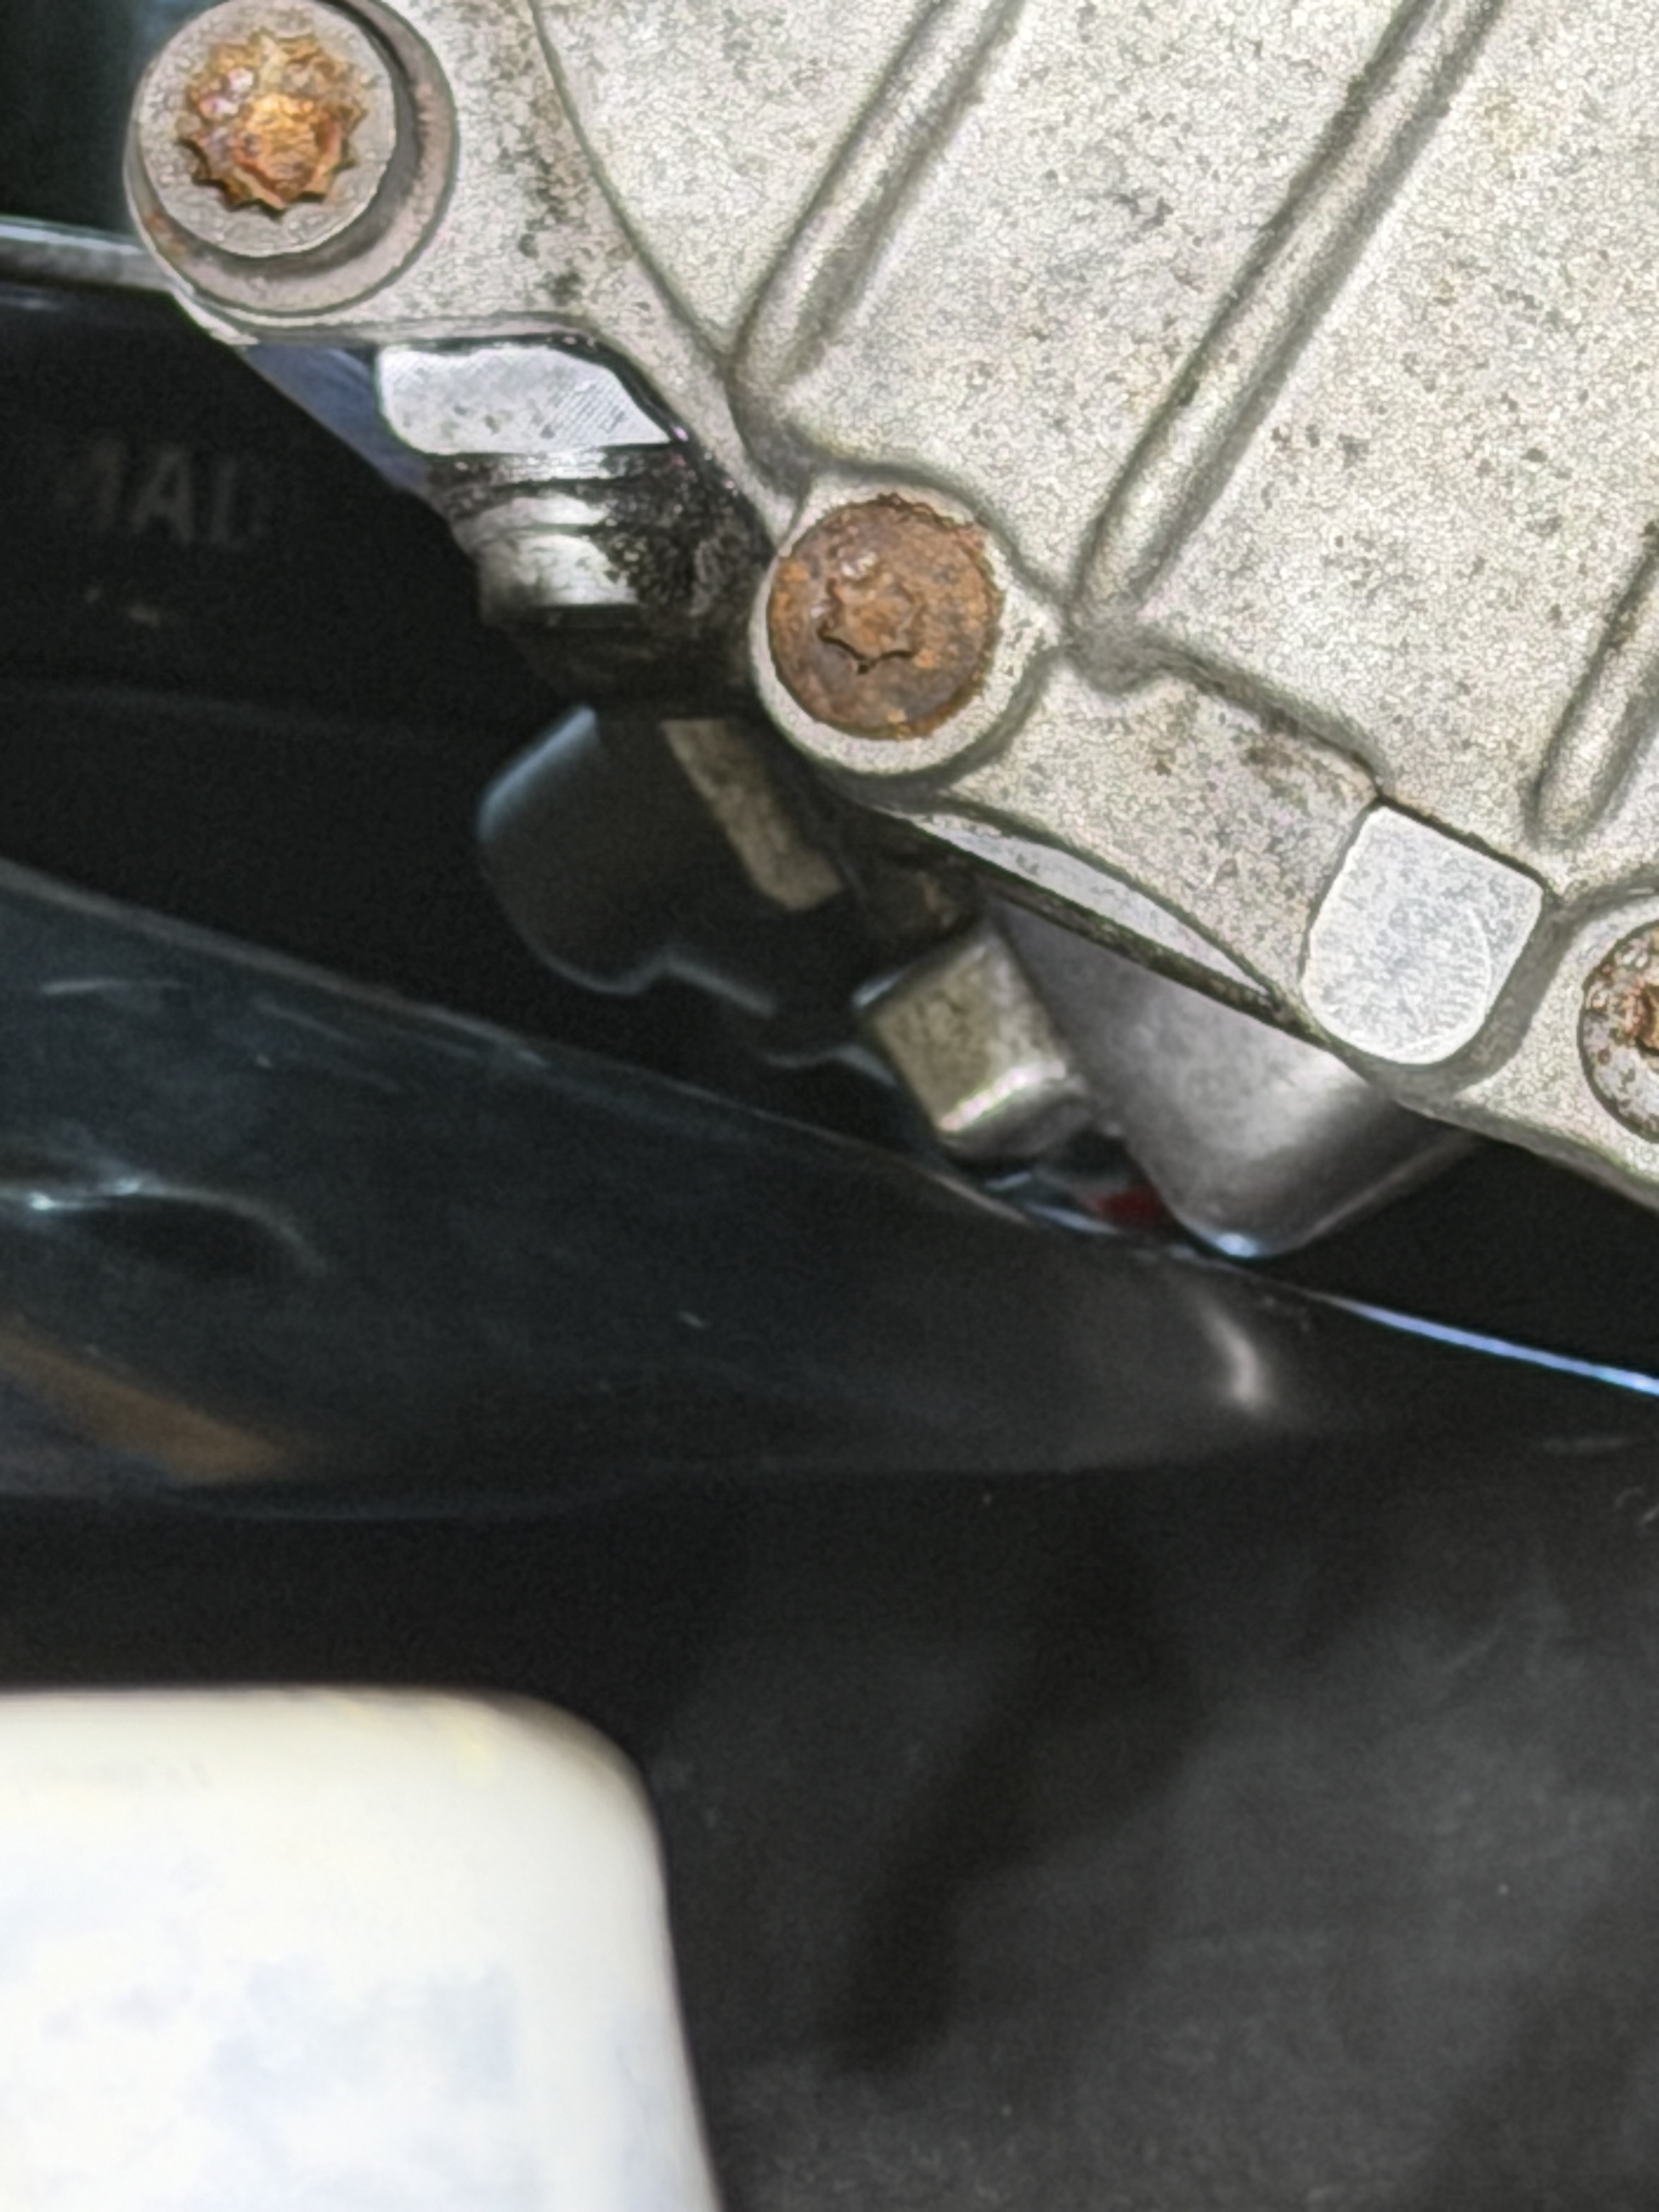
And last update for now is getting the crank position sensor hole and starter lined up. Had to grind down a little bit of the starter casting, but fits up well! Its part number 079911023D from a B6/7 S4.
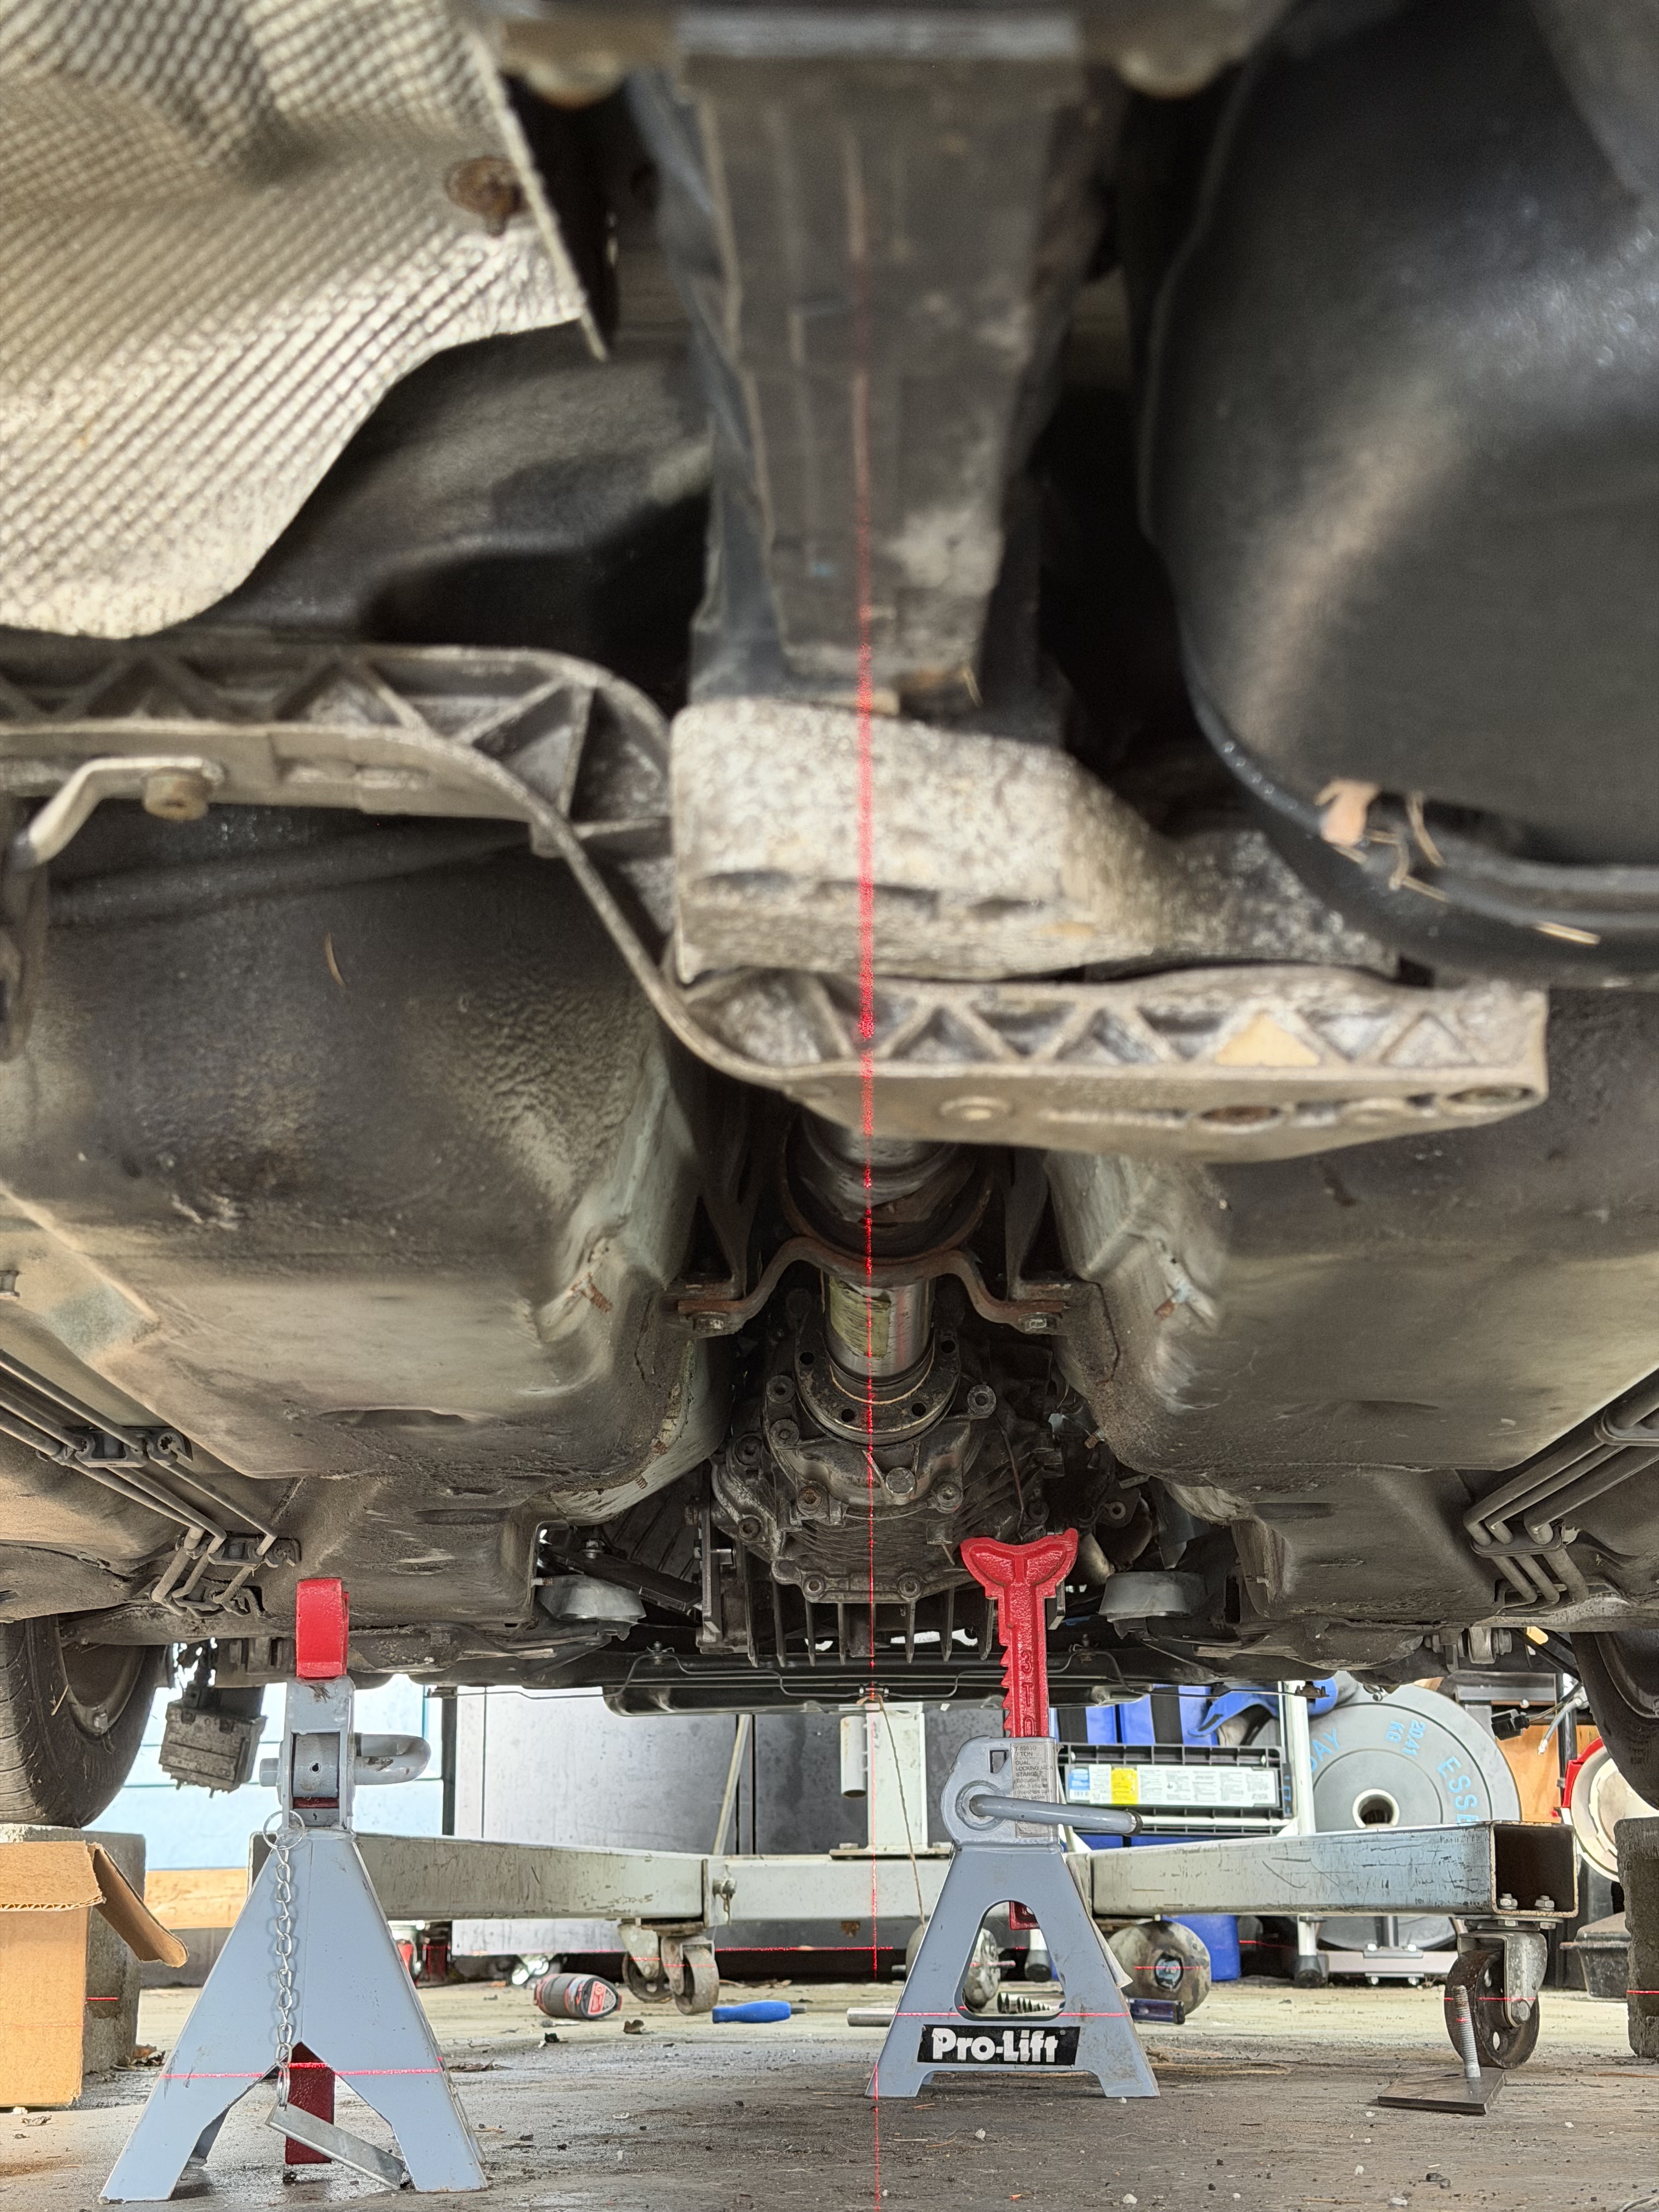
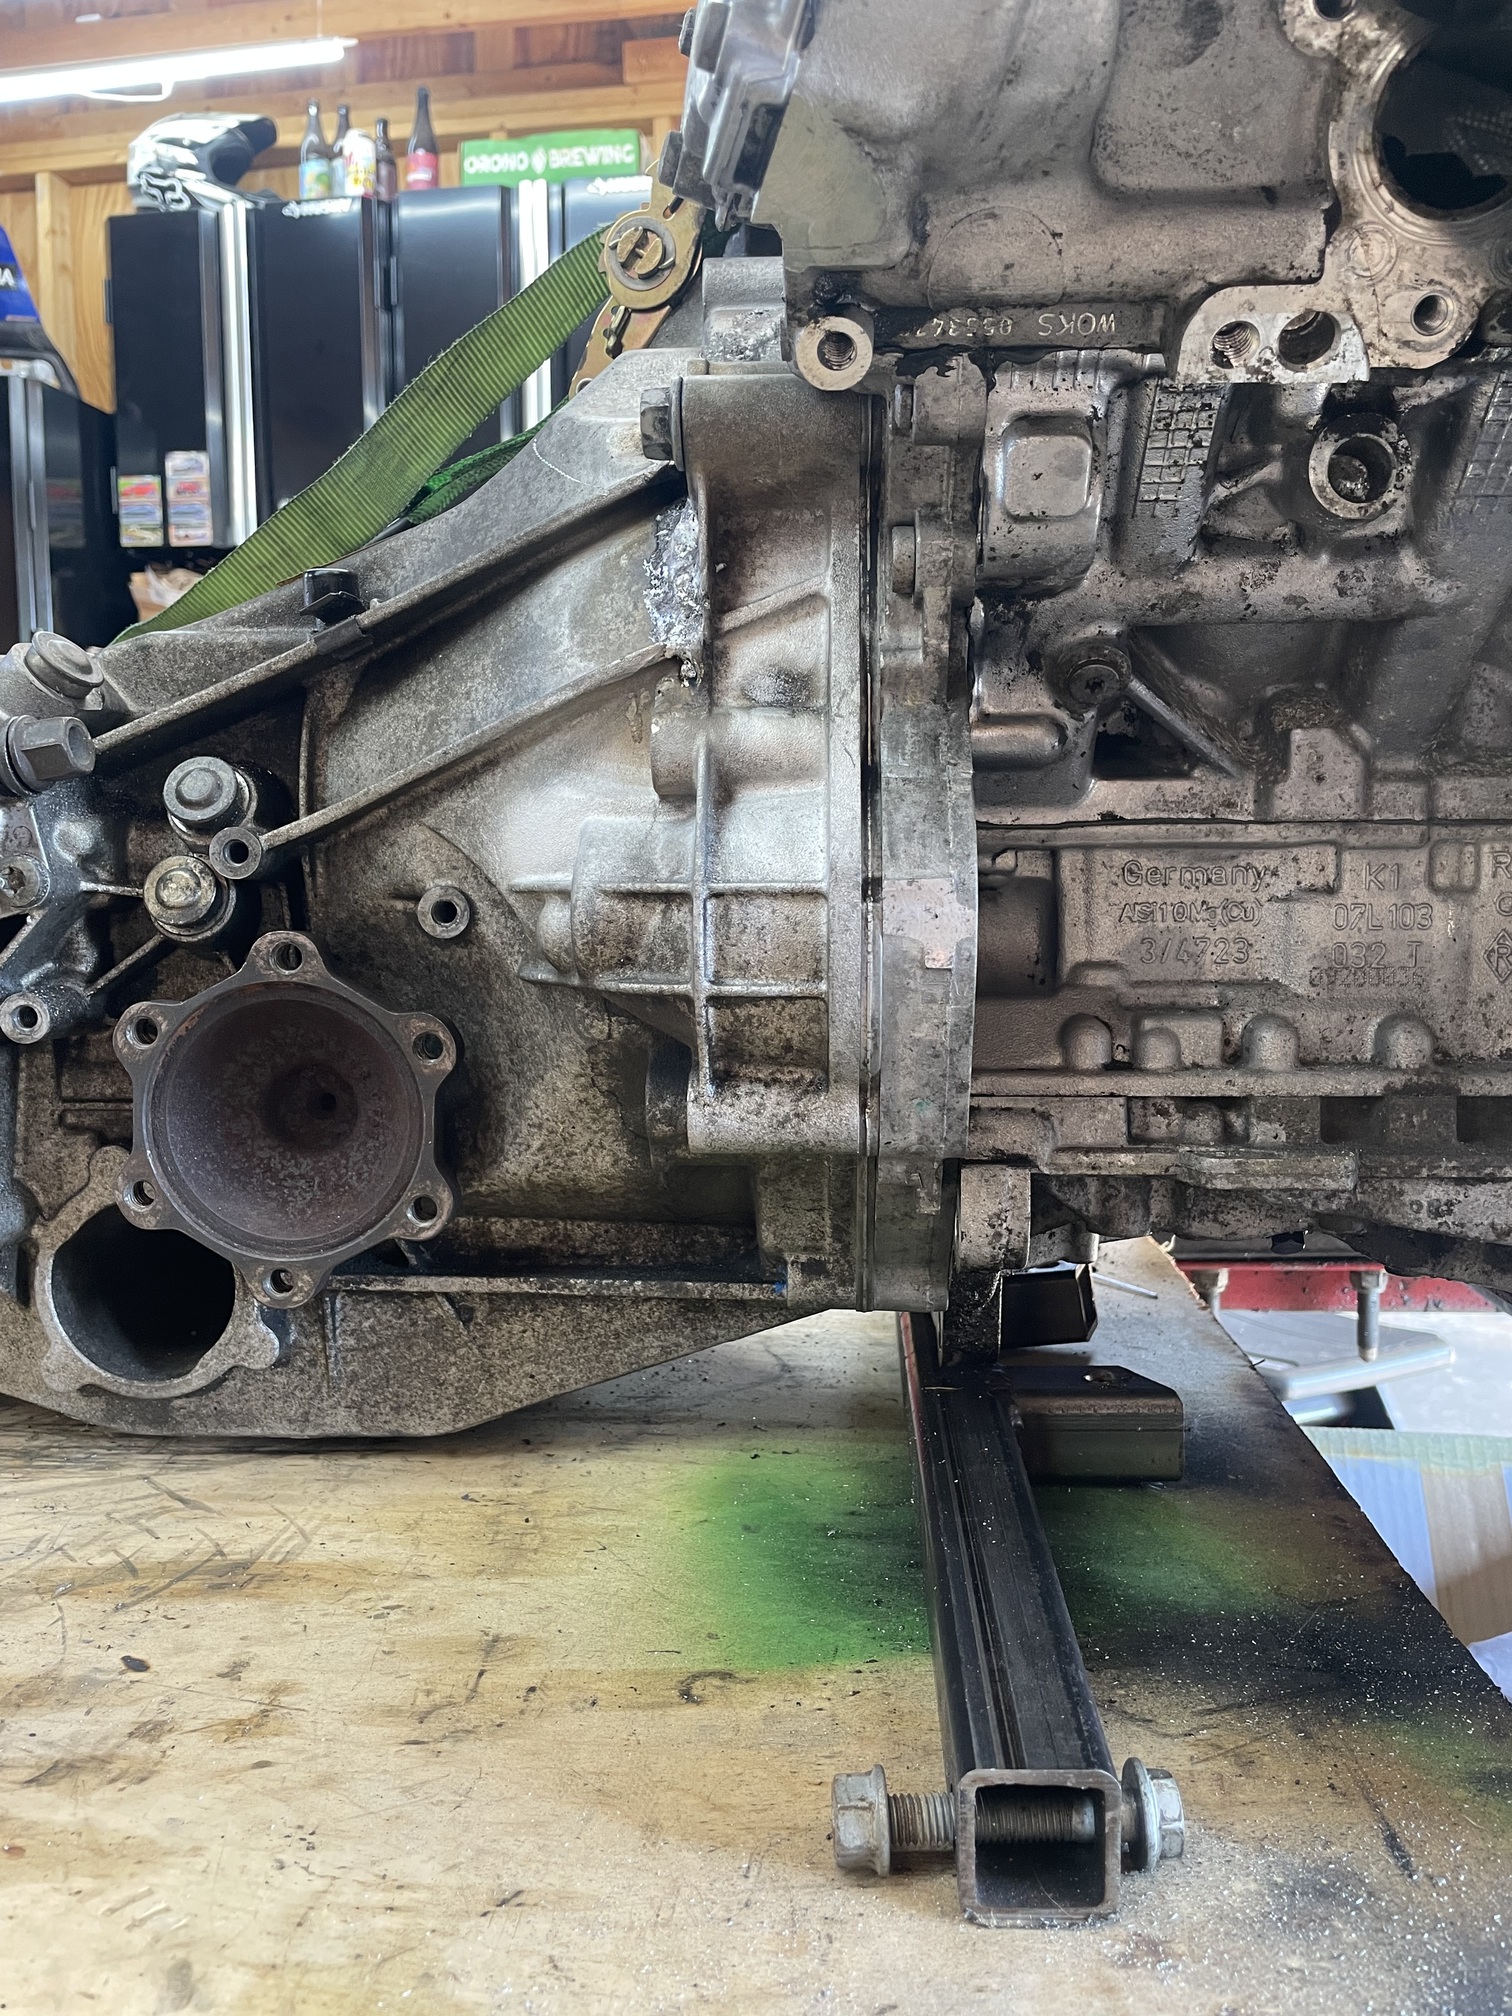
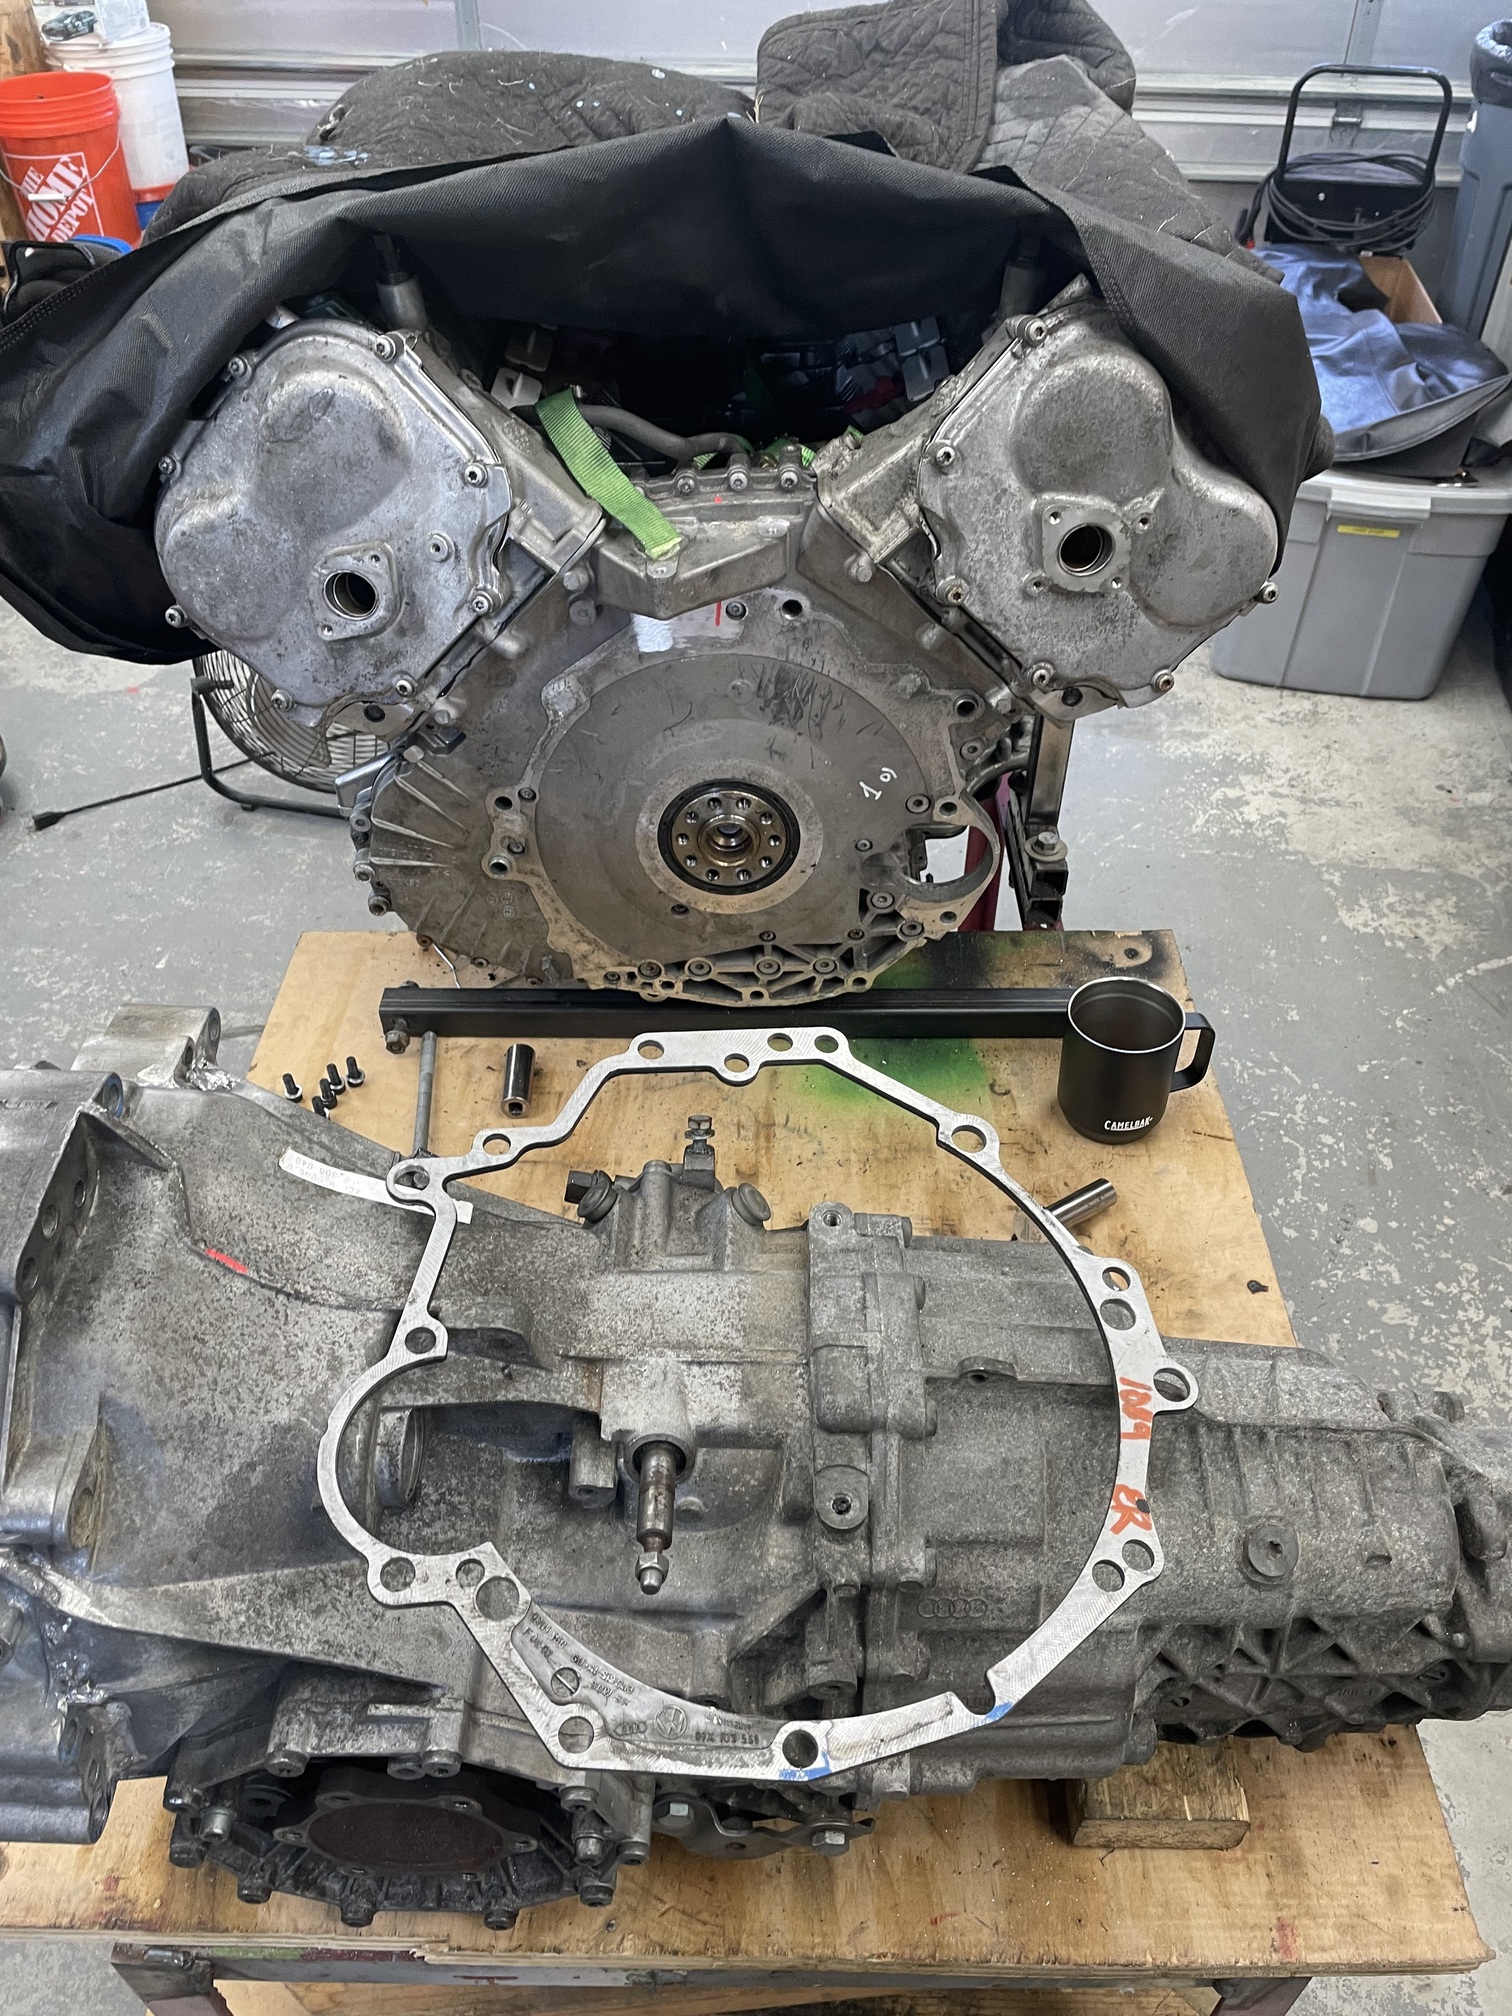
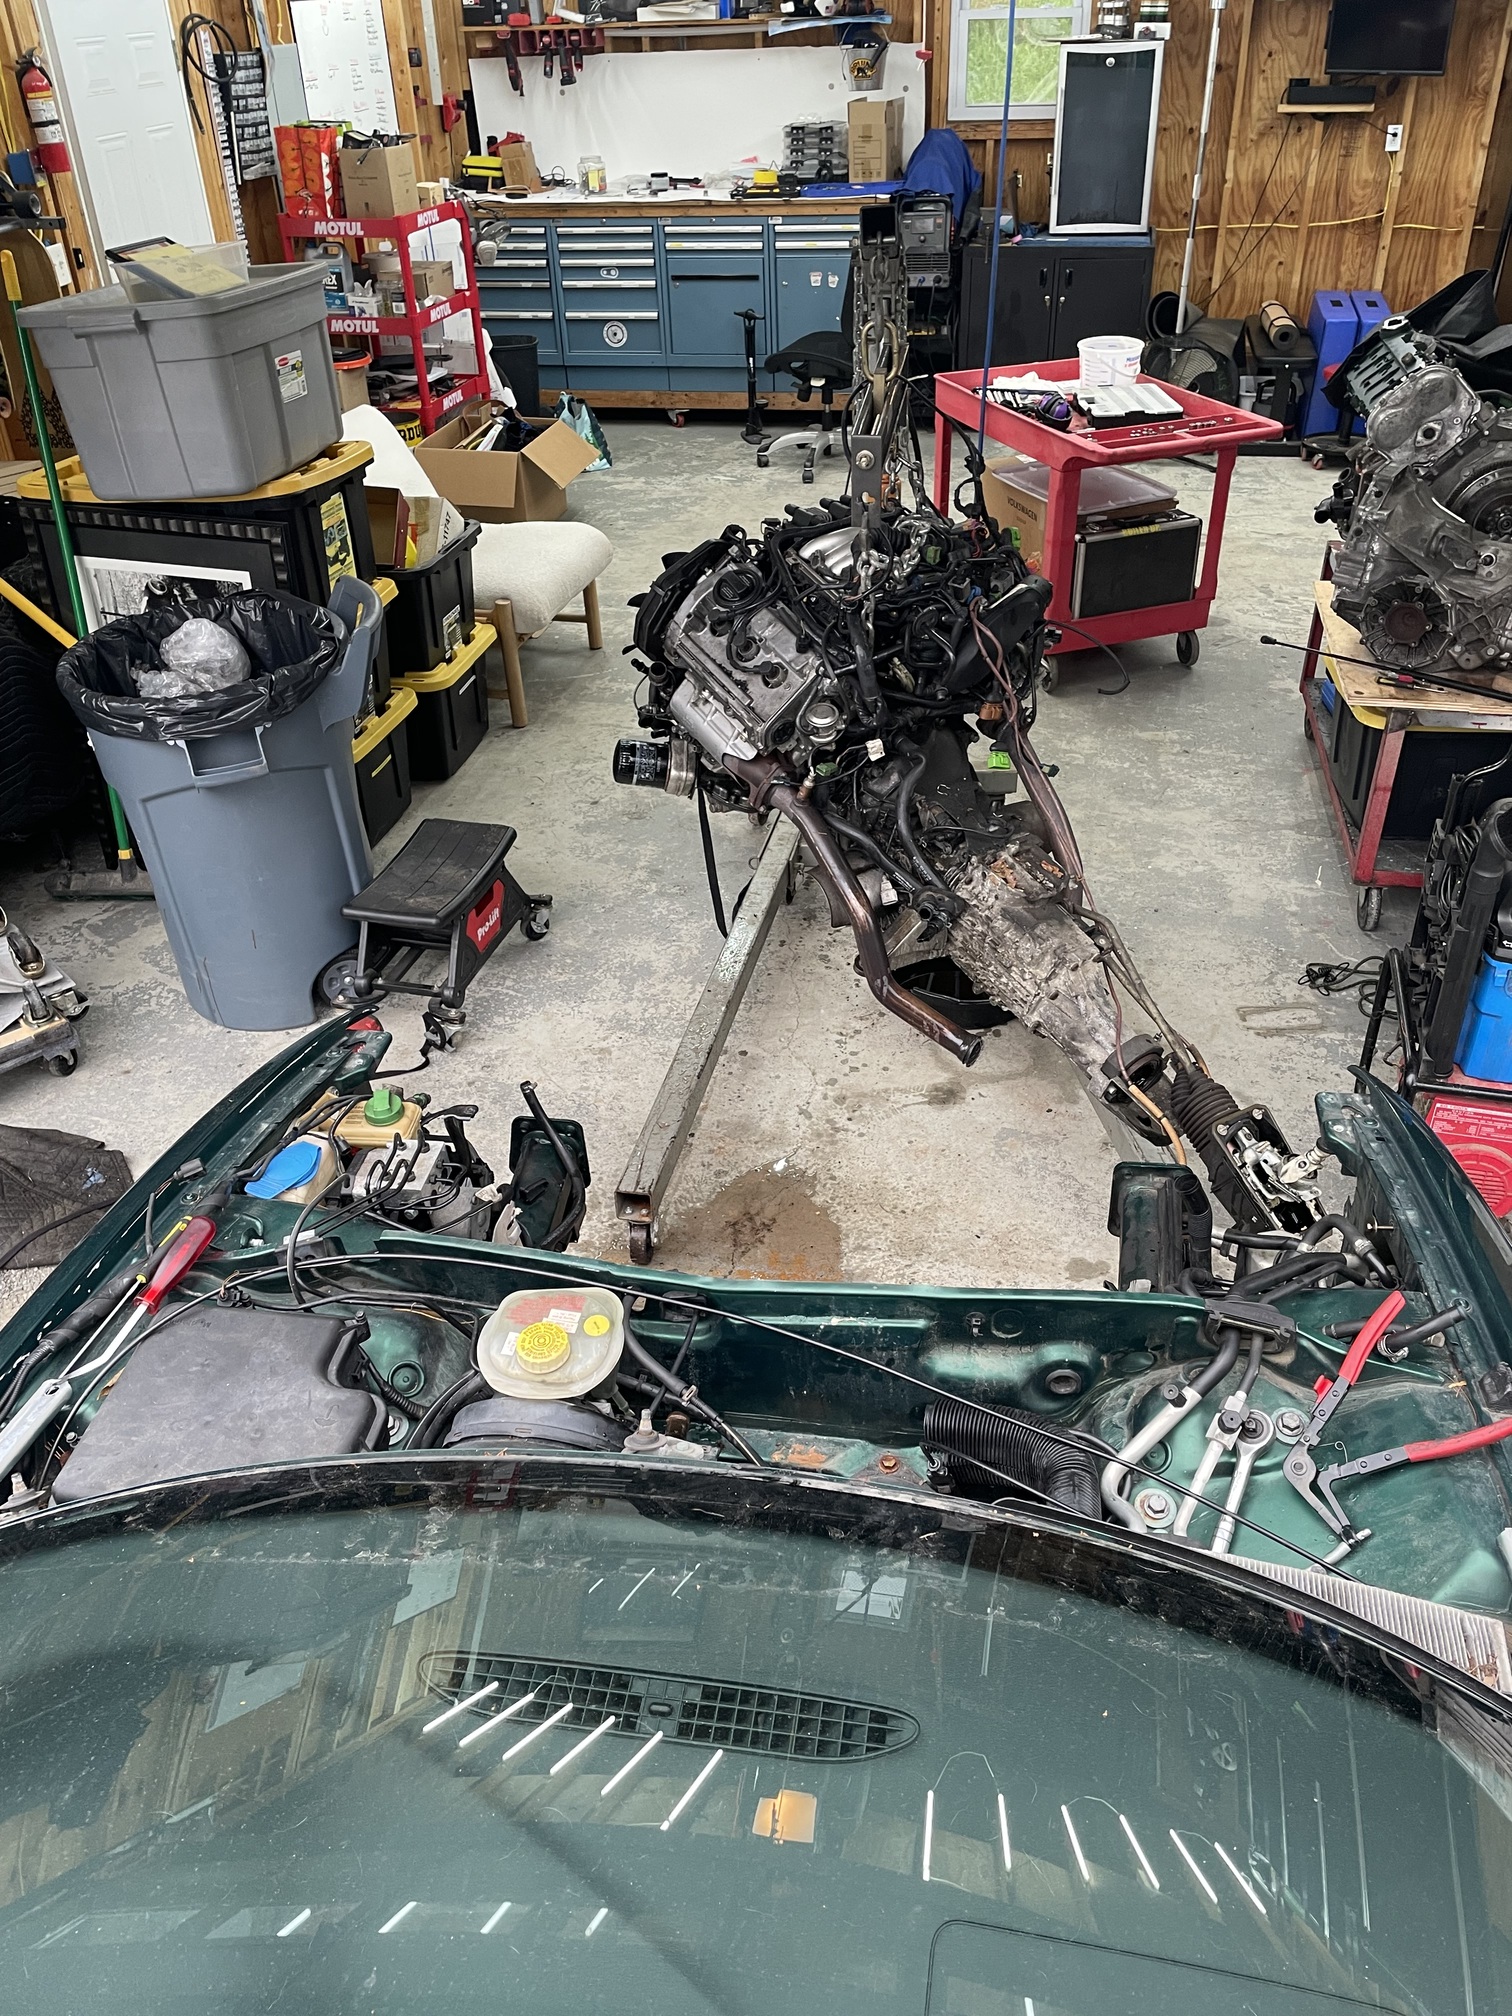
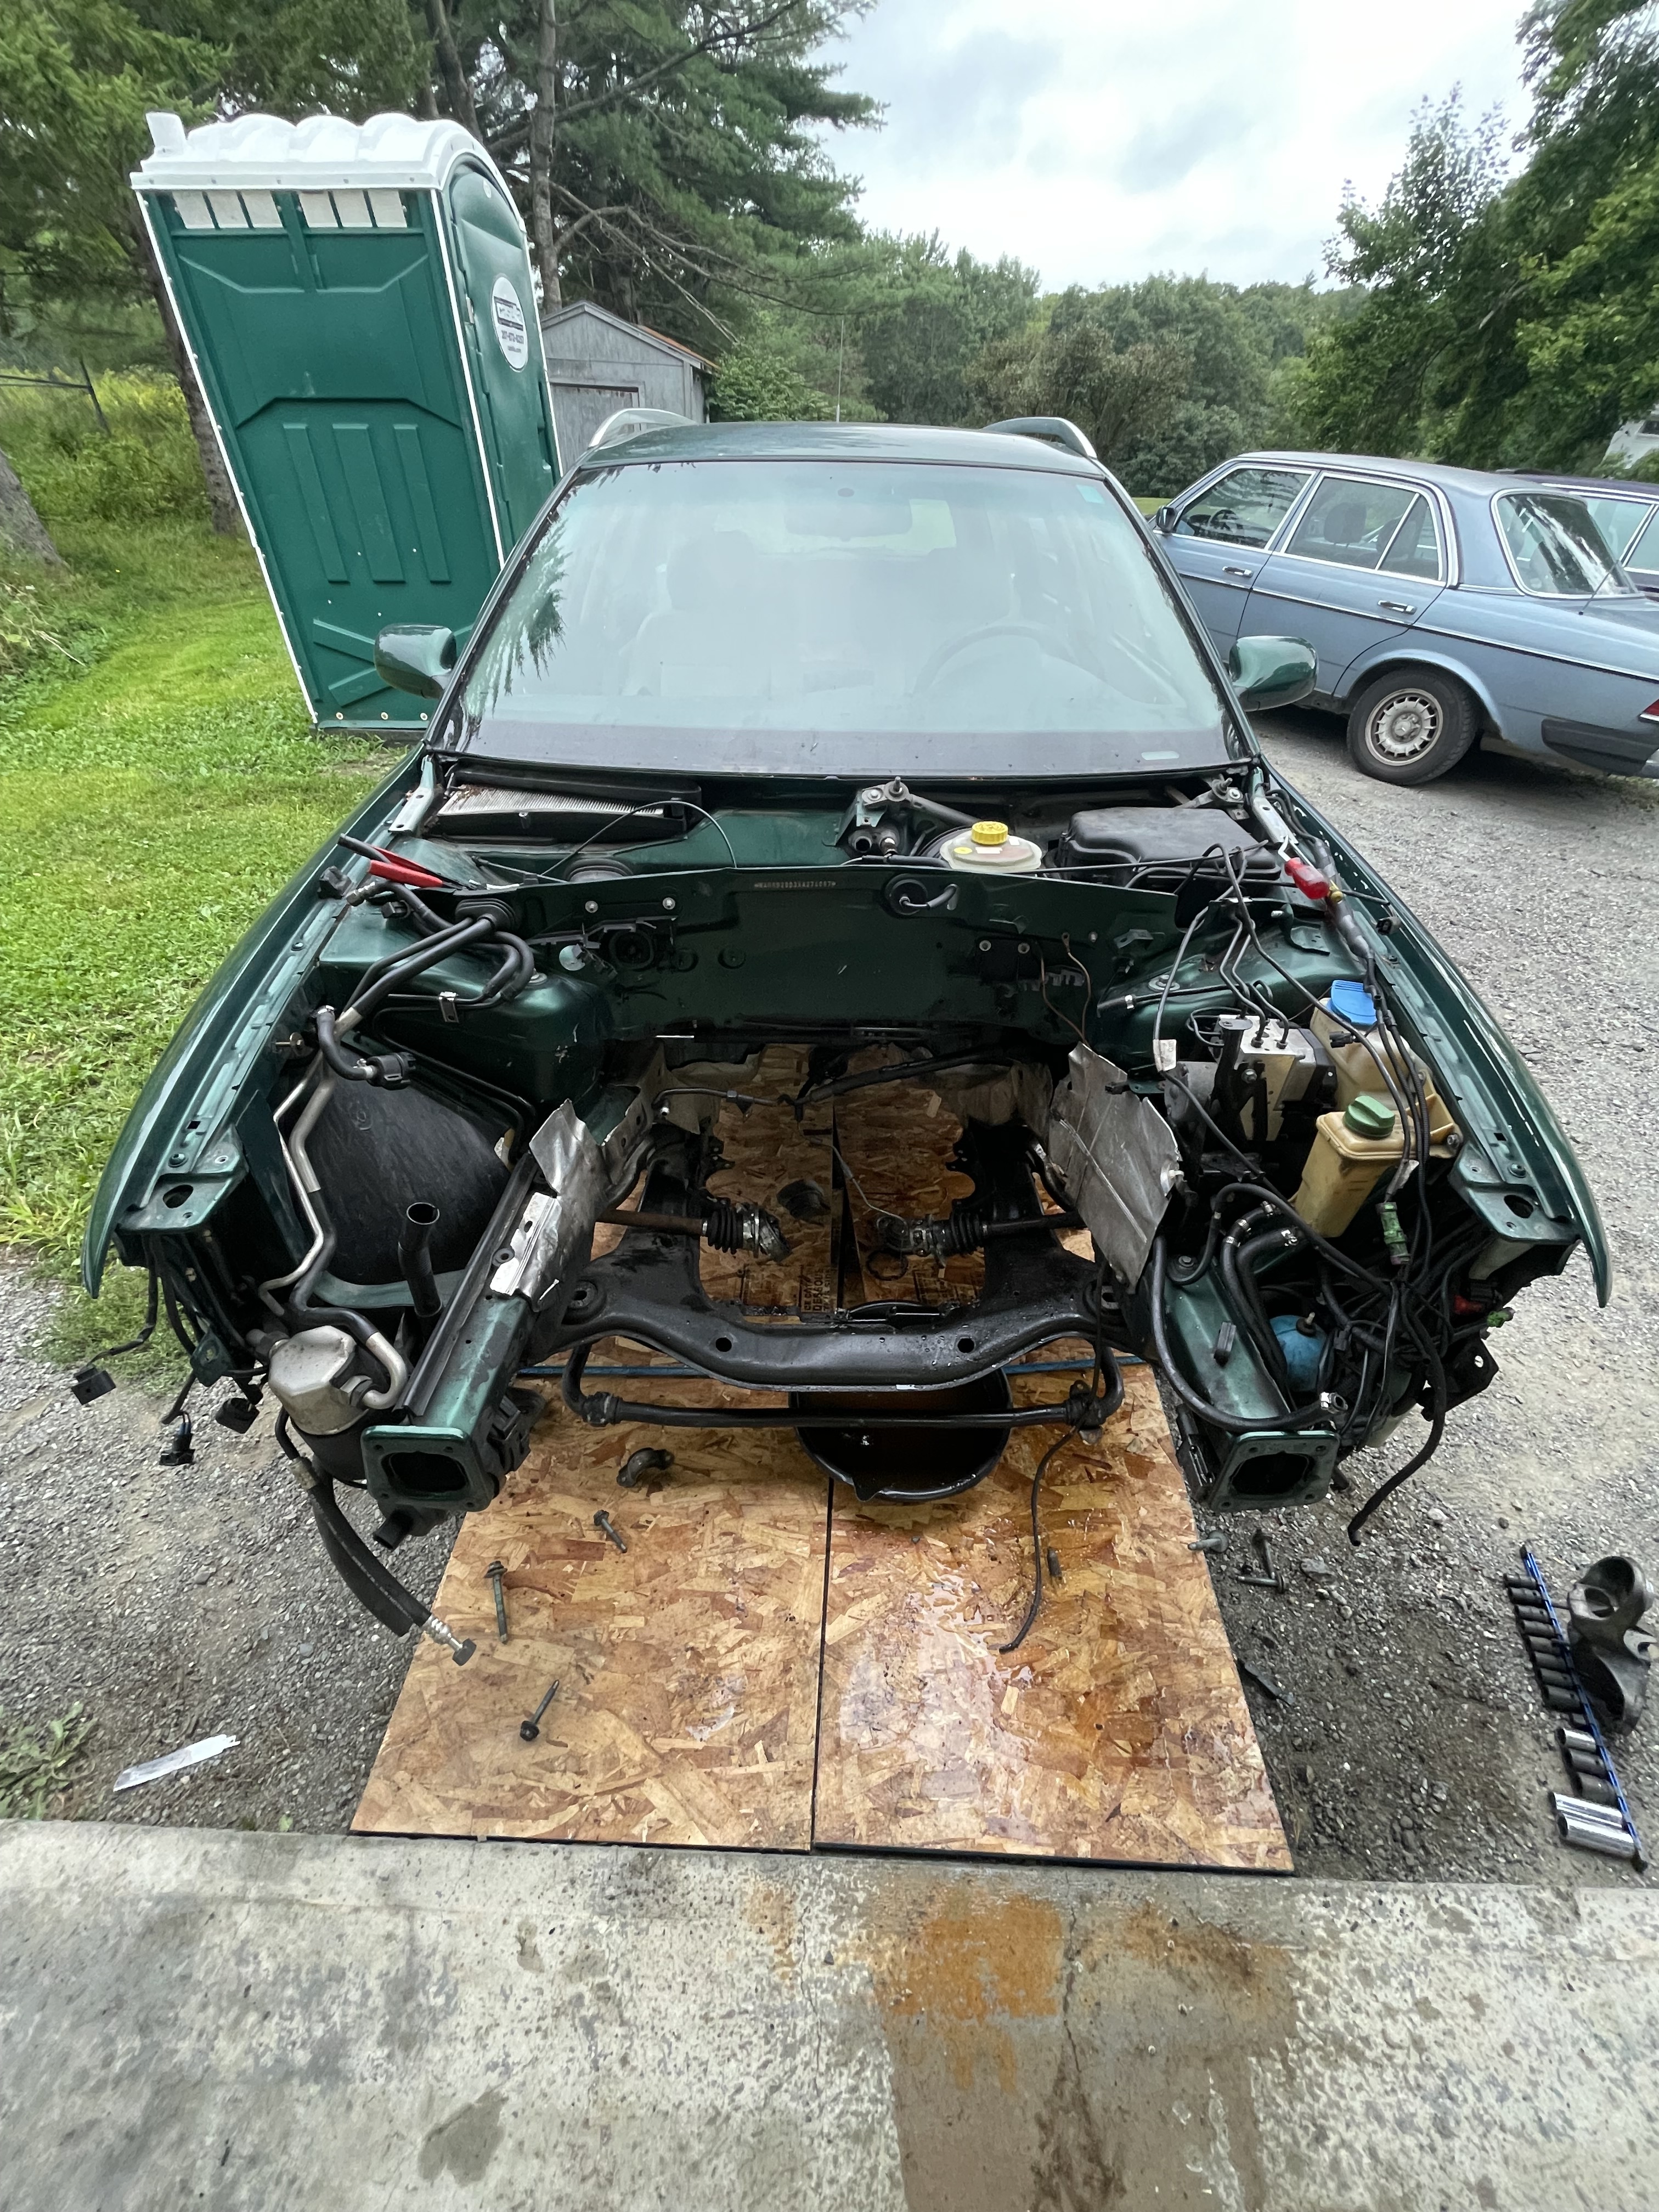
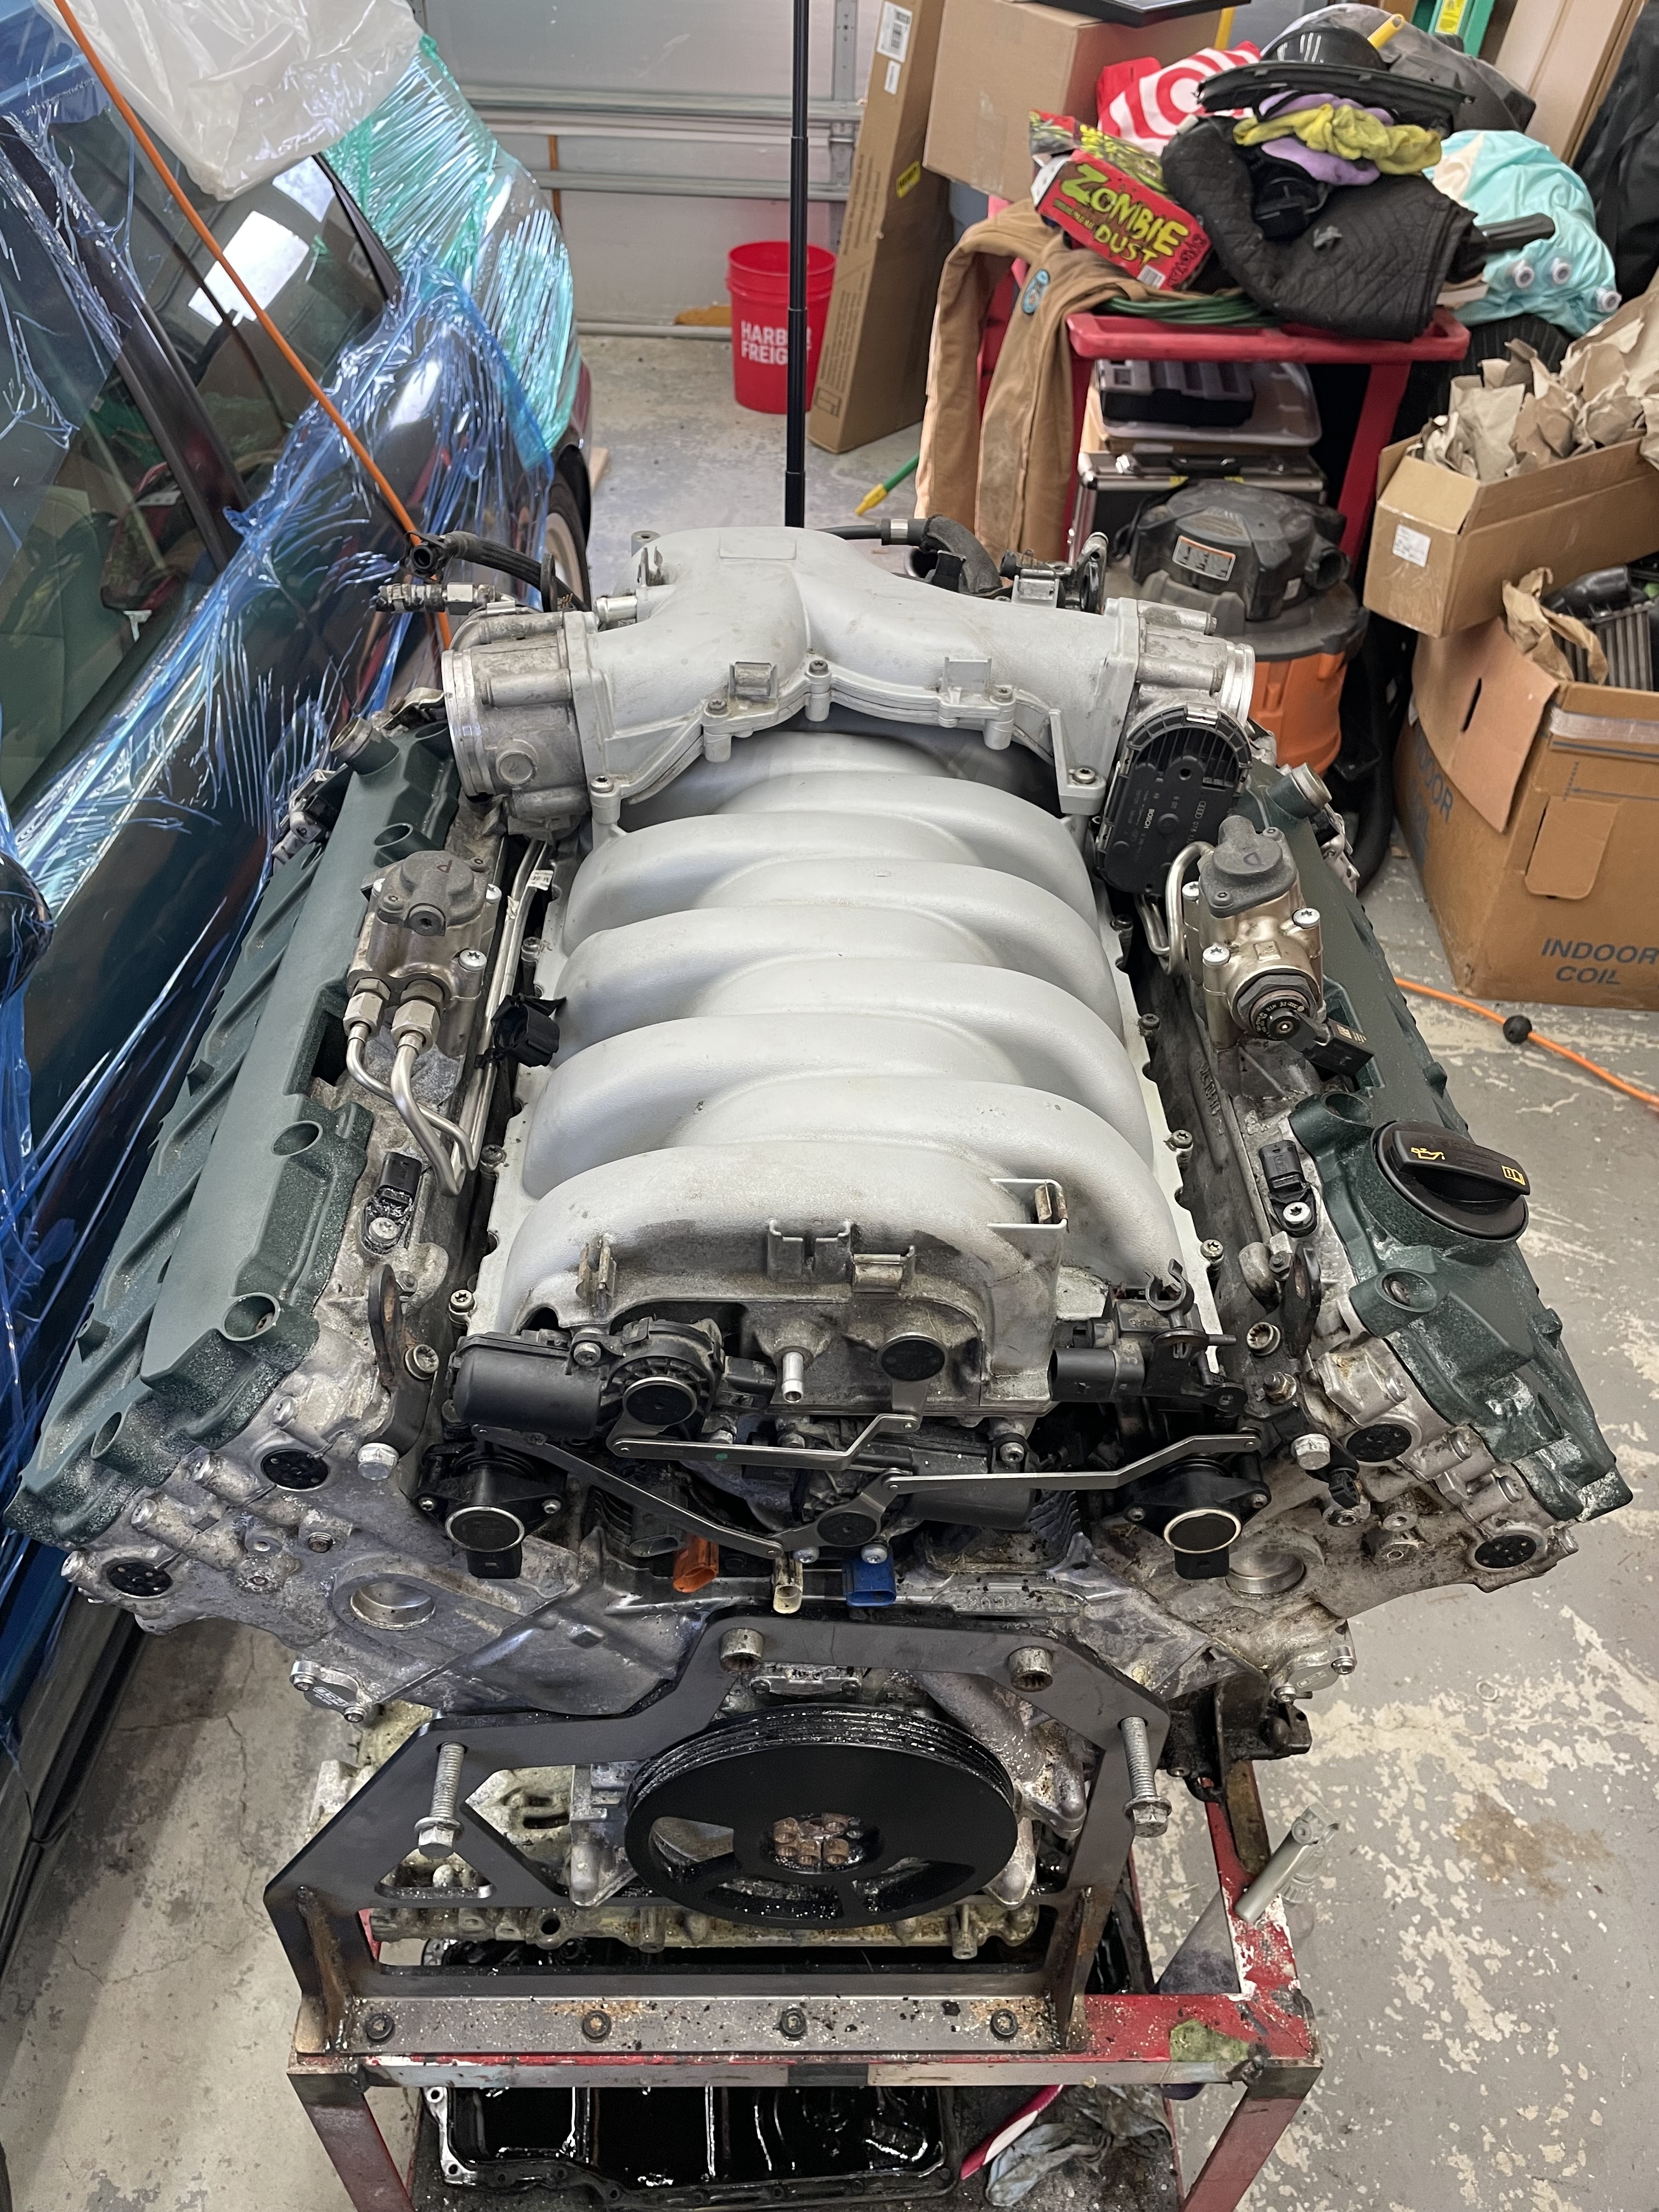
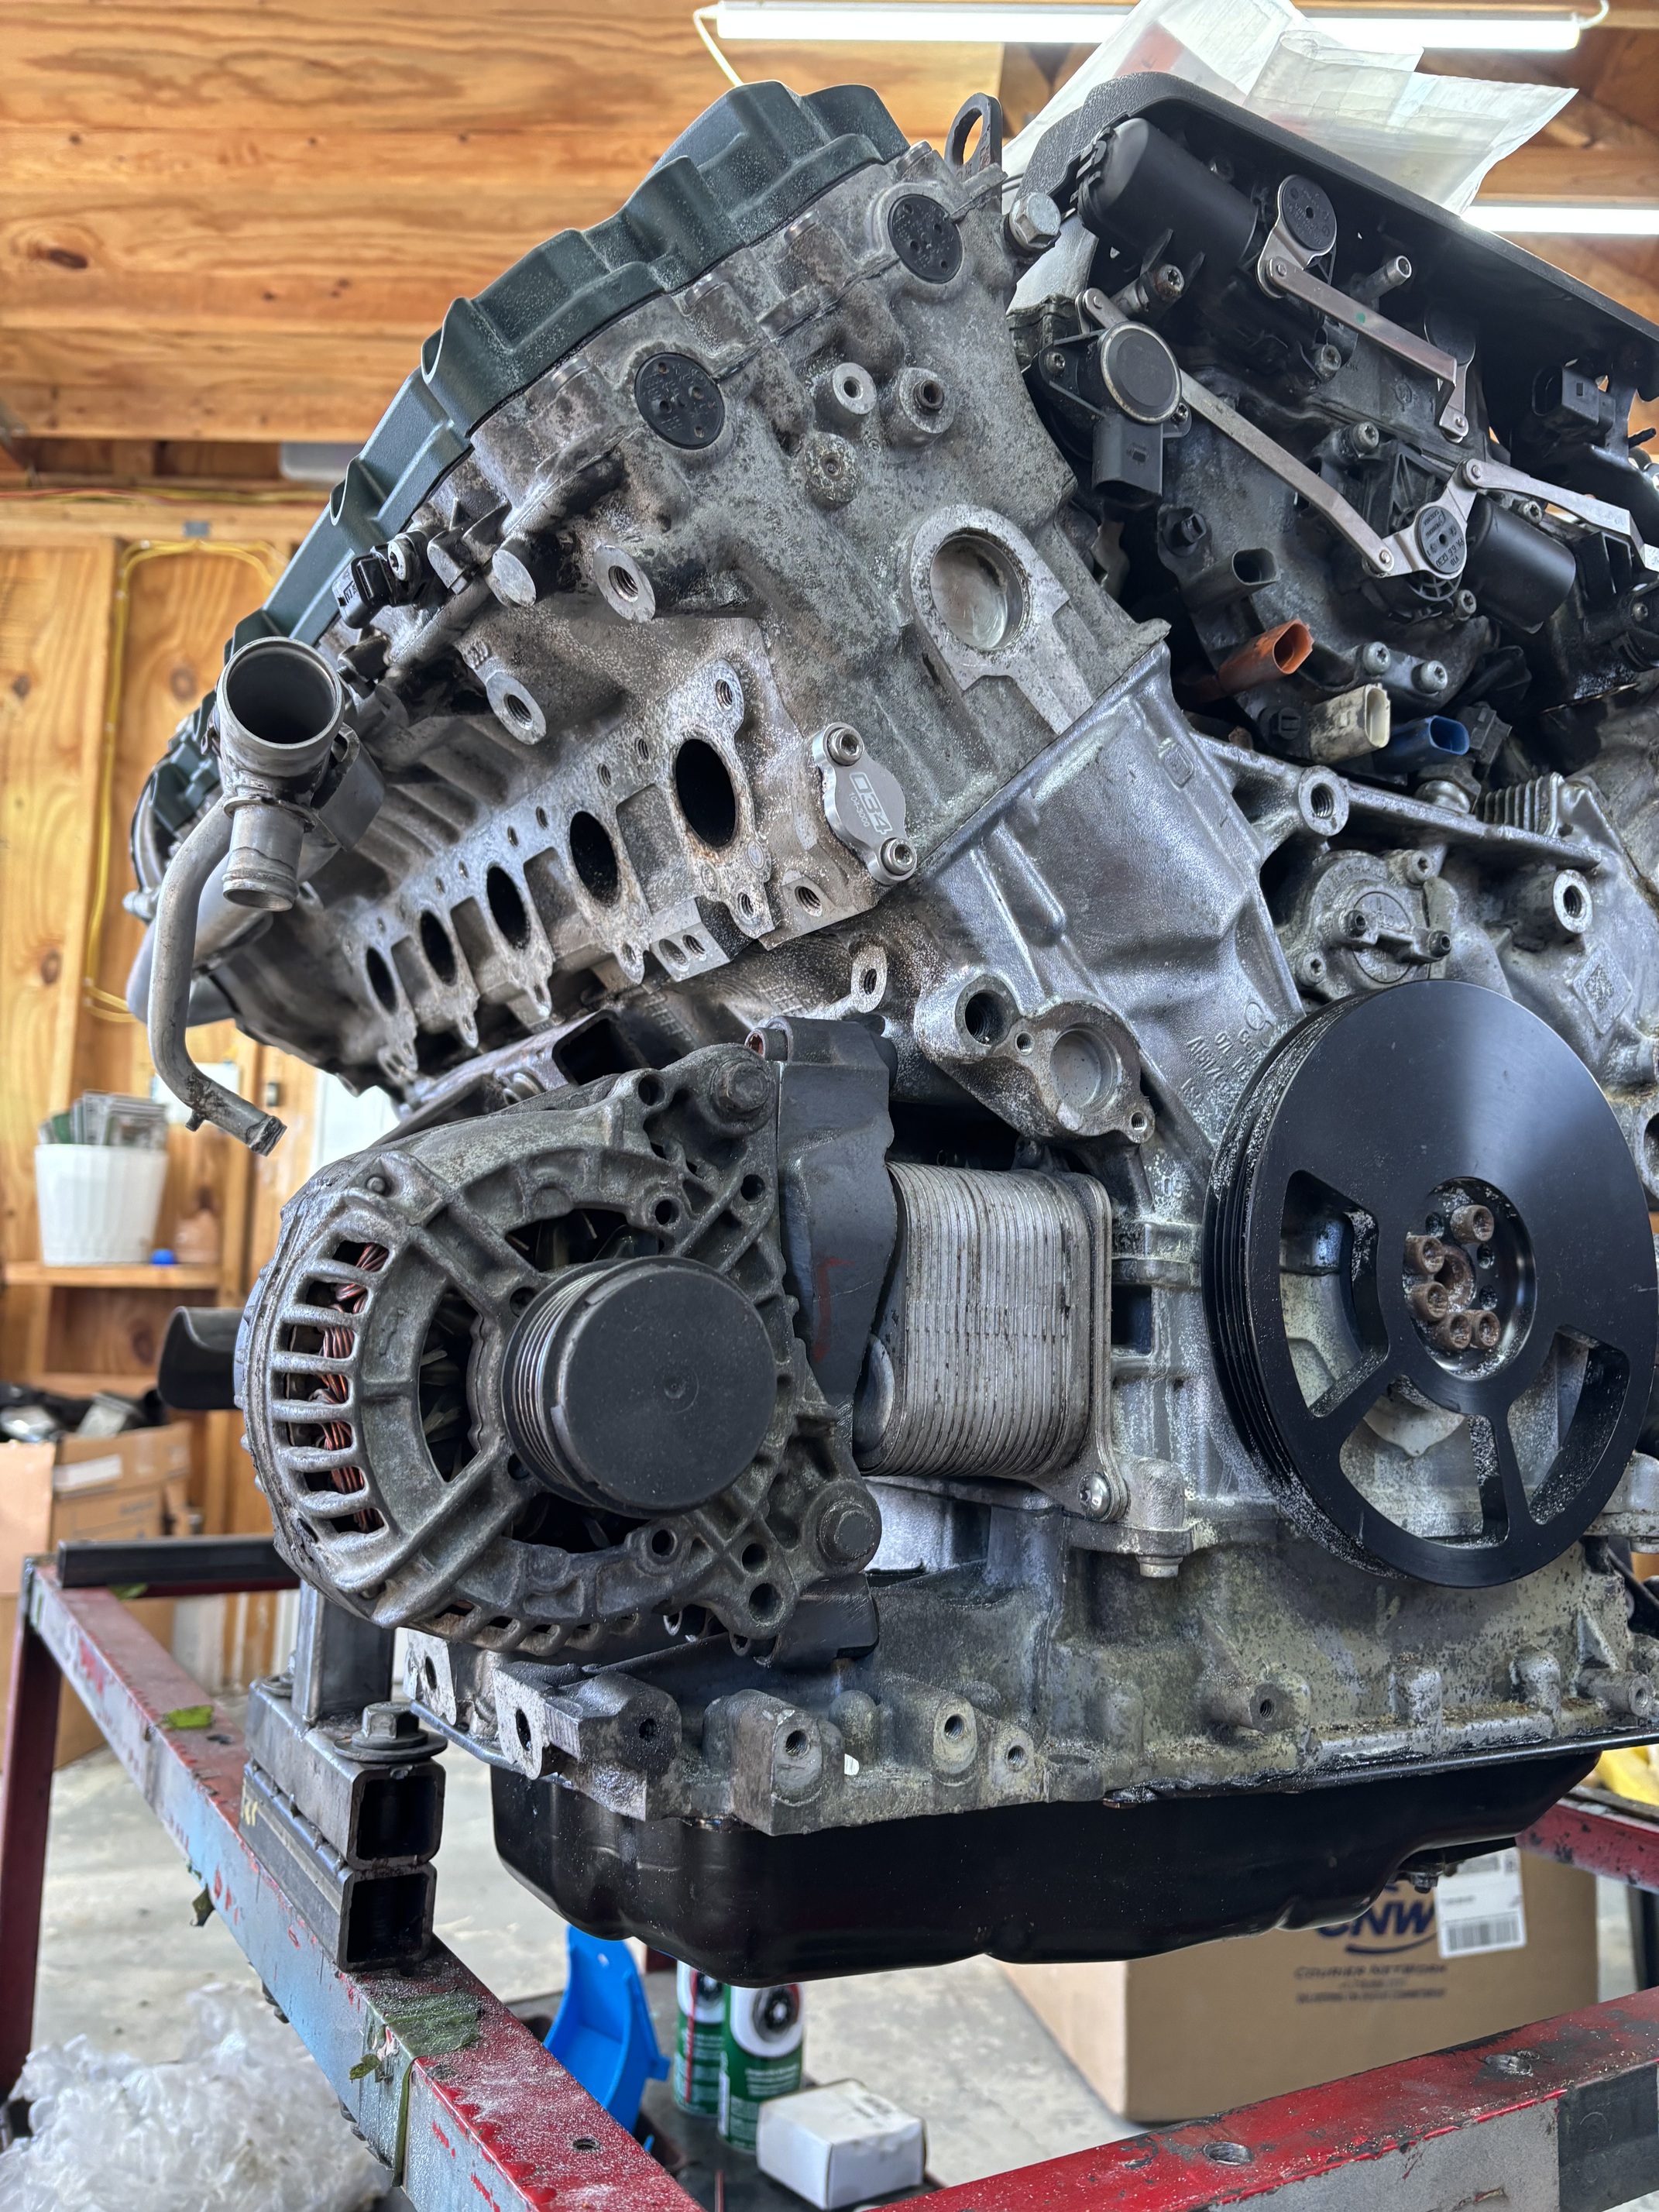
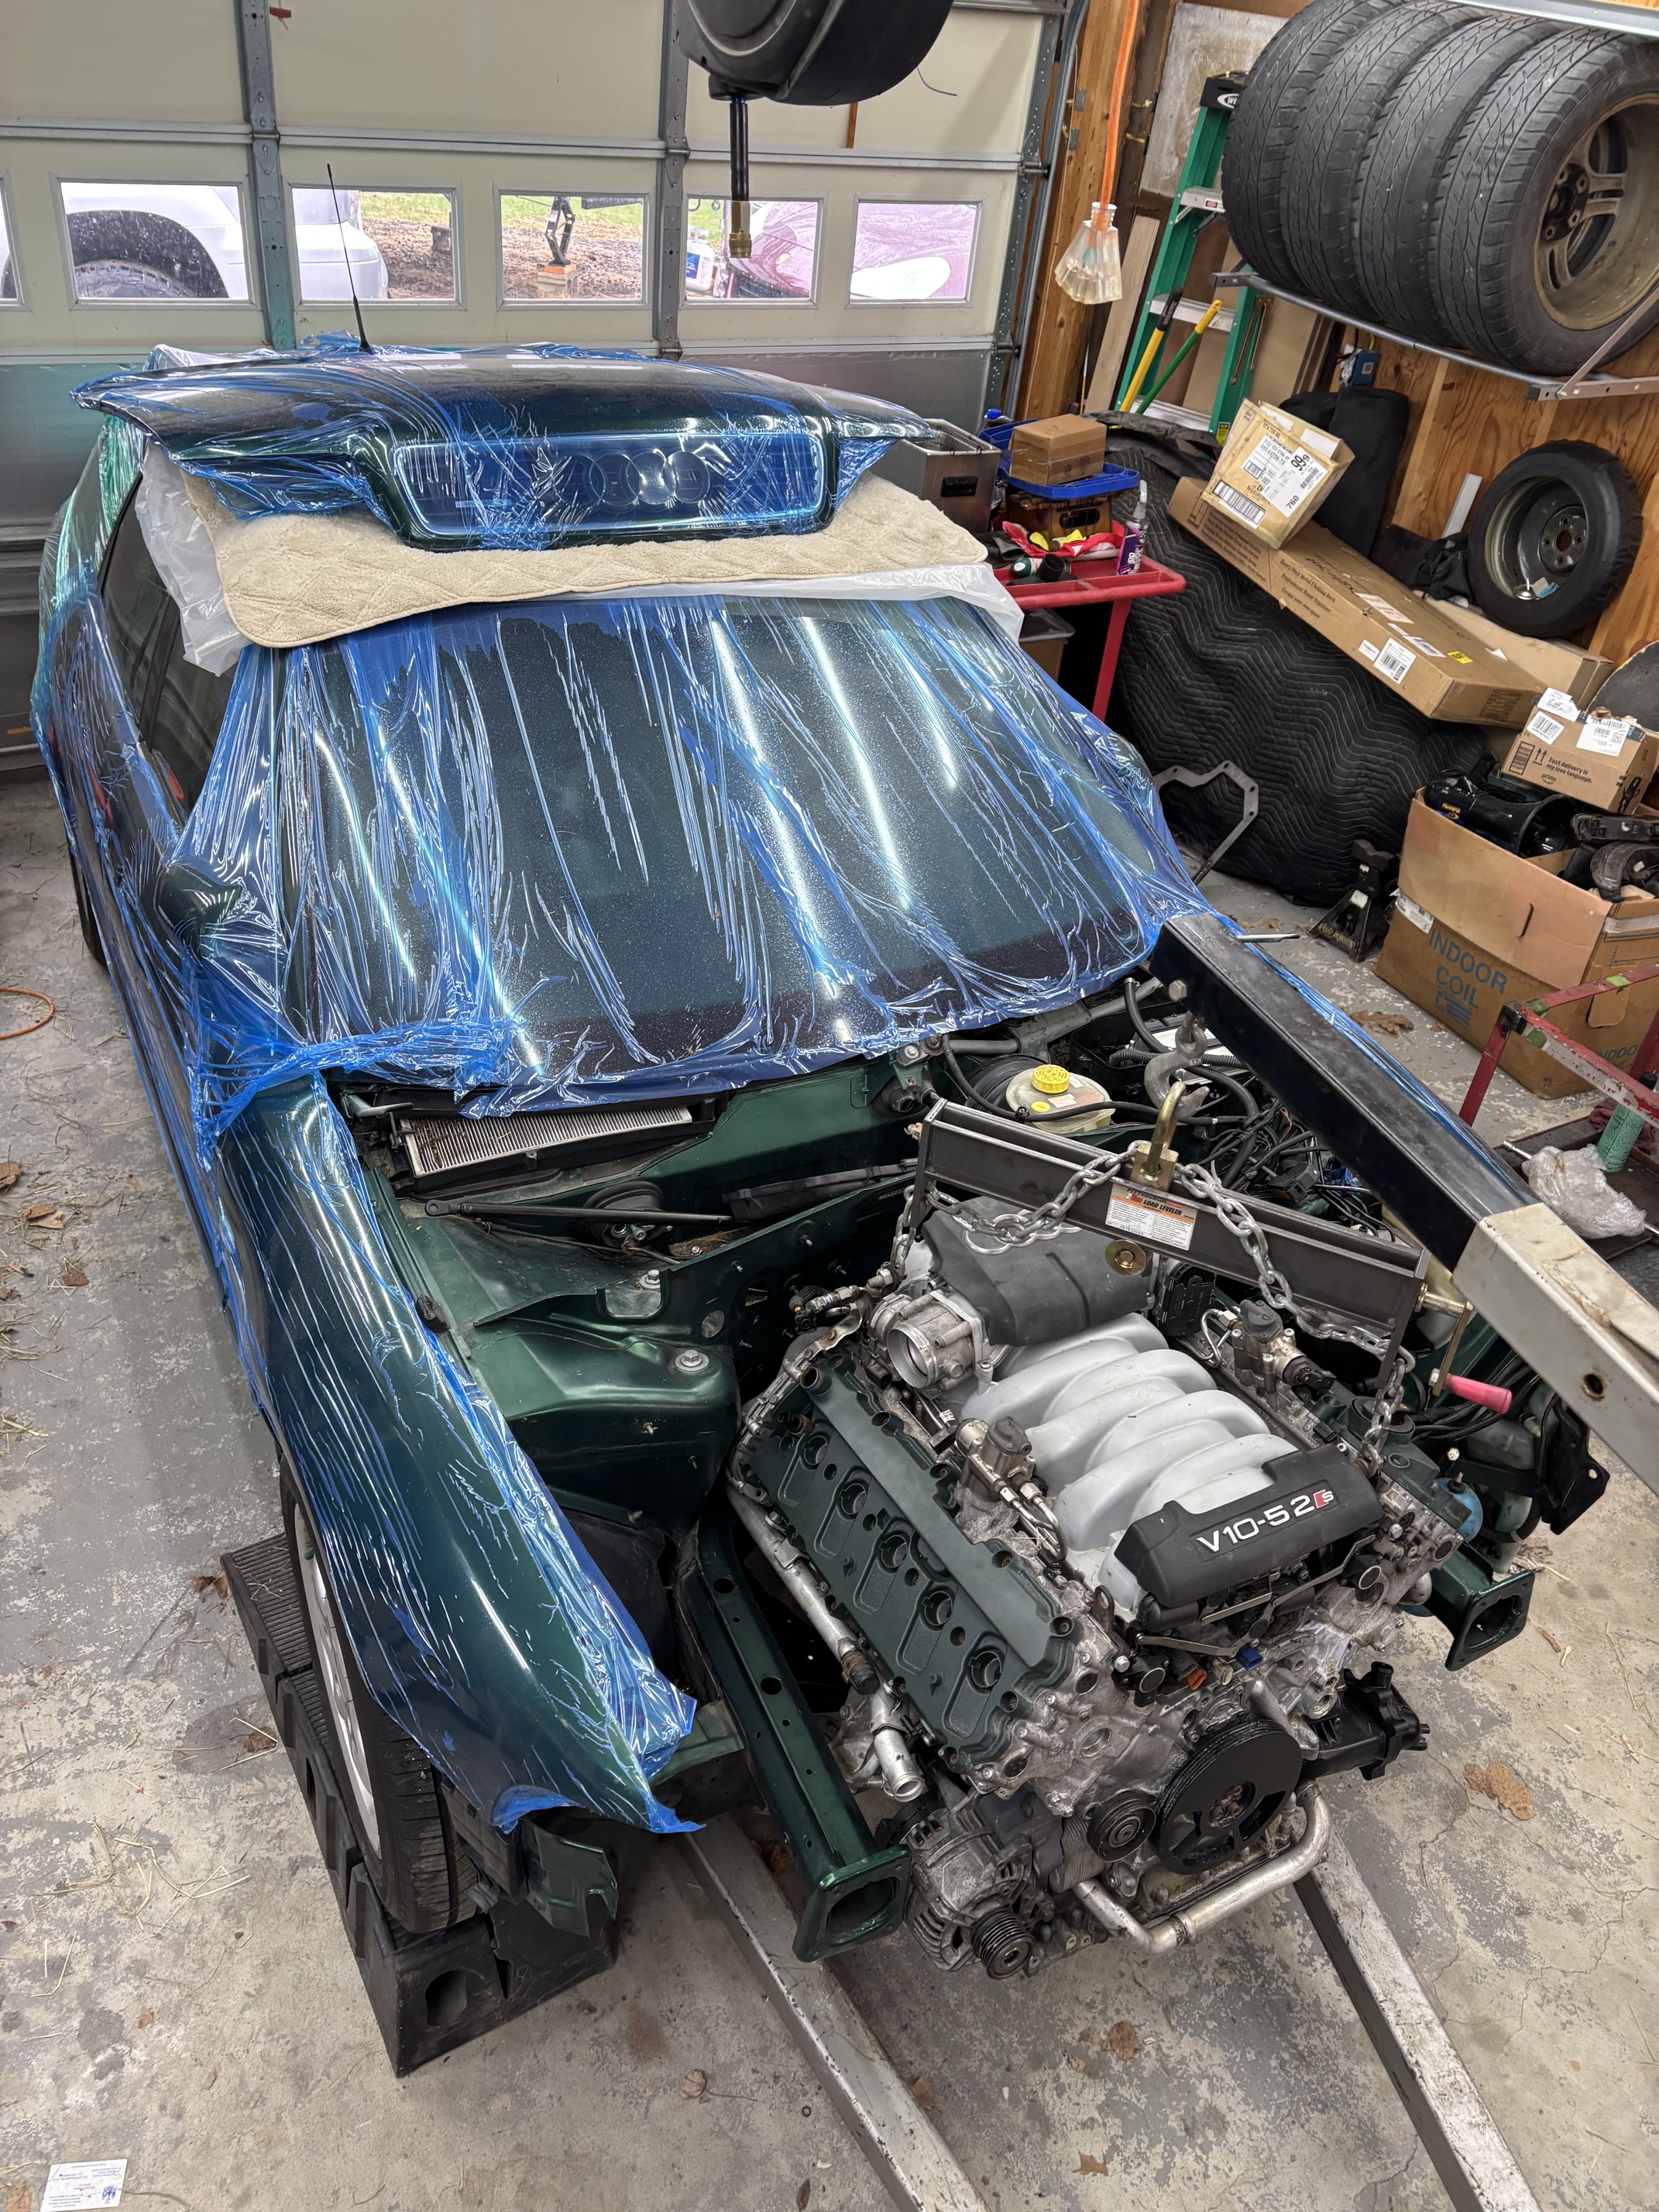
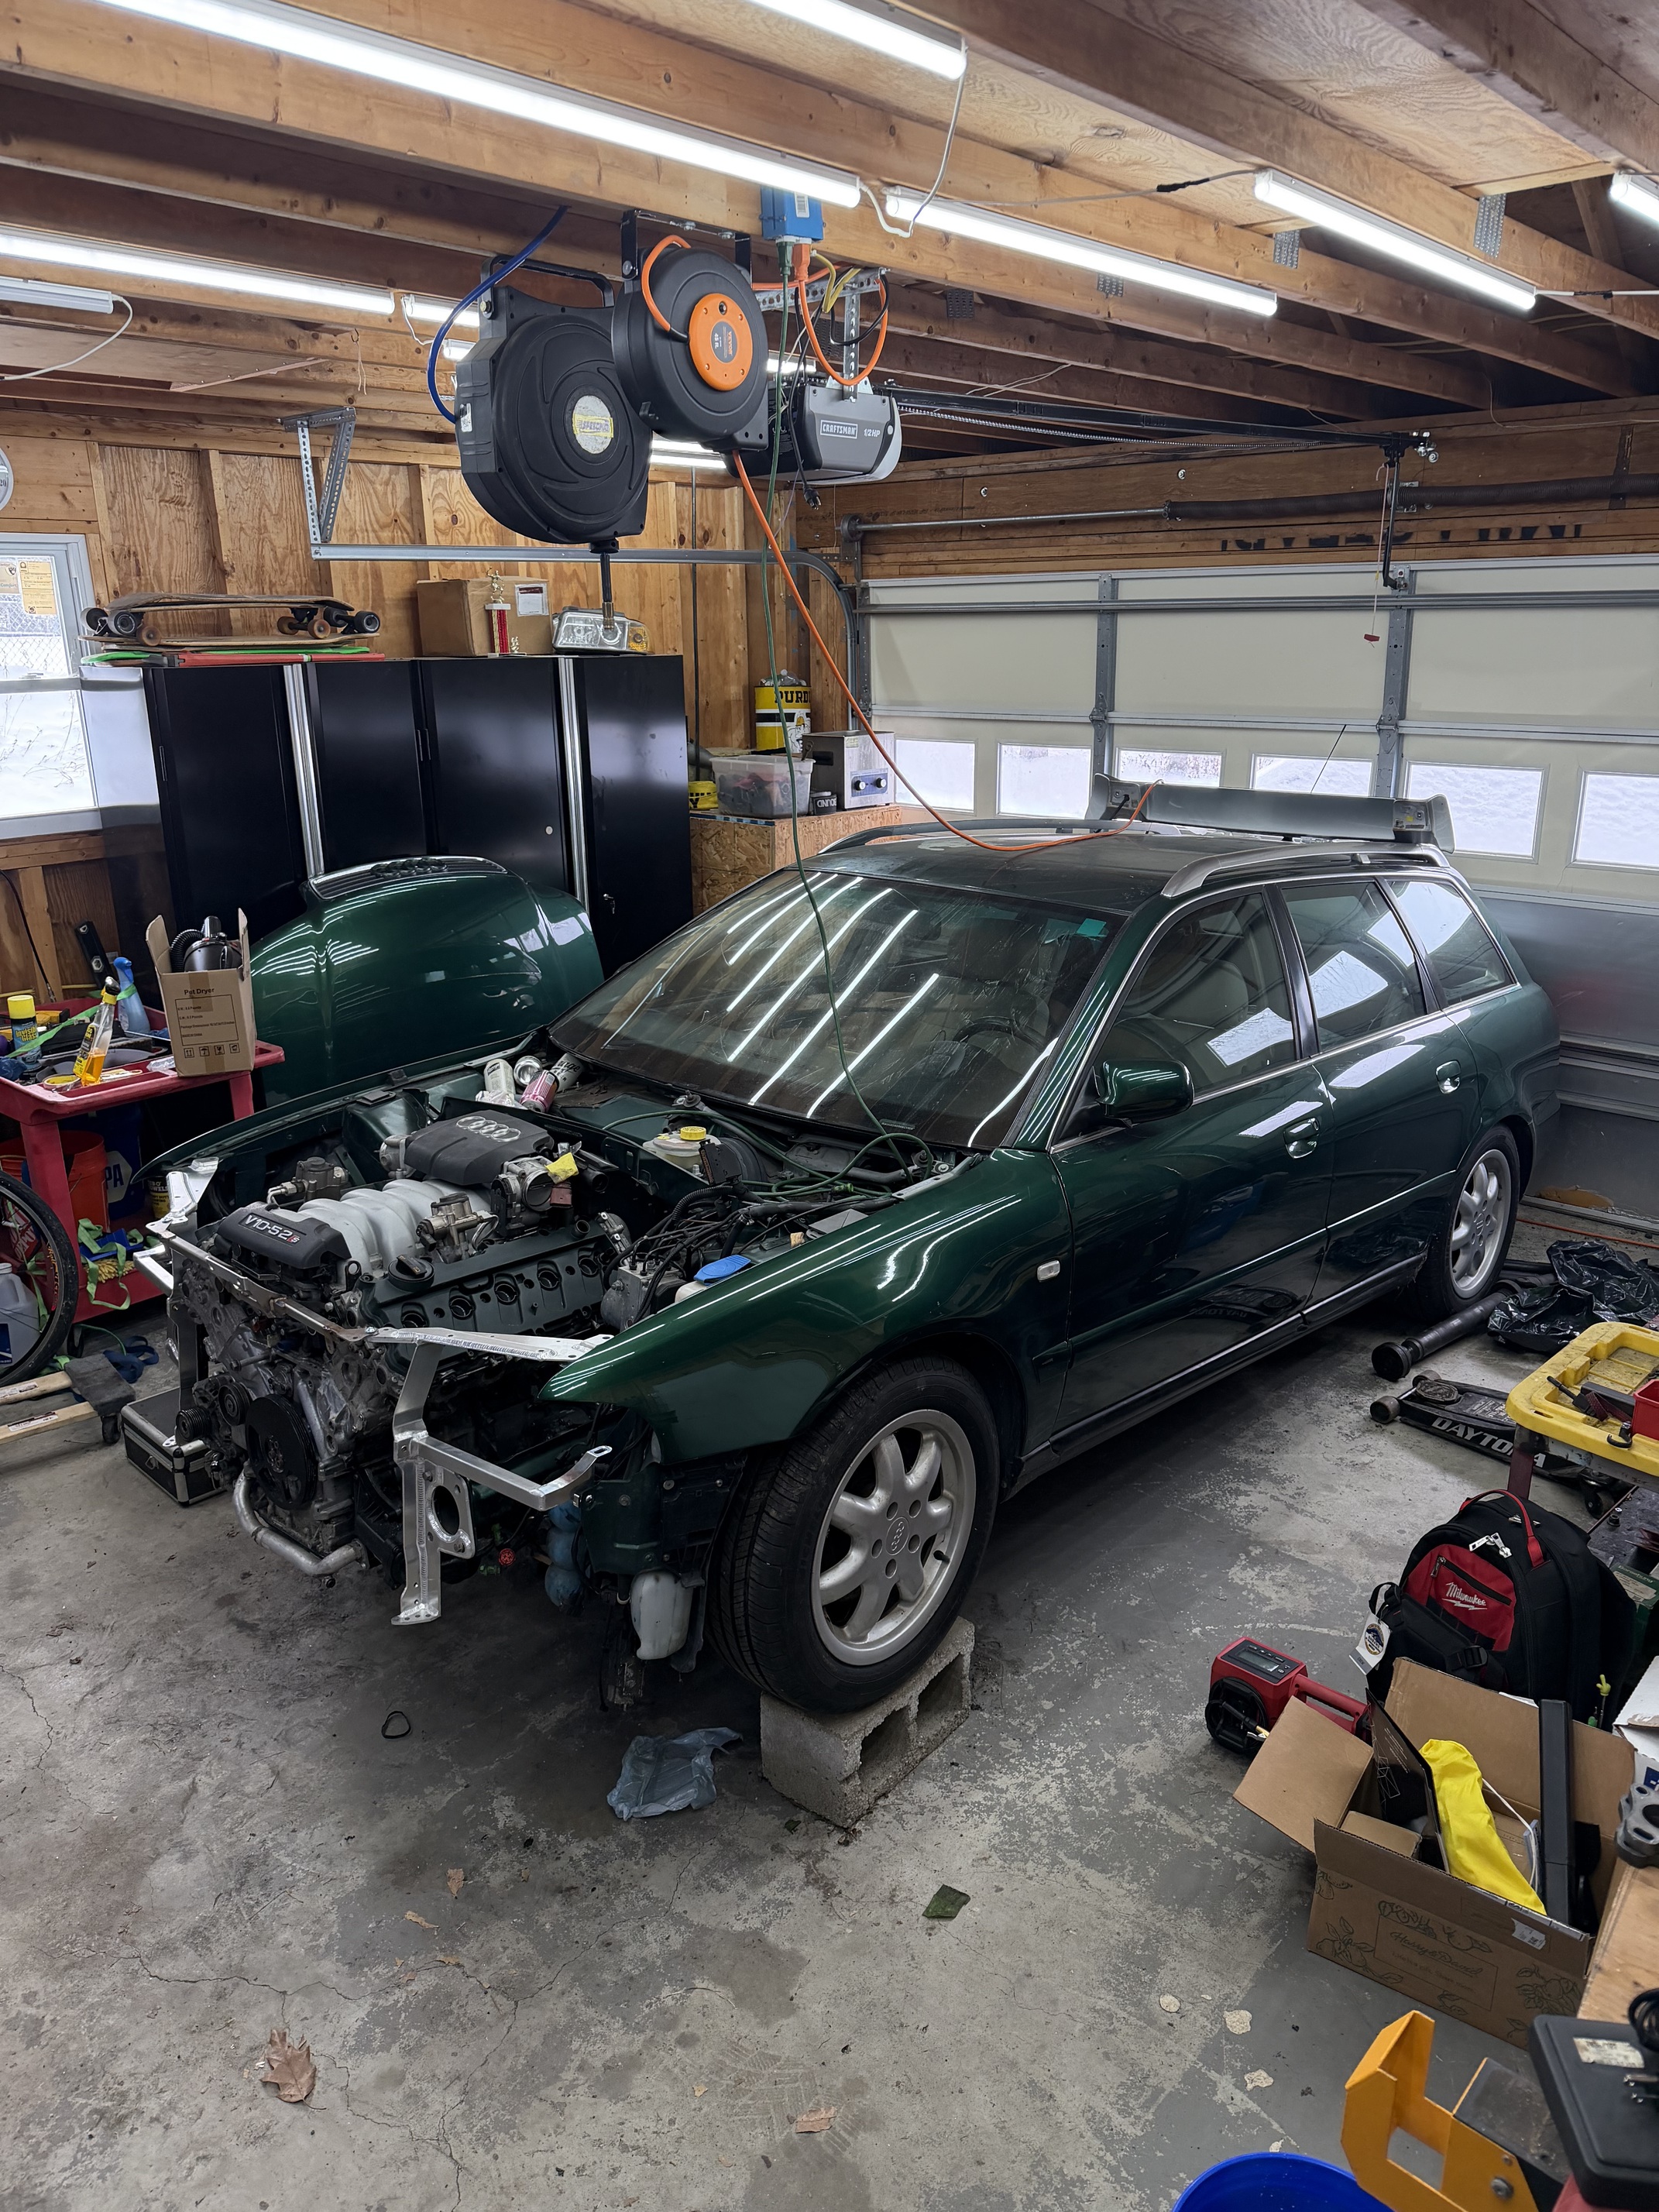
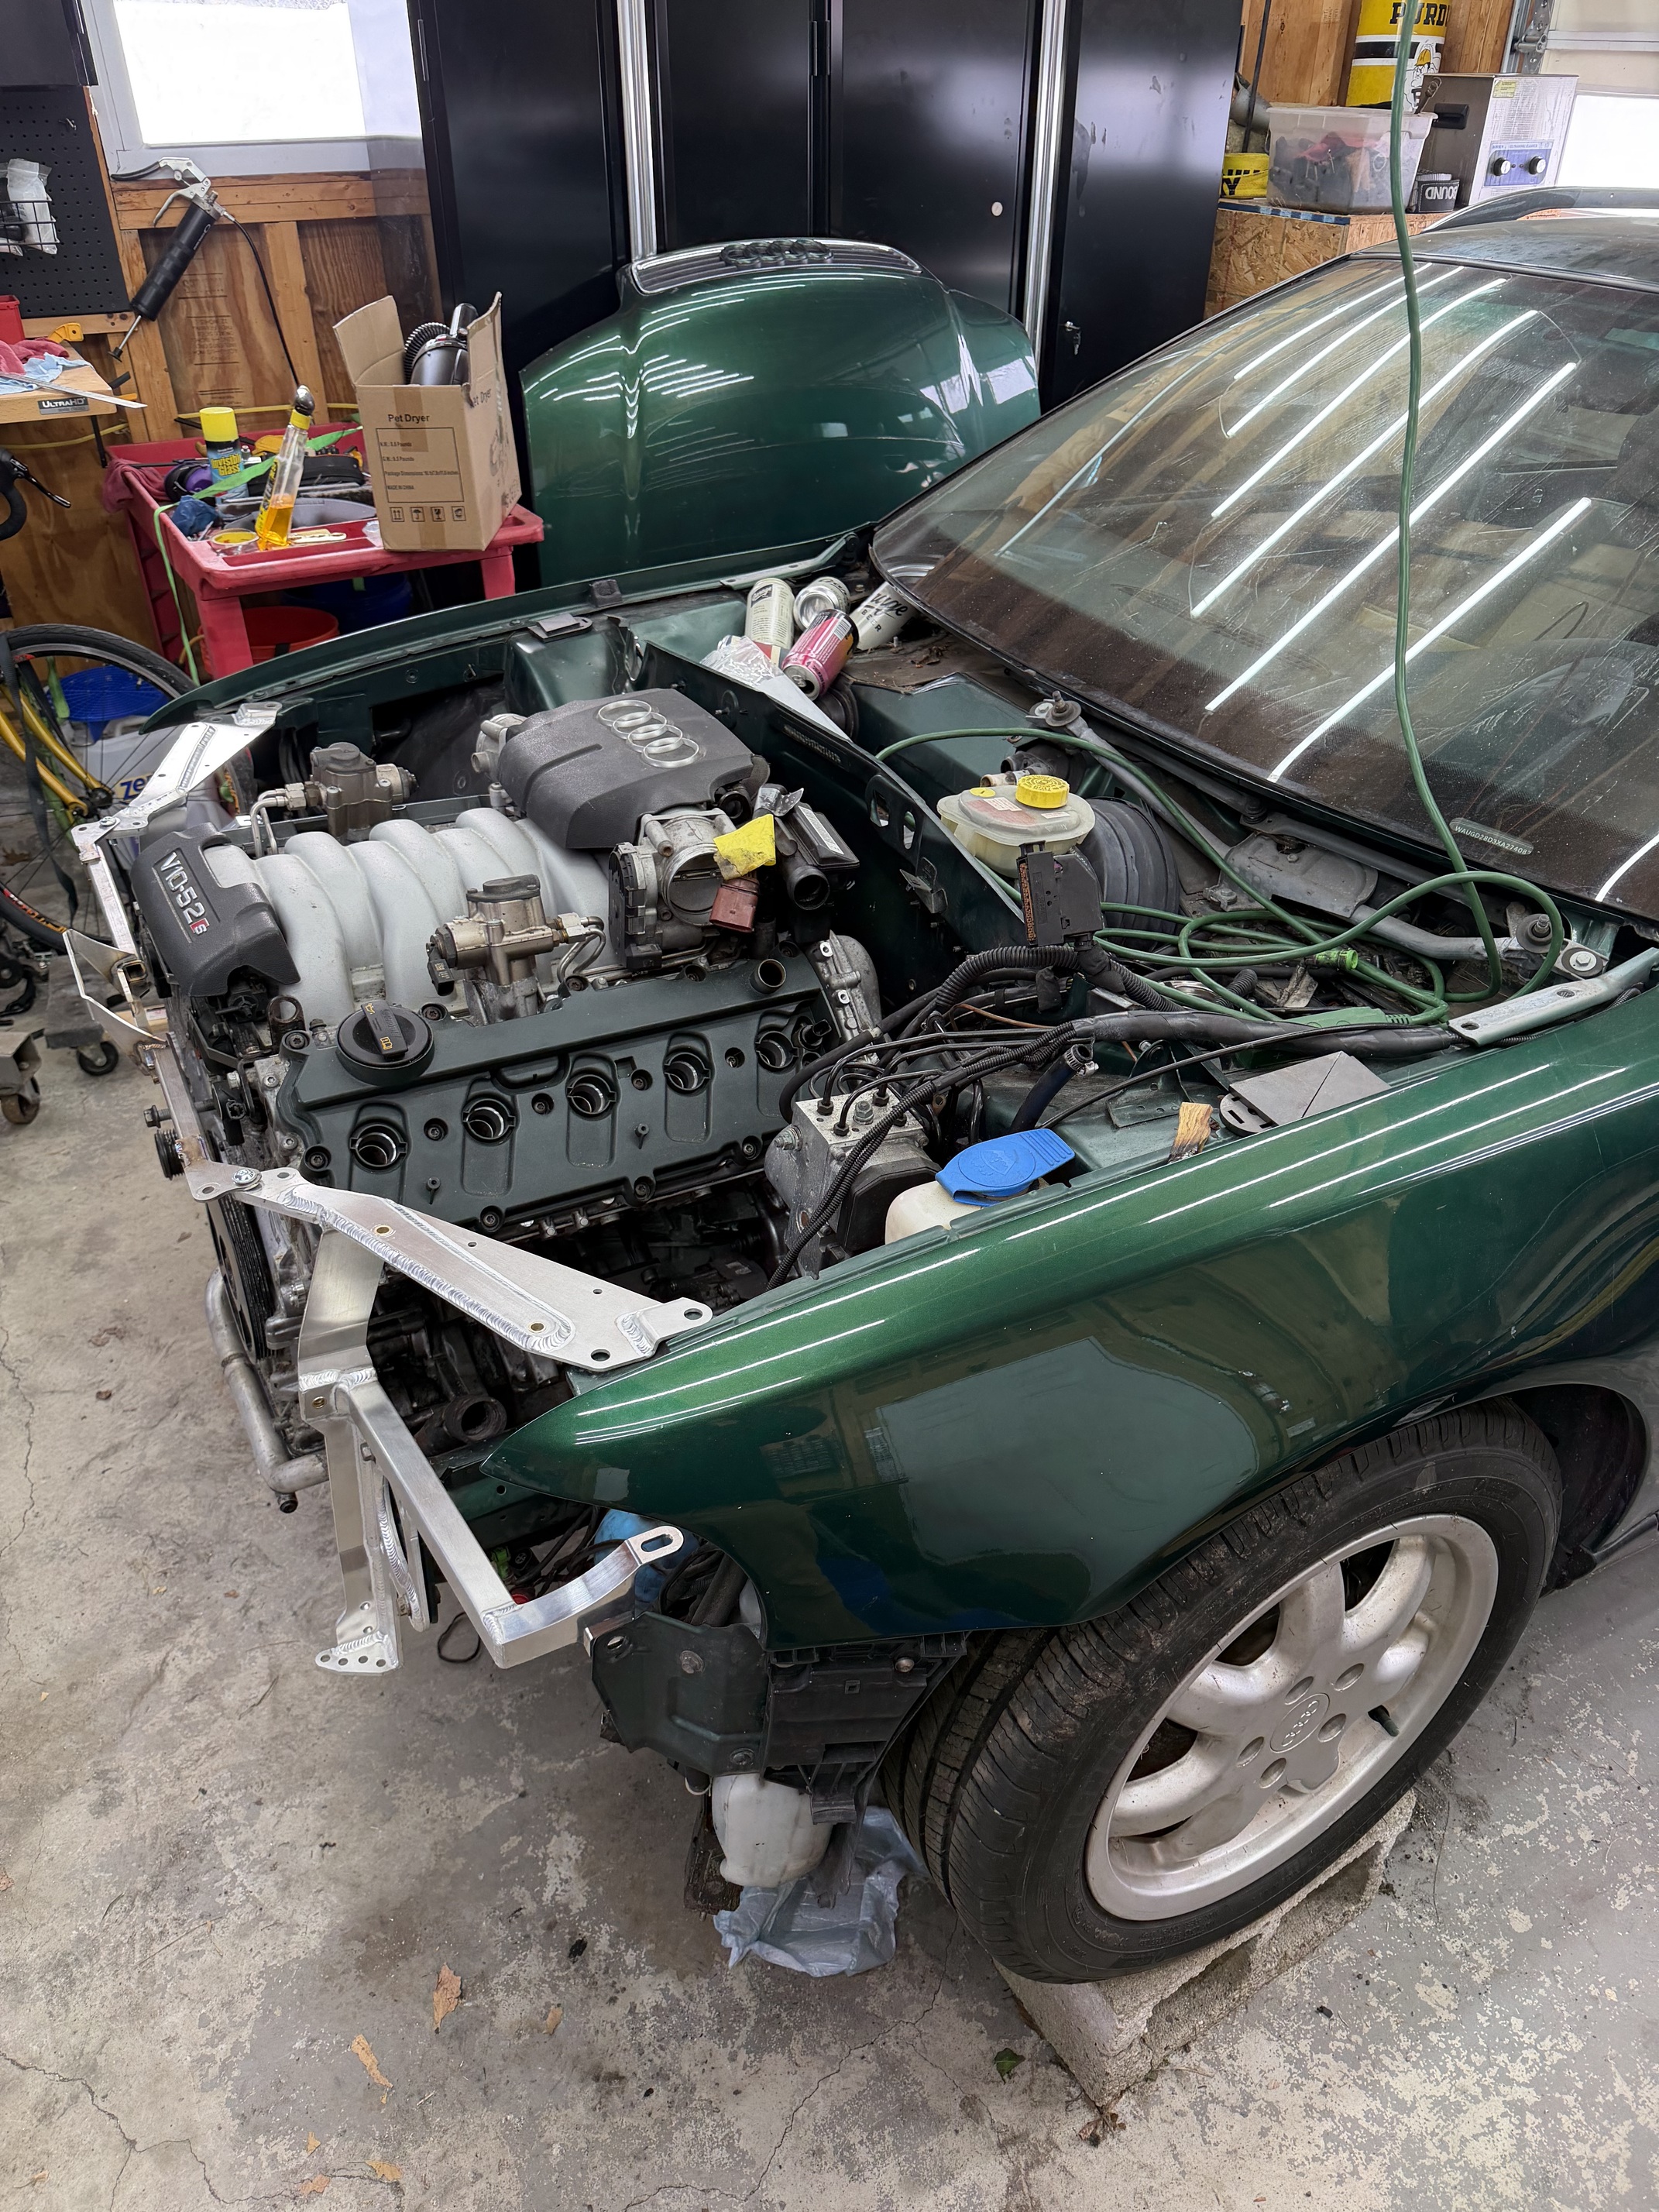
Drivetrain pulled, officially a roller now.
Next steps, clean out bay, pull ancillaries. Carbon clean the v10, then test fit!
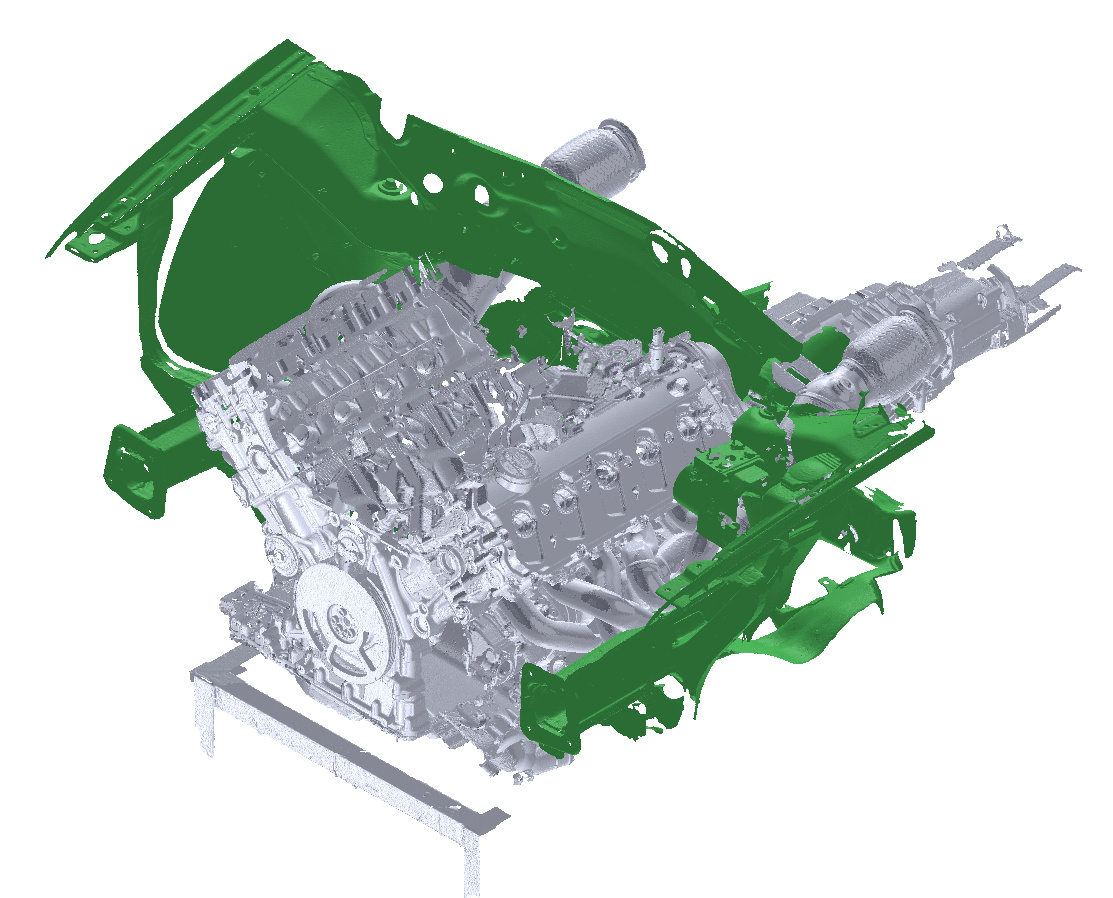
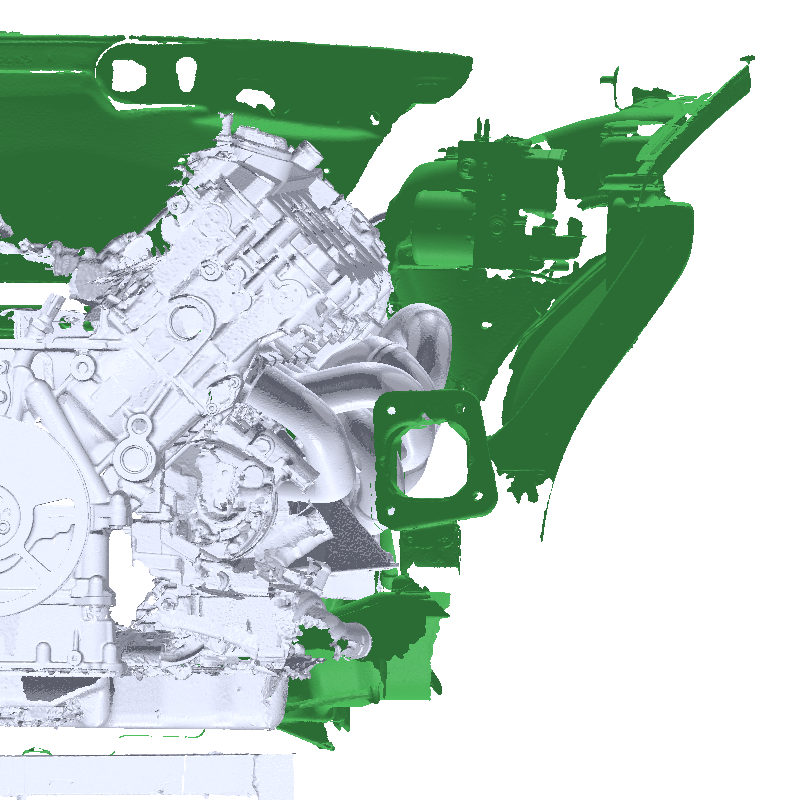
Well I lied. The next step is CAD! Got a 3d scanner for “work” and this significantly helps the progress along. I have a desk job in Engineering, so I am proficient and it only makes sense to use that skill for my personal project.

Next scans are the powertrain and headers to see how much cutting will be involved.
Fun seeing this come along.
I scanned enough to get 2 and a half burning questions answered.
1-Will it fit? Yes
2- Will there be cutting? Yes
2.5- How much cutting? Not as much as I had anticipated
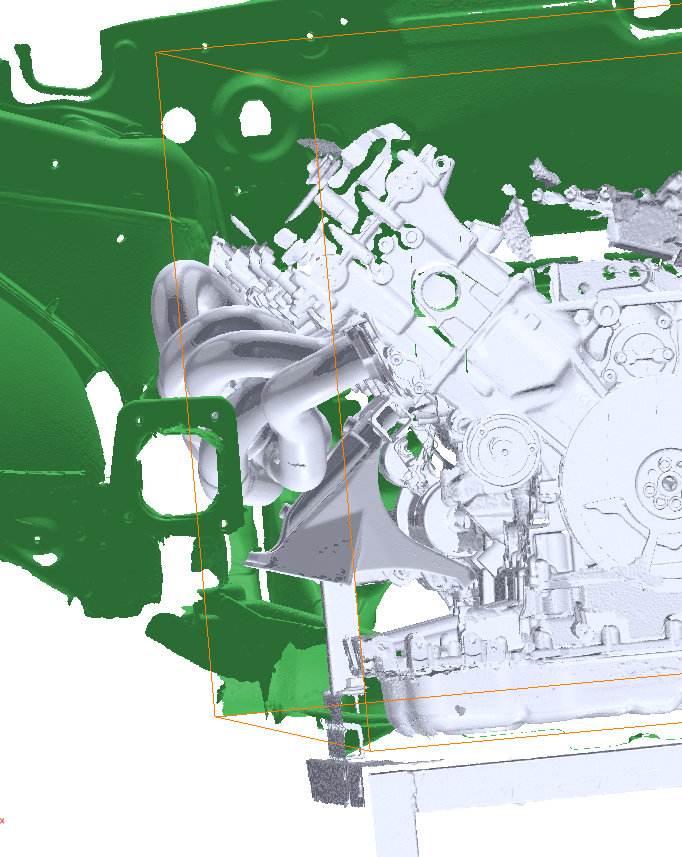
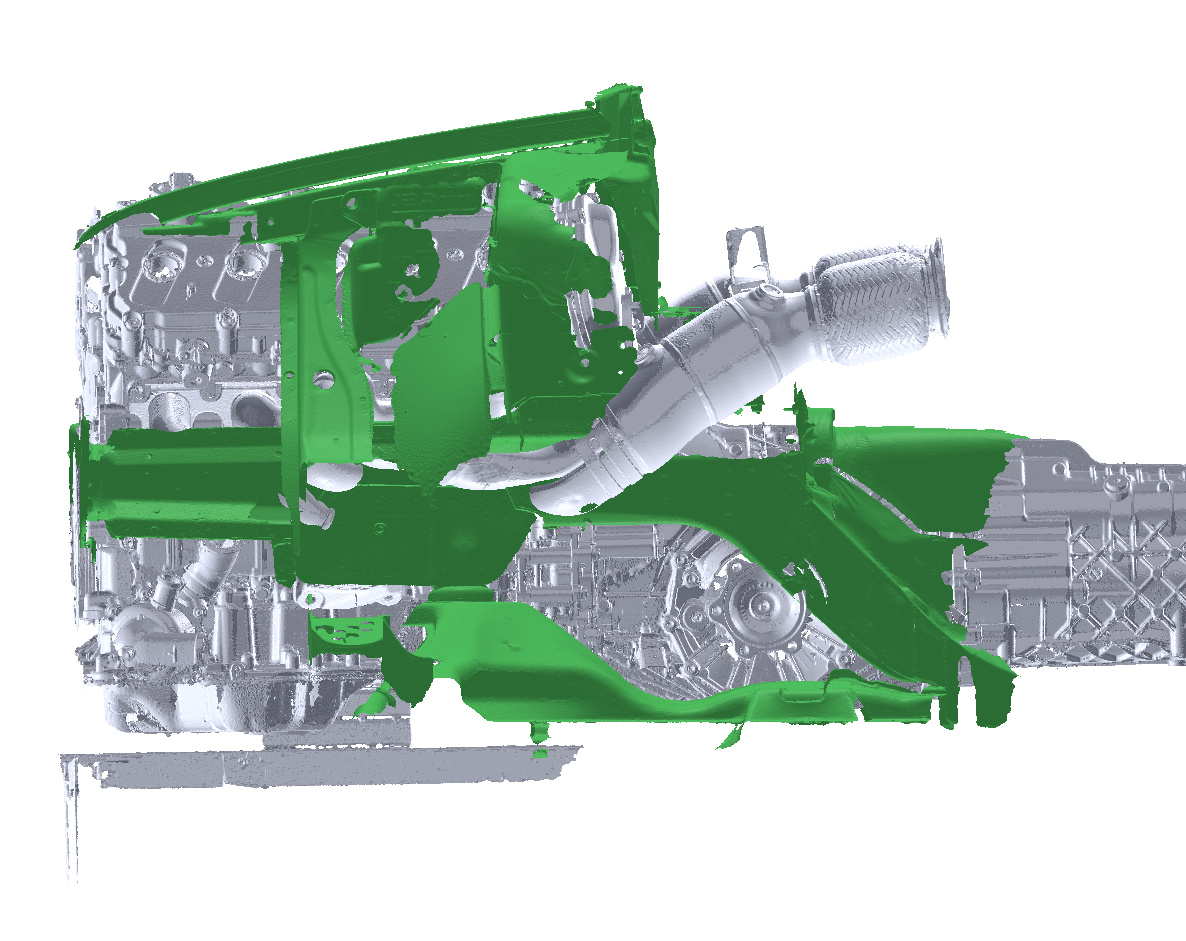
Framerails are less than 50% interference, cutting, boxing and adding some bracing would do the trick
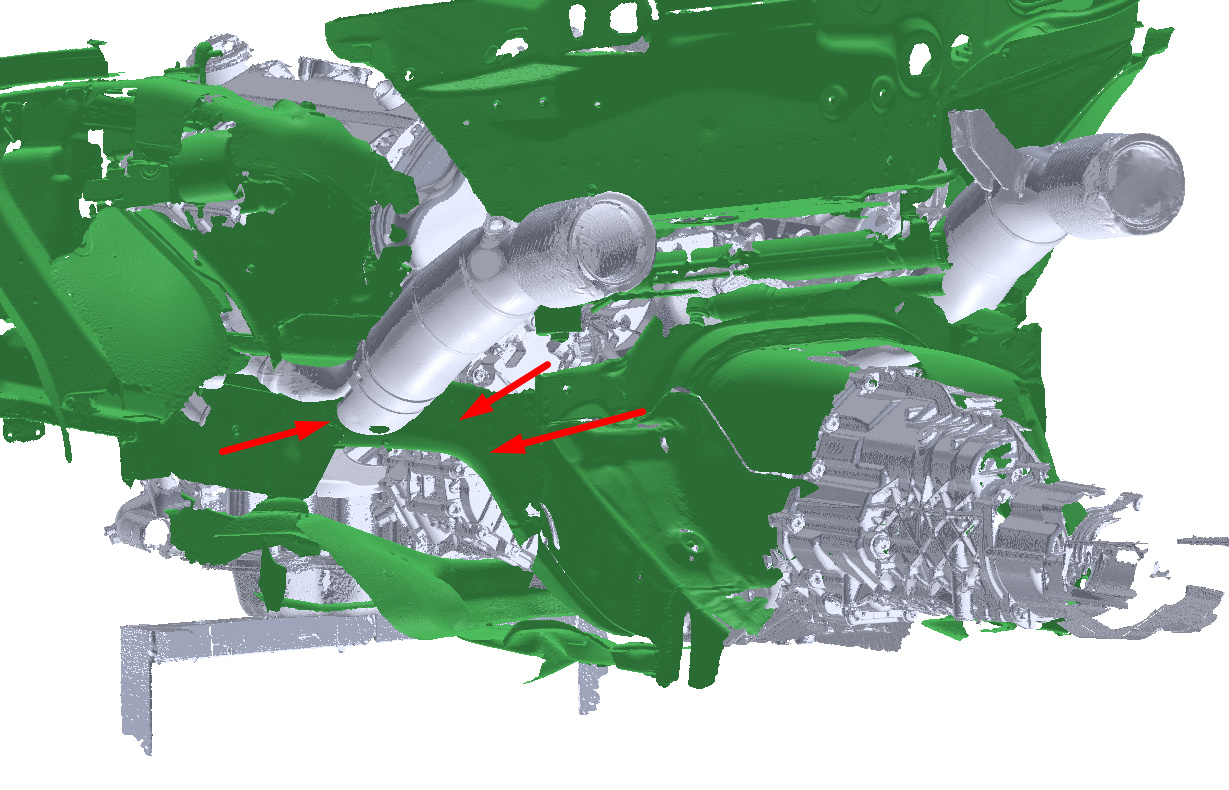
Obvious header modifying after the collector. Will be a squeeze around axles.
The framerail to trans tunnel area may require modification. It looks this way on both sides. Hmm
This is about 15 scans roughly stitched together so tolerances are loose. But it gives me a much greater understanding of how things fit.
Back in it.
Carbon clean is 65% complete. I am using a combination of all the methods. Start with pick to get the big chunks, then fill with acetone, agitate and let it sit. Then suck that out, walnut blast, more acetone, then walnut blast again. about 20-30minutes/cylinder after the initial soak.
Once carbon clean is done I can reinstall the intake manifold and other bits. Then design motor mounts as there are multiple interferences with OEM ones. Following that I can focus on header modification…the elephant of this project. I will find…scratch that, MAKE a way
Carbon clean done, injectors calibrated and rebuilt, manifold back on. I forgot about the coolant pipes and their proximity to these headers, so going to do some mocking up with those. Once I get some metal from send-cut-send for the motor mount, I’ll do a test fit in the shell.
Nice work!
No that winter is finally frigging off I can get back in the garage. Decided it’s probably best to fab my own 5-1 headers for this given the lack of space. Did the first test fit! A few things to grind down and box out, but overall its quite encouraging👌🏼
Looks great!
How’s the progress with the headers?
Dave
Well summer was wild busy. Realizing that I started prioritizing more time to work on this!
I called a few audibles on the headers. The r8/huracan ones are just too mugh to modify for fitment and theyre not a true 5-1 sollector. I was going to spend the time to CAD/mockup some 5-1s but a great deal fell in my lap for some 5-1 5.0 Gallardo headers. Some modifications required. I had to gap the exhaust flange about 2mm between each runner, mod a few flange bolt locations, and add a v band at the end all while not turning them into a piece of wavy bacon.
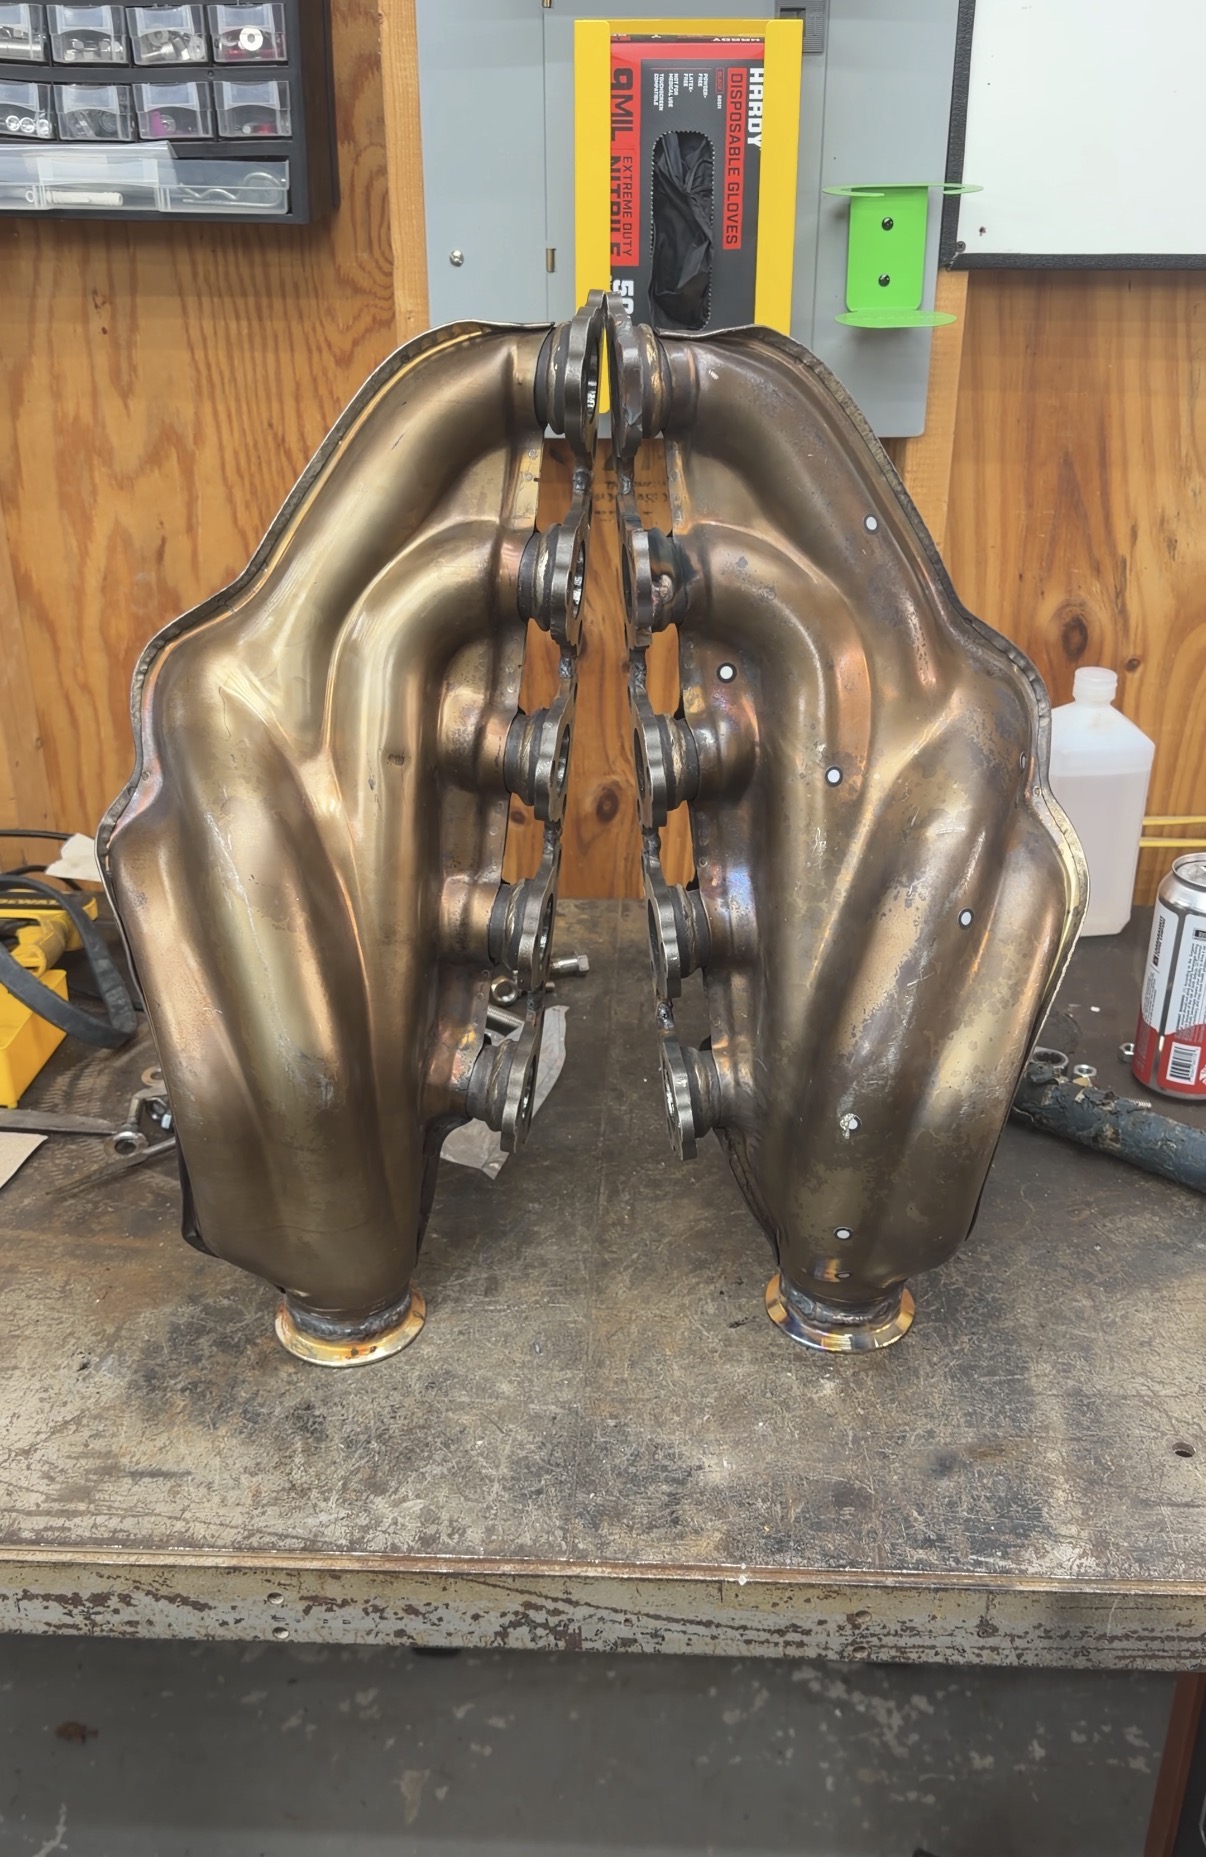
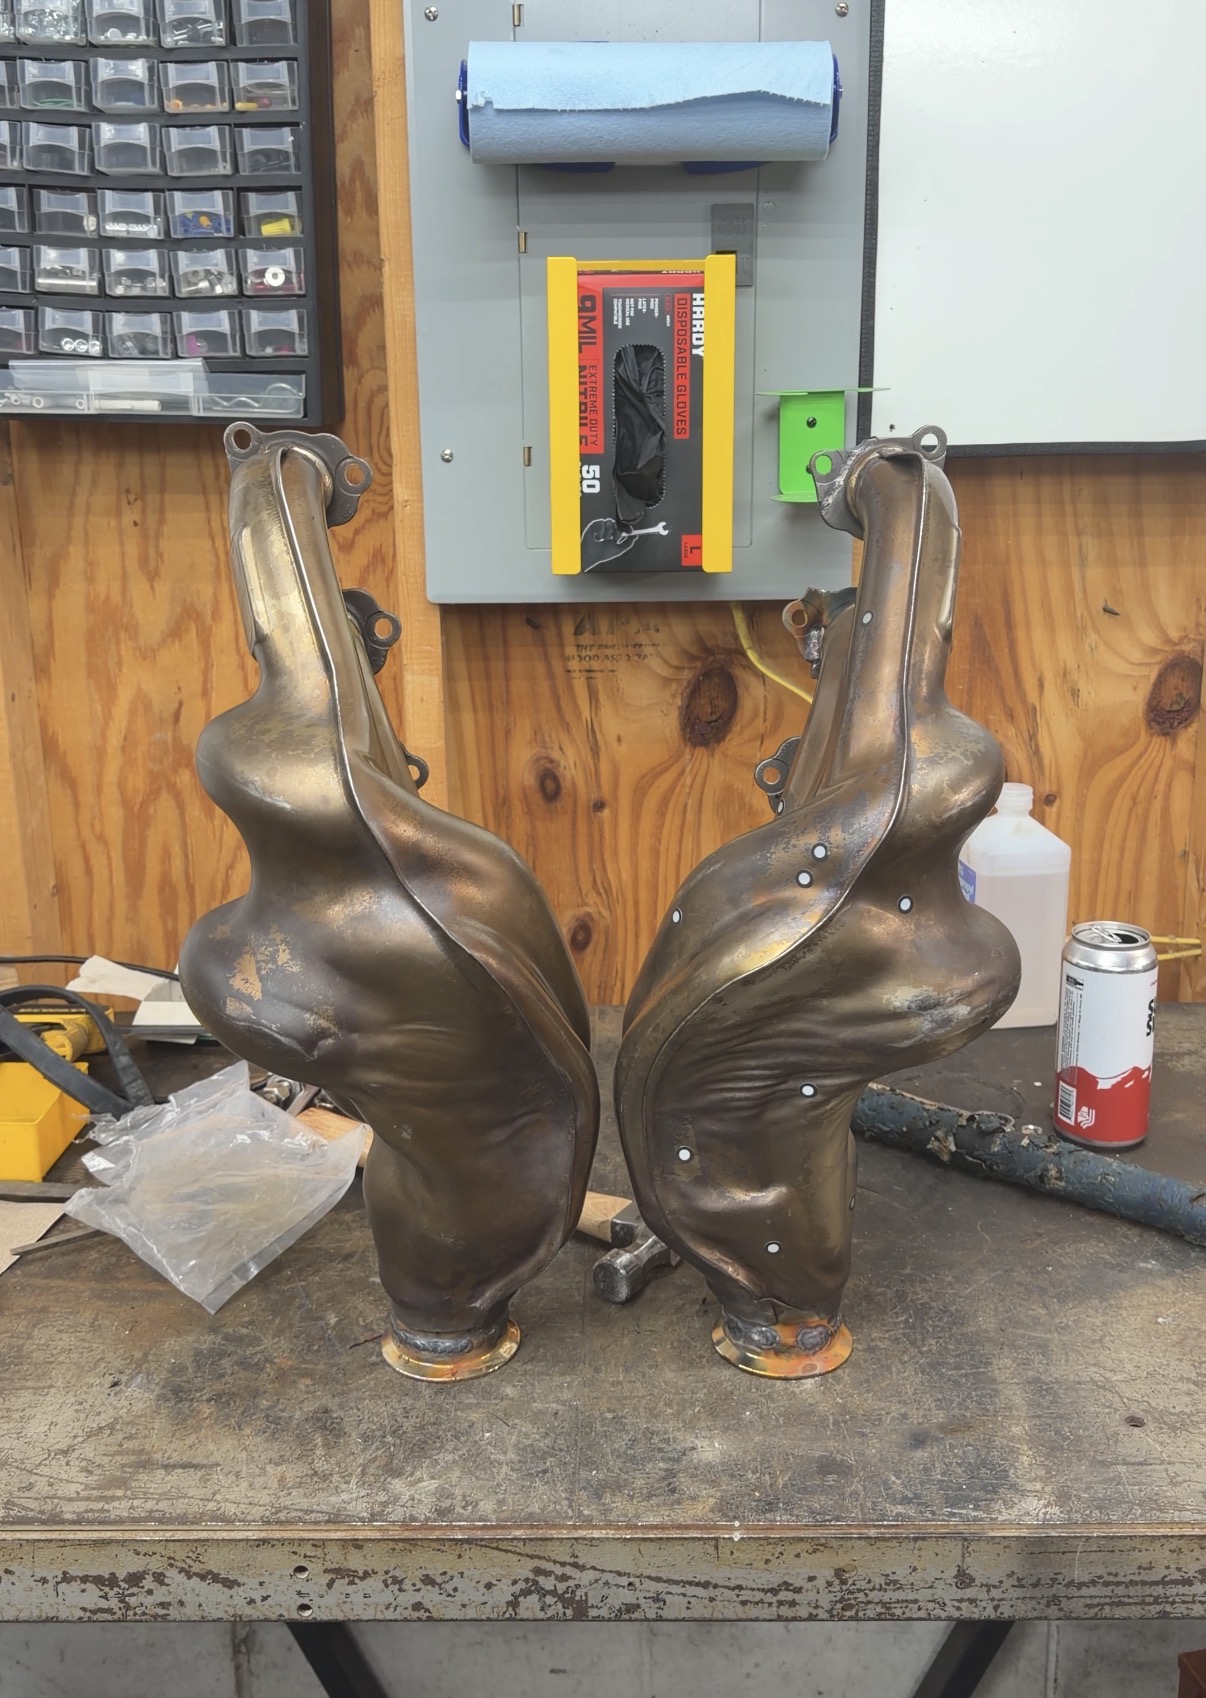
Then came the cutting. Fortubately I had the CAD models to get a great estimate of what needed cut. Once I have things where they will lend for good, it all comes back apart and boxed in with some 14 GA steel, plenty strong.
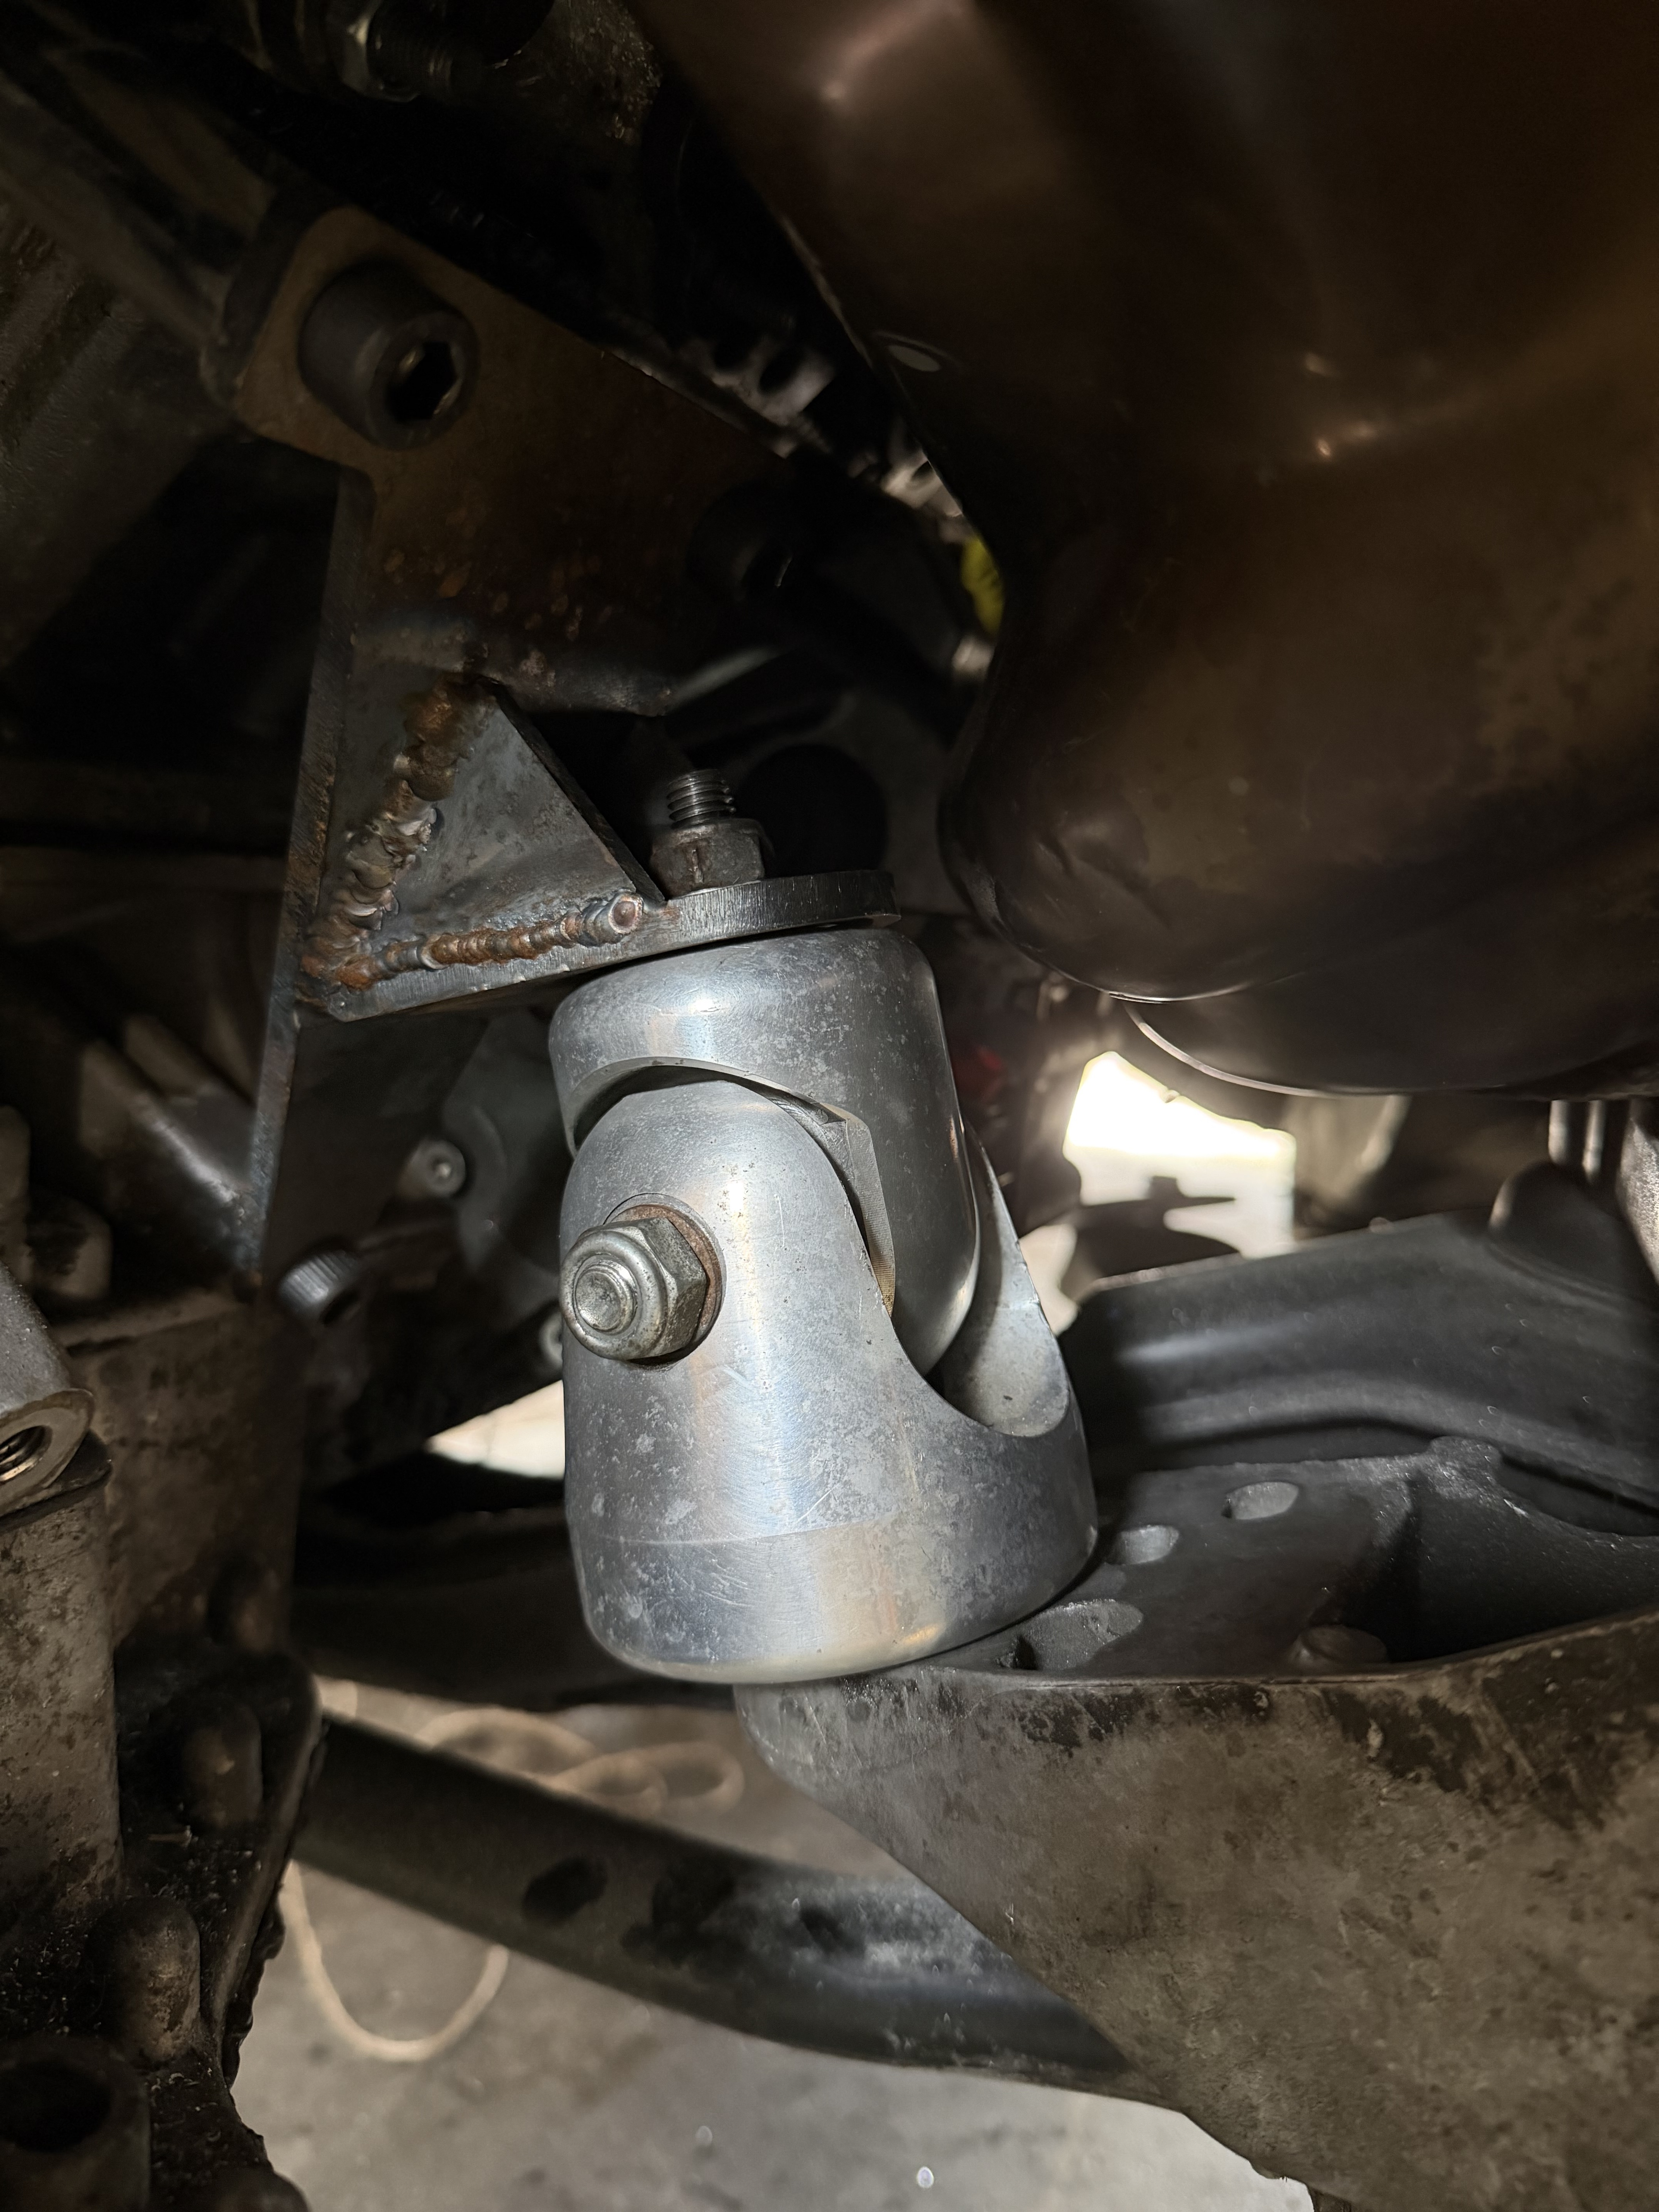
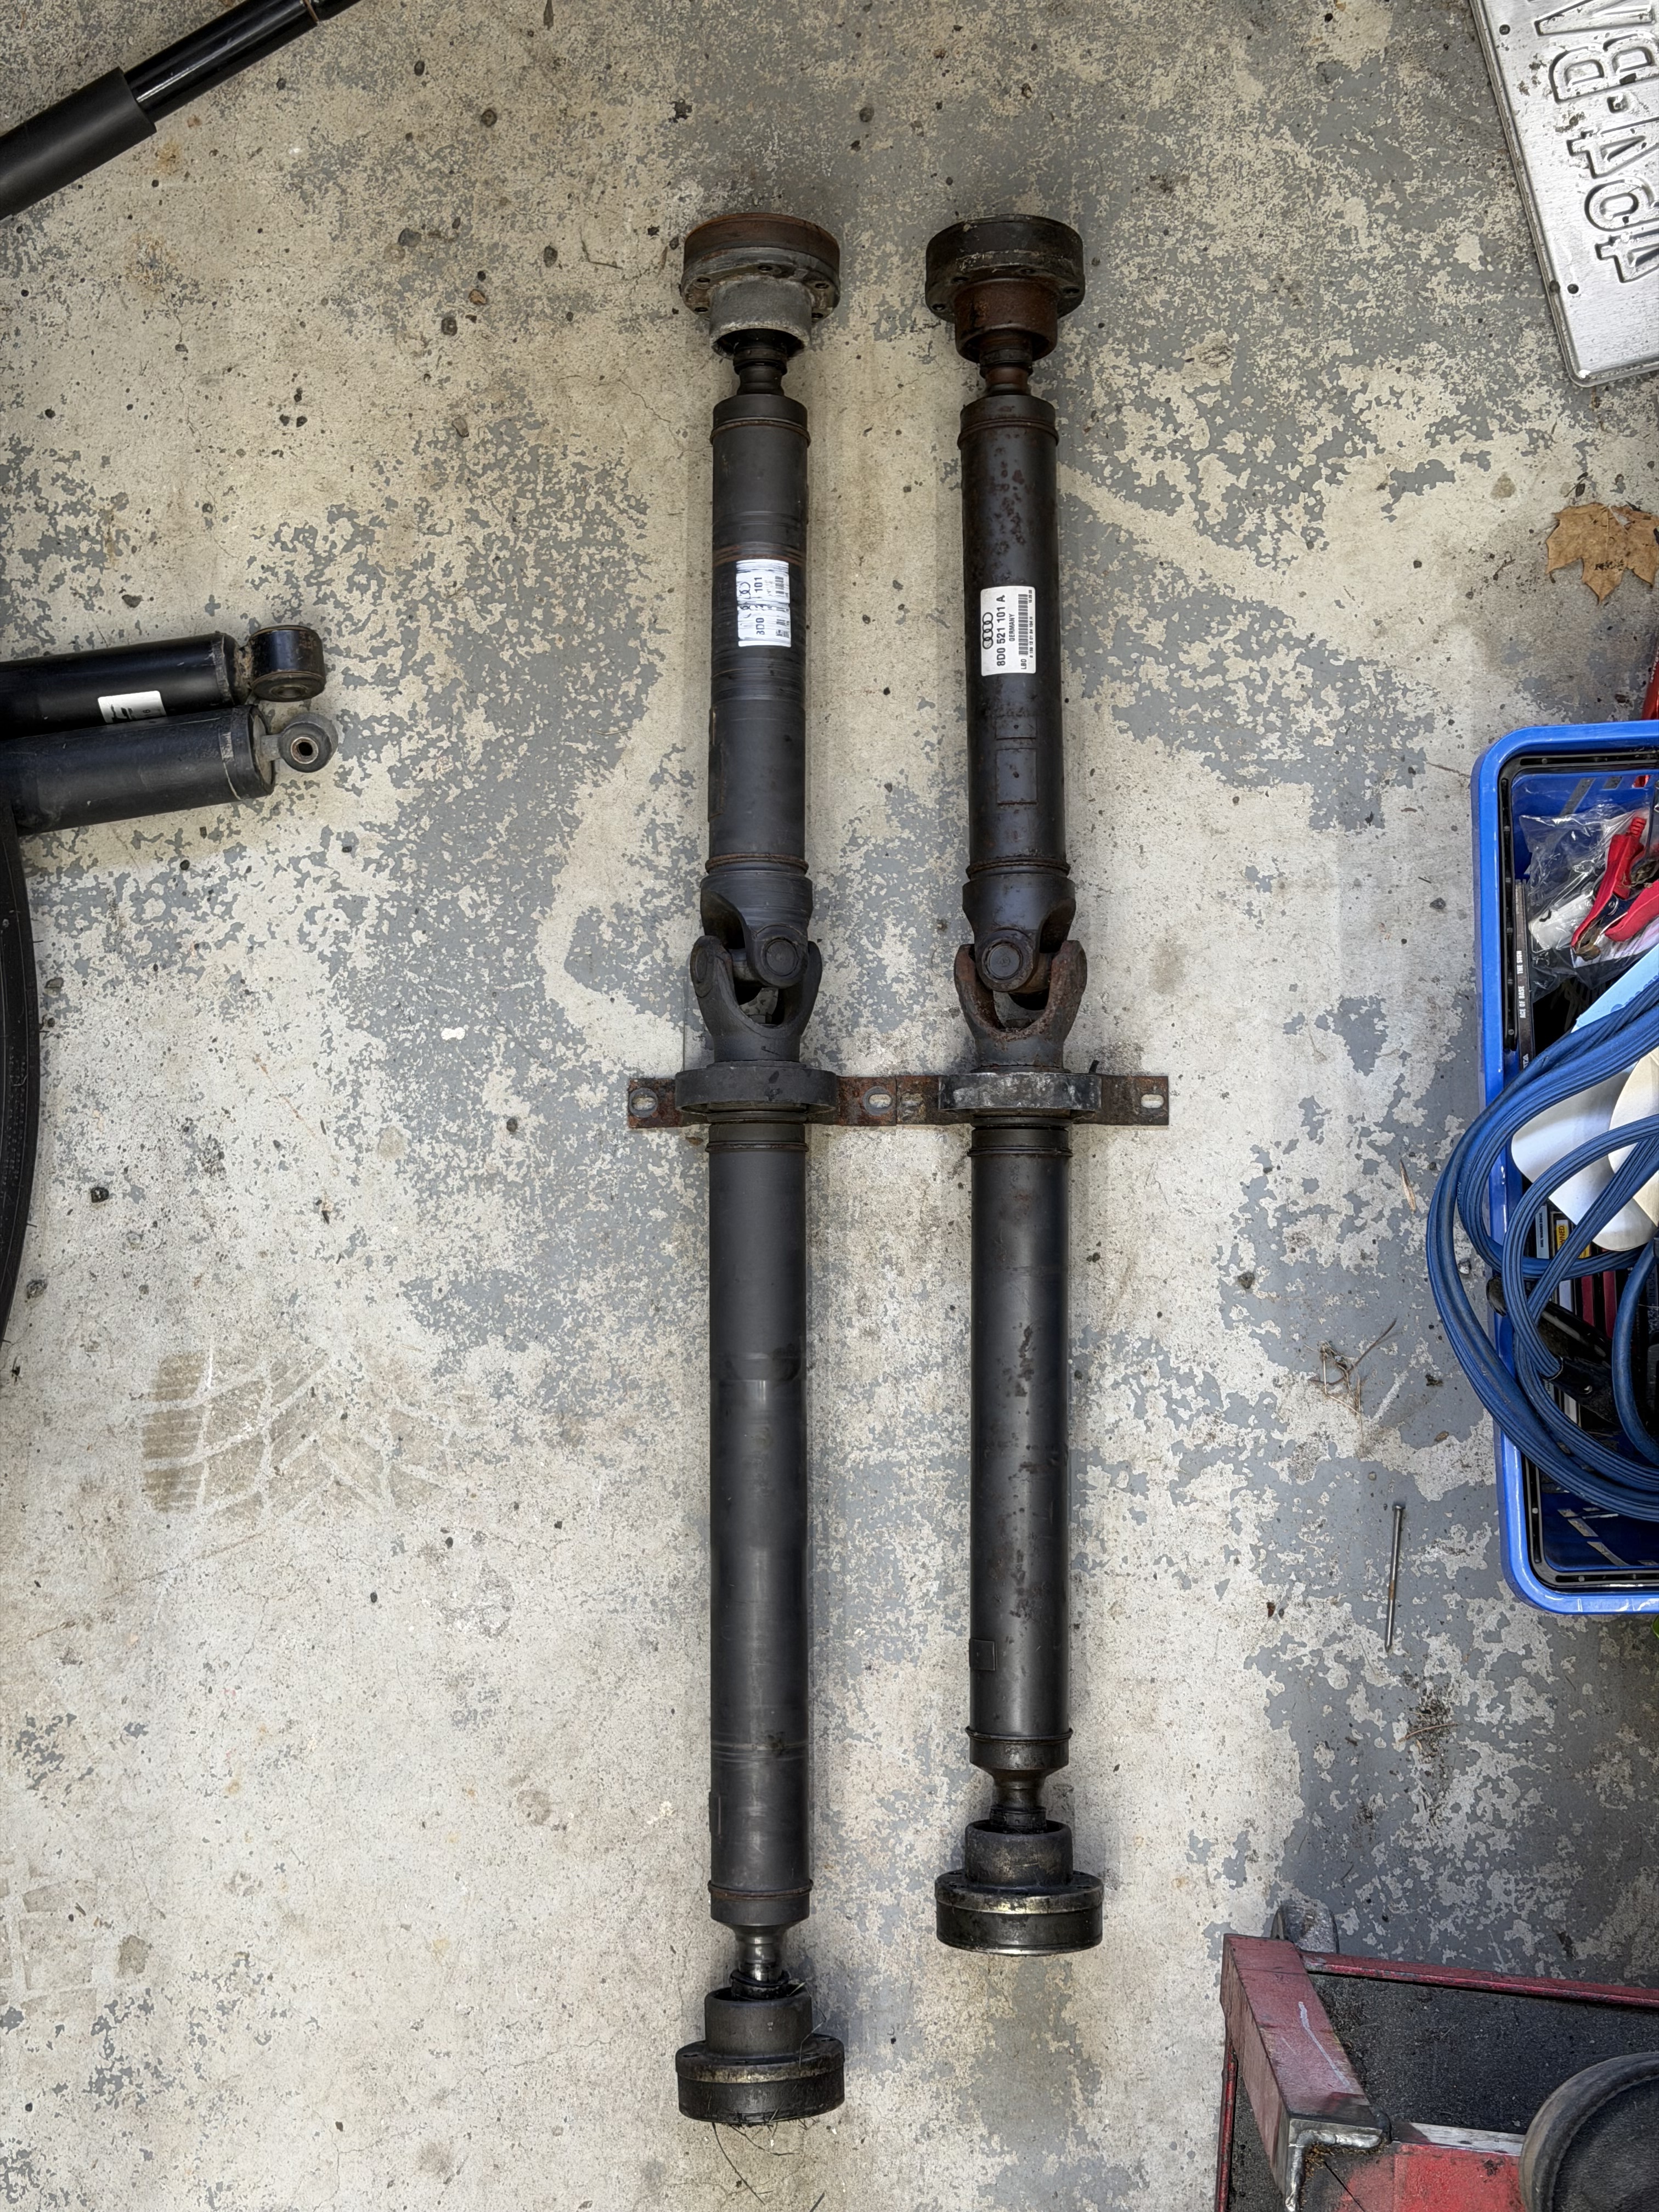
I was having a difficult time deciding where my main reference point to build off of would be. A B5 S4 auto driveshaft is 3" shorter than my 2.8 manual one. This is where I decided to start.
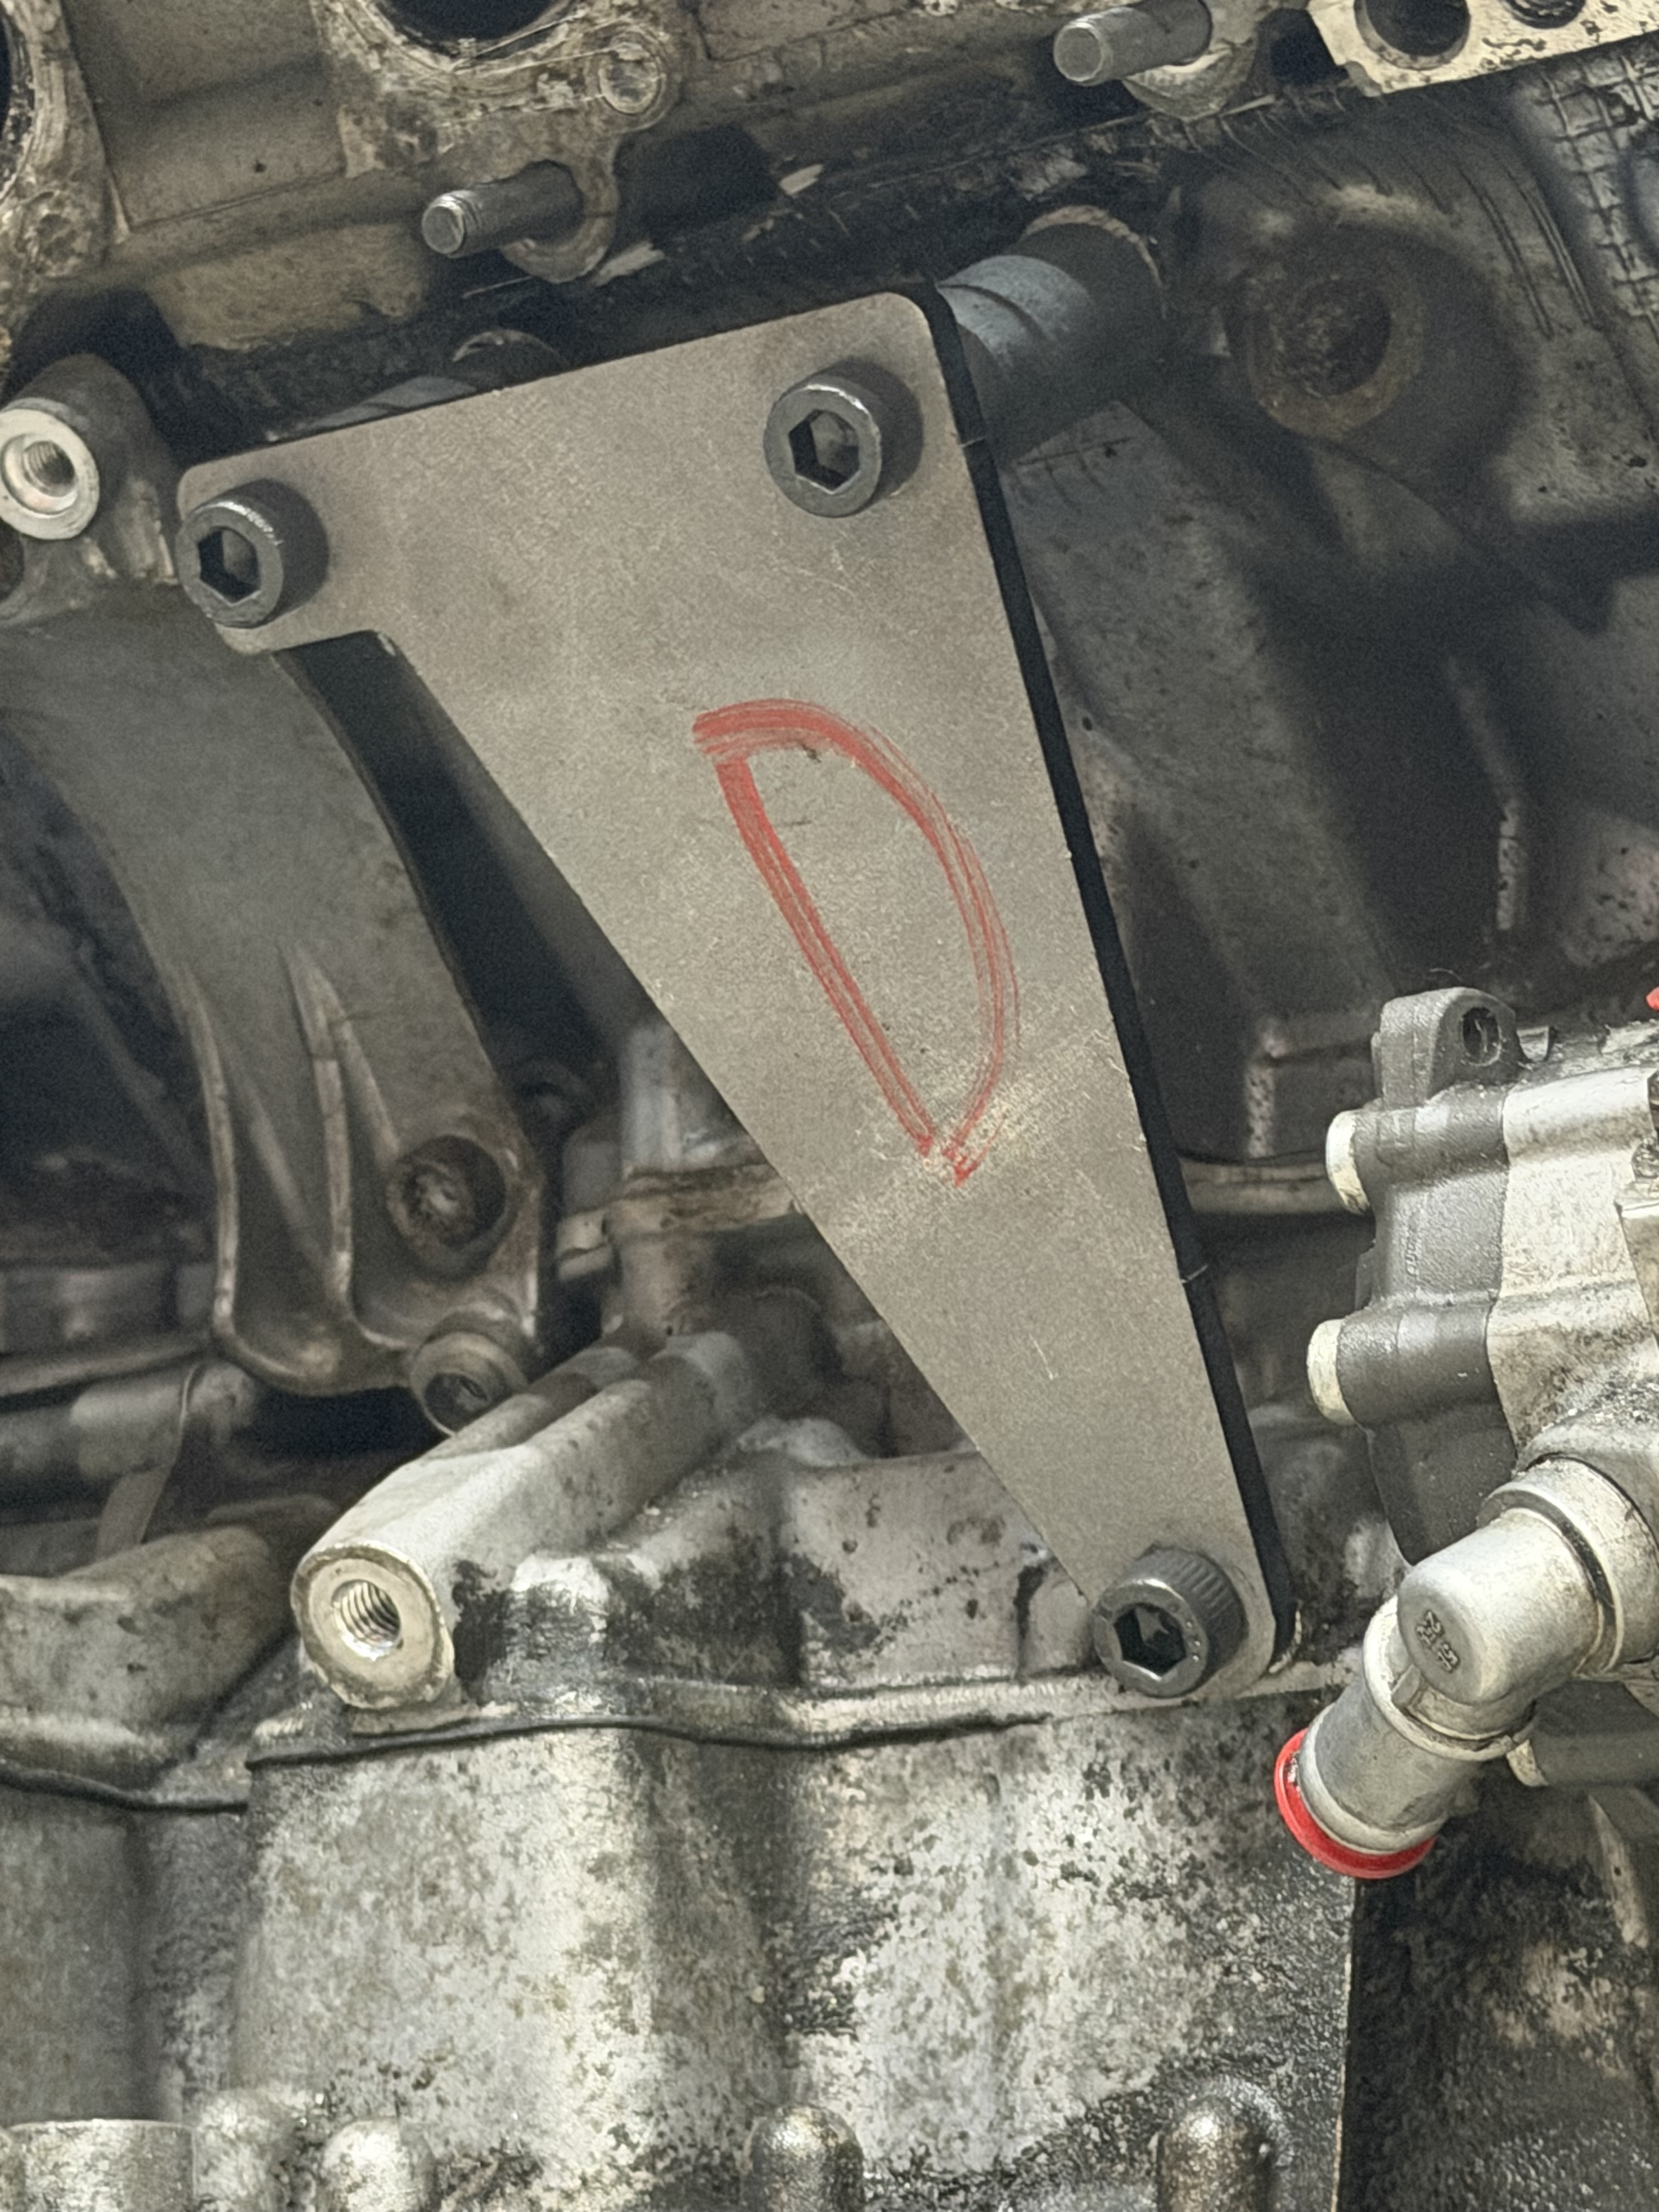
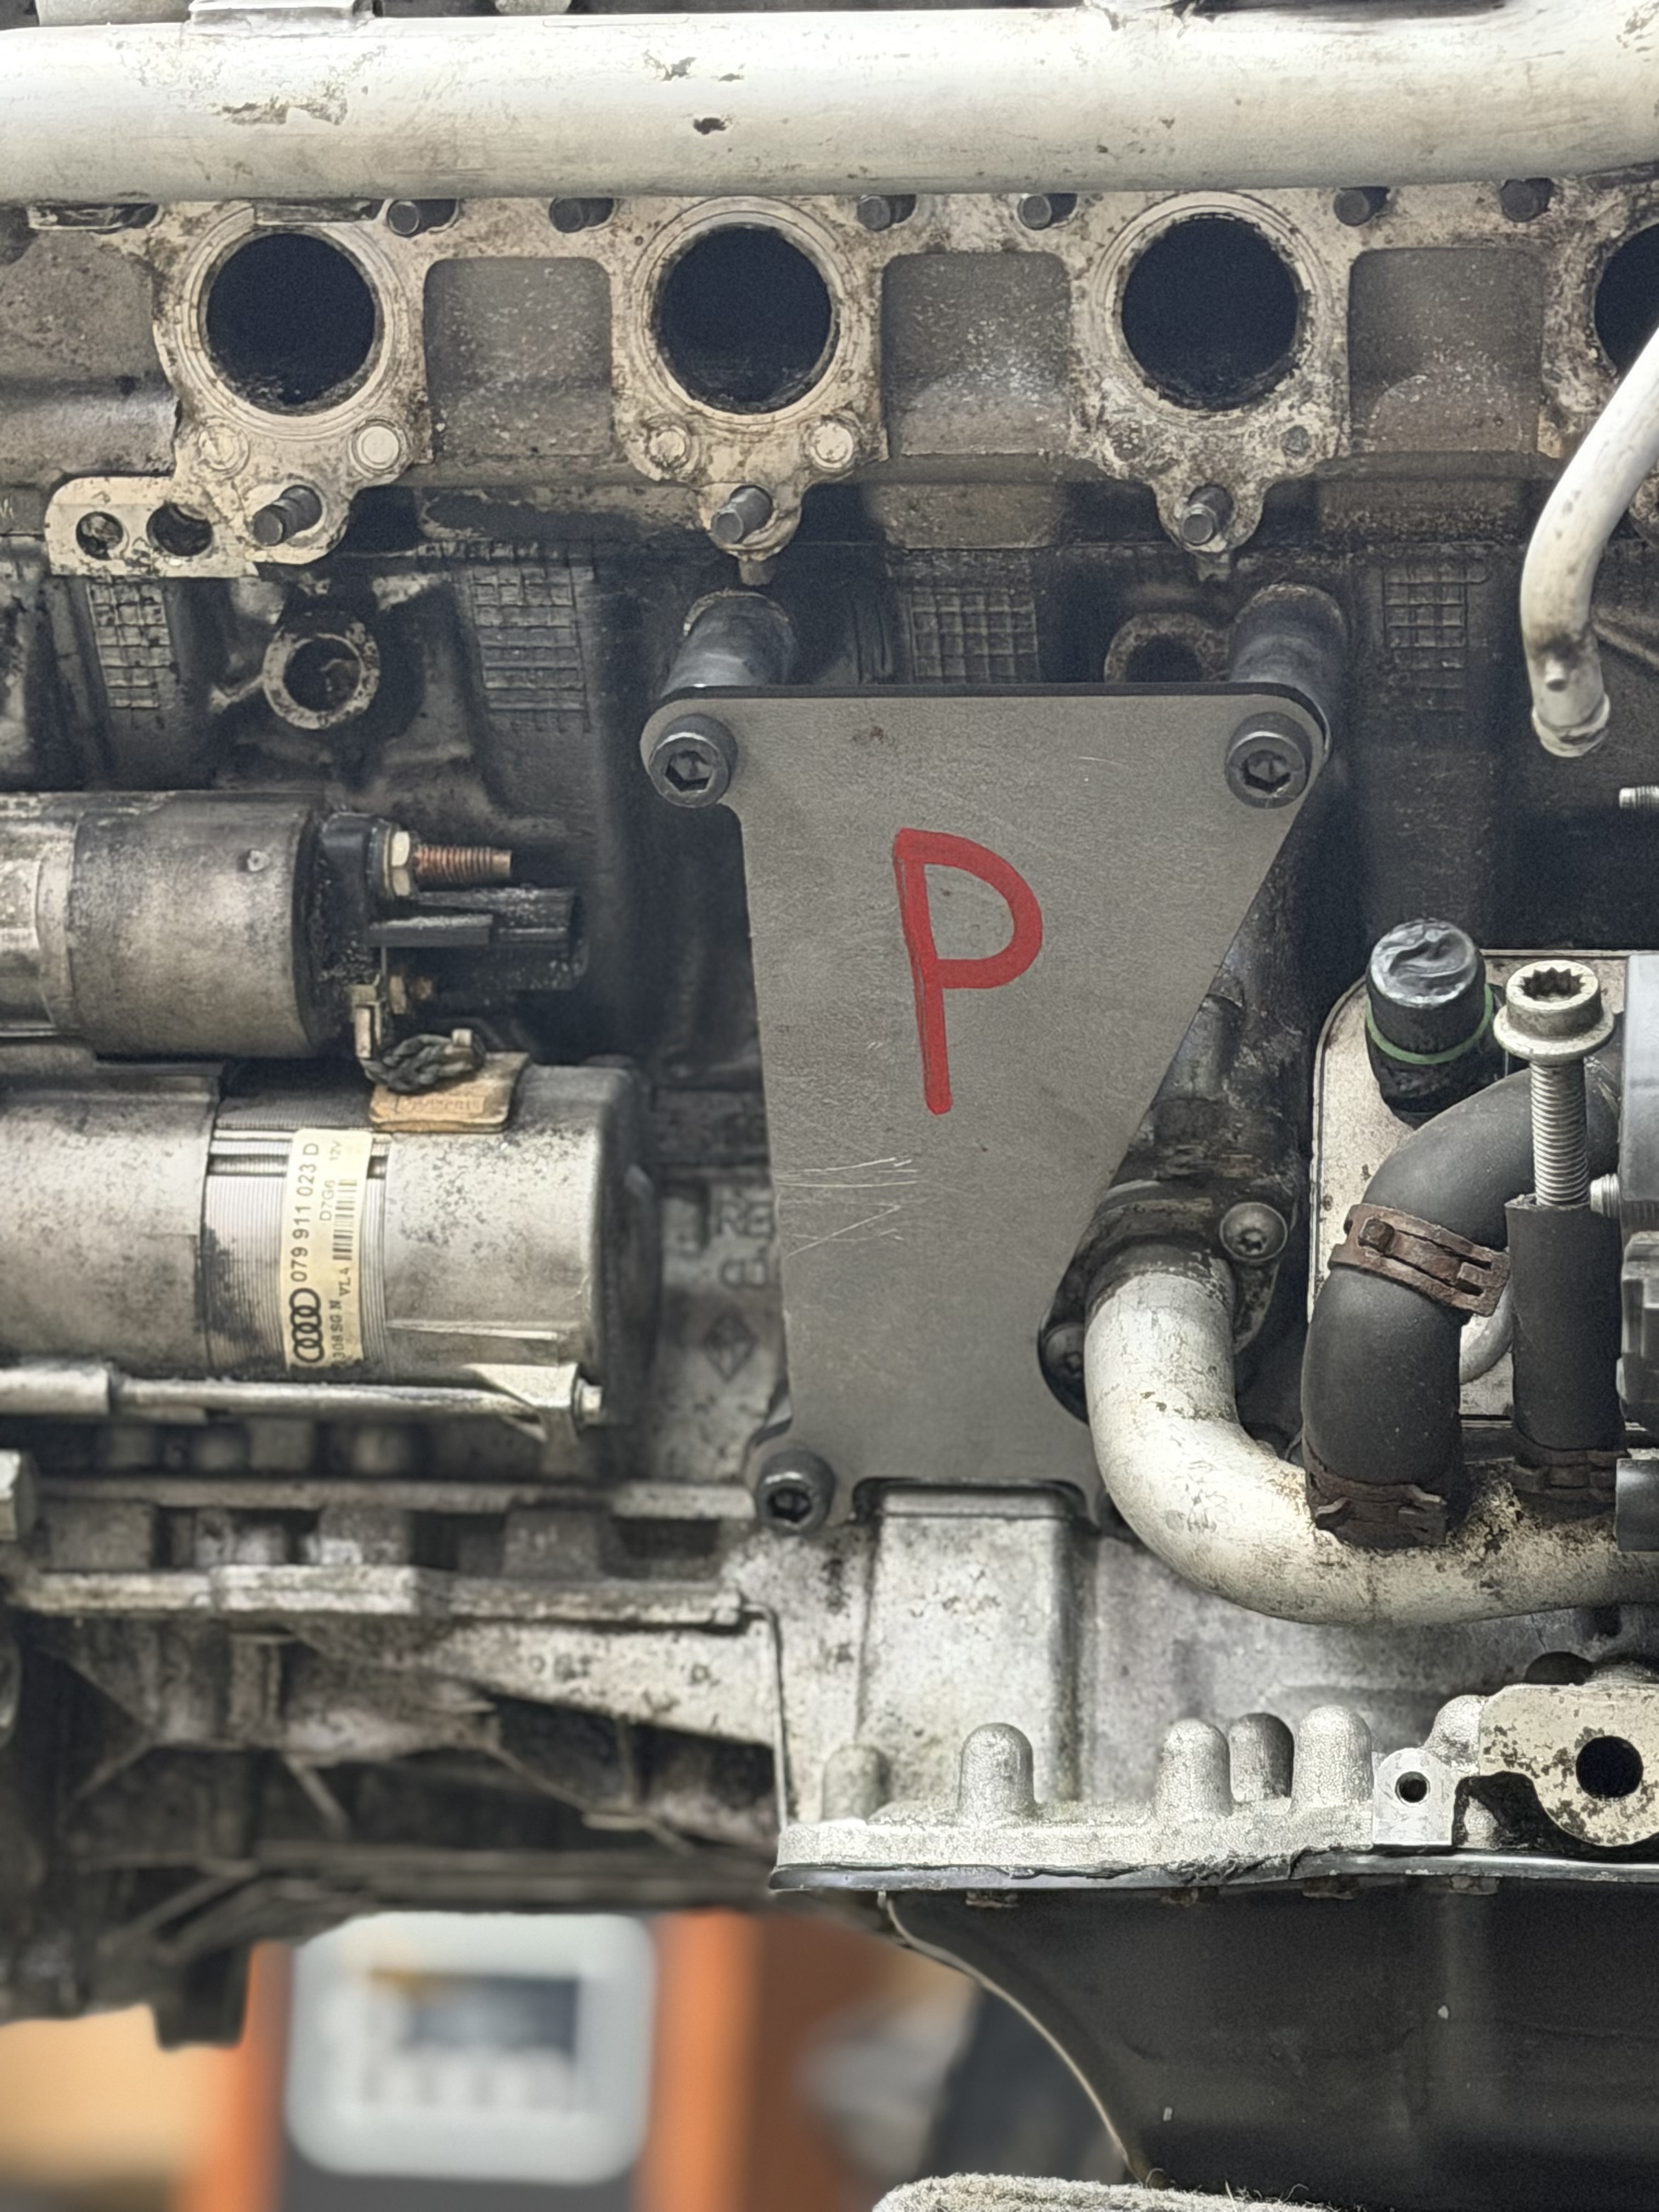
A few new engine mount plates compliments of Martin Harp.
Here’s where were at for the year end mark. I am determined to drive this to shows and meetups this year. Using the B5 S4 auto driveshaft (3" shorter) I have a few contact points, some minor some not. all resolvable.
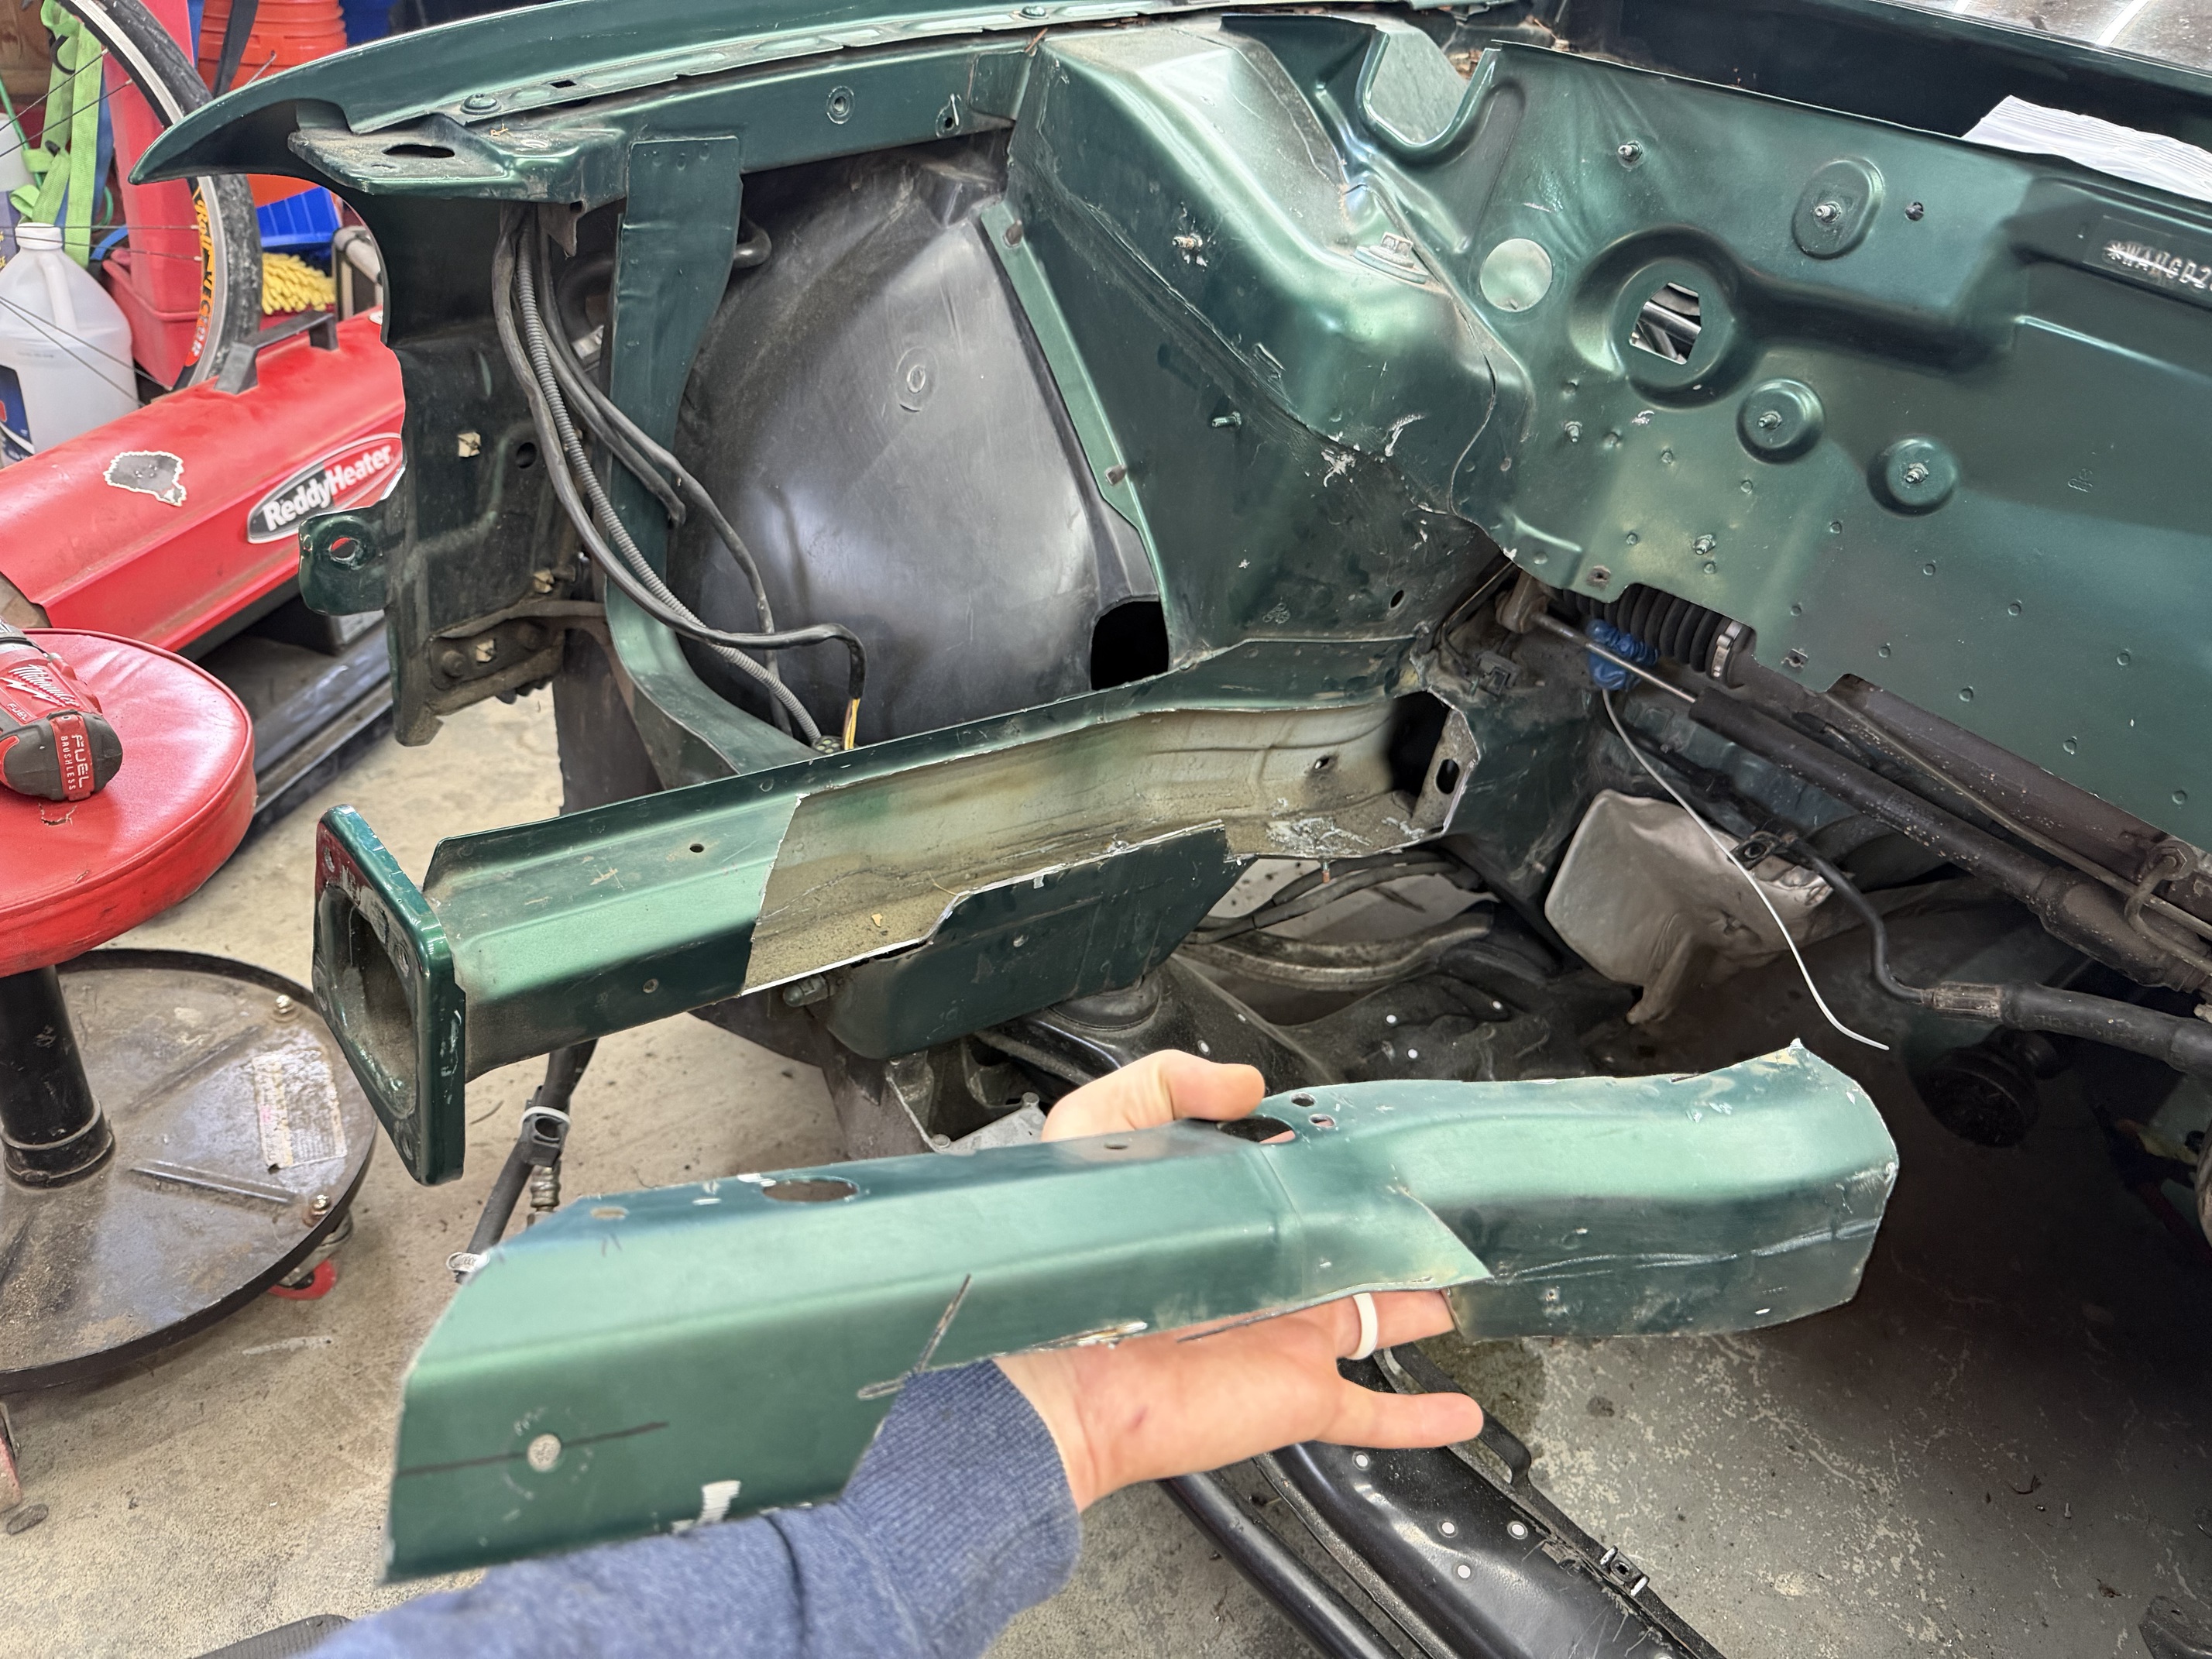
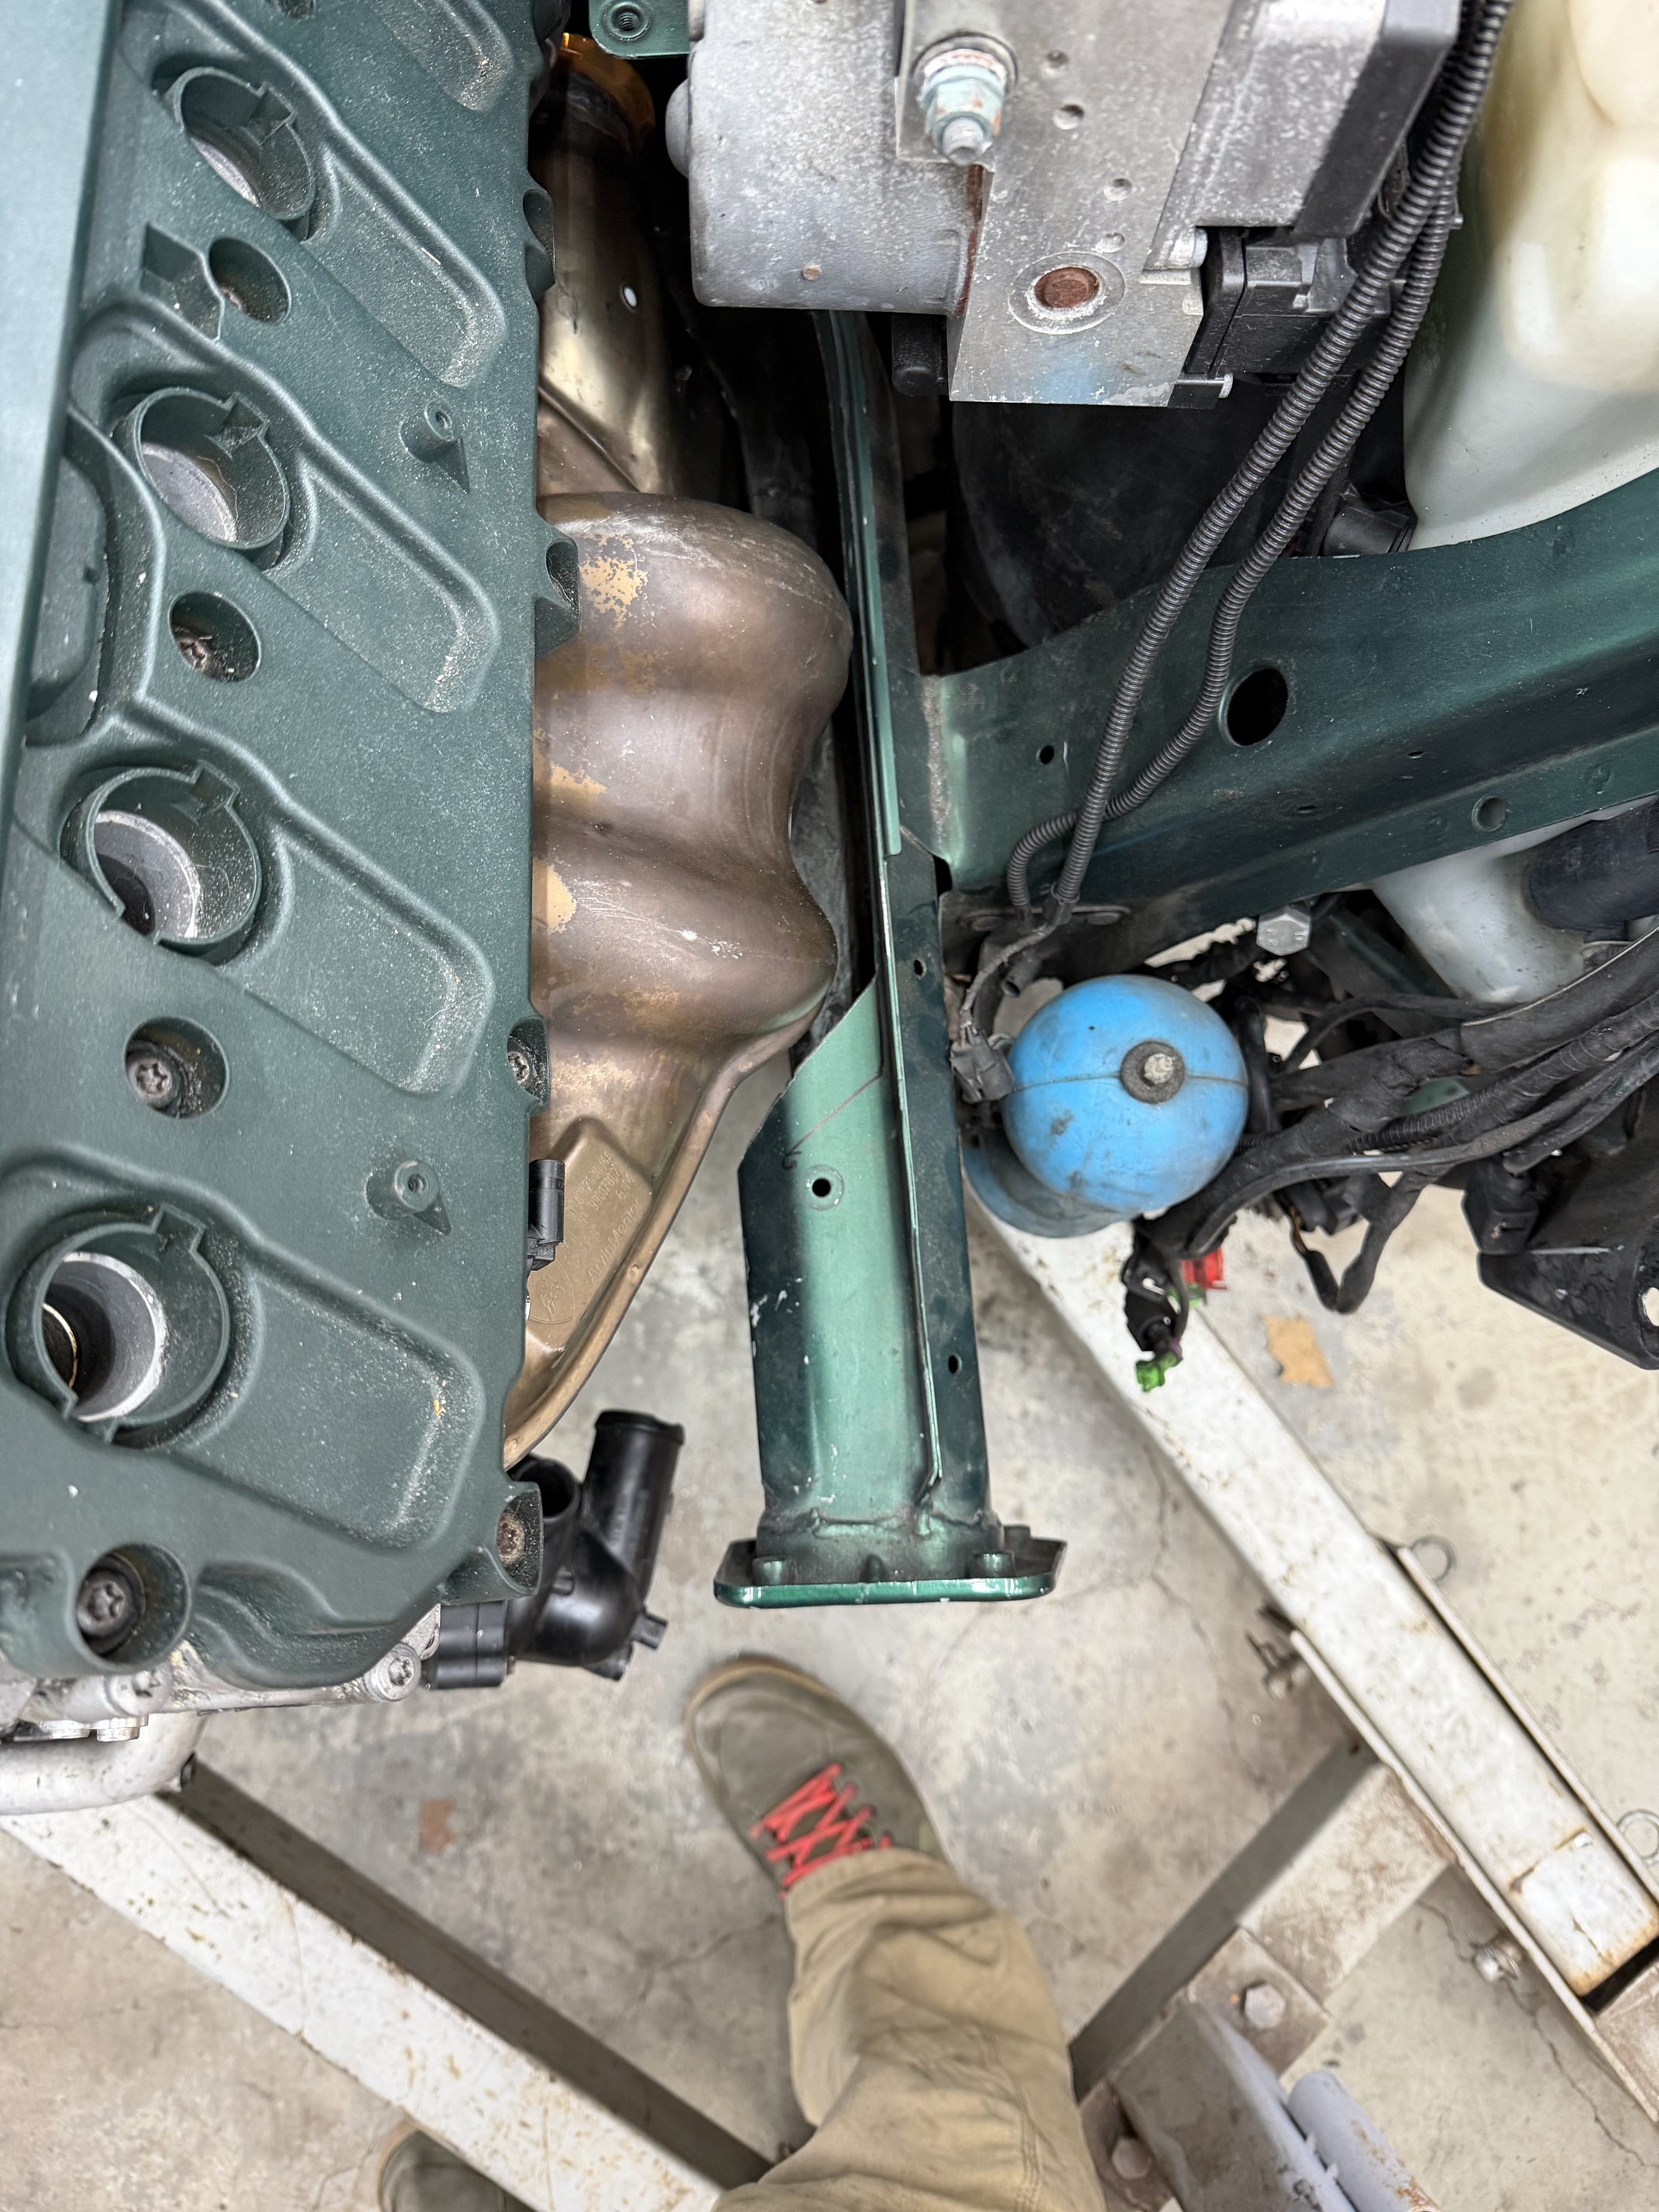
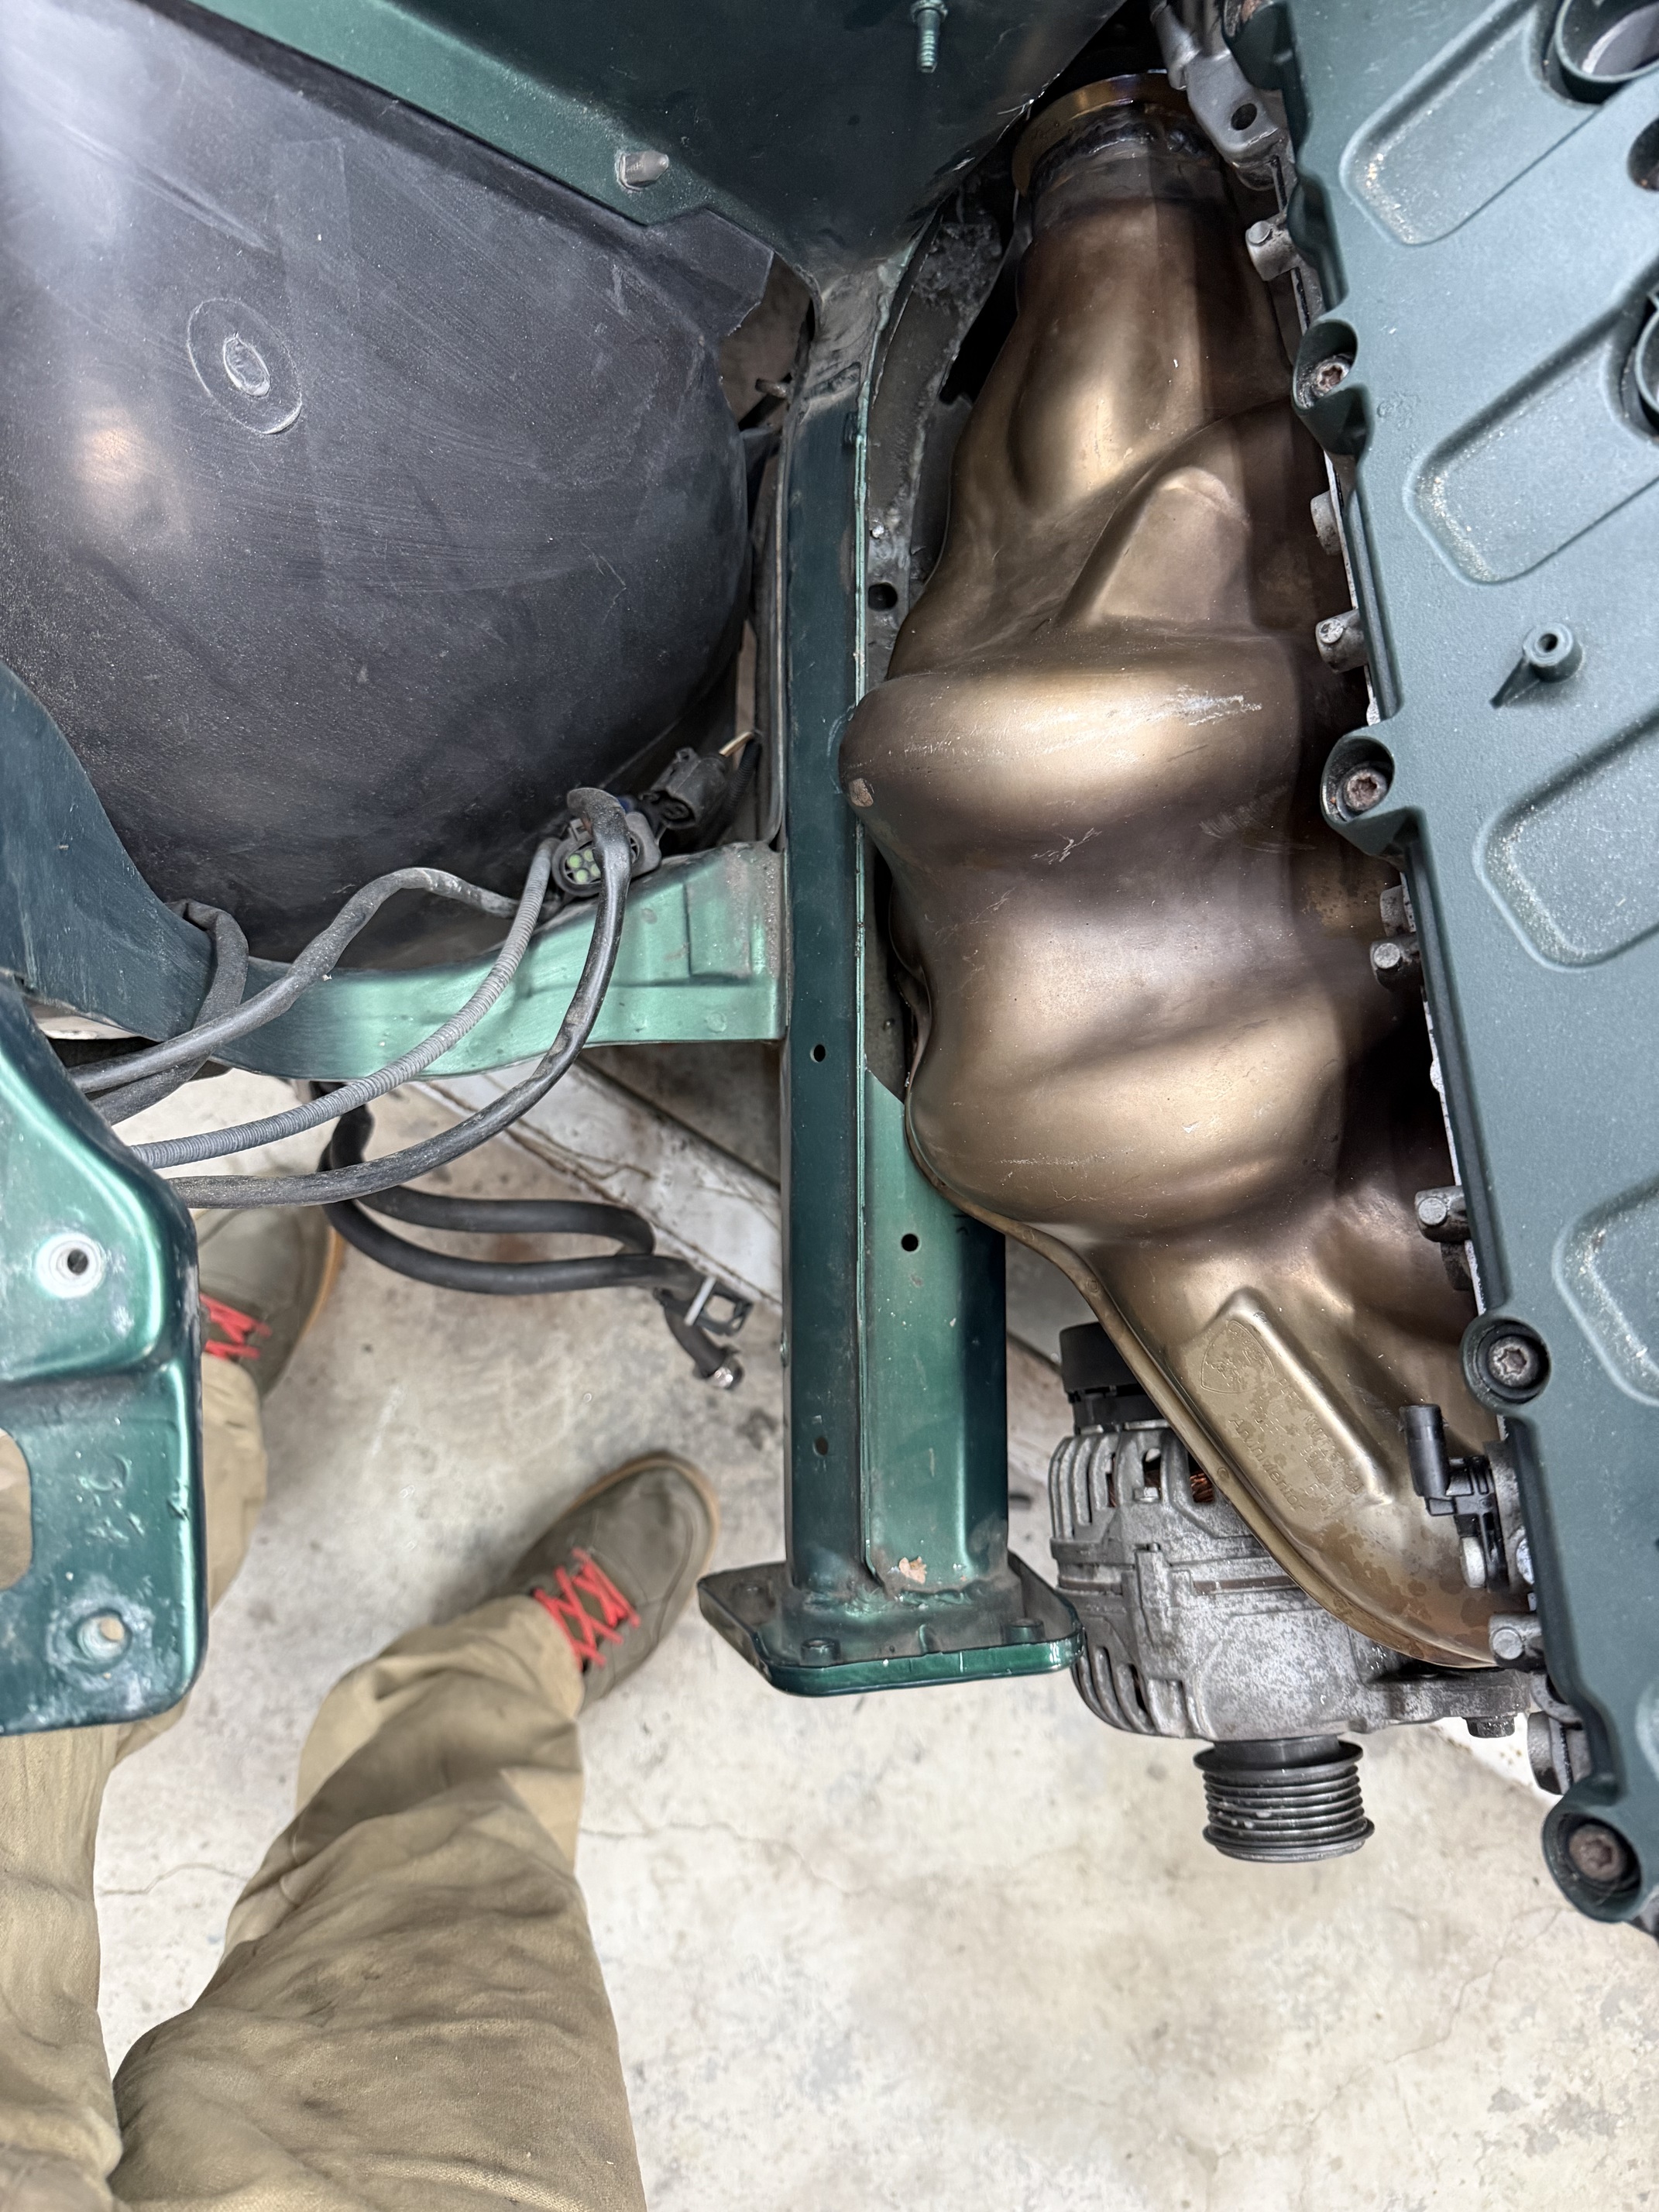
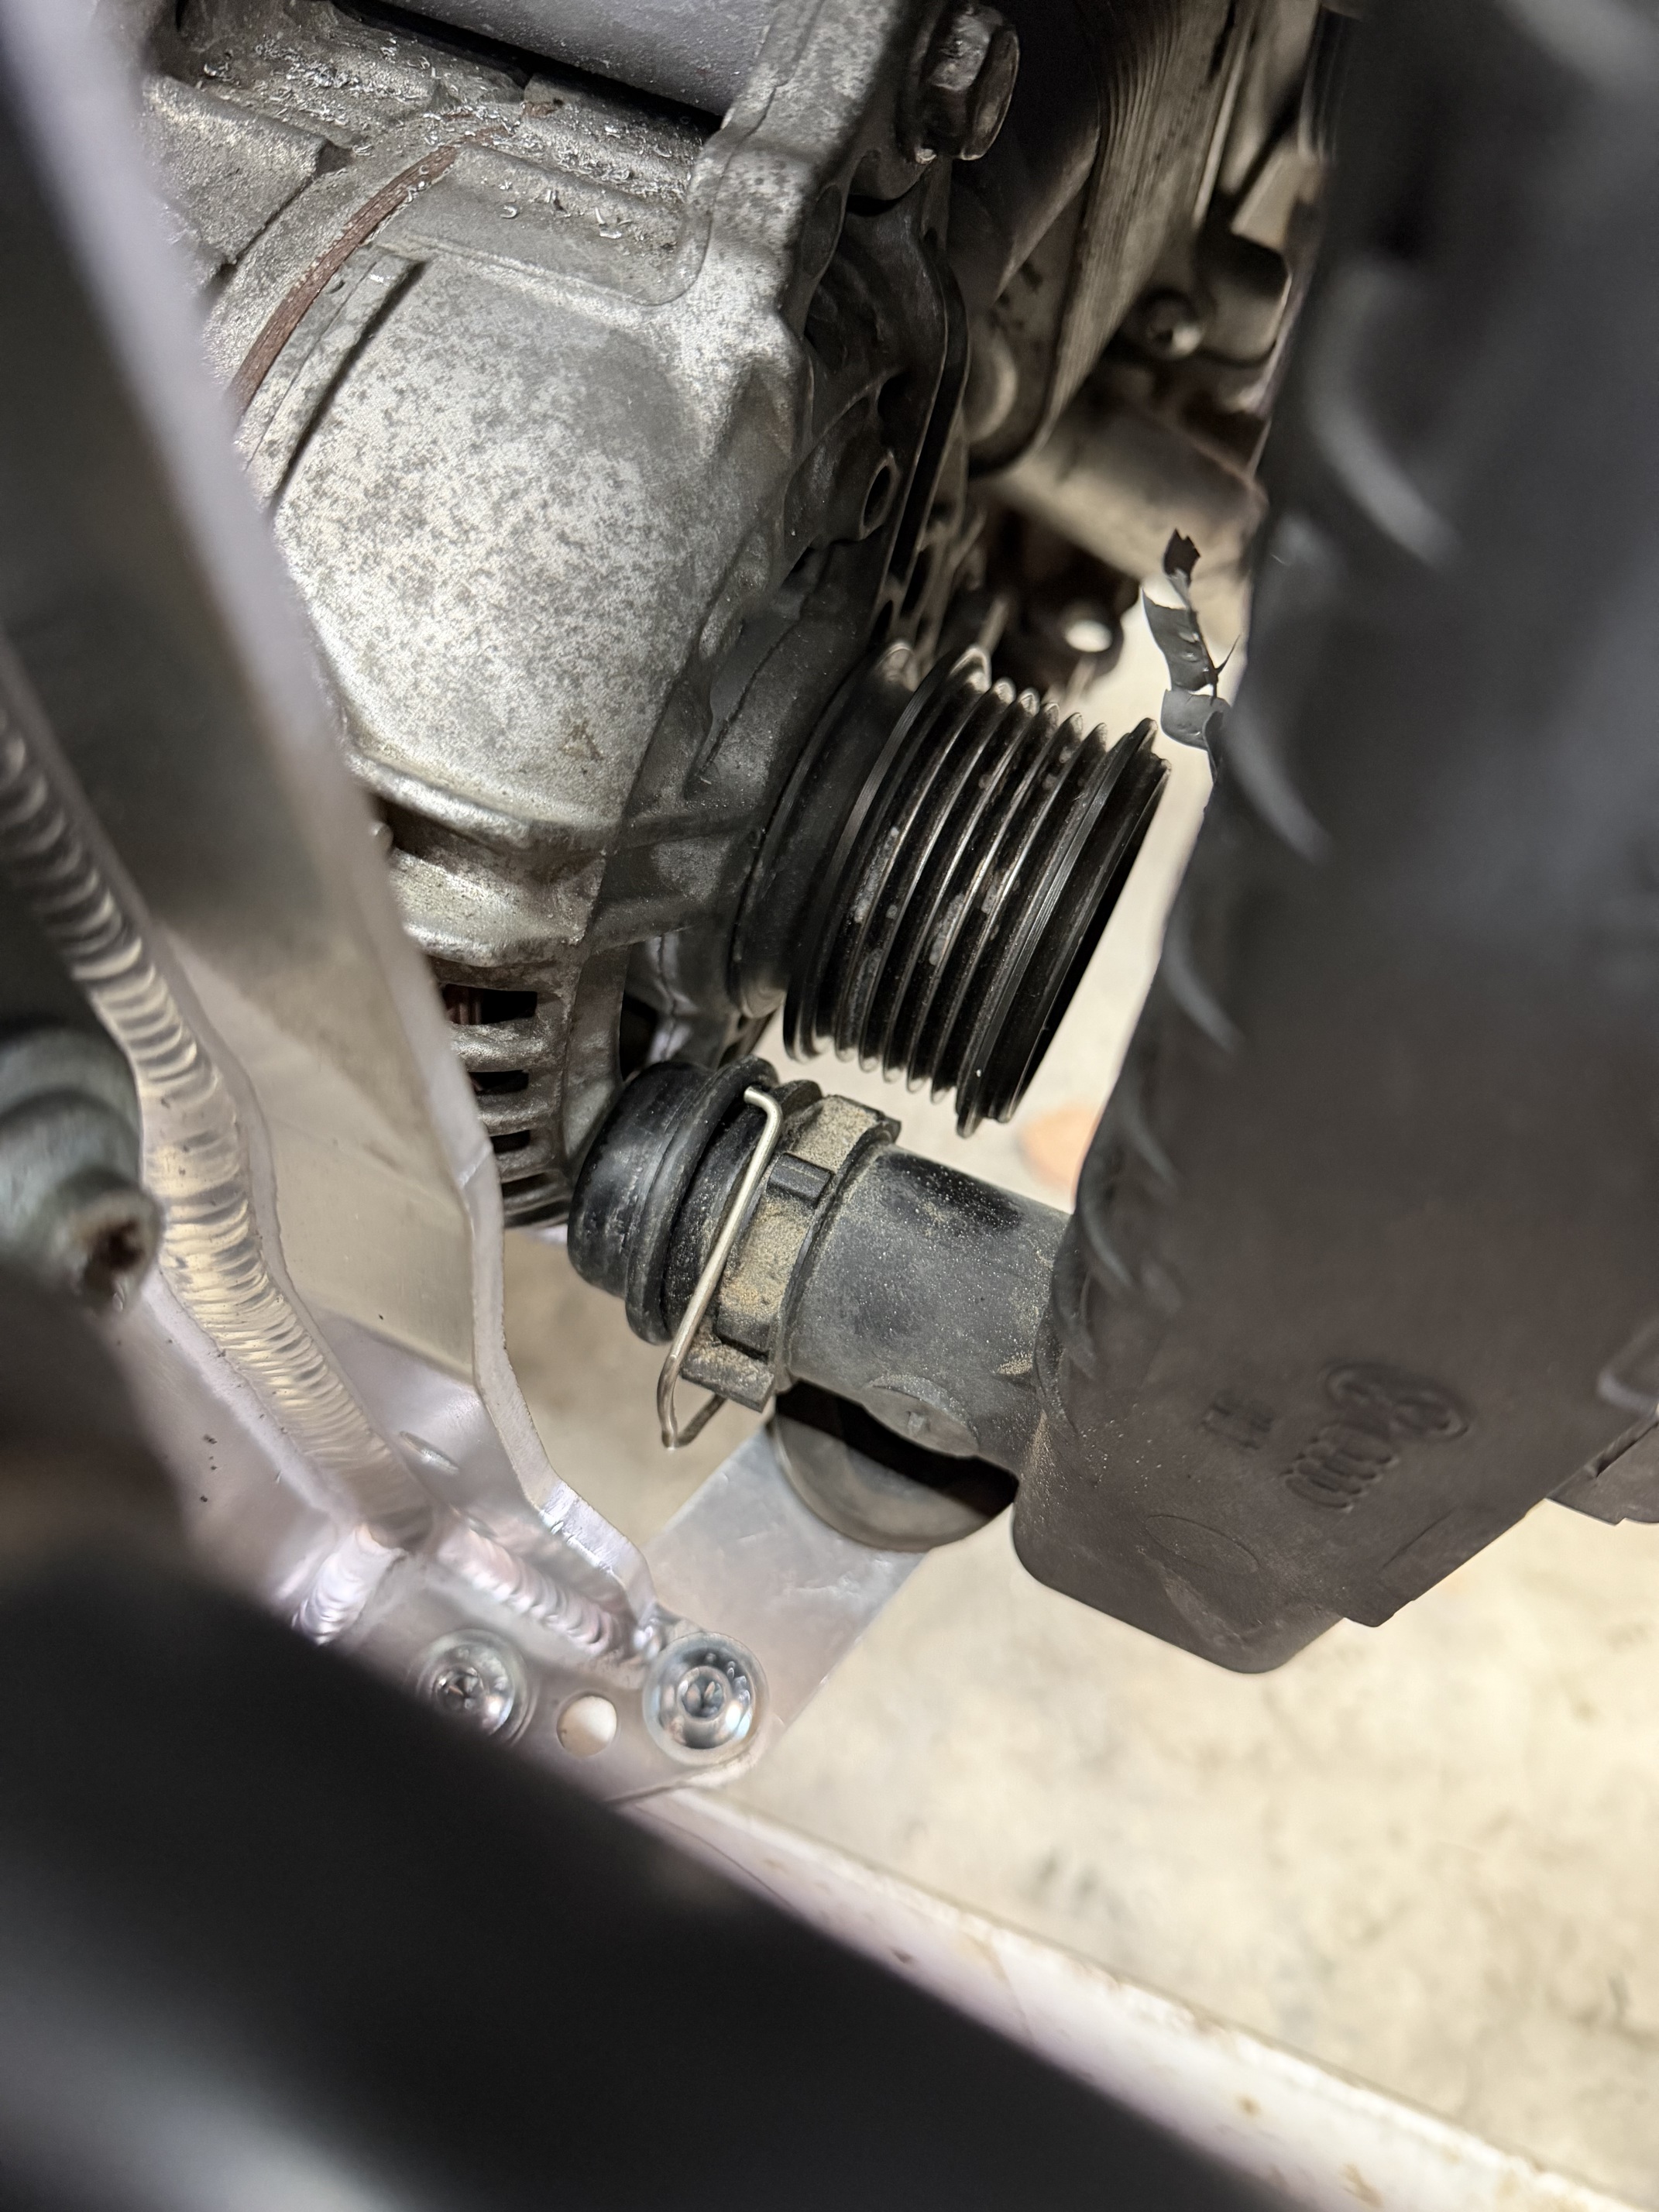
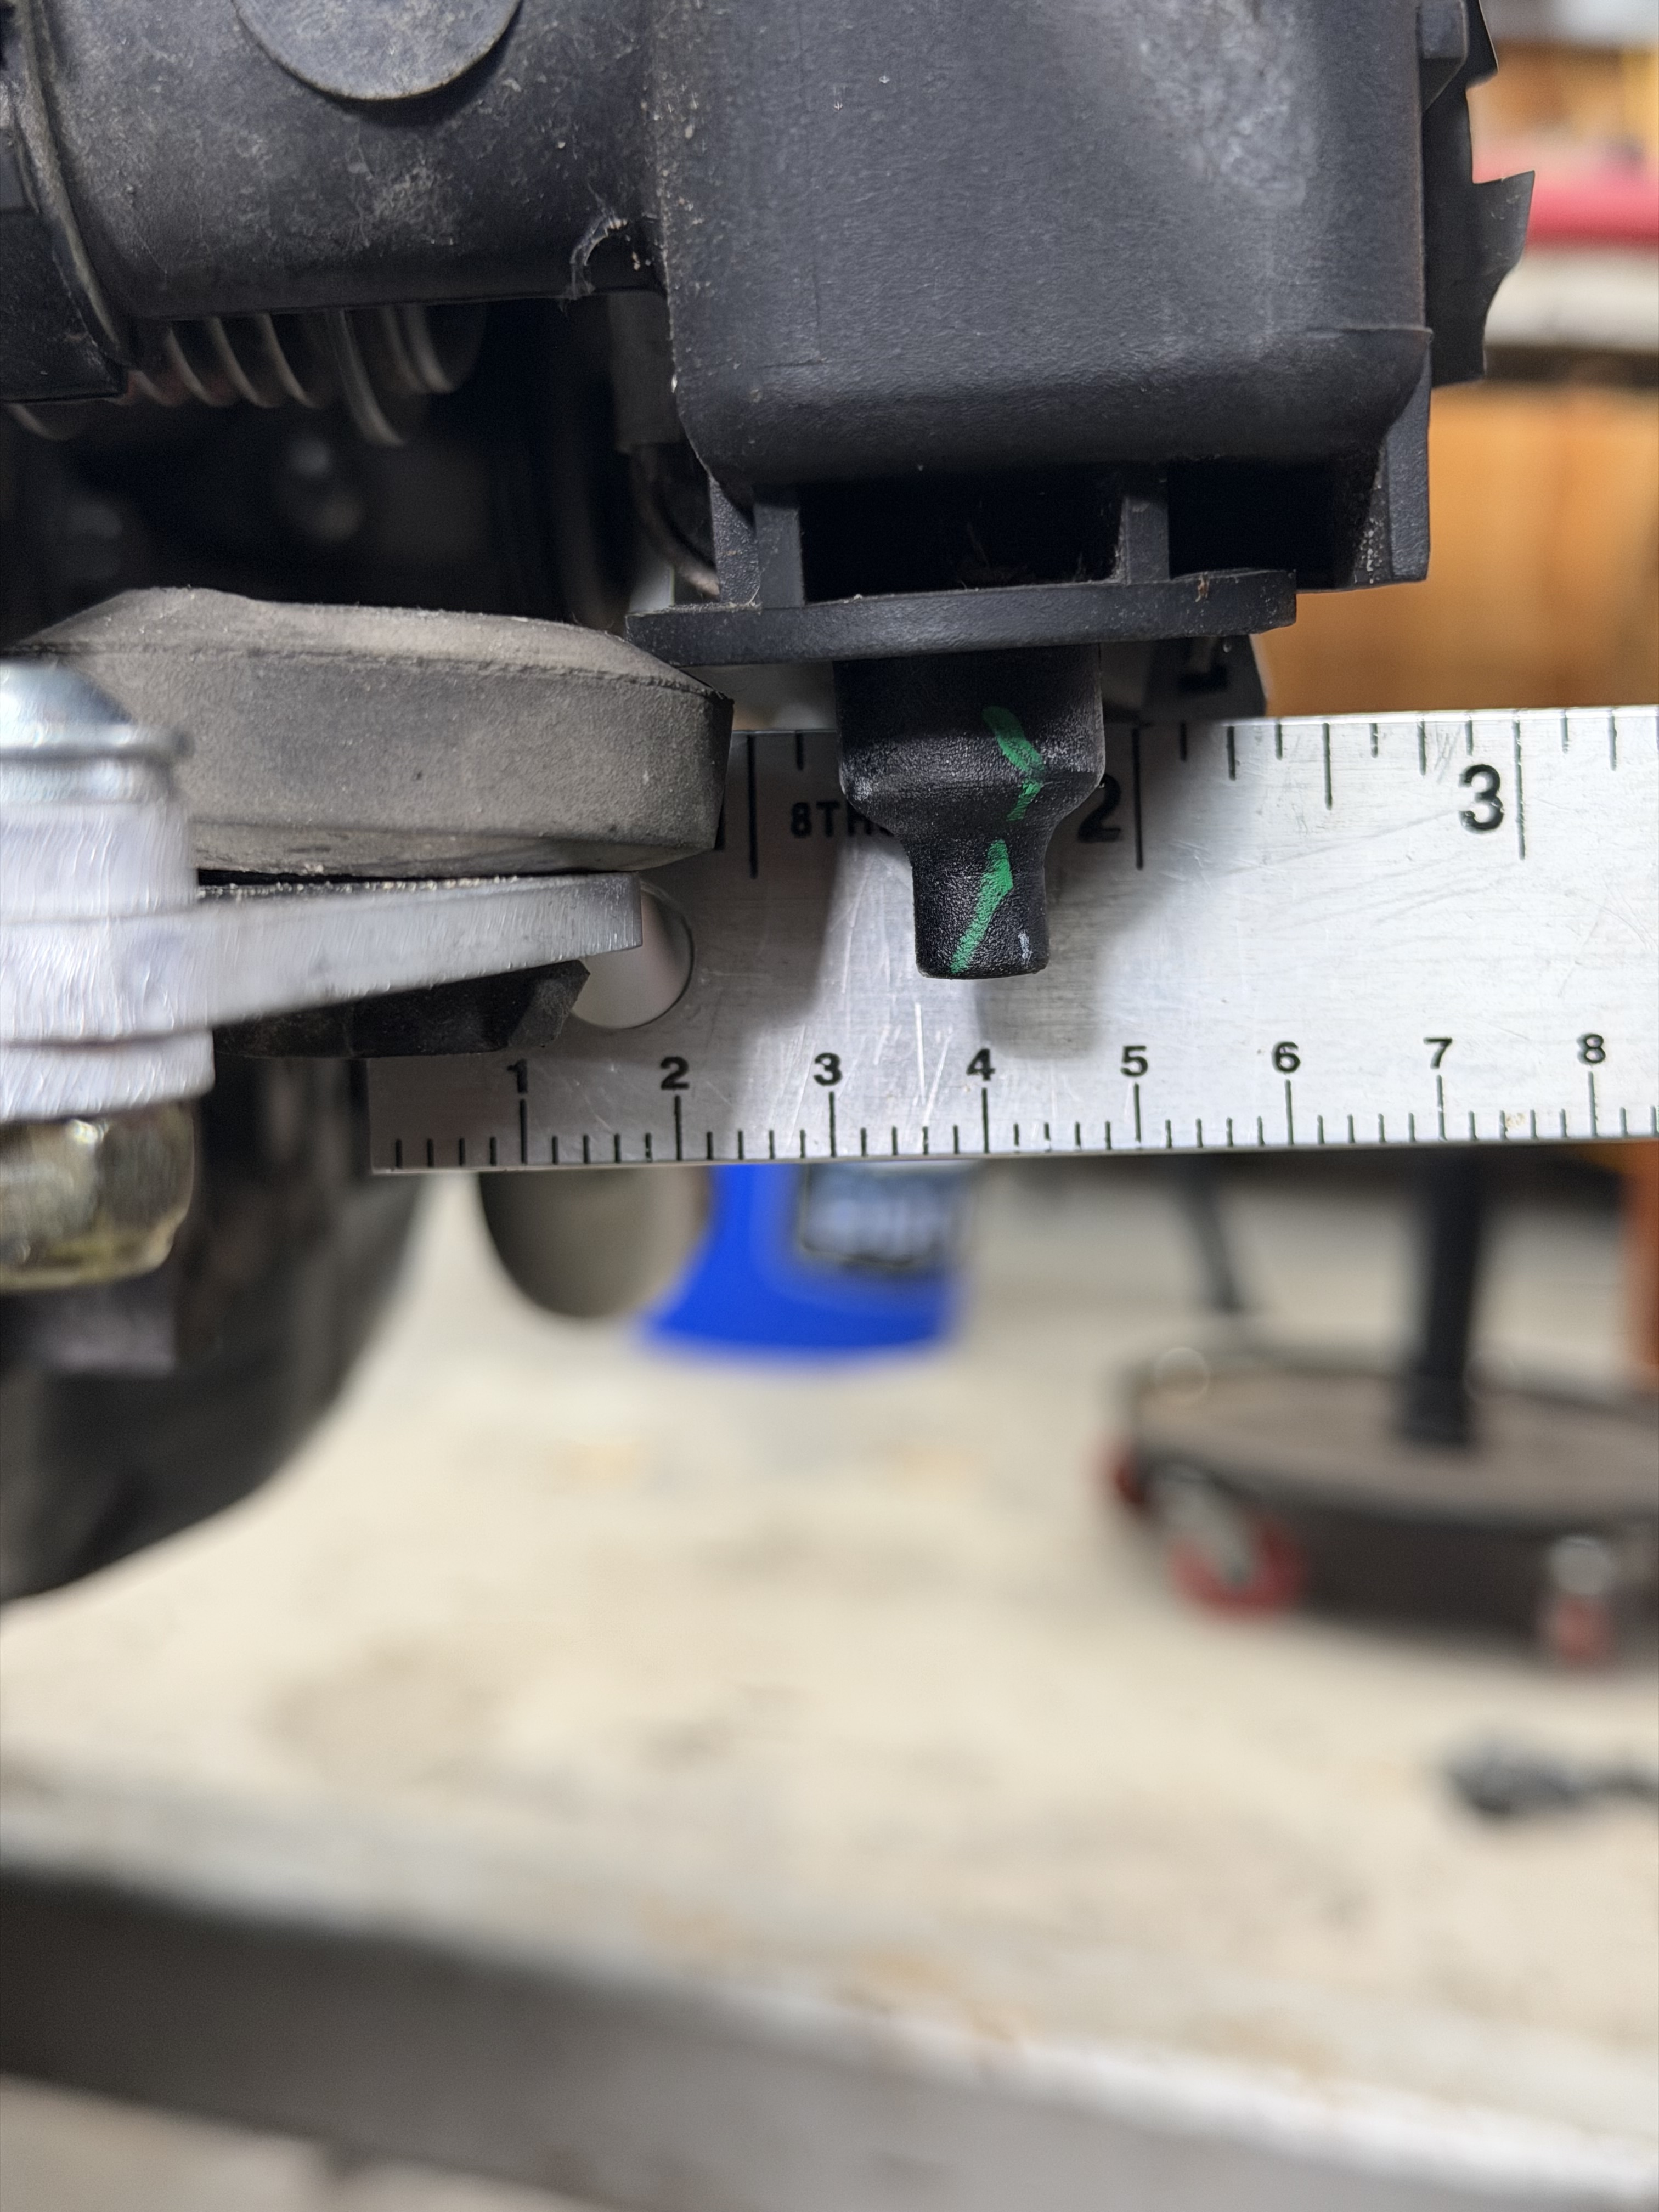
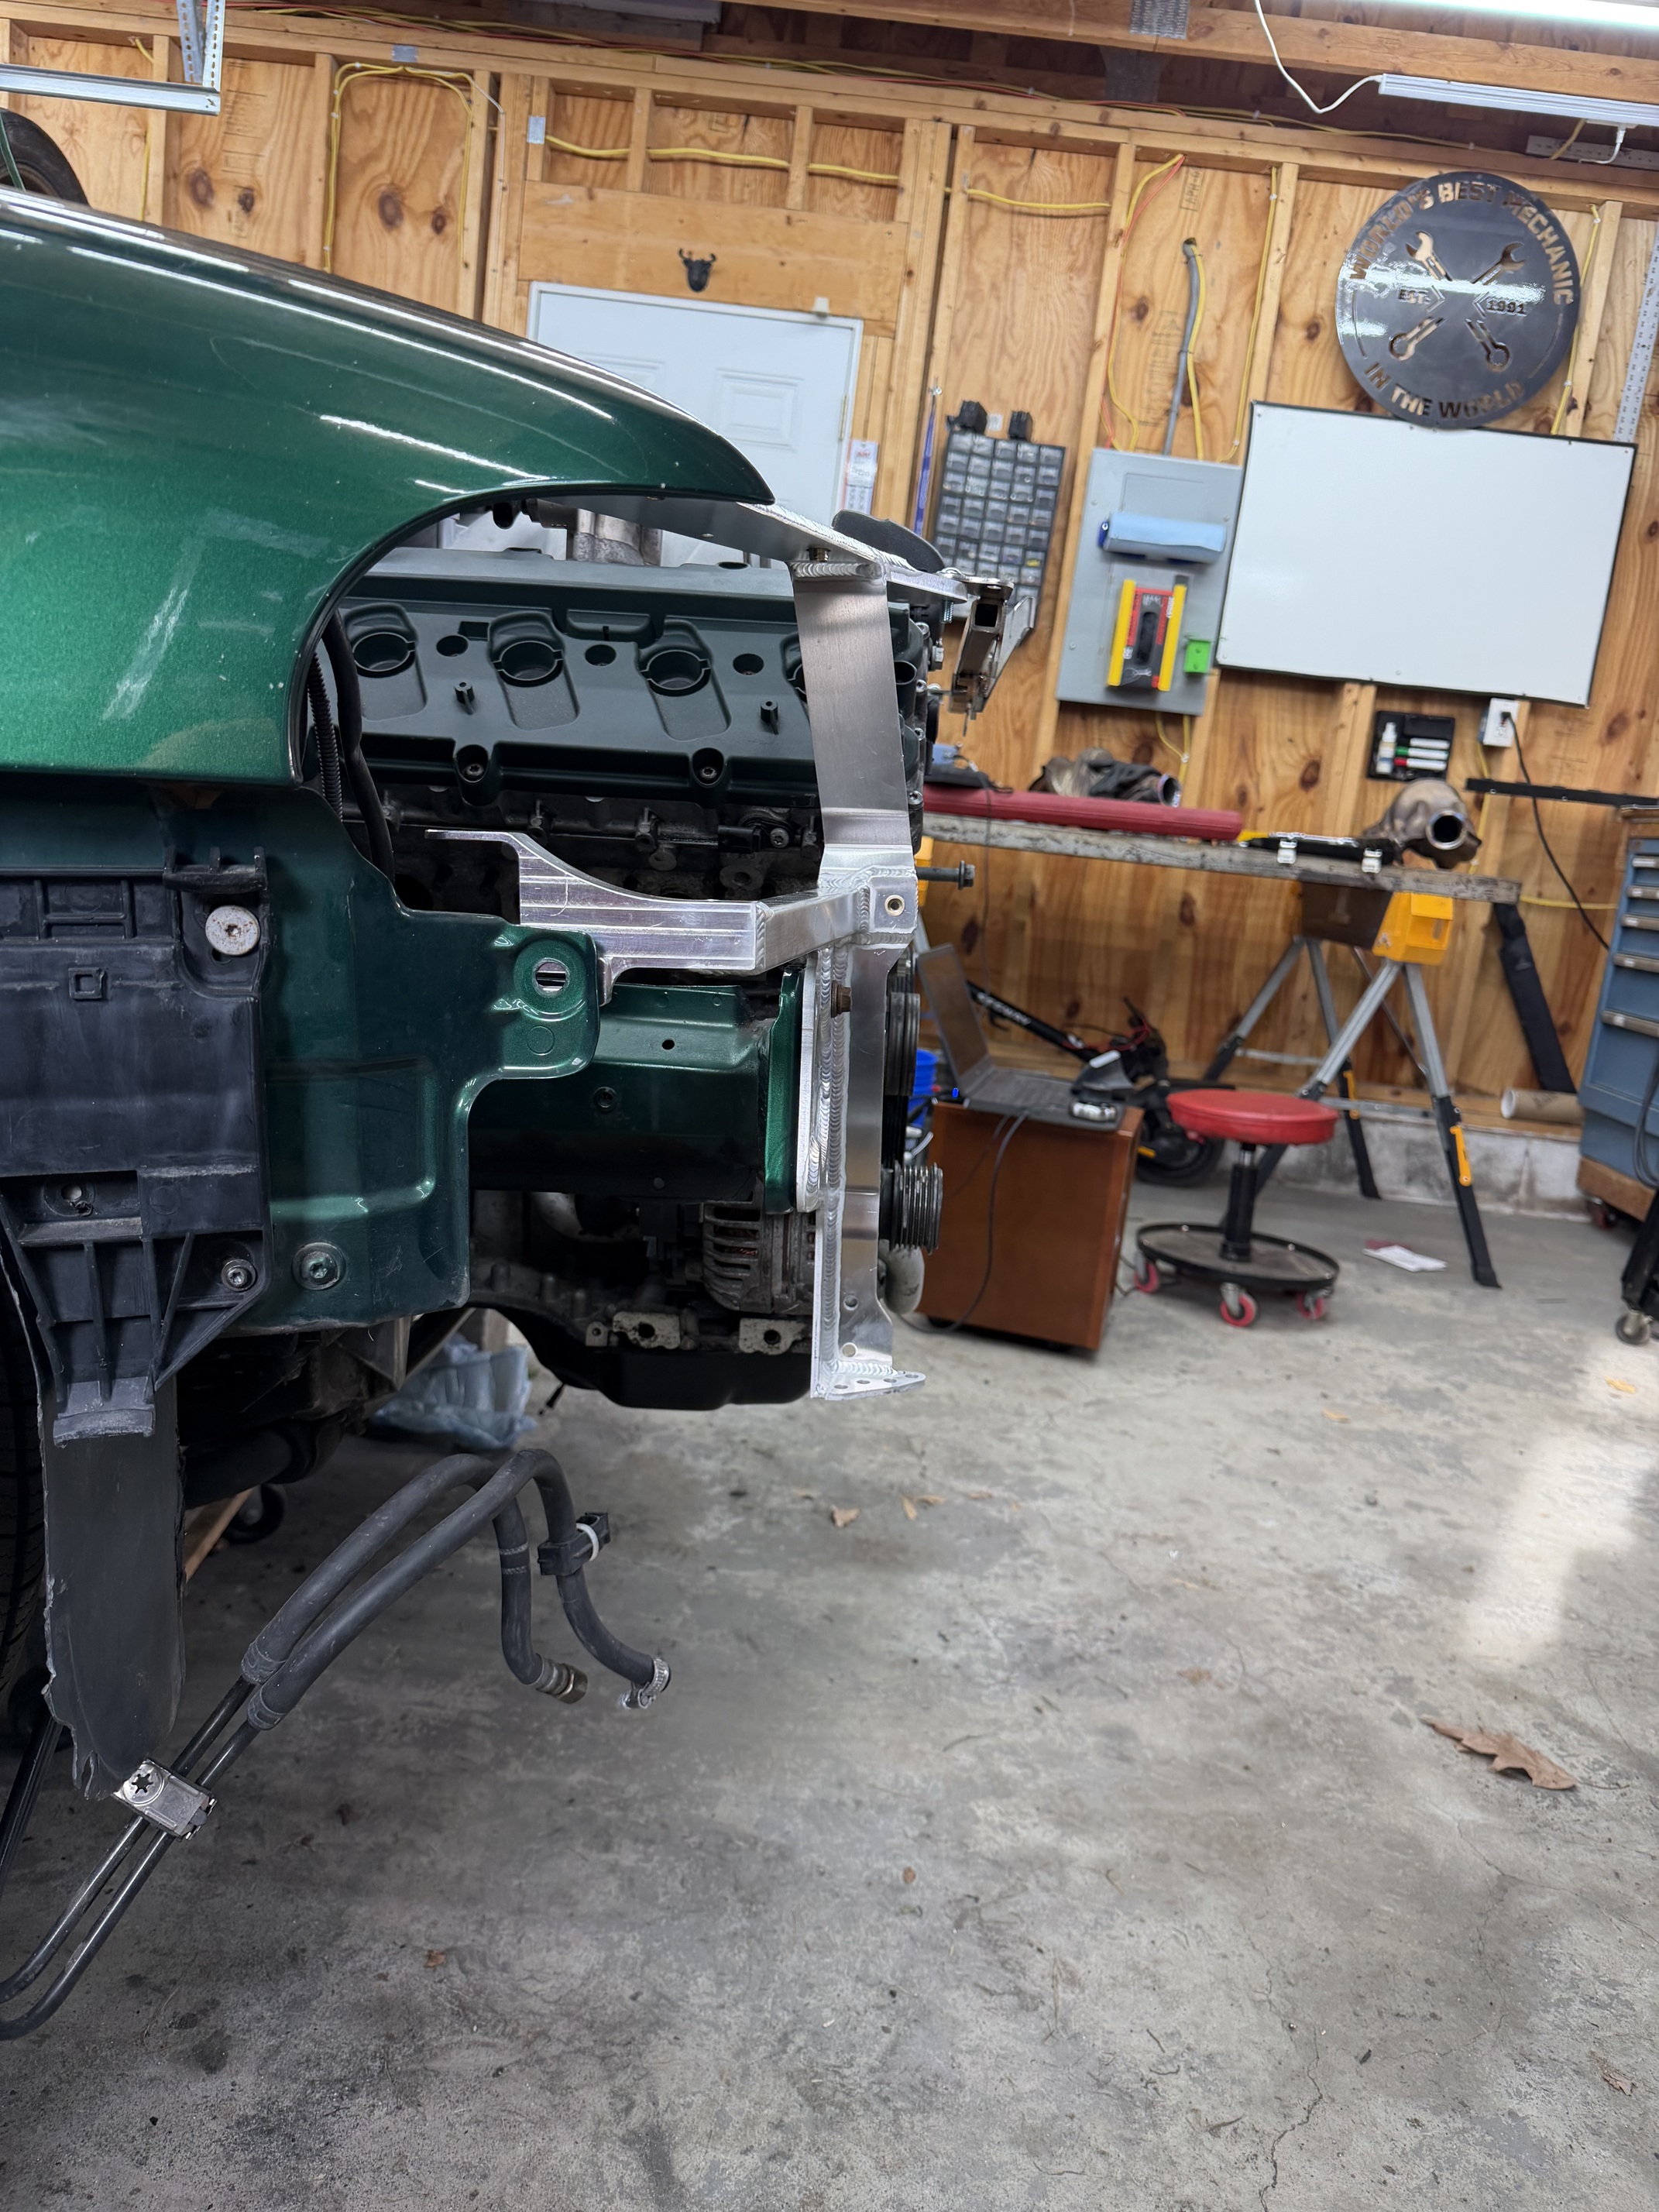
1st one is the big one. with GVB’s core support, this setup clashes right down by the rad support and alternator. The lower line hookup hits the face of the alternator. I measured 40mm gap with this contact, between the radiator support and where the radiator sits. Realistically this is about half before the pulley gets to become a concern. So a few options now:

Fun project thanks for taking us along.
Happy Holidays!
Great work!
Definitely a precision fit but what an awesome build
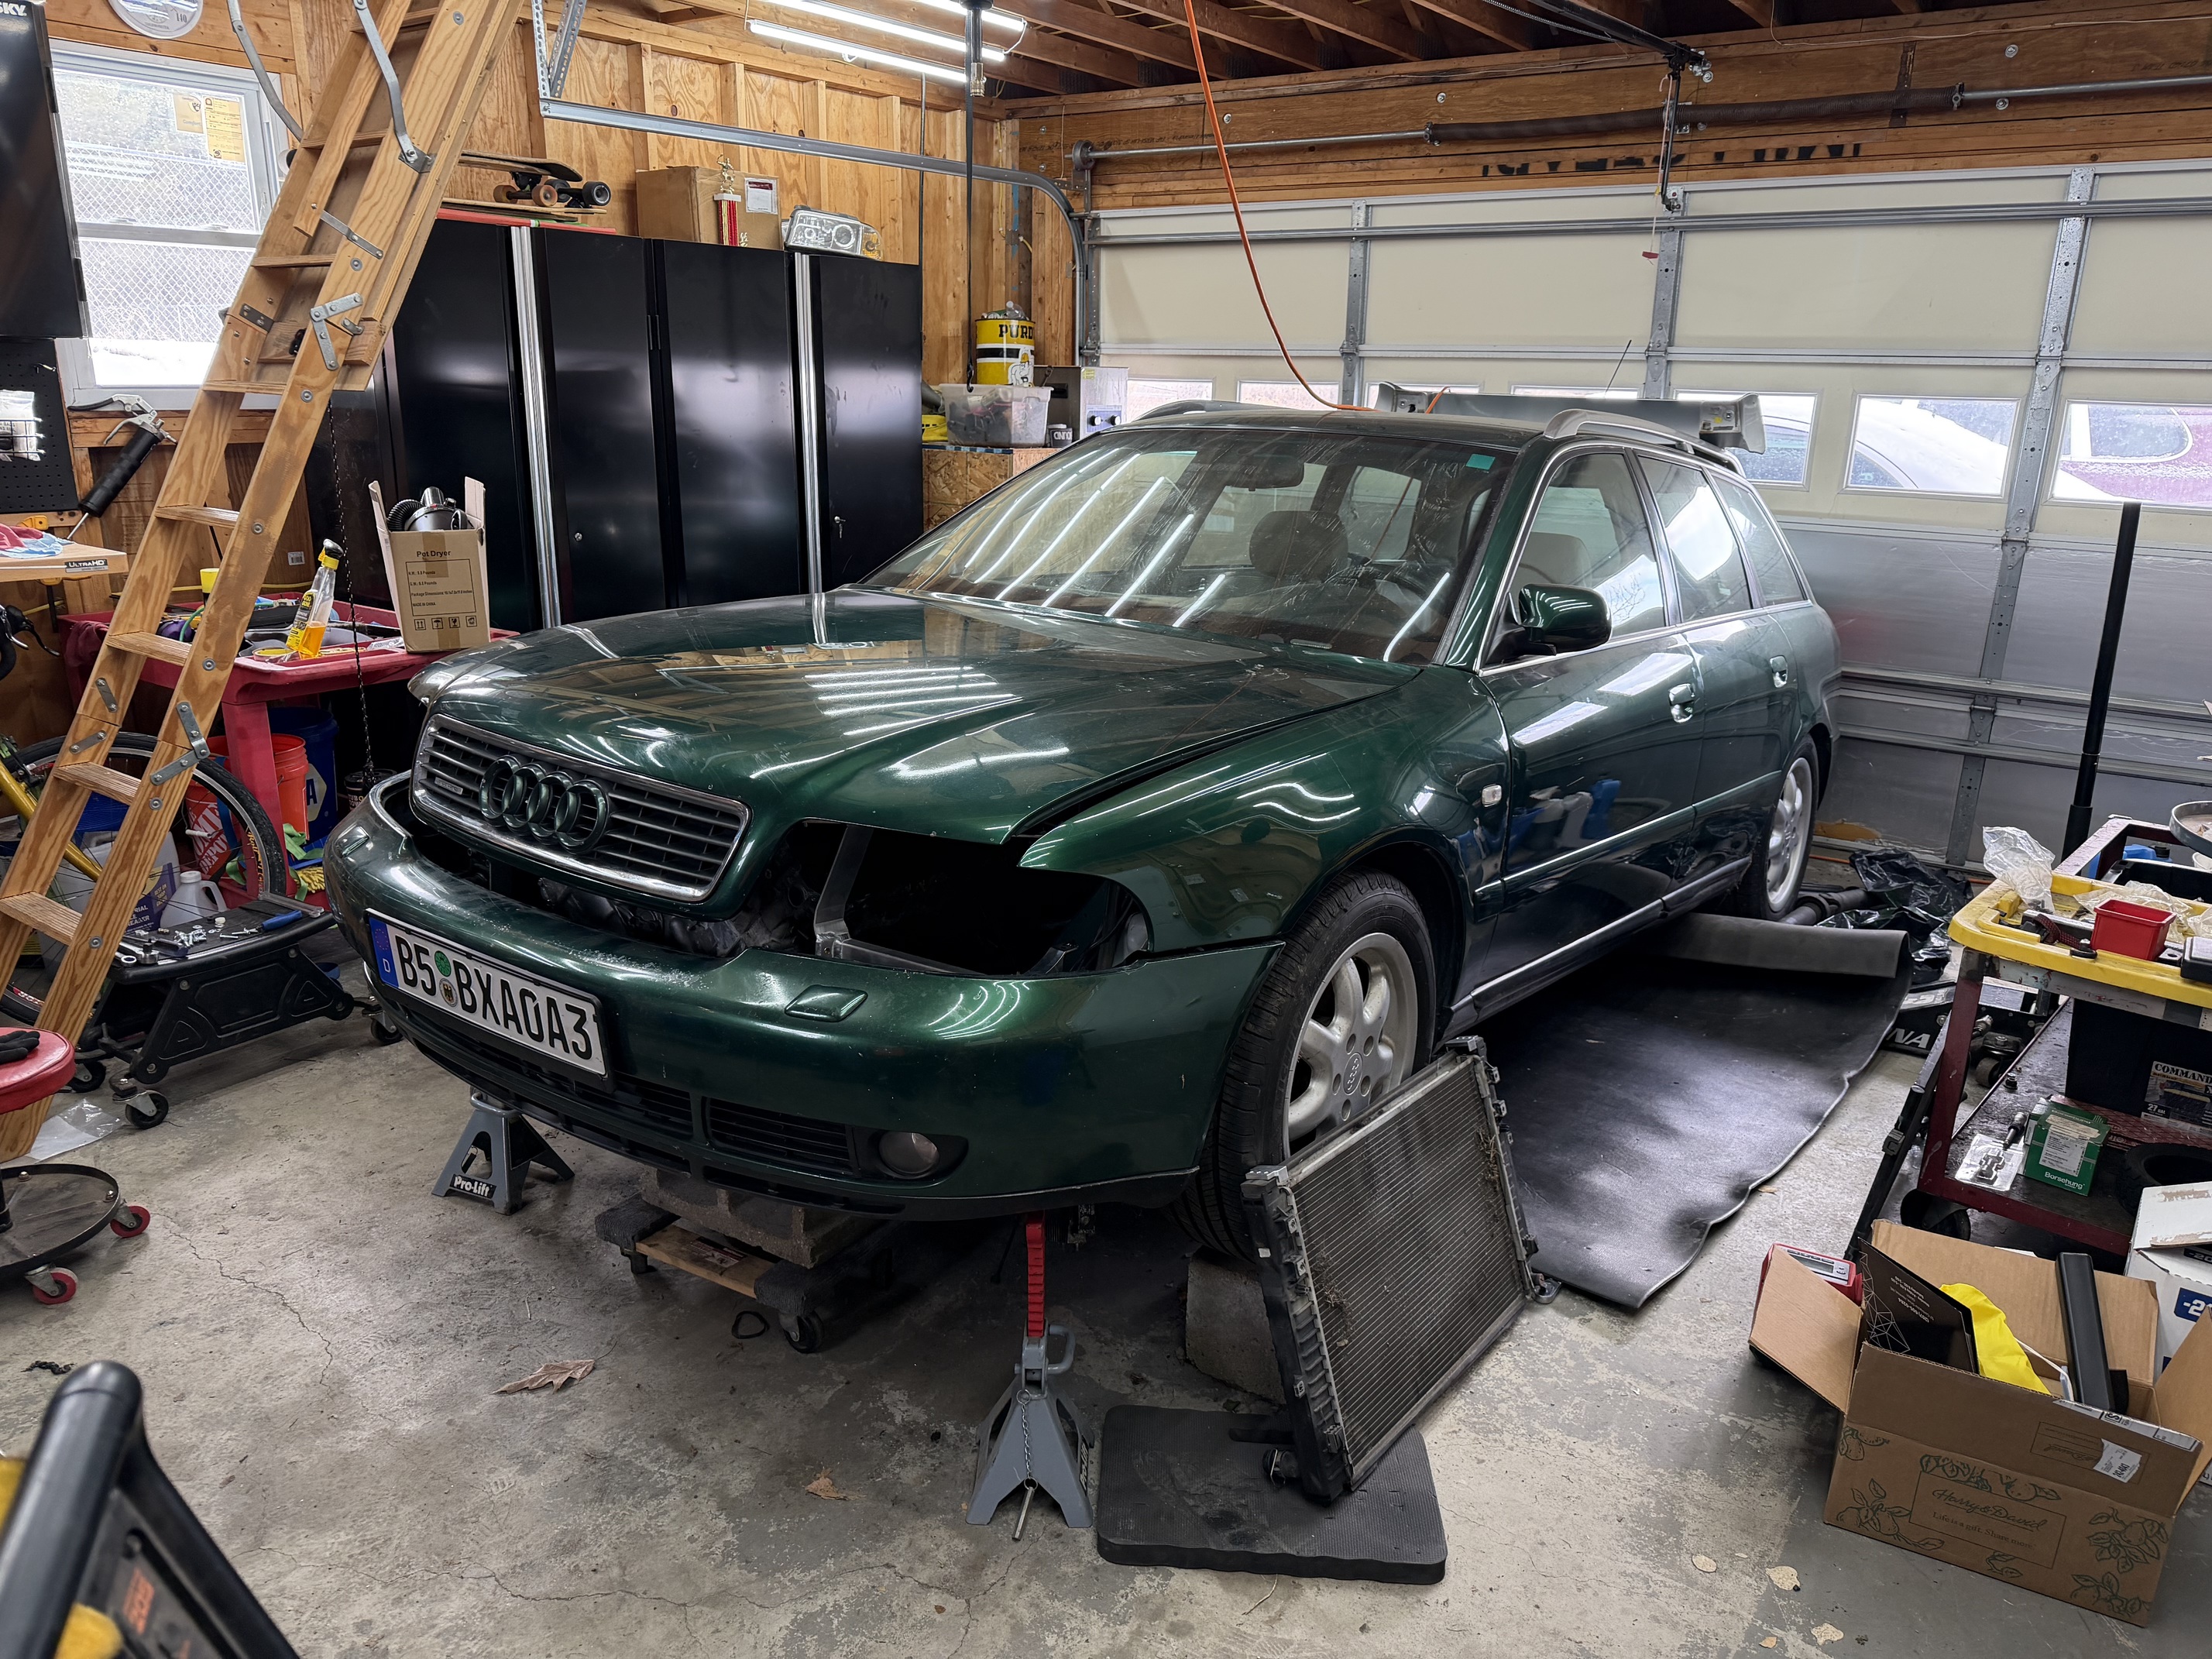
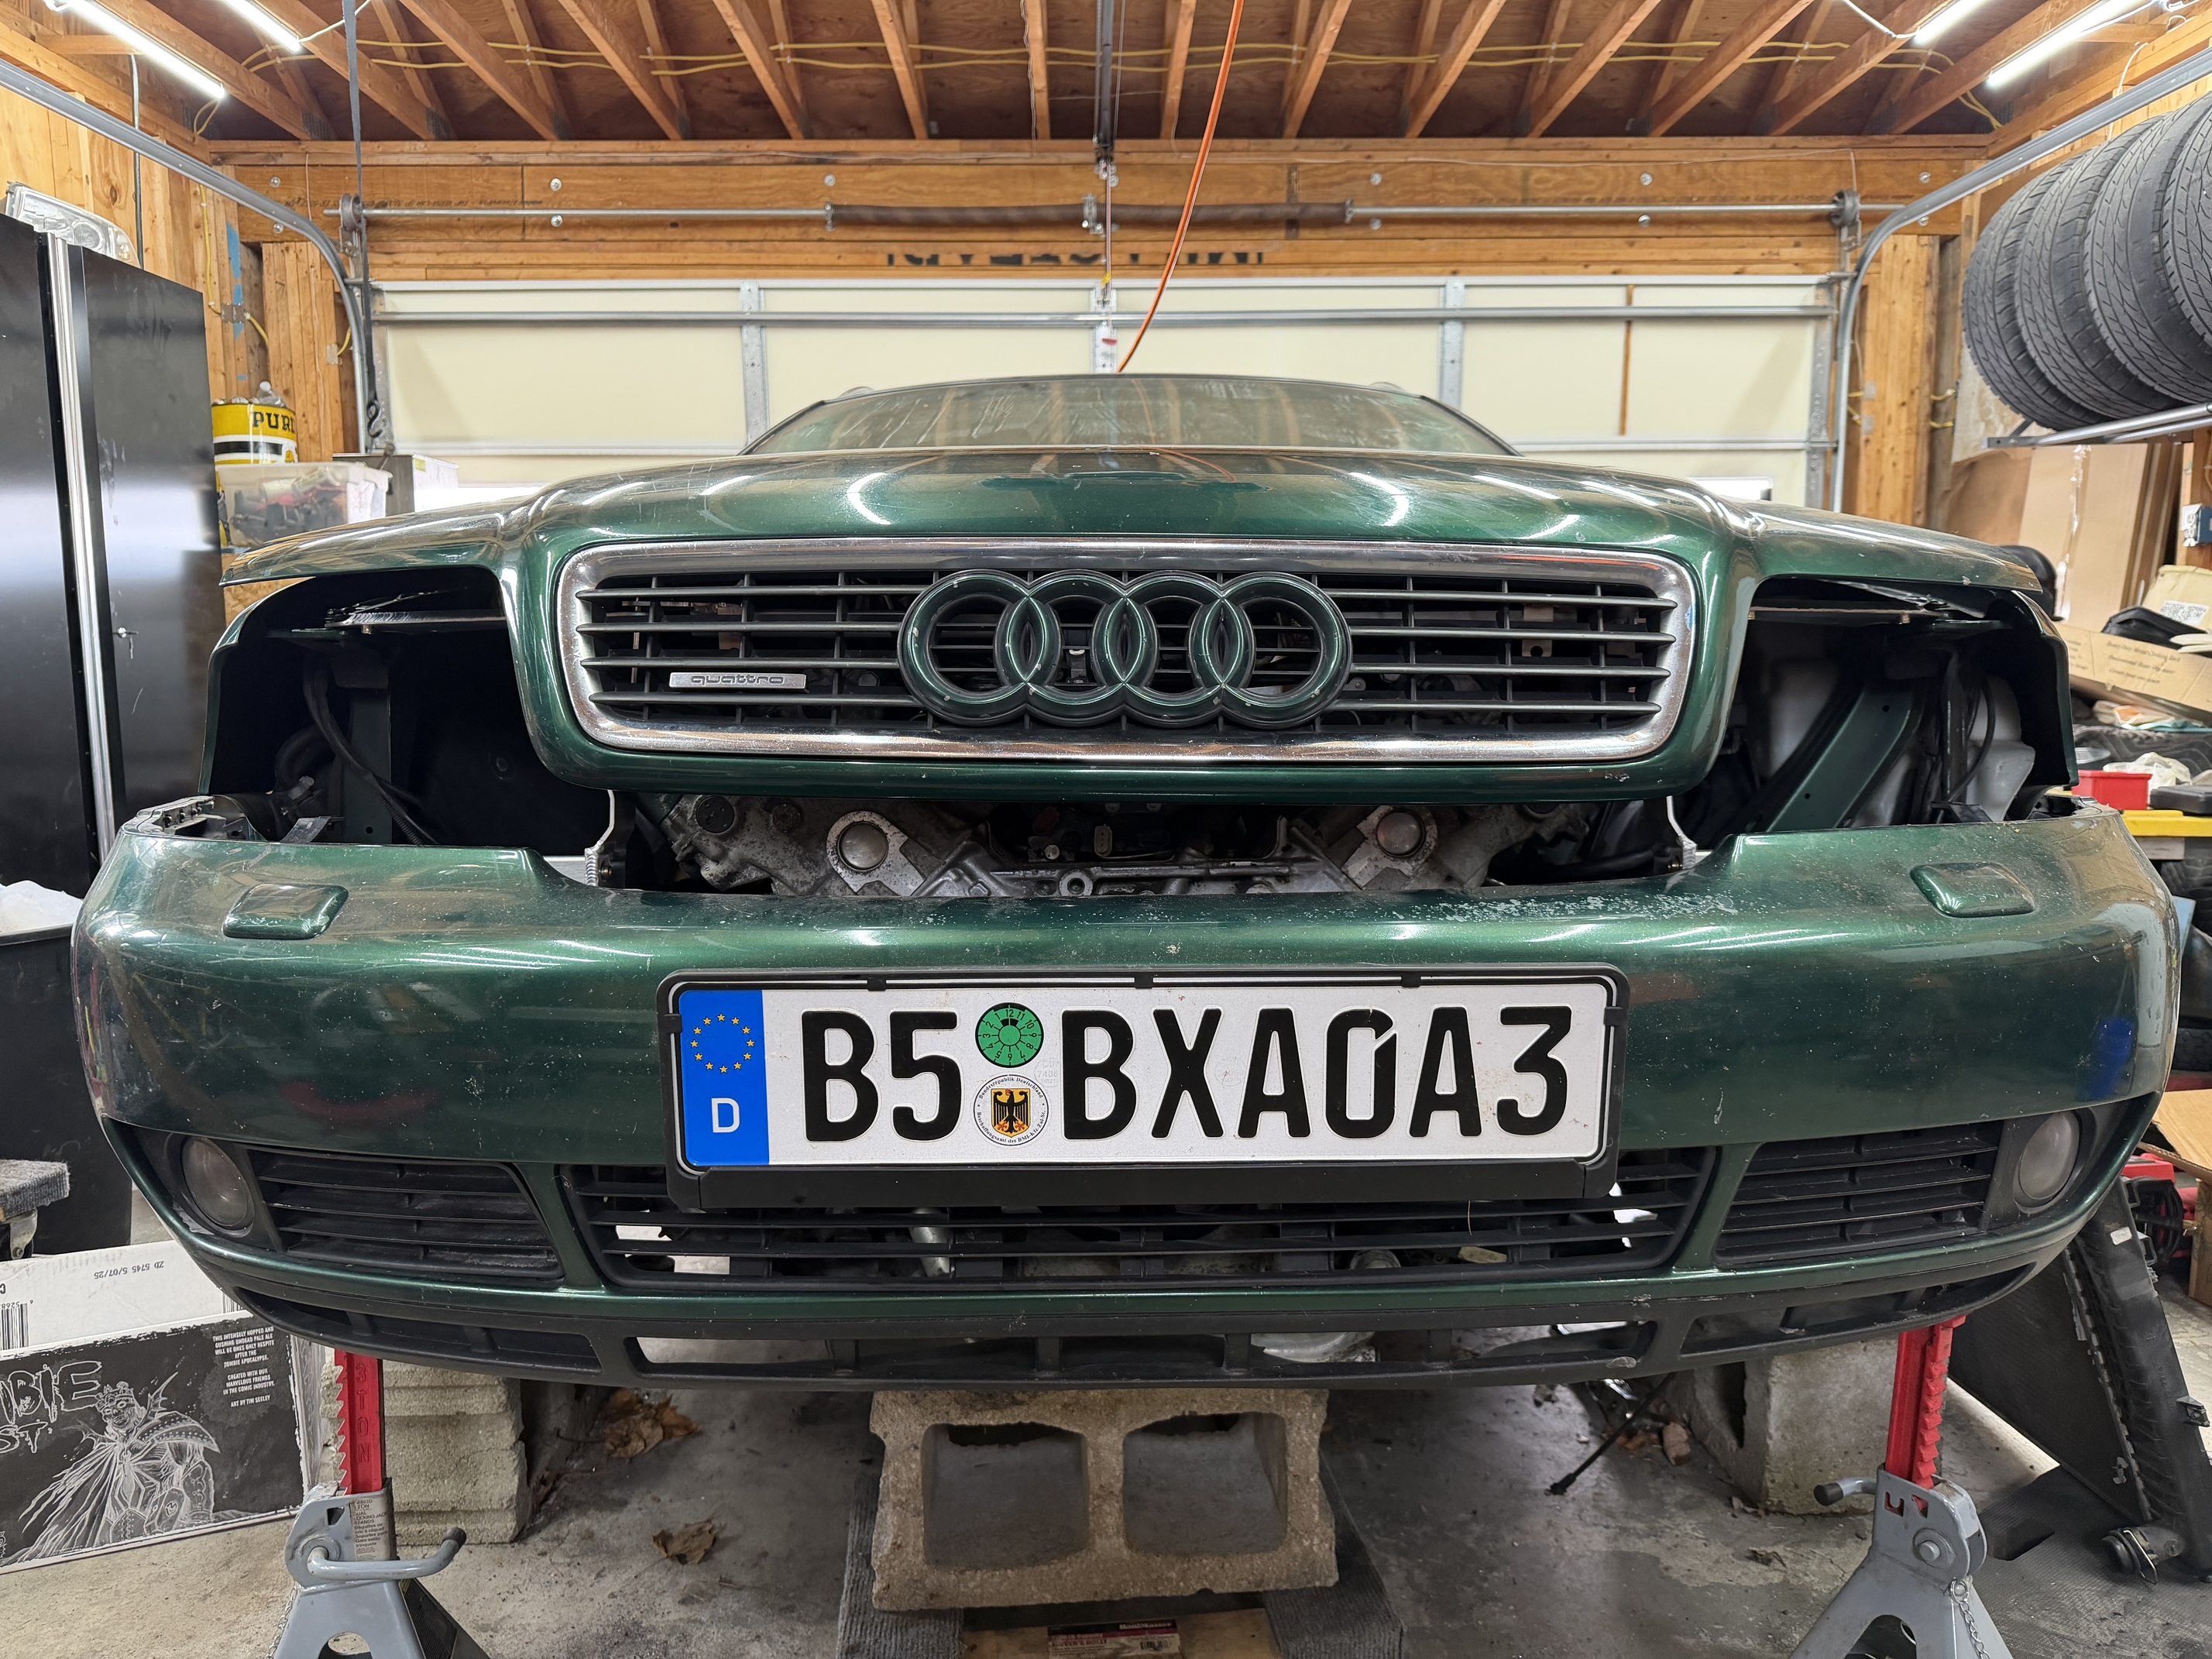
Thanks Dave! I made the hood shut by using a b6 s4 radiator where the inlet/outlets are swapped (high side on passenger side). This still leaves about 20mm of clearance from the radiator yo pulleys as well. Just need to fabricate mounts now, then it should be a rolling chassis.
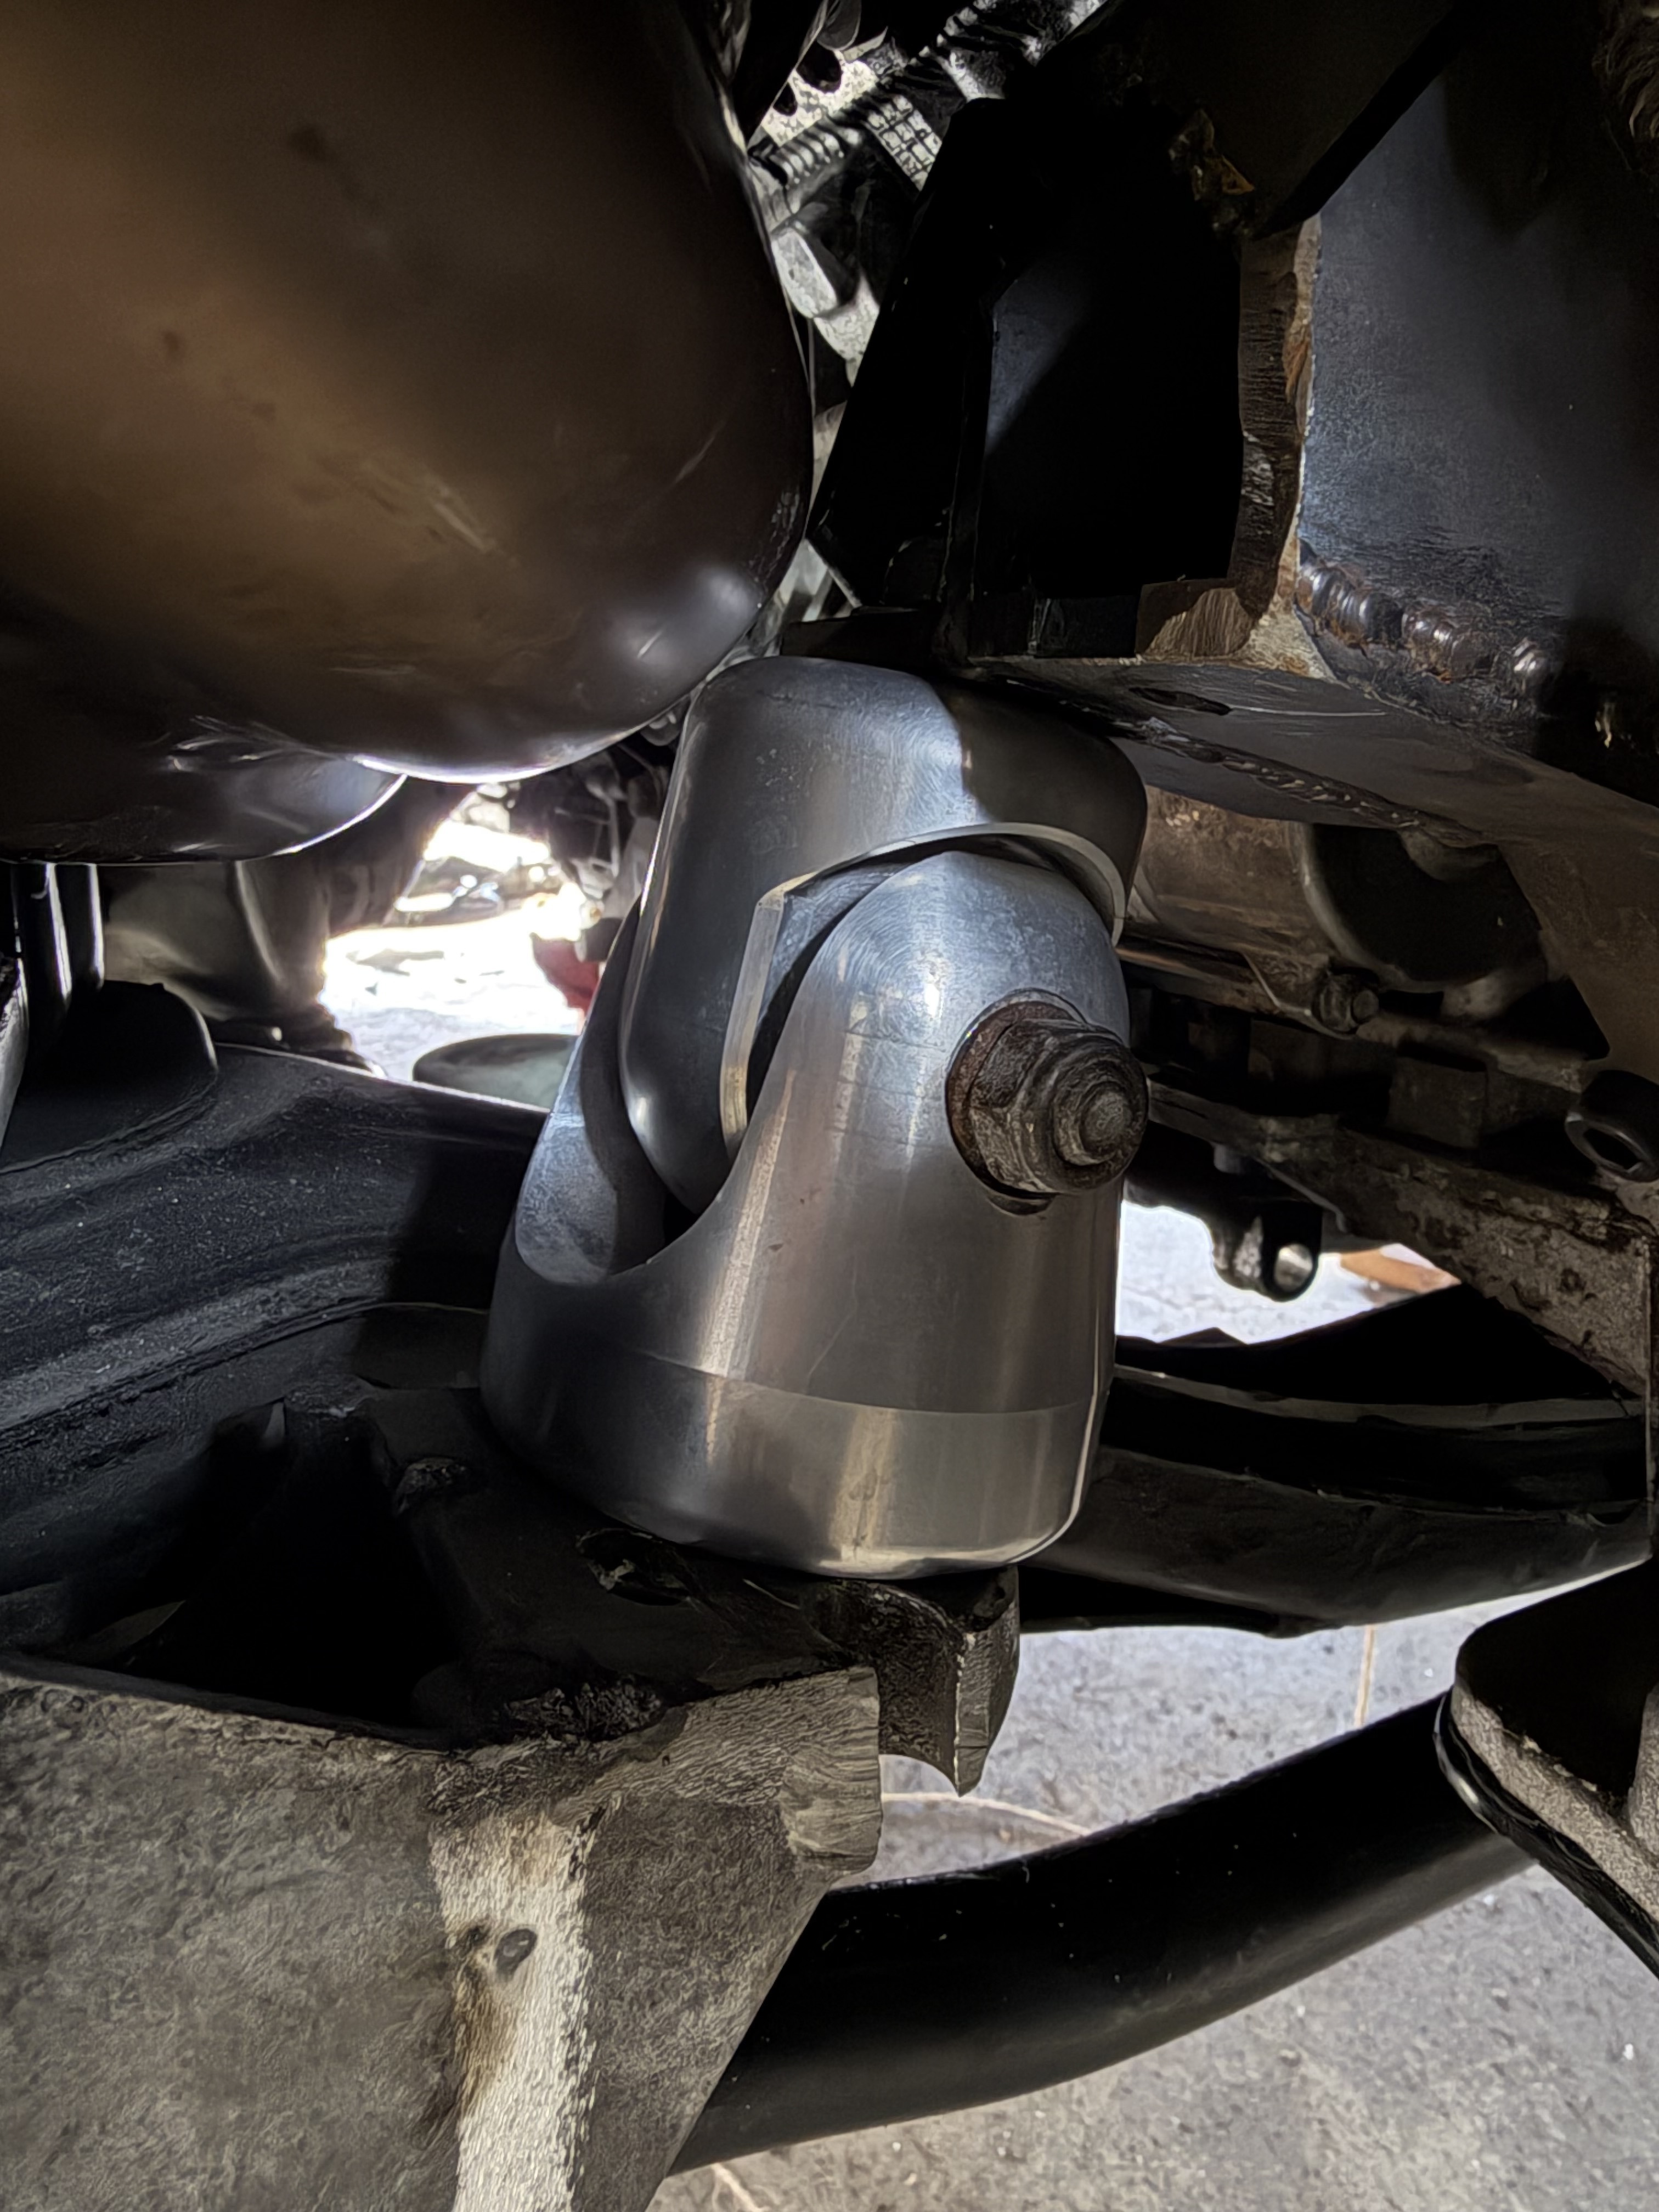
Eng and trans mount plates in place…another test fit with headers will secure the final resting place. Sendcutsend is an immense helper for stuff like this

Very nice!
Interested to see the outcome of the driveline fitting
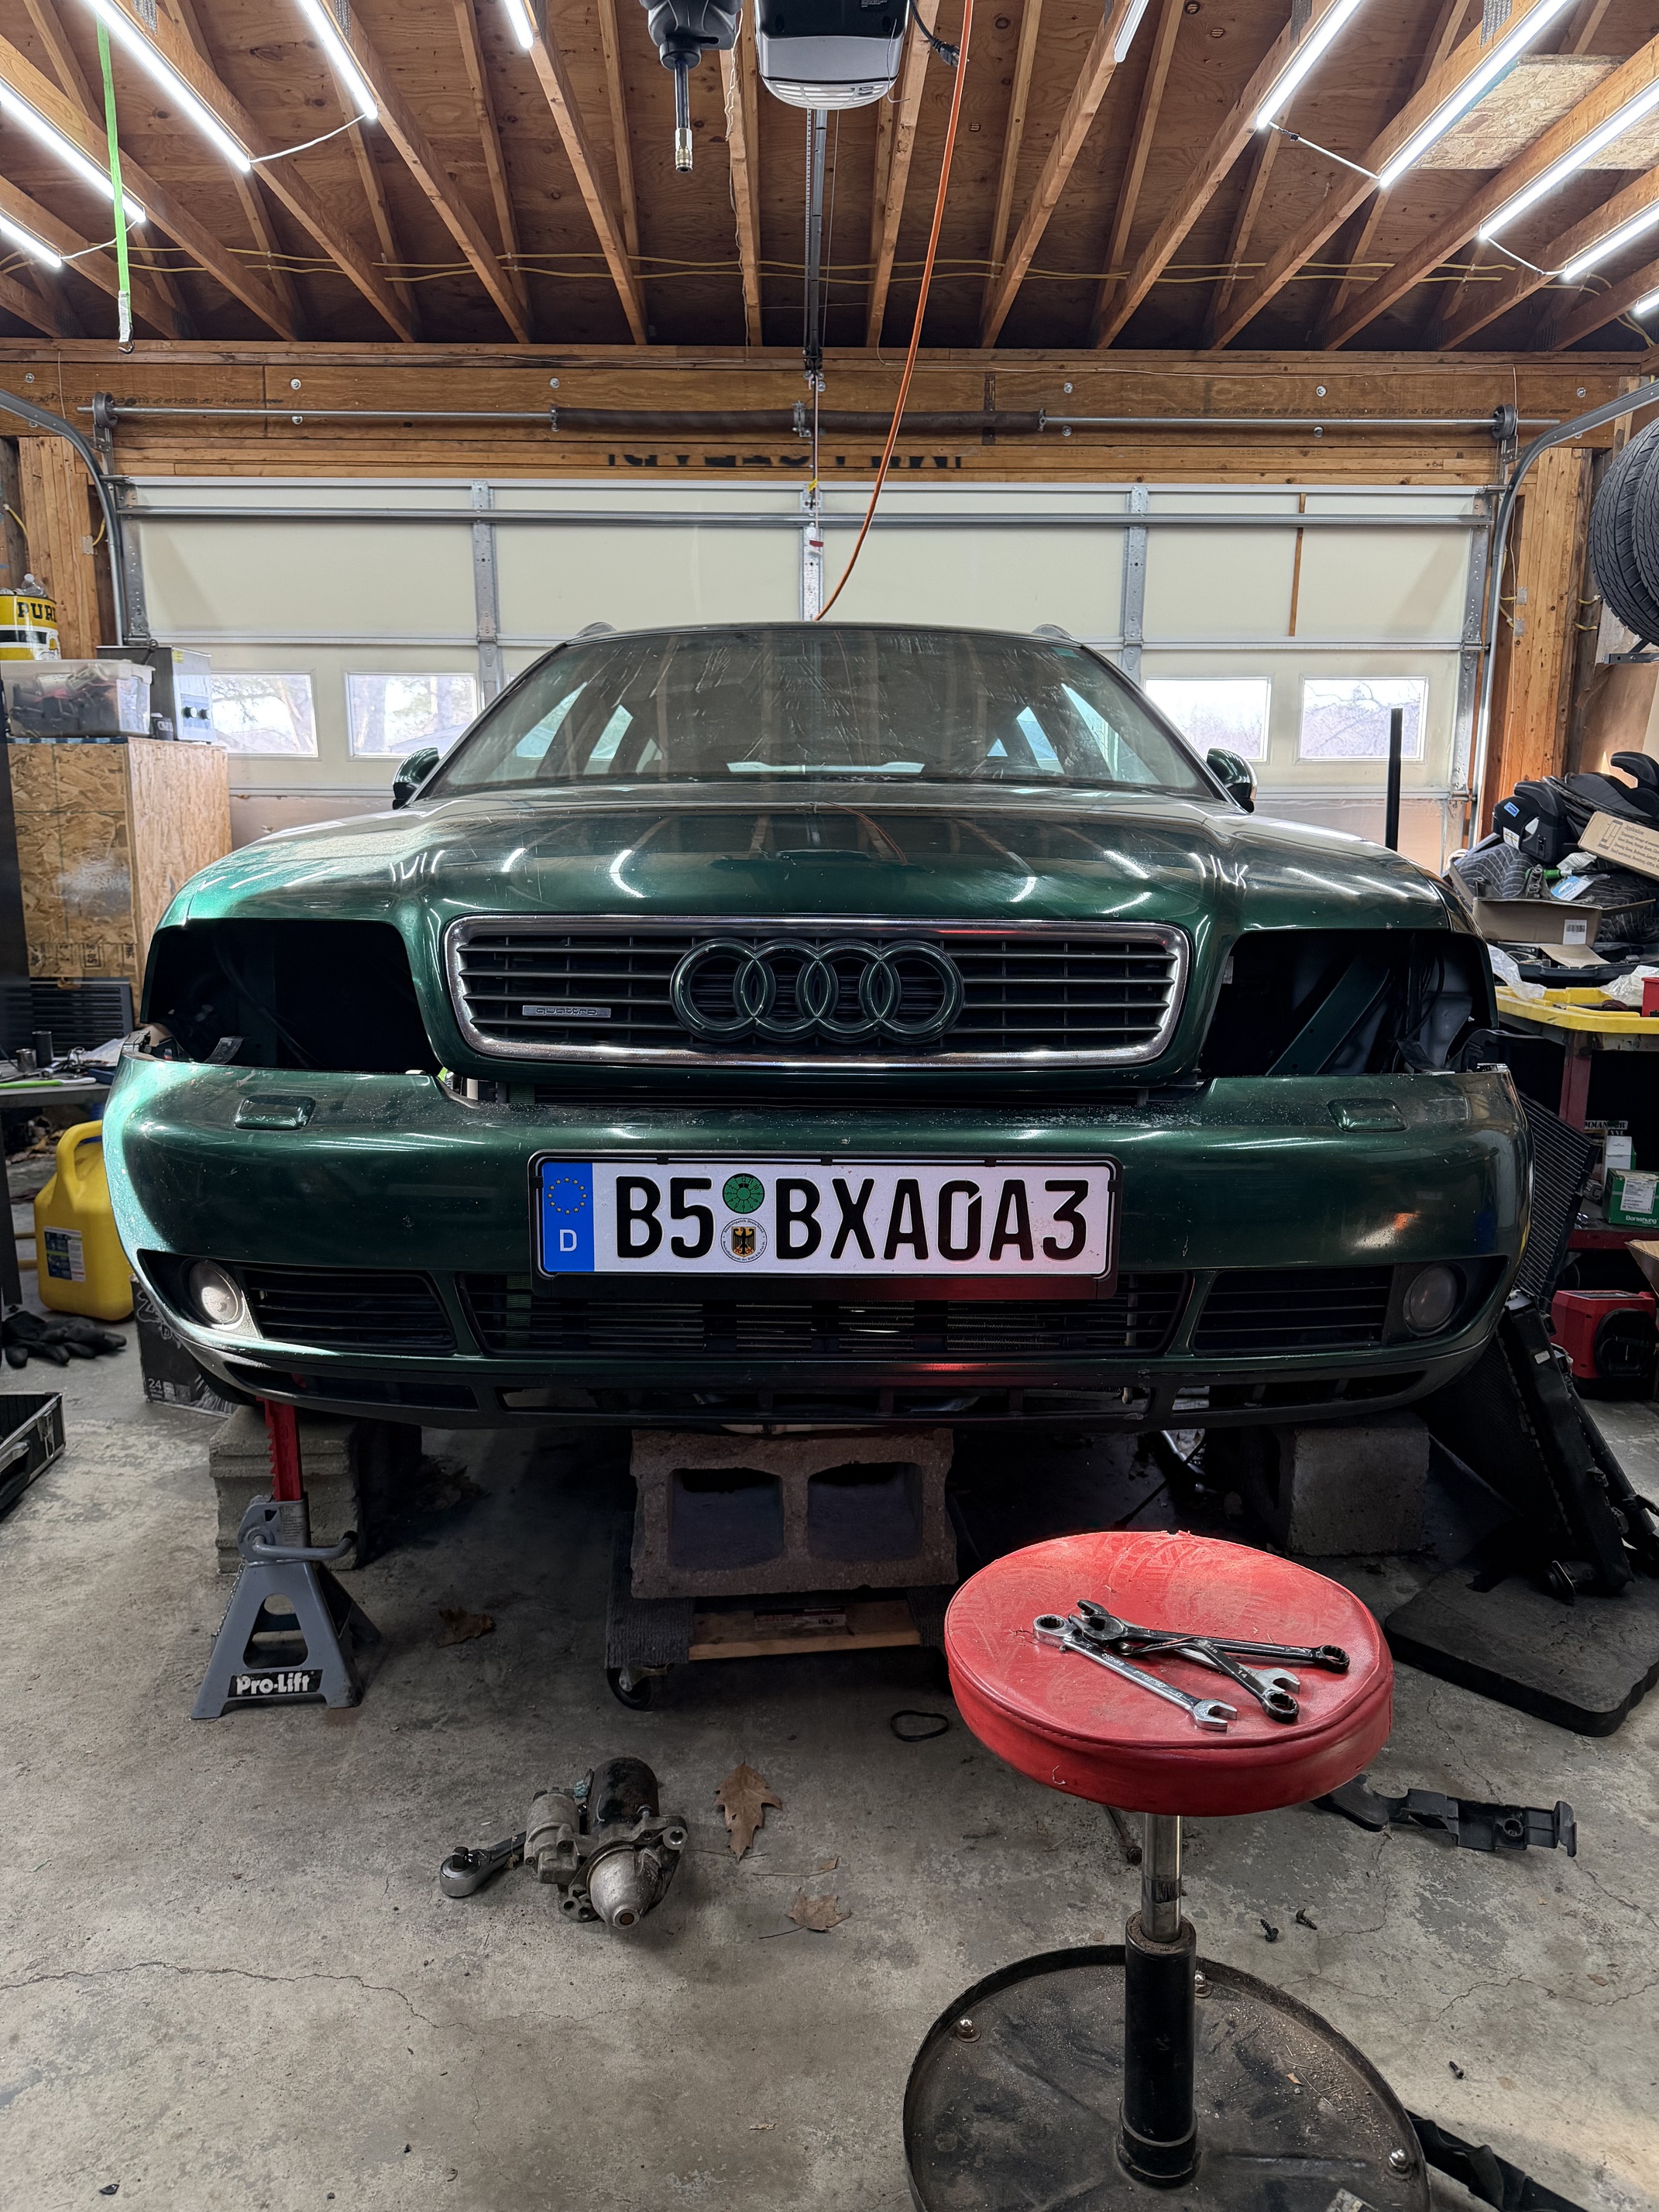
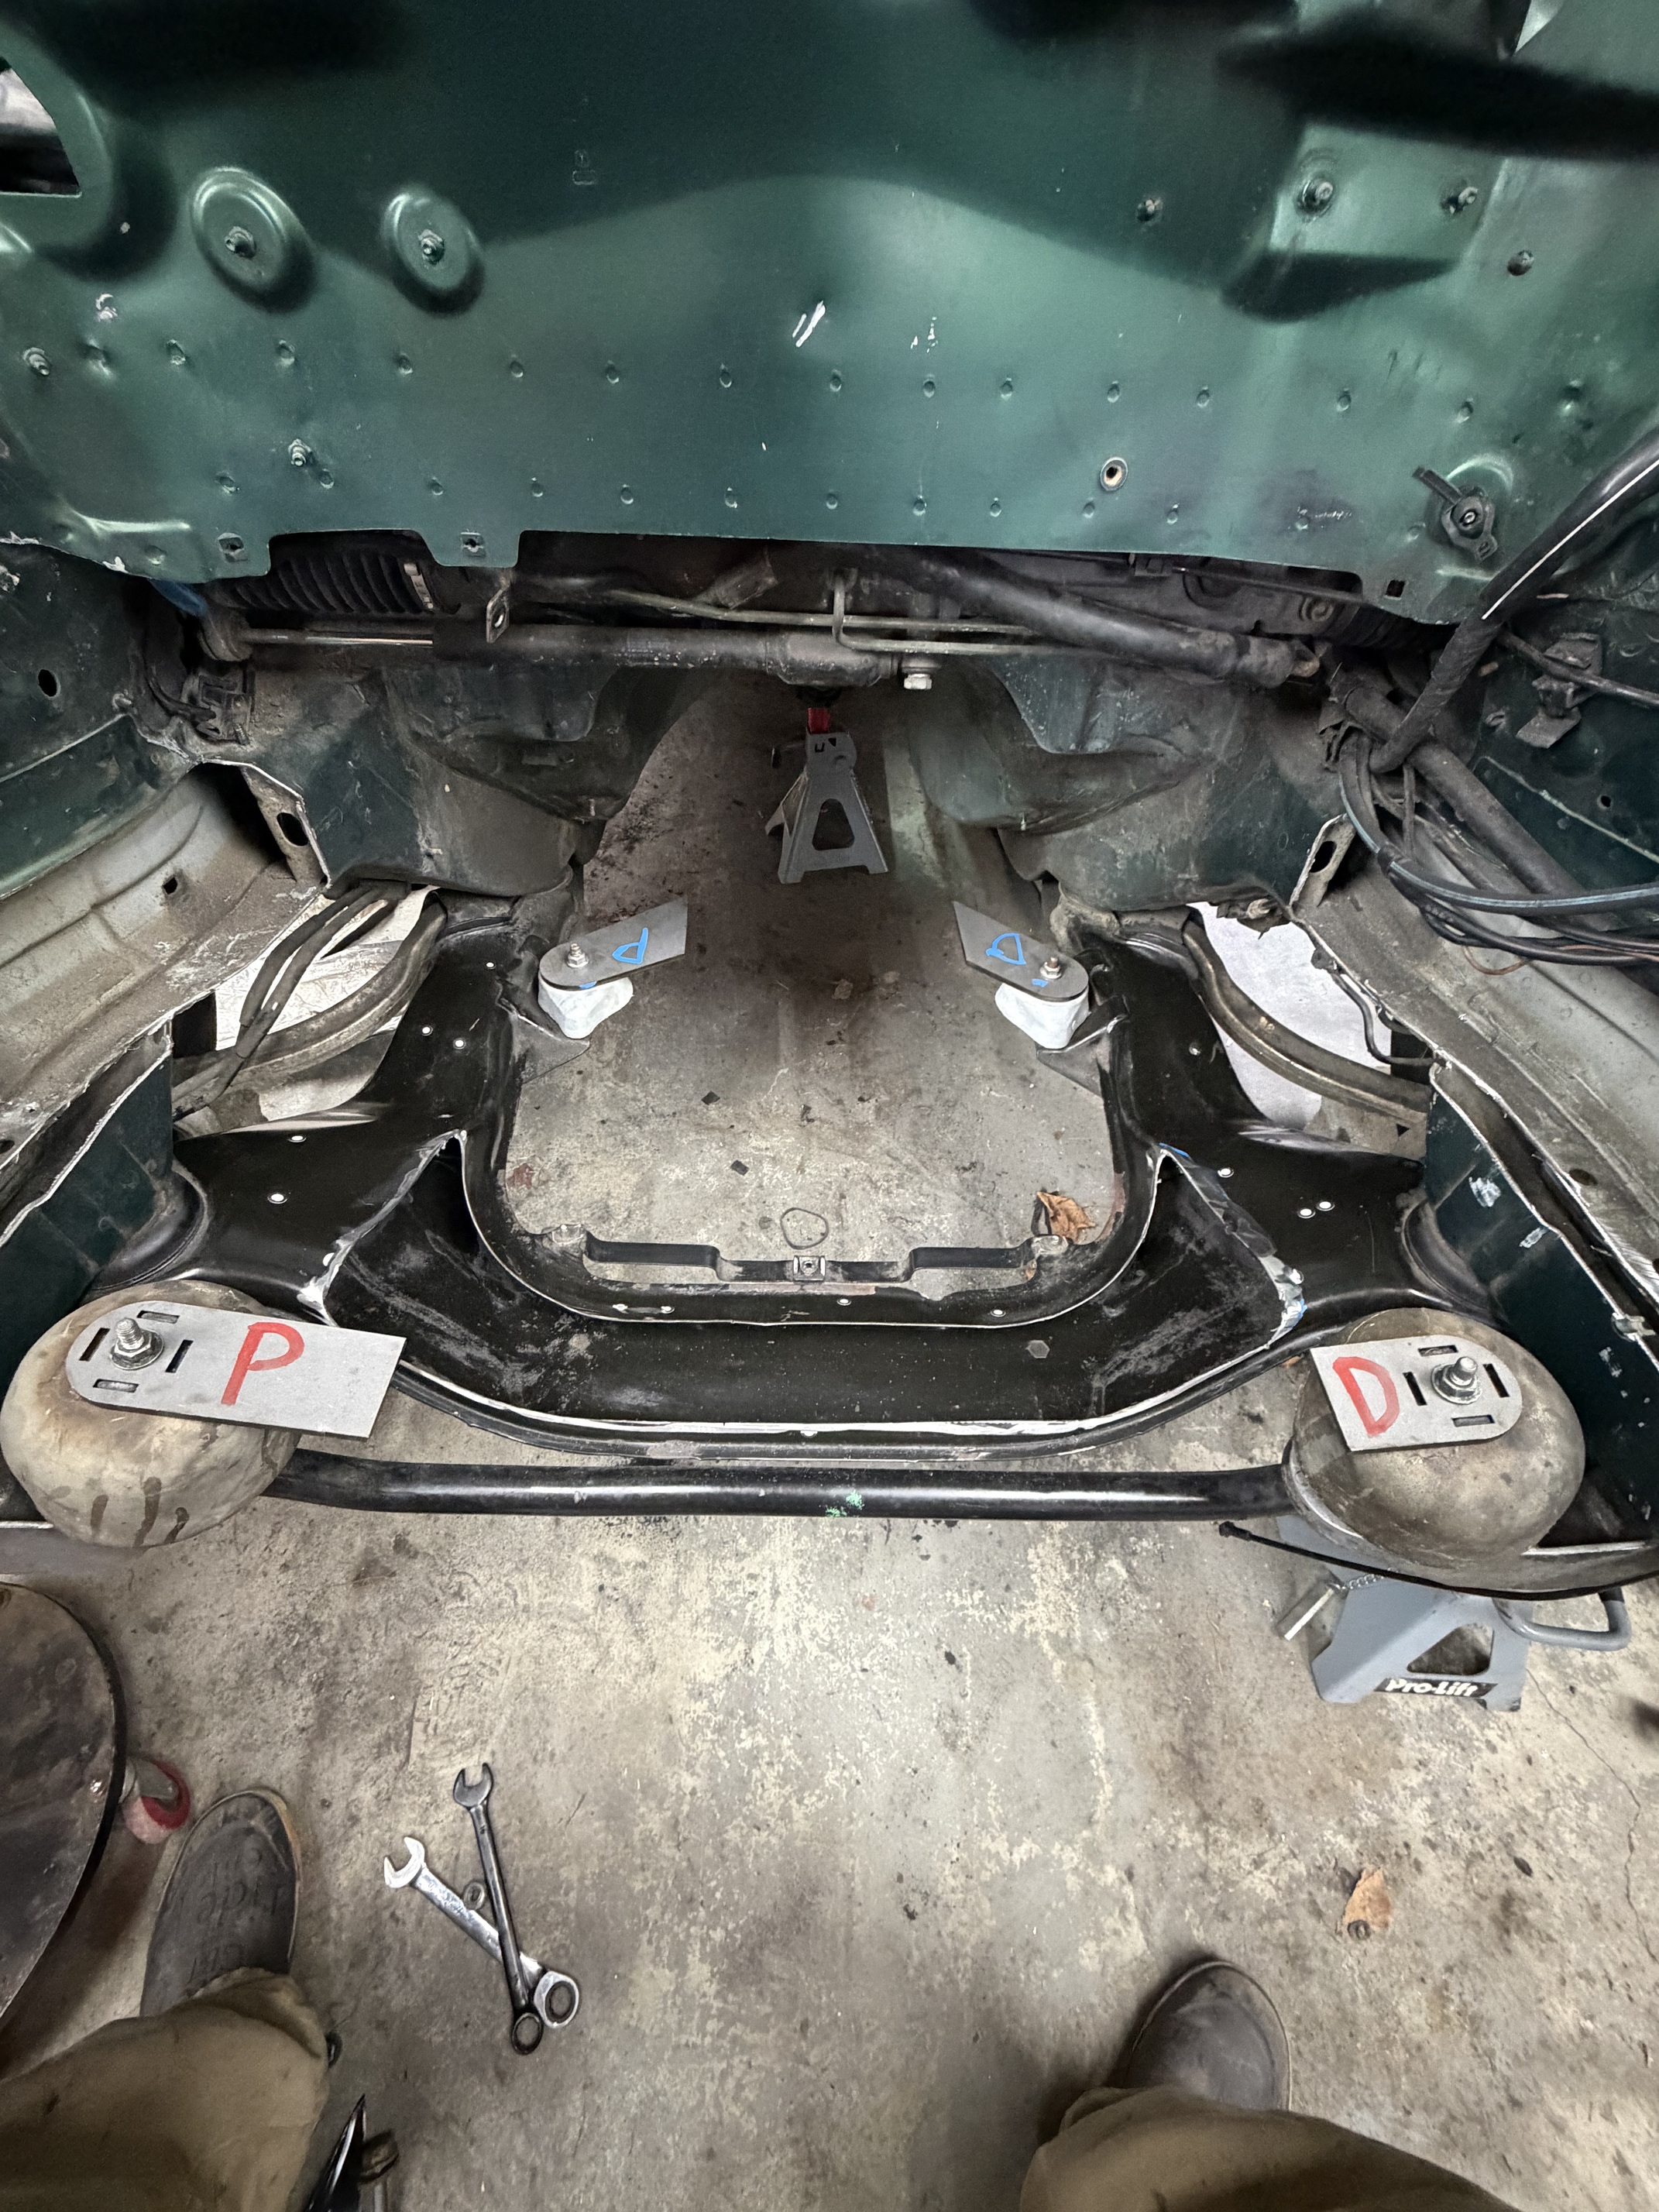
Engine and transmission are mounted up. Everything clears. Its a rolling chassis now. Next is reinforcing everything I cut to make it fit and shifter linkage as it will need to be shortened a few inches. Happy with the progress