So the short version of the story is the squeak was caused by a bushing, as I figured. What I didn’t realize is that the bushing was polyurethane, most likely a Powerflex race (black) bushing. If you like squeaks, by all means, go with poly bushings.
Anyway…moving on.
I knew today would be painful. My plan was to yank both front suspension assemblies, replace the top rubber mounts, one control arm bushing and the front sway bar end links.
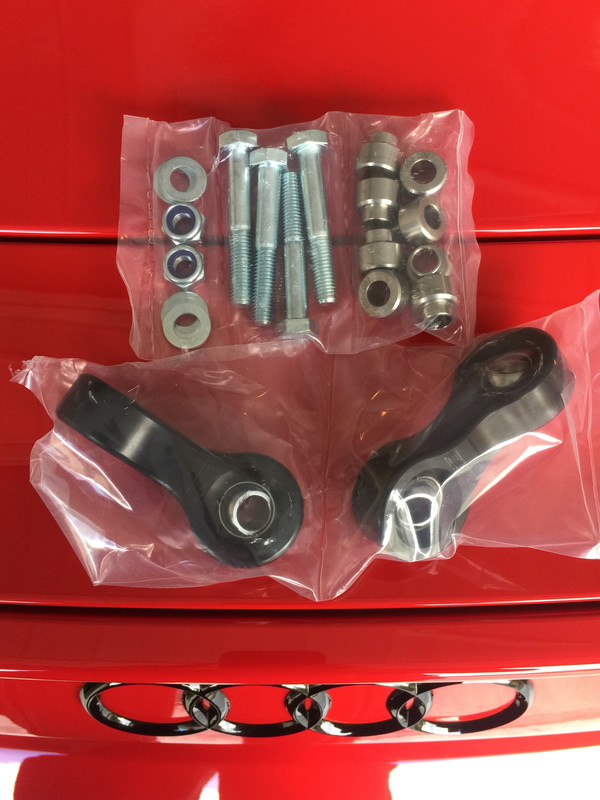
Going in, 034 Motorsports Density Line upper shock mounts, an OEM style heavy duty bushing and ECS Tuning front sway bar end links.
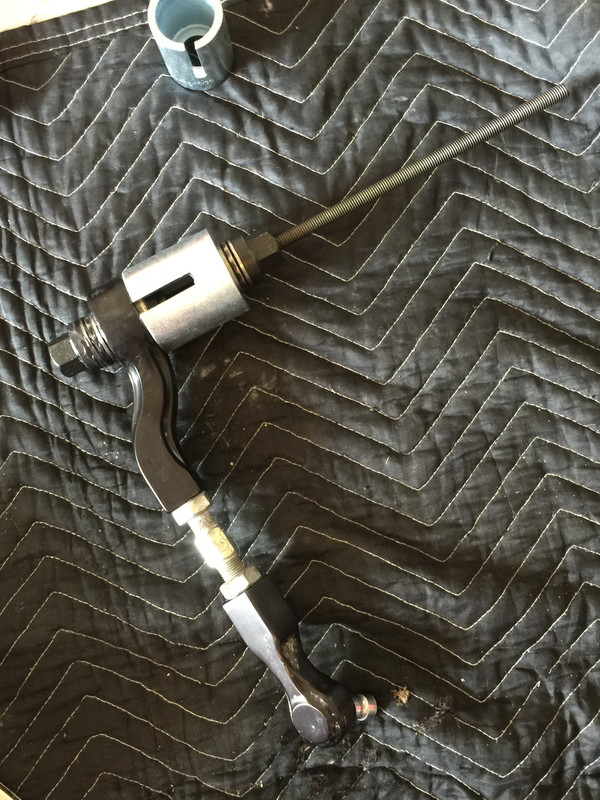
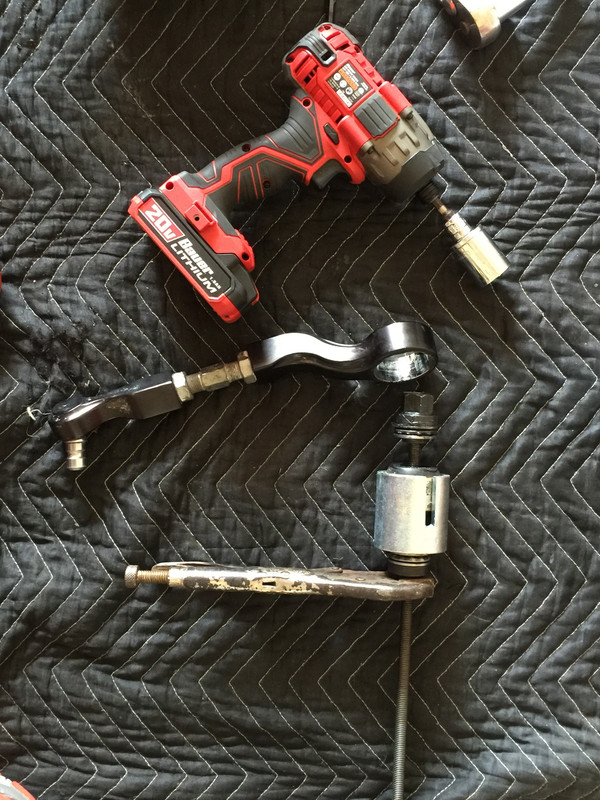
For bushing removal, you’ll need a push/pull kit. I purchased this one off of eBay for less than $100. The bearings that come with it suck and will break after your first use but you can get by without them.
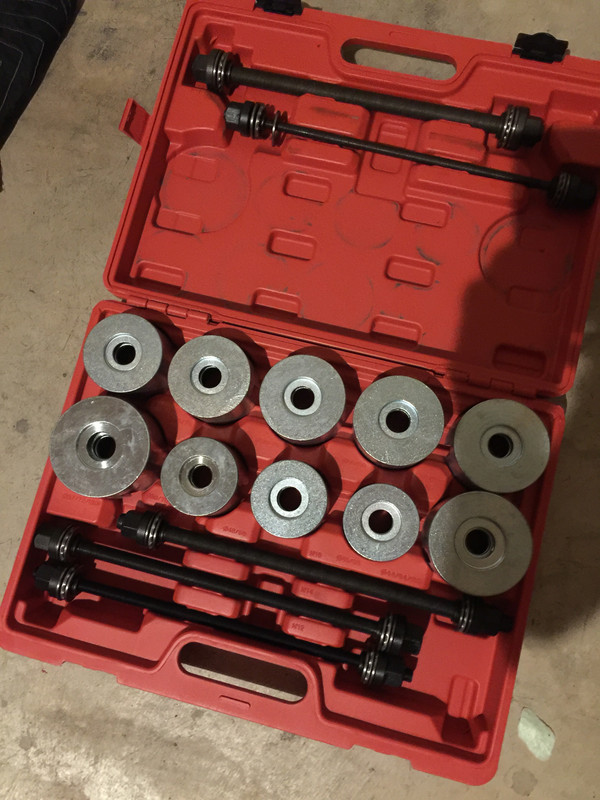
Ready for battle.
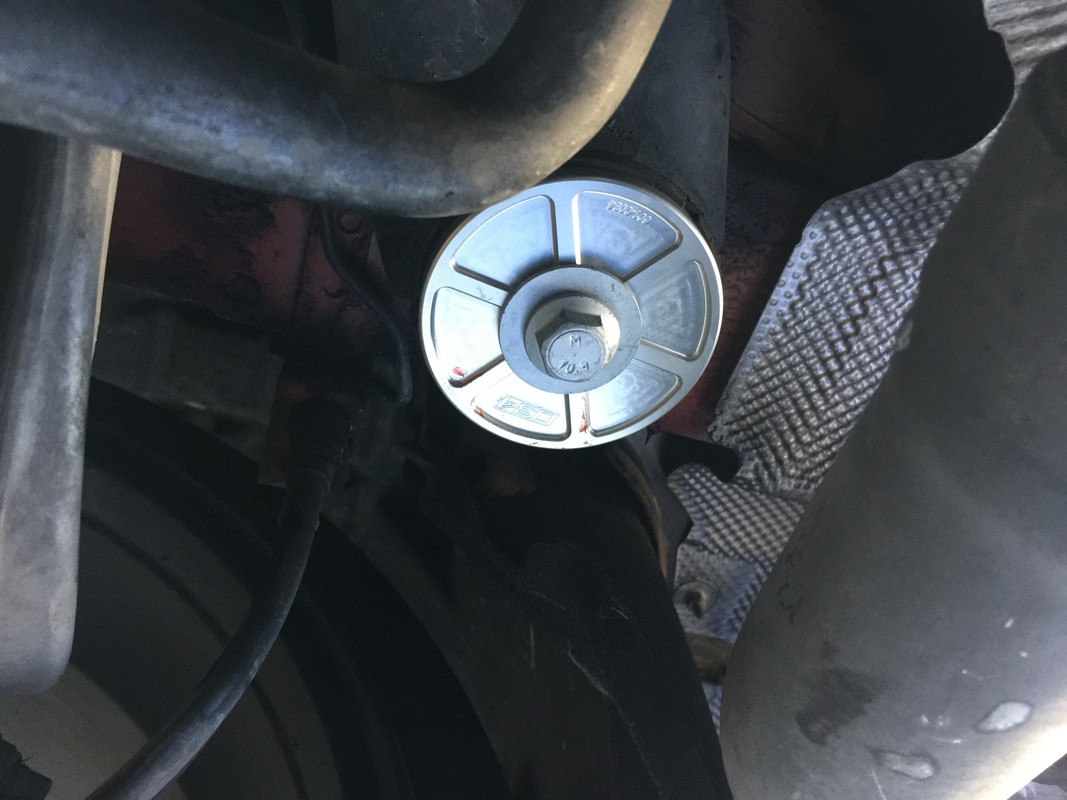
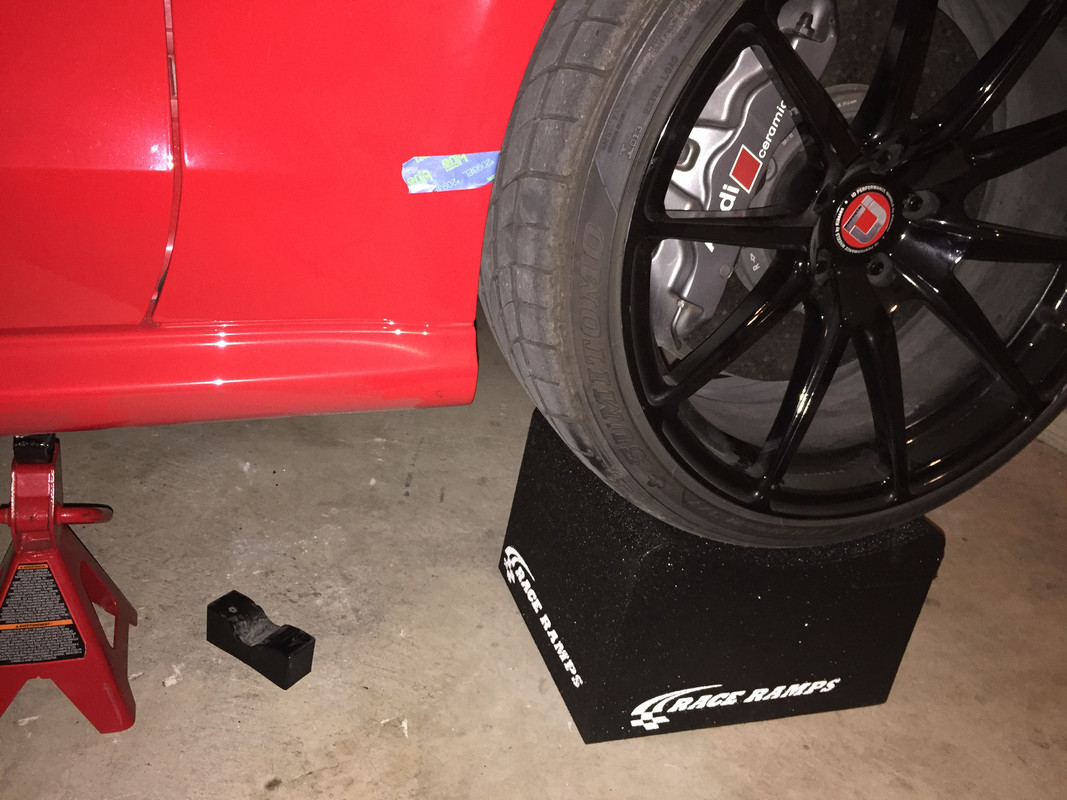
I started by taping off the line for the center cap and the top of the rotors. I could use this to “load” the suspension with the jack and tighten various nuts/bolts to spec.
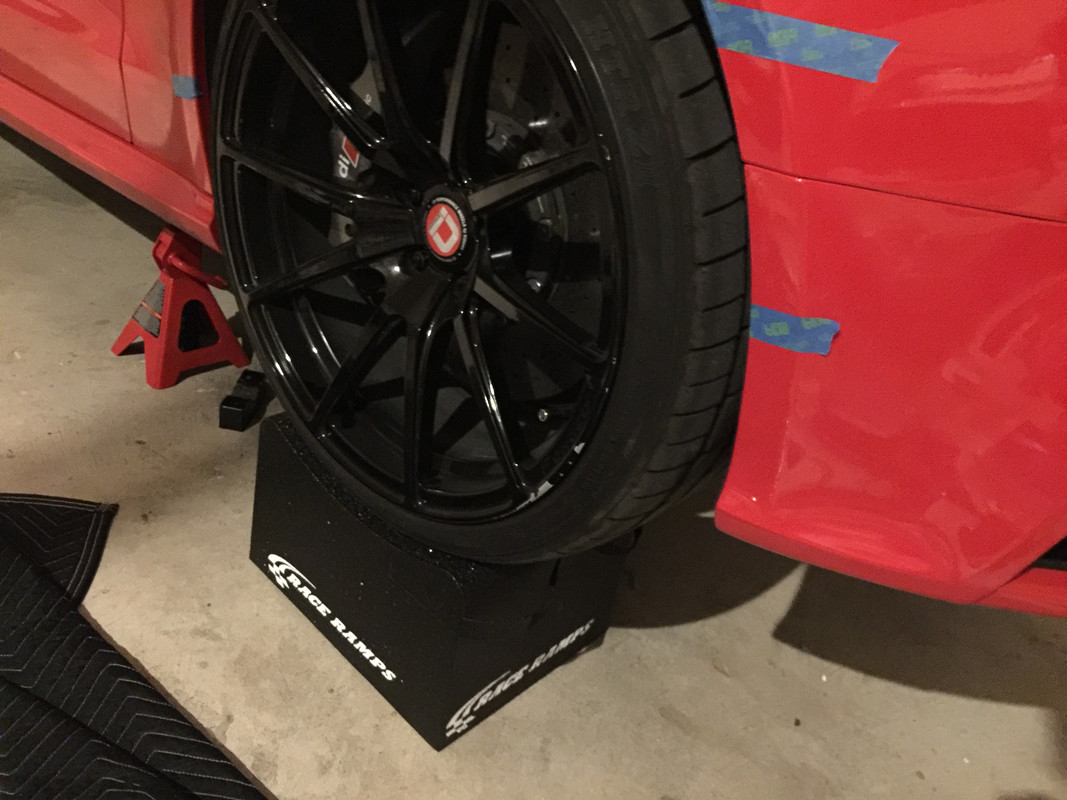
I also have a set of race ramps which allow me to have the suspension loaded with the tires on. These are super light. Best way I can describe them is they feel like styrofoam but they have the ability to support 1500 lbs. each. They weigh about a pound. Cool stuff
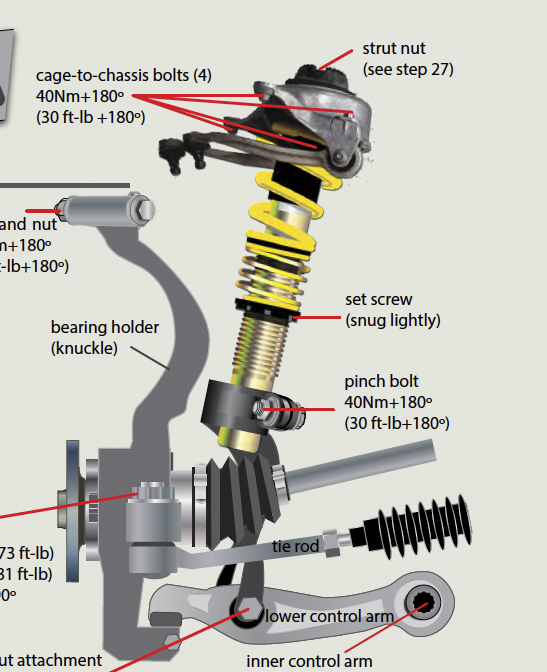
I used the most excellent ECS Tuning guide to installing coilovers as it had all the torque specs and the steps are spot on. You can download the PDF off of the ECS website.
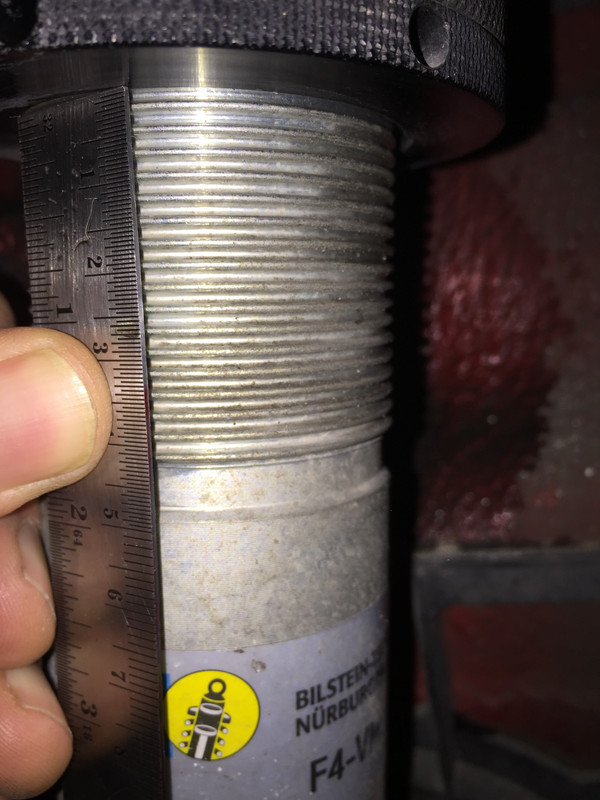
I jacked the car up and removed both front wheels. No need to have the car with the suspension loaded just yet. I covered the ceramic rotor with a towel, just in case. I then took a measurement of the spring perch height and came out to 5omm. The passenger’s side came in at about 53mm but I changed it to 50. I took the measurement because I’ll be loosening the bottom spring perch to relieve spring tension and allow me to remove the top mount.
I released the spring tension with the assembly still in the car but for the other side, I did it with the assembly out of the car. Per James’ suggestion, I have a screwdriver with a cut-off tip that I use to adjust it. But I also picked up a Bilstein wrench just to have it.

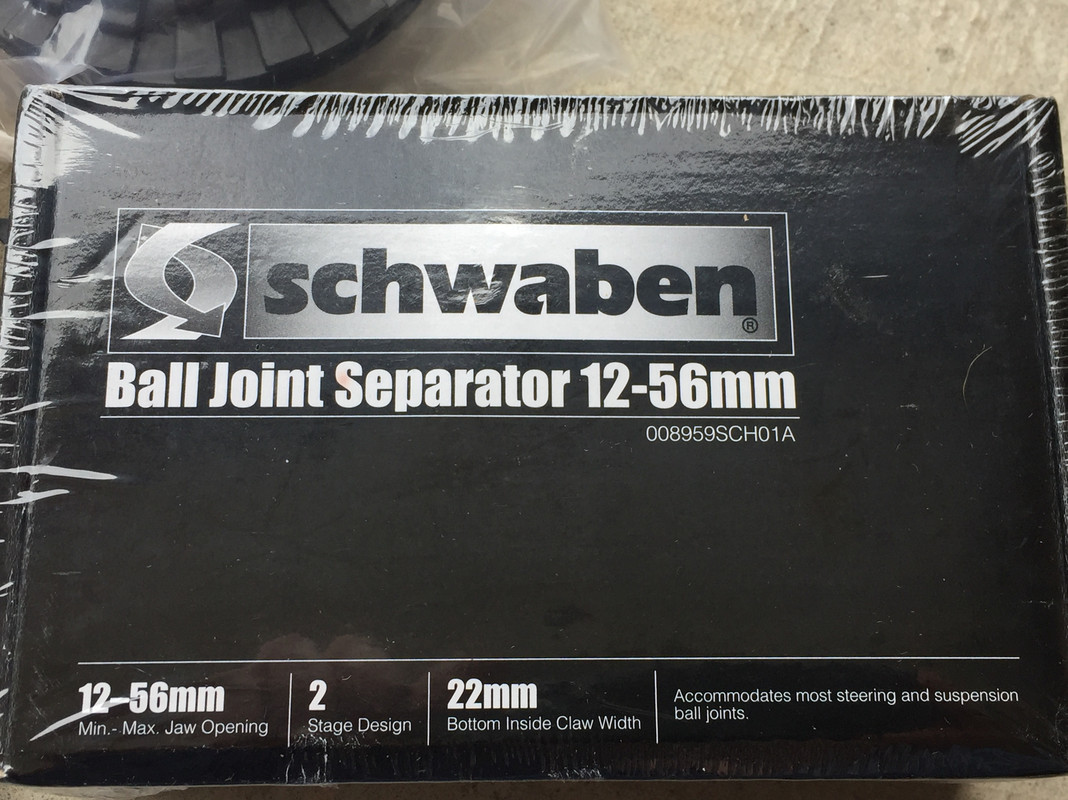
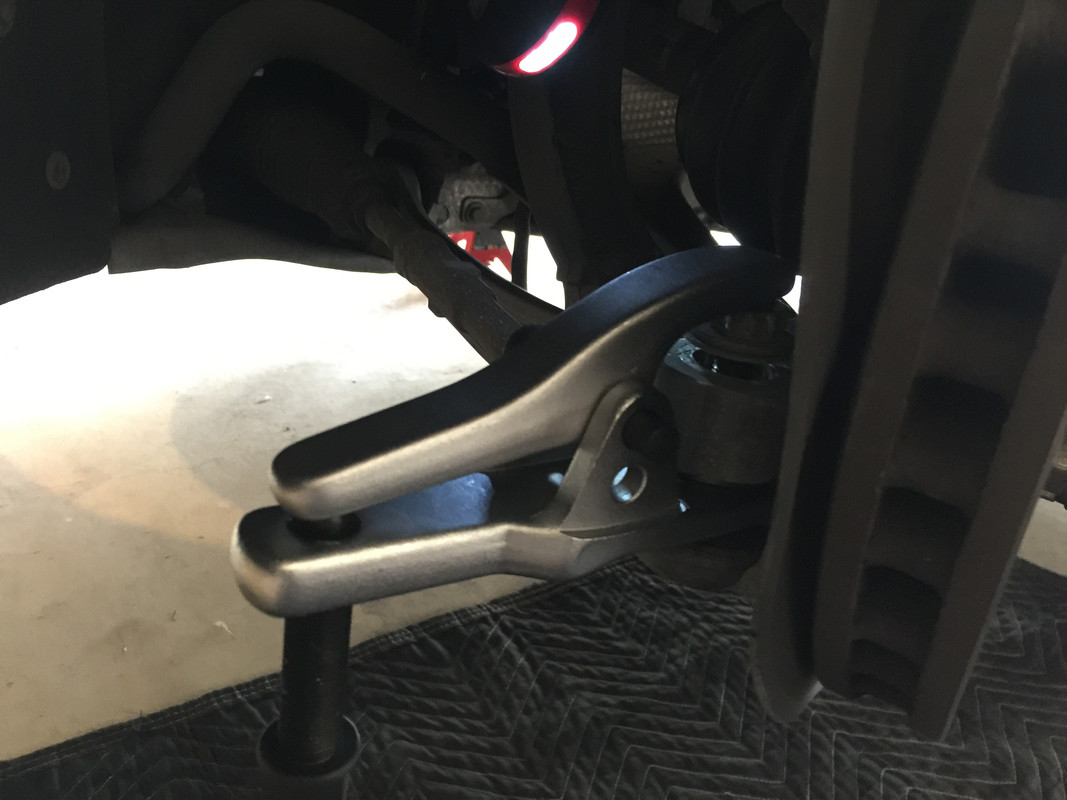
I purchased a schwaben ball joint breaker tool and it made removing the tie rod end super easy. Took like a minute and came apart without drama and no damaged dust boots. Highly recommended.
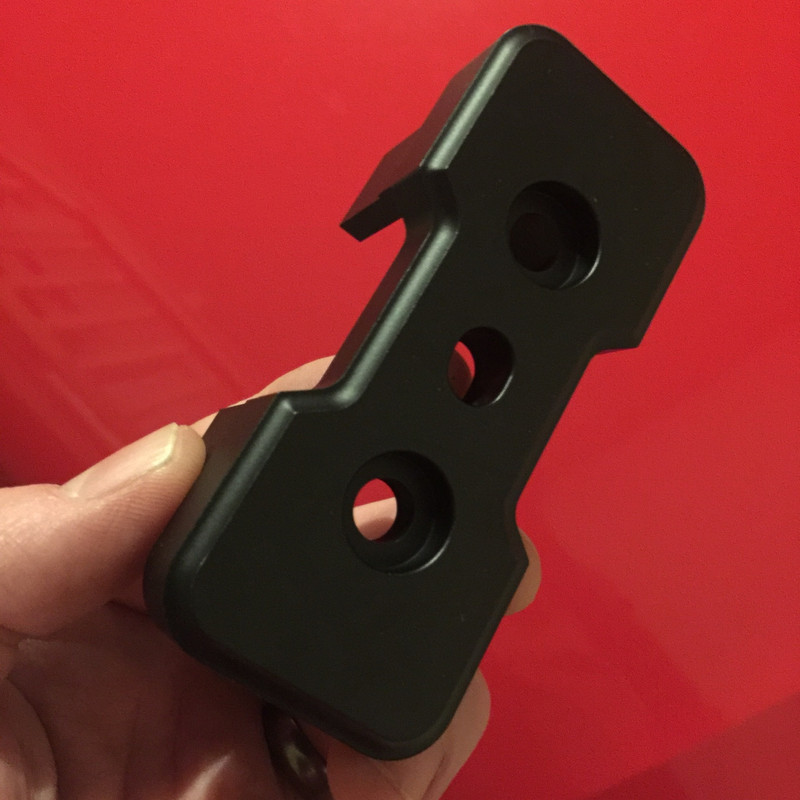
I did have to remove the lower strut mount fork. I couldn’t figure out an easy way to get it out with it still on the bottom of the damper. It actually saves quite a bit of time removing it as the shock tower to chassis brace and the damper come right out, easy as pie. I could have saved myself a good 30 minutes if I’d removed it from the start. Be sure to purchase the spreader bit off of the ECS website. It ensures you don’t damage the lower mount and allows for easy removal of the damper from the lower fork mount.
https://www.ecstuning.com/b-cta-tools-parts/vw-audi-strut-nut-socket/cta4005~cta/
Once out, the arm with the “bad” bushing rotated freely whereas the OEM rubber style mount had a very limited range. I took off the arm that needed the bushing replaced and then used my bushing removal kit. Found the right press out size and assembled everything. There’s one cup that matches the outer size of the bushing shell and another, larger cup that the bushing gets pressed into. Both have slots so you can see your progress.
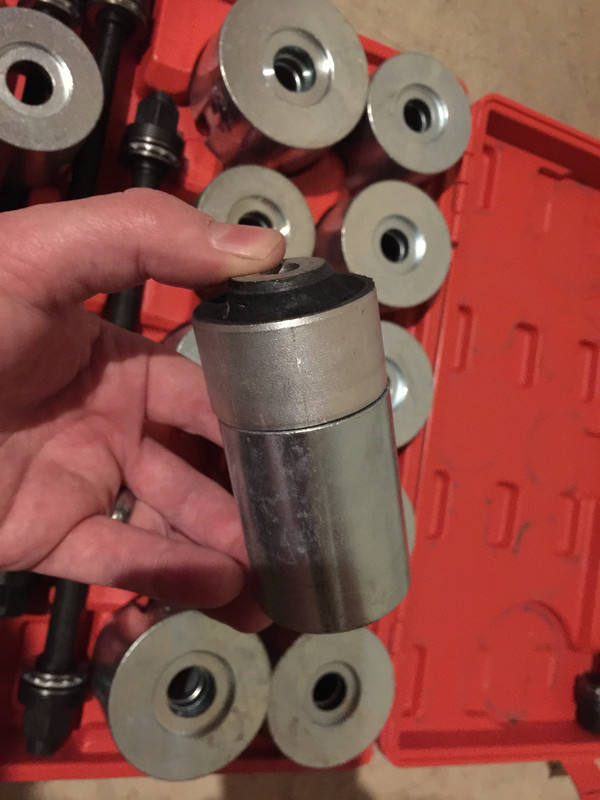
Assembled and ready to be pressed out.
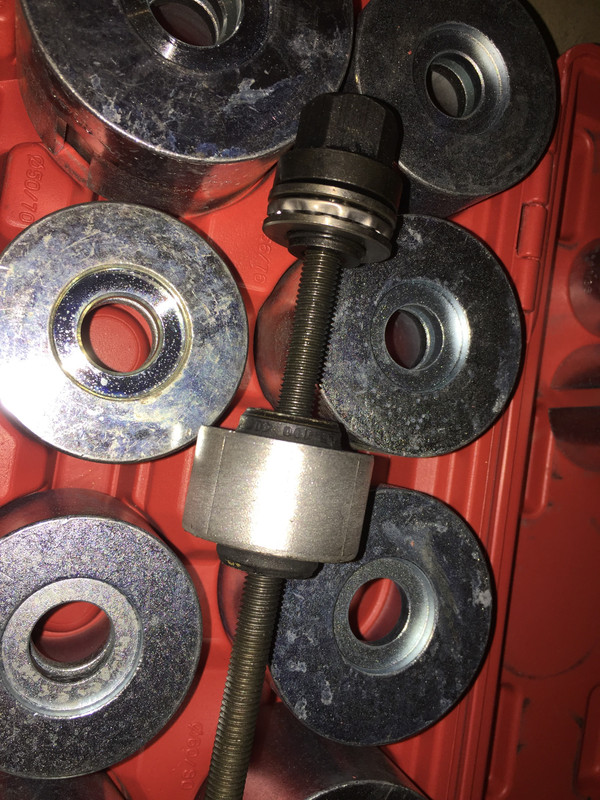
And it’s out! It literally took 10 seconds and came out very, very easily. I was expecting a struggle but it didn’t happen. I did grease everything in the assembly to remove any friction.
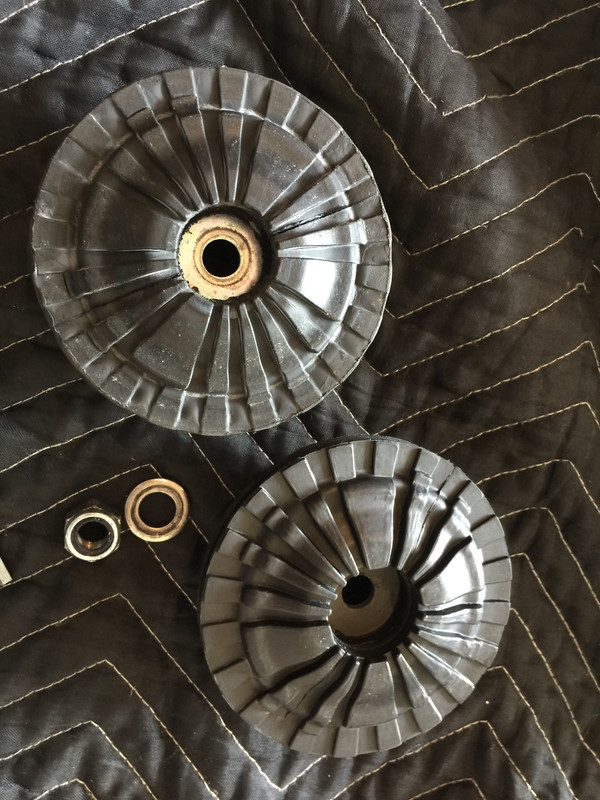
So I didn’t see this coming…Once i got the offending bushing off, I realized it was a poly bushing, most likely a Powerflex black race bushing. It was a bit wide for the space it’s designed to fit into and I could see the end of the polyurethane had deformed a bit. Here it is next to the new OEM-style bushing.

I put the new bushing in the freezer for a bit and used synthetic grease on the inside of the control arm. Made putting the new bushing in just as easy as removing the old. You can put the new bushing/arm on the upper mount and torque to spec out of the car. Just line it up with the other arm. The reason why they say to do it at ride height is the rubber only has so much rotational movement. By positioning the arm appropriately, you’re achieving the same thing.
At this point, having nothing go wrong, I was practically laughing out loud at how easy everything was. Then I tried to remove the top nut on the damper. Huge PITA. I did have the Schwaben tool specifically for this but it was still difficult.


OEM rubber mount on top, the 034 density line on the bottom. The original mounts showed wear. If you’re going to swap springs or go with coil overs, definitely get these top mounts.
I cleaned and reassembled the damper and top mount assembly and got everything back in fairly easily. It’s a bit of a struggle to get the strut/top mount up and in and then get one of the mount to chassis bolts threaded. Just takes a bit of muscle but easily doable by yourself.
I adjusted the ECS end links to OEM length and installed them per their instructions. I will say this…the top bolt is a huge, huge, HUGE pain to get in. I was cursing and I must have struggled for a good hour. I found that it would go in and then wouldn’t turn by hand. I figured i was cross threading it. Not the case. Once you get to that point, put a 17mm shorty on it and twist away. Goes right in at that point so mark it down as being deceptive.
I moved on to the passenger’s side and it went more quickly as I didn’t stop to take photos and I’d taken my time on the driver’s side. With the knowledge from the first ECS end link, the second one went in much easier. I did run into one snafu, the starter threads on the top of the Bilstein damper were tweaked. Couldn’t get a nut on it. I also couldn’t find my master thread repair kit and tried to use small files to repair the threads to no avail. So I ended up using a high speed cutoff wheel to grind a few threads off. Problem solved.
For the final step, adjusting the end links, I put the car up on the race ramps. I adjusted them for no load and finished buttoning everything up.
All told it took me a whopping 7 hours. To make matters worse, I discovered that the passenger side had one poly bushing too. Wasn’t obvious as it was even in the bore unlike the other which stuck out like a sore thumb. I’d only ordered one bushing and one nut/bolt for the driver’s control arm so I cleaned and lubed it with Krytox. Next time I have any work to do on the suspension, I’ll take care of the other bushing. I could probably do each side in less than two hours now. But I can think of better ways to spend a Sunday.