This is companion thread to the one created for the engine teardown and rebuild. http://audirevolution.net/forum/index.php?topic=4869.0
I figured I would create a new thread for the benefit of those looking for transmission specific info without having to scroll through pages of engine pictures to find what they are looking for.
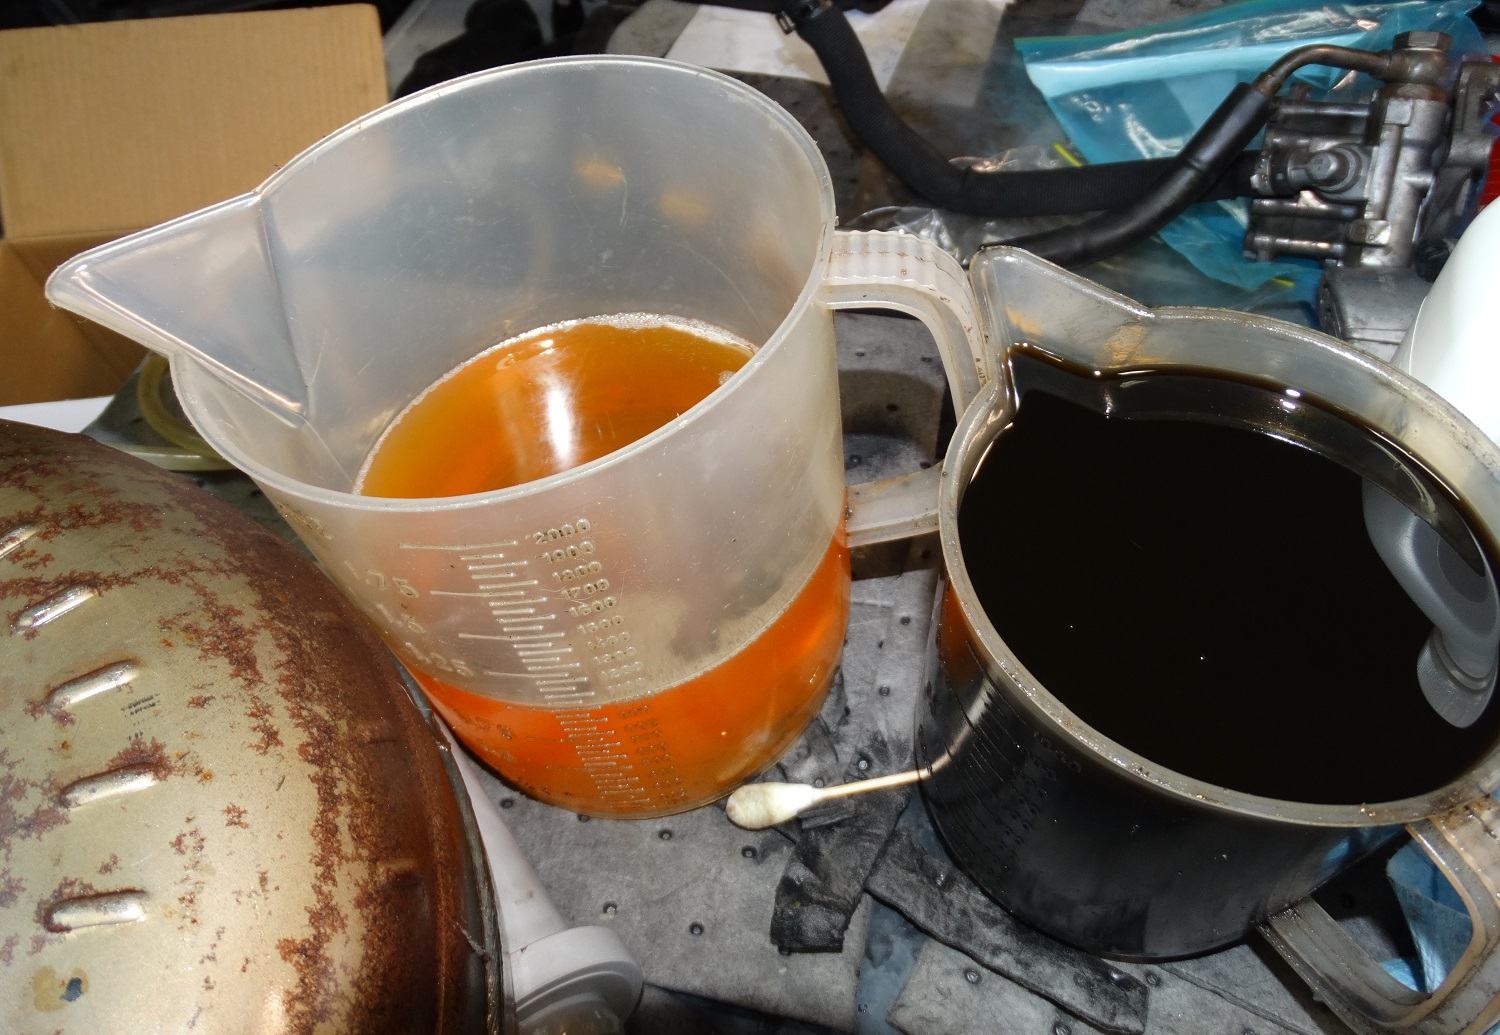
There are no operational issues with the transmission. I am only disassembling it partially to address some ATF and gear oil leaks that I have.
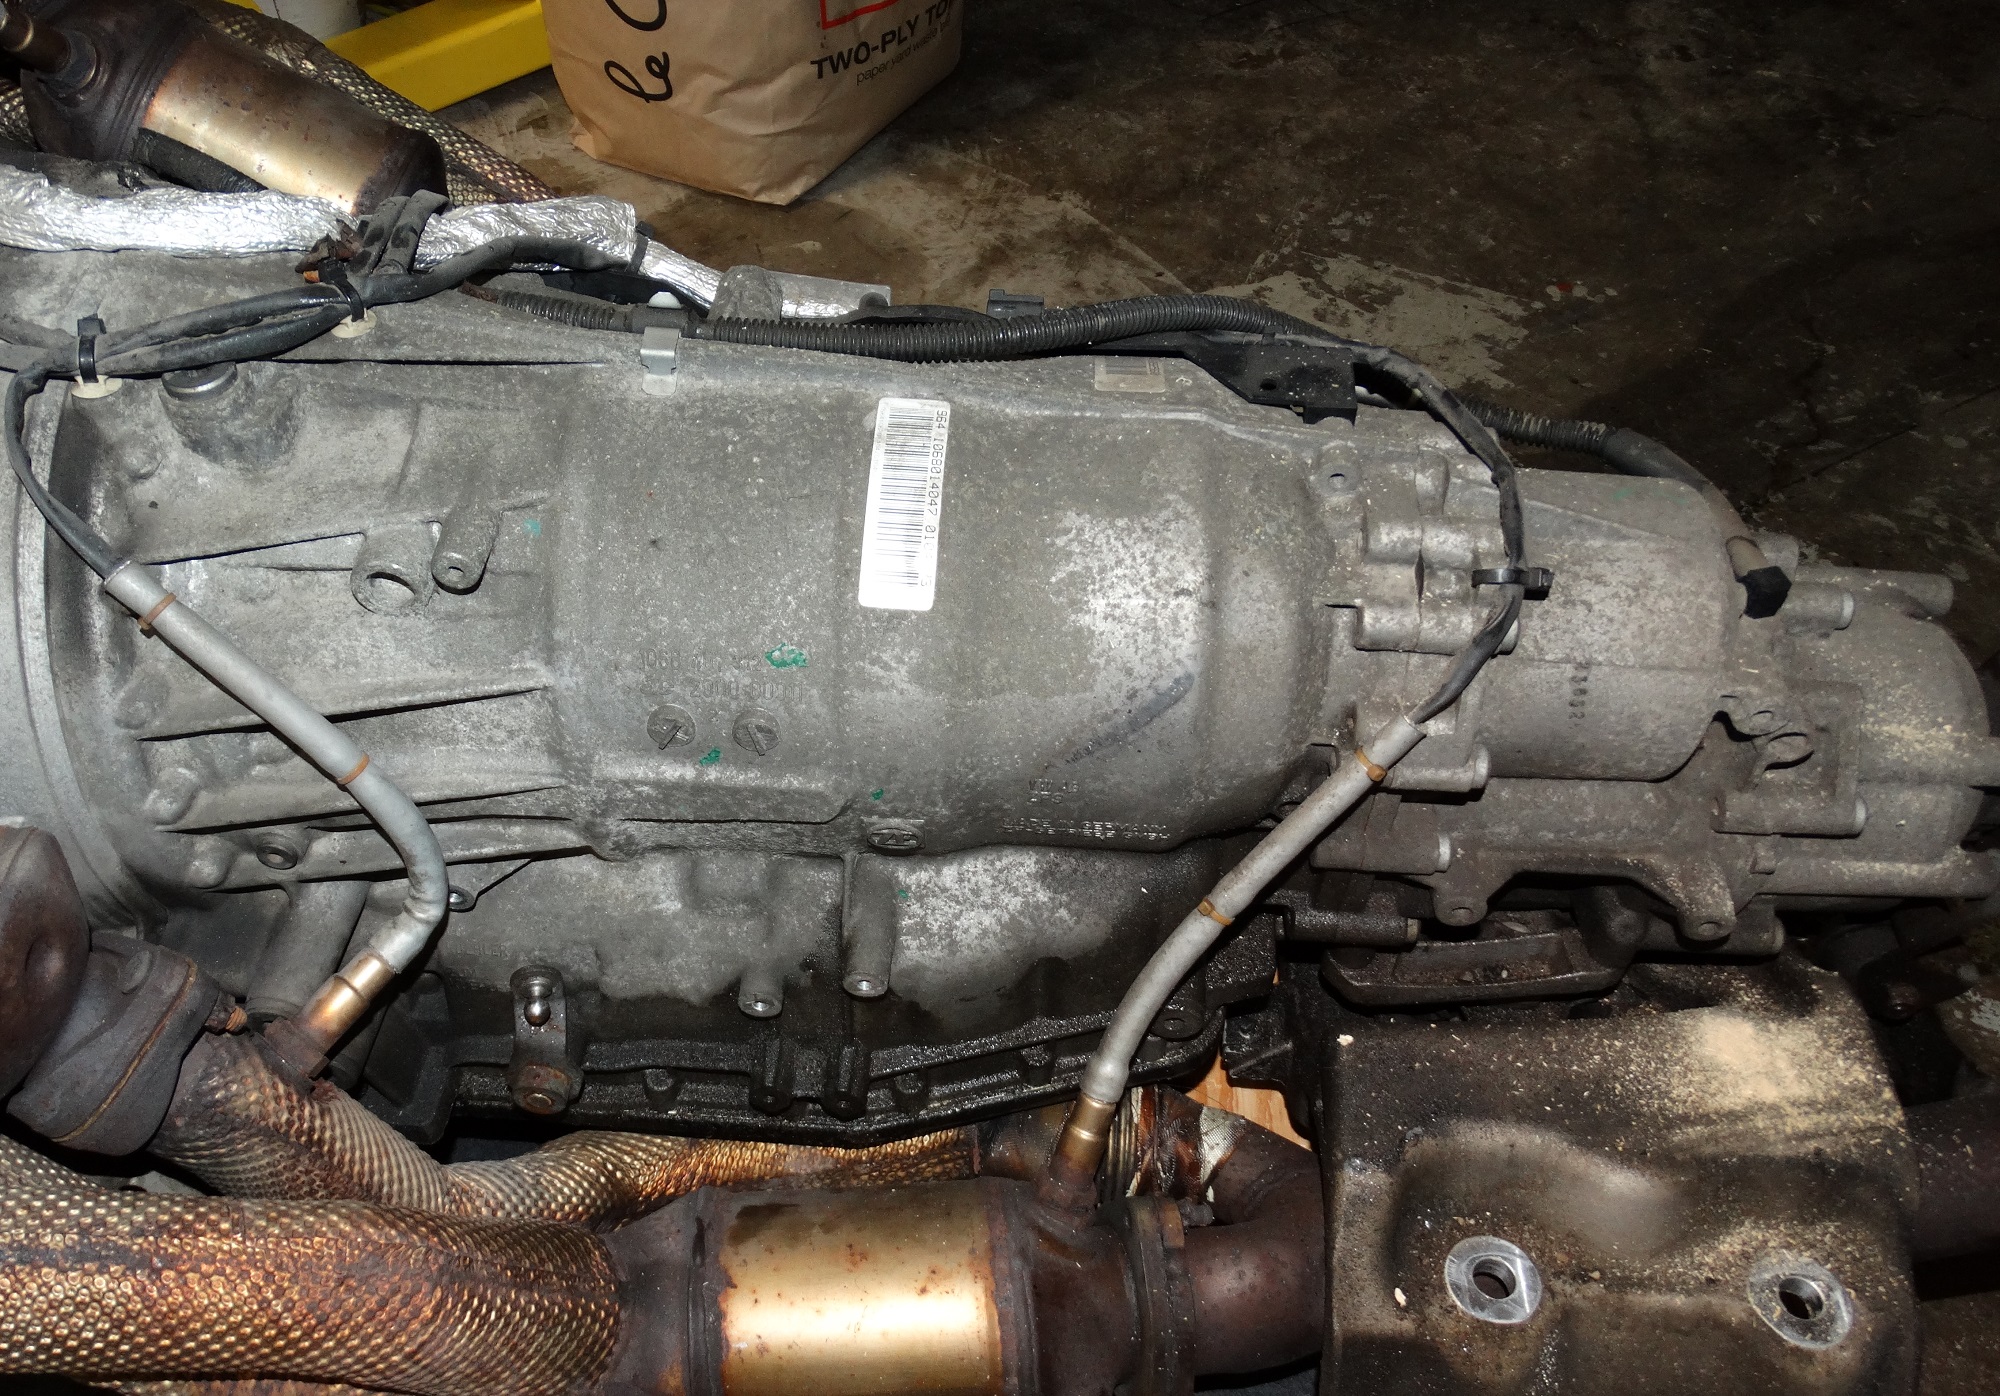
Here are a few pics showing the areas of leakage that I am going to address.
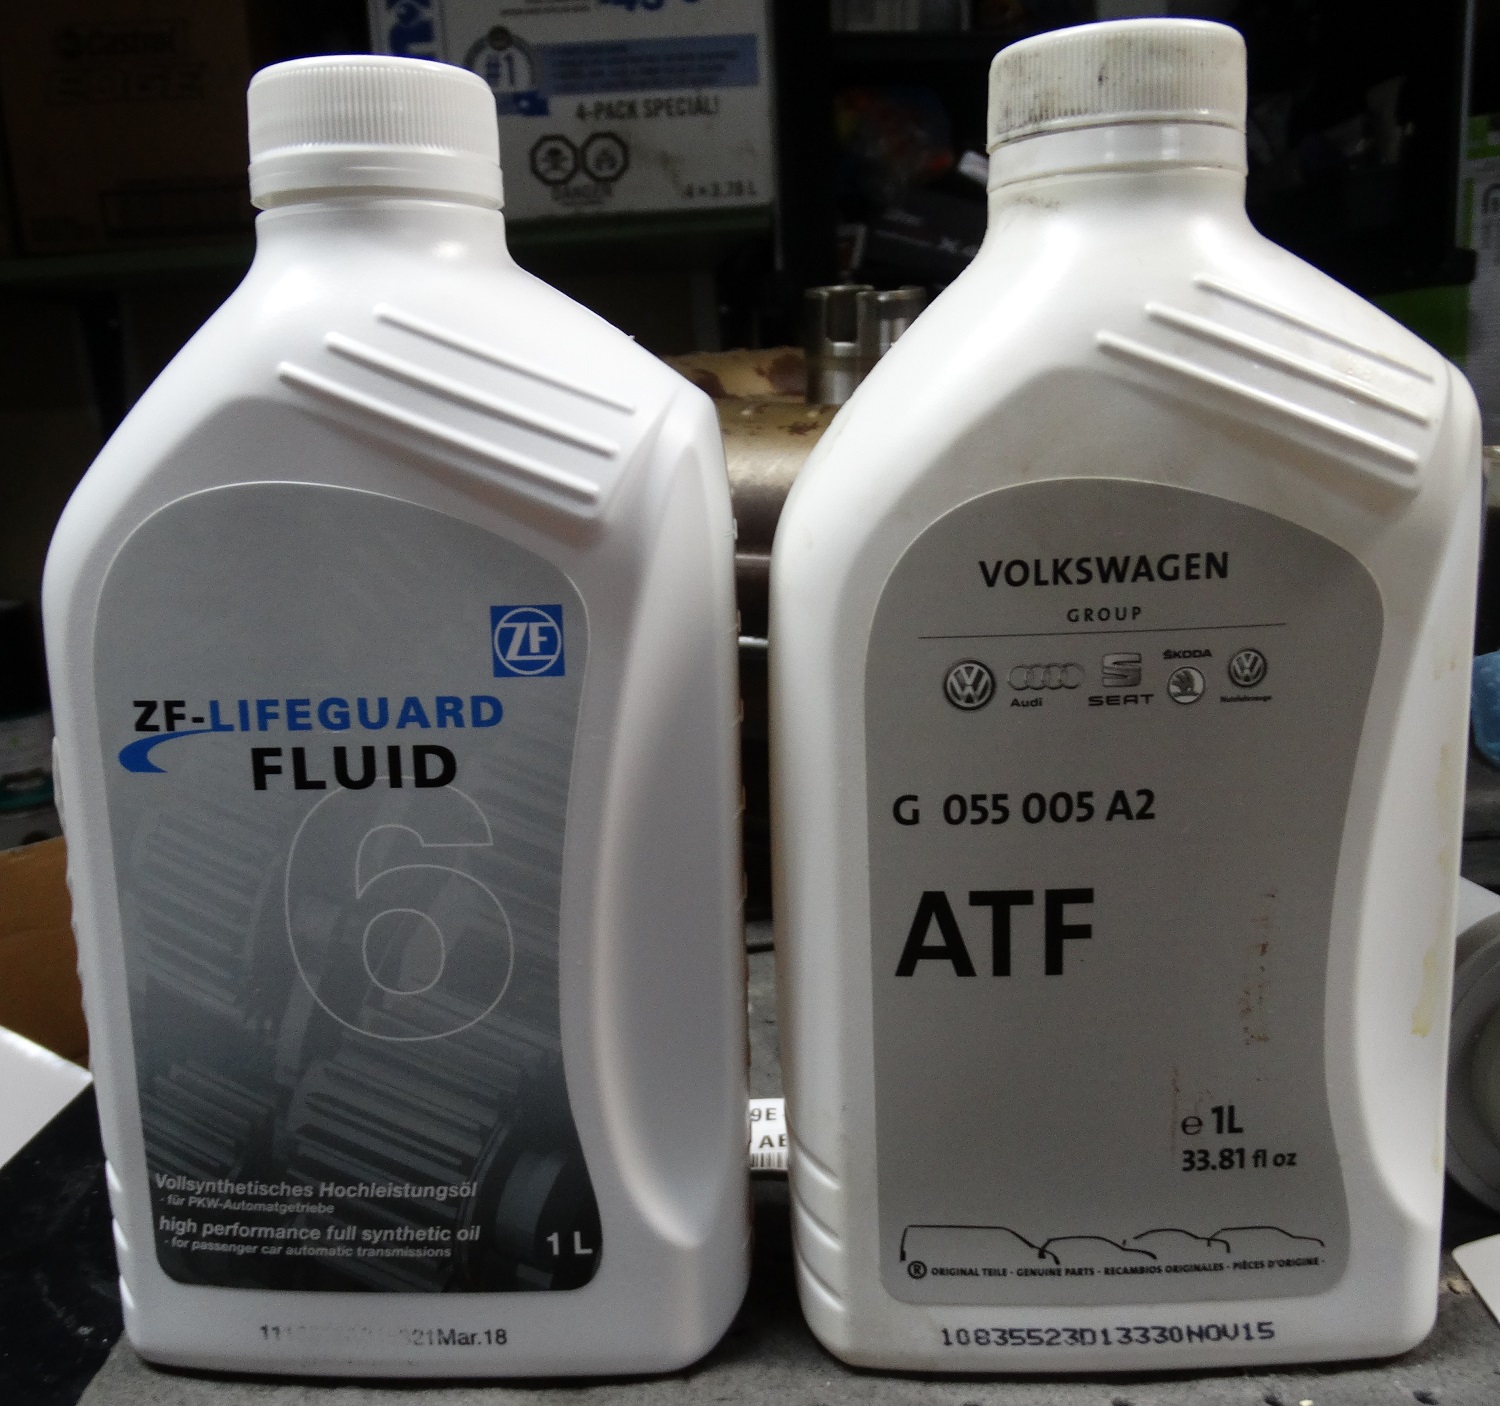
The nearly horizontal line of staining along the length of the transmission looks like a weeping pan gasket so that will be replaced along with a filter and ATF change.
http://audirevolution.net/addons/albums/images/765134369.jpg
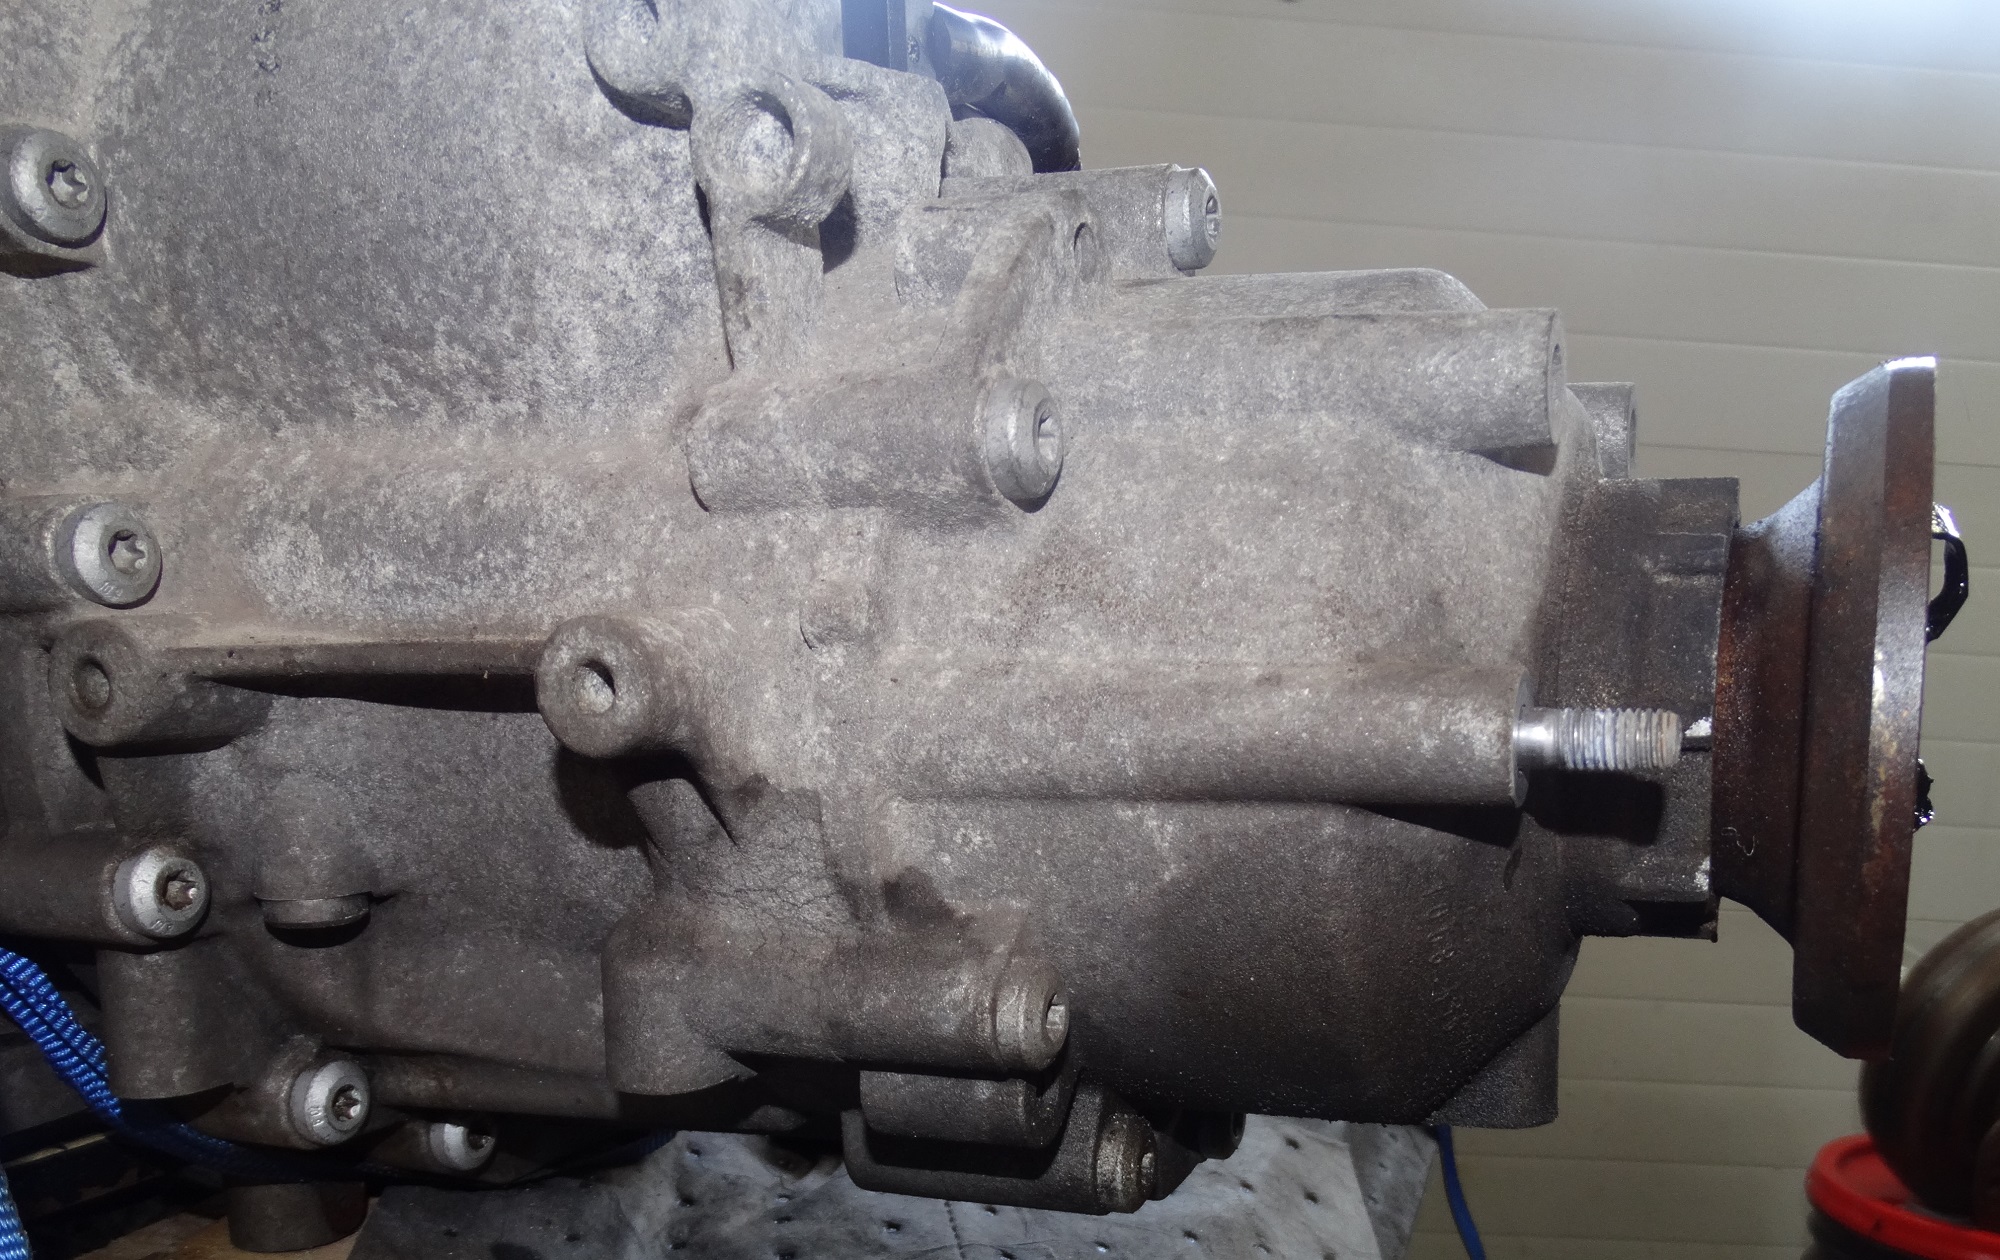
This next picture shows what looks like gear oil leakage from the front RH drive shaft seal.
http://audirevolution.net/addons/albums/images/503133371.jpg
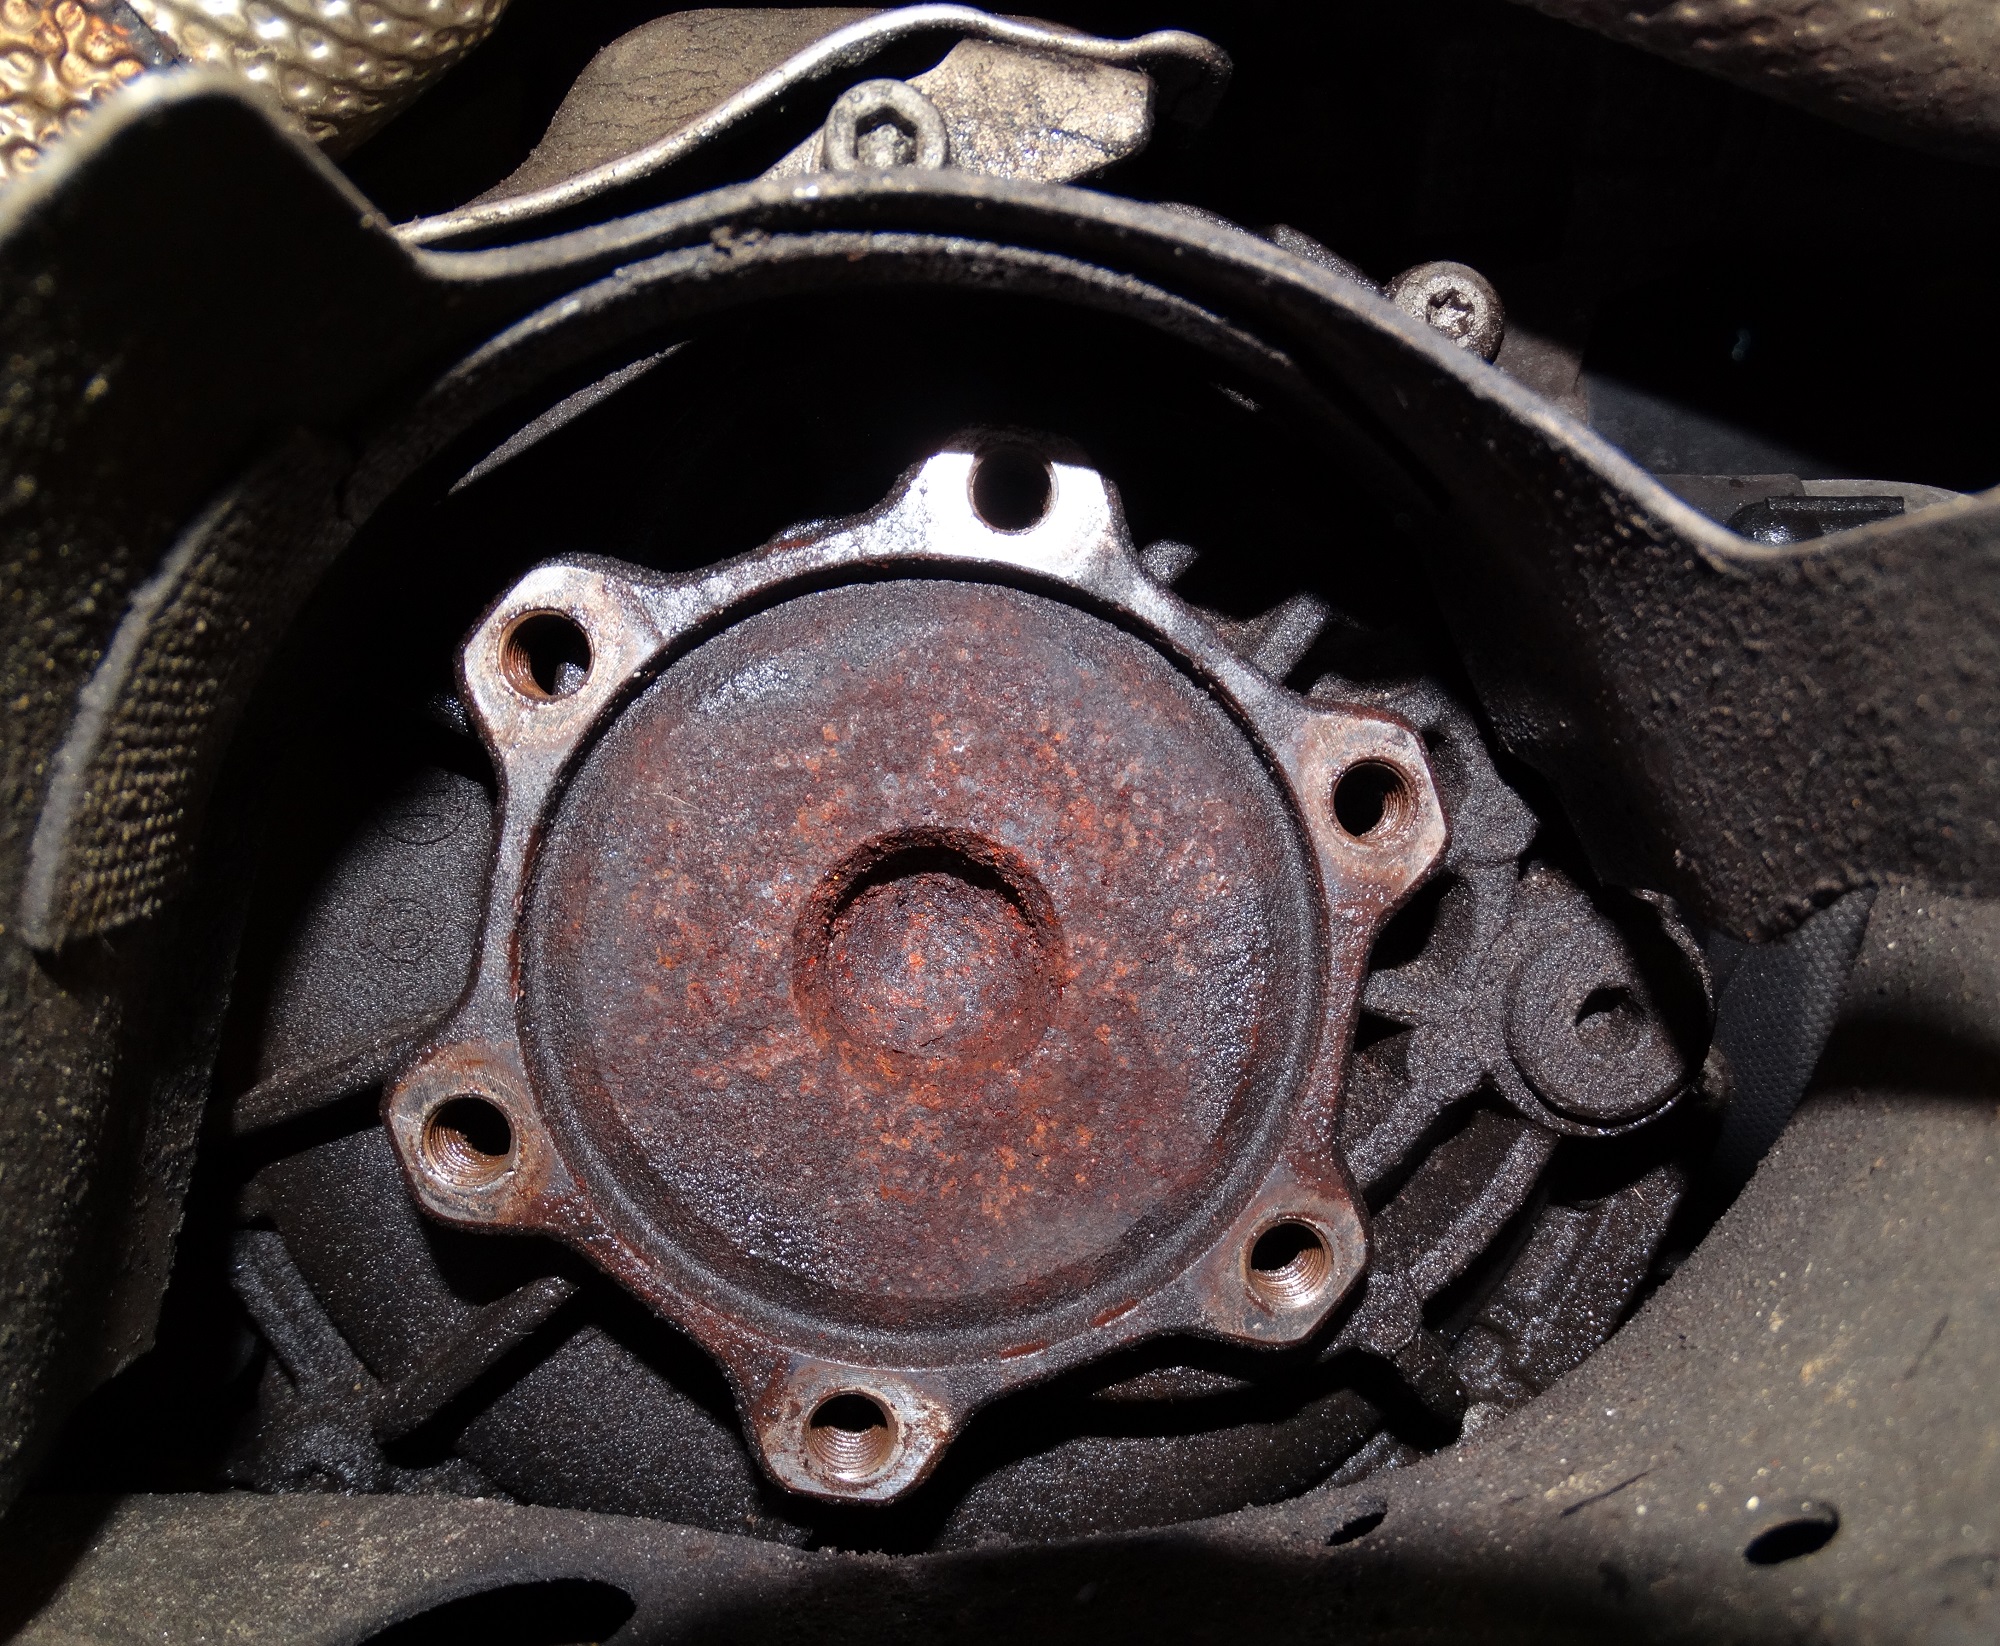
This third image shows what looks to me like ATF leakage from the rear drive shaft end of the housing for the centre differential
http://audirevolution.net/addons/albums/images/578417289.jpg
Any transmission work should always start with a thorough cleaning of the outside of the casing to minimize the possibility of any foreign material contaminating the system.
Here is what it looks like after some time with Simple Green and a scrub brush. It would have gone much faster if it was summertime so I could have taken a pressure washer in the driveway to it.
http://audirevolution.net/addons/albums/images/867442660.jpg
Both the left and right front LH flanged drive shafts can be removed in the same way. A couple of old chisels placed in behind and a couple of bolts through the flange to pull it out.
This is a shot of the LH one being removed. If you are not replacing the axle seal, care needs to be taken when removing the LH side so that the splined end of the axle does not drop down and damage the seal when the shaft is removed. I am replacing the seal so it really did not matter in my case.
http://audirevolution.net/addons/albums/images/356498479.jpg
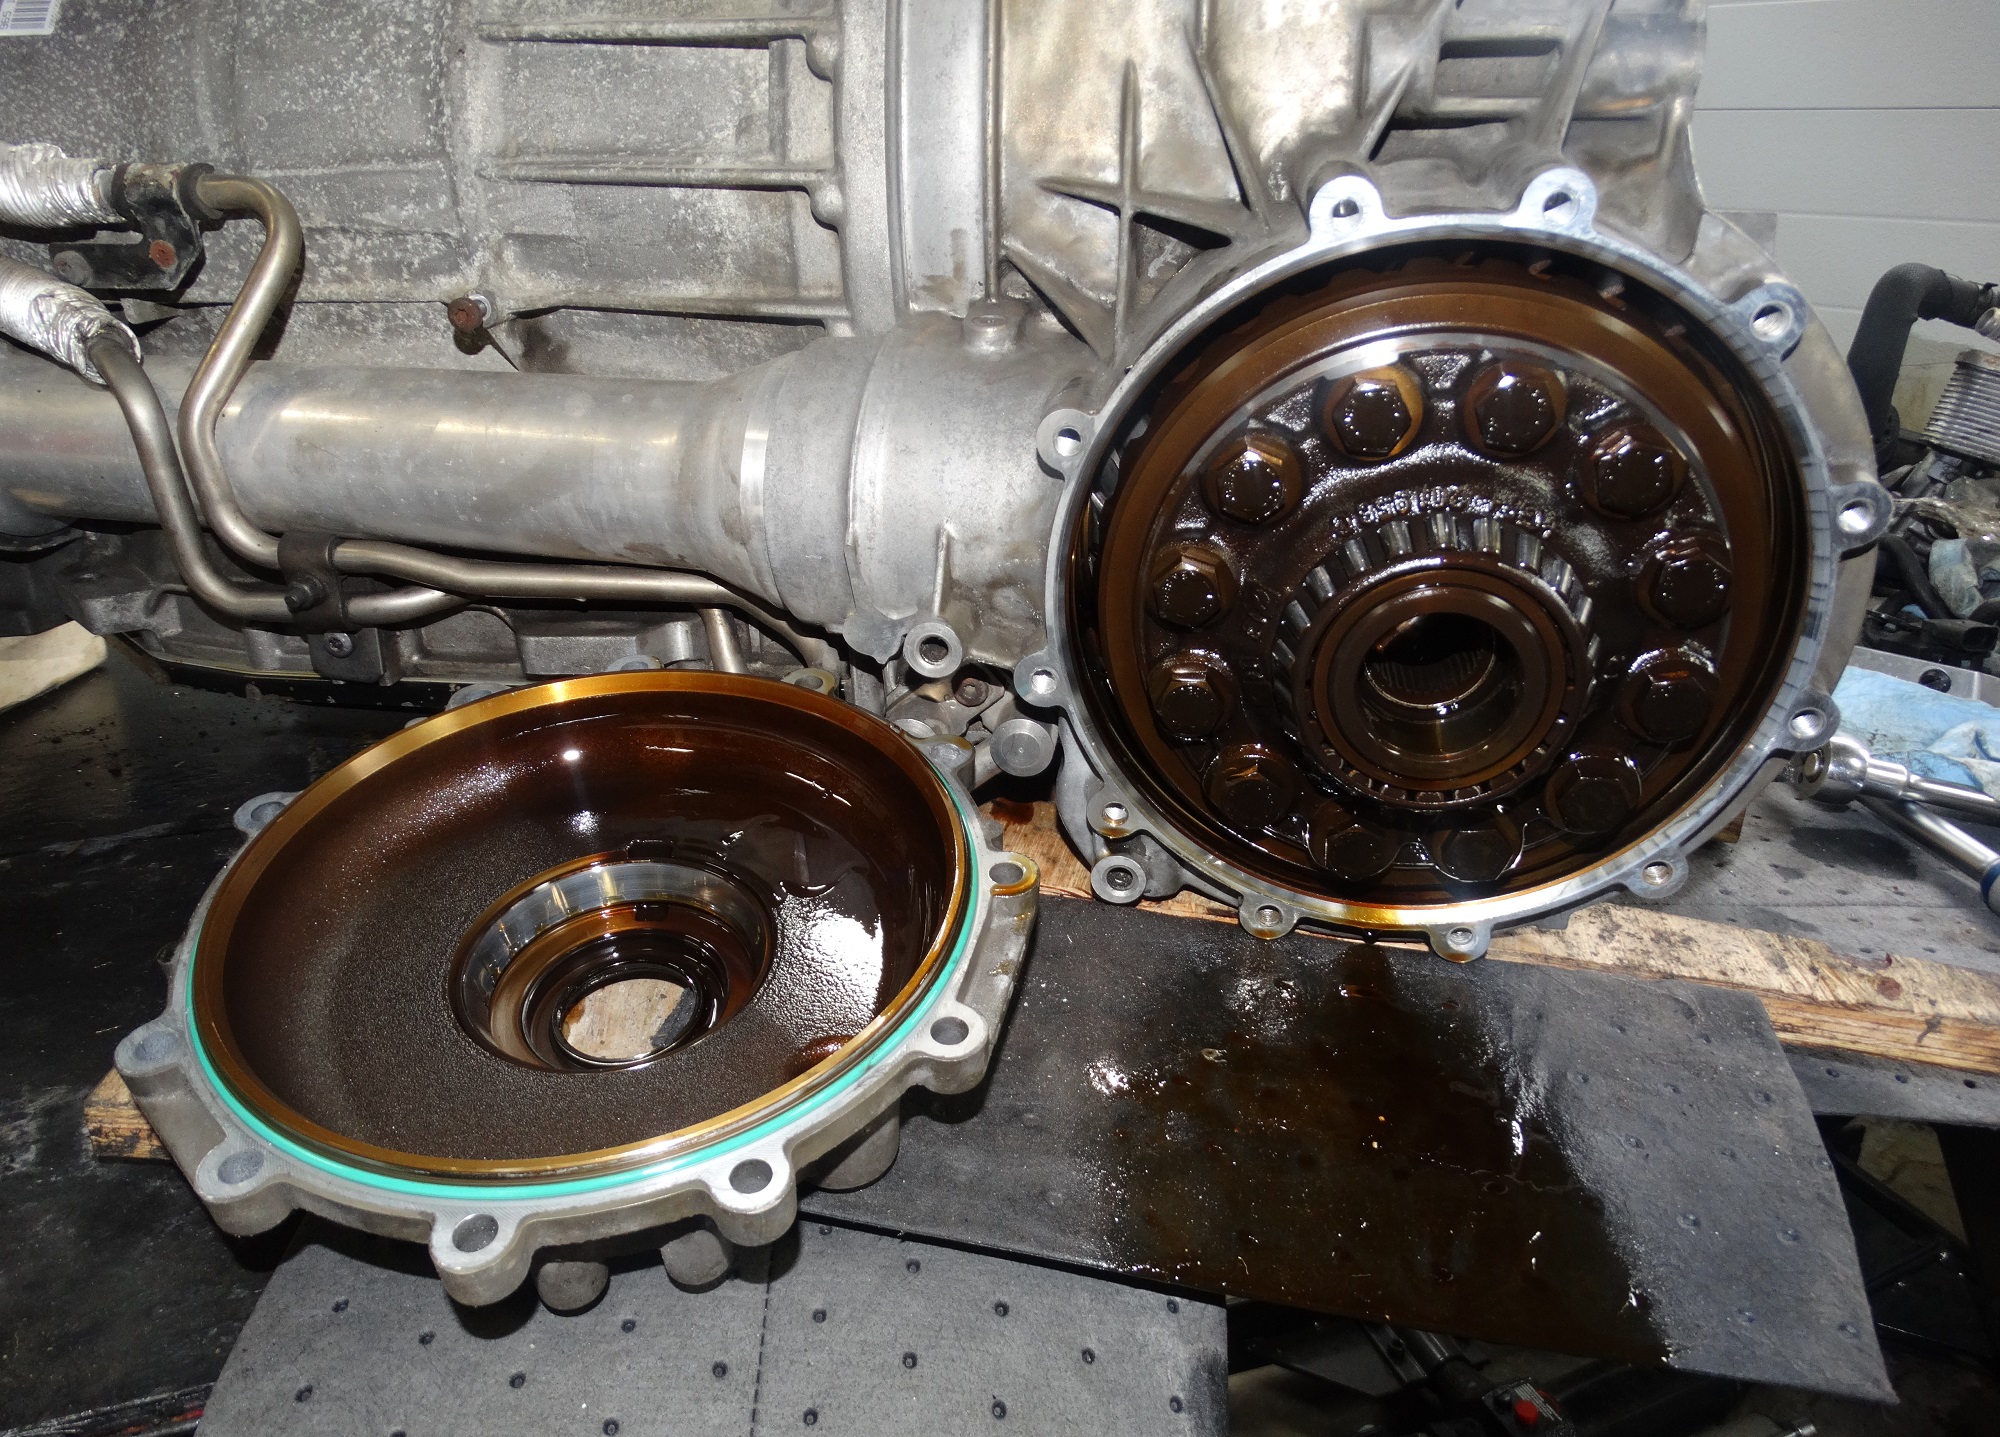
With the RH flanged drive shaft removed, the differential cover can be removed by just undoing the bolts. This of course will allow all the gear oil to drain out.
Here is a shot with the cover removed.
http://audirevolution.net/addons/albums/images/323724857.jpg
and another with the differential removed (it just pulls out)
http://audirevolution.net/addons/albums/images/263631694.jpg
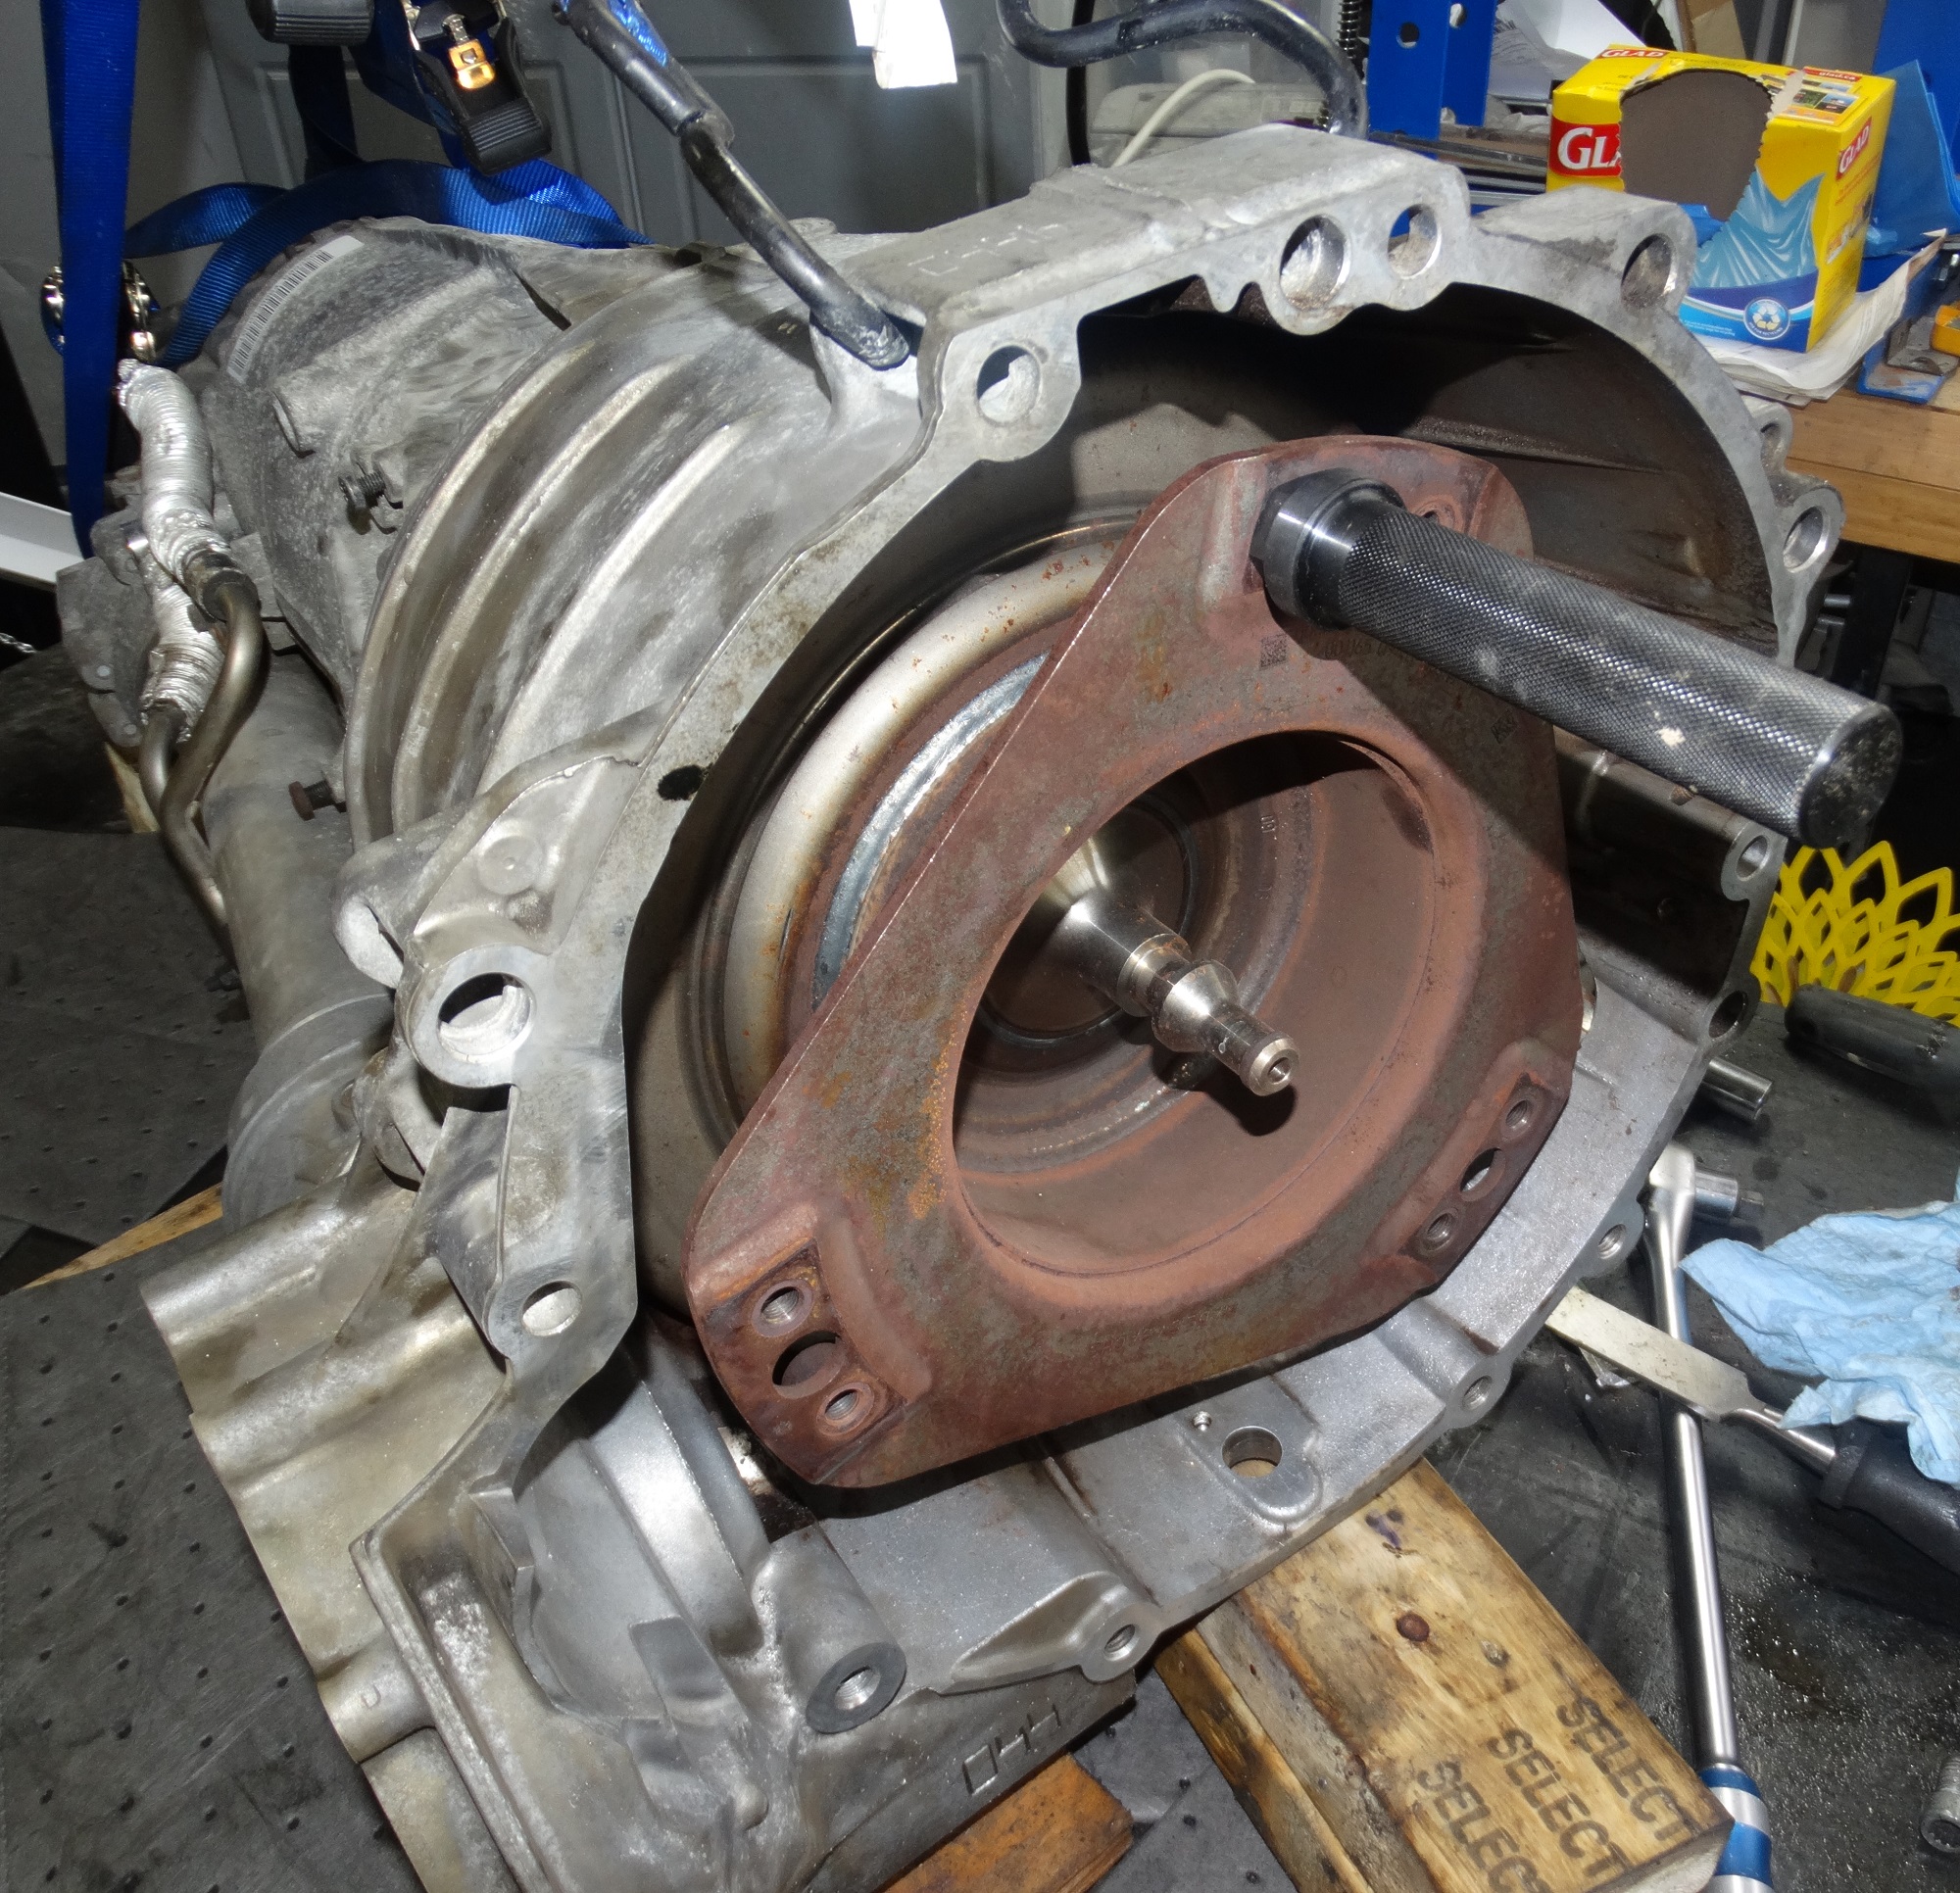
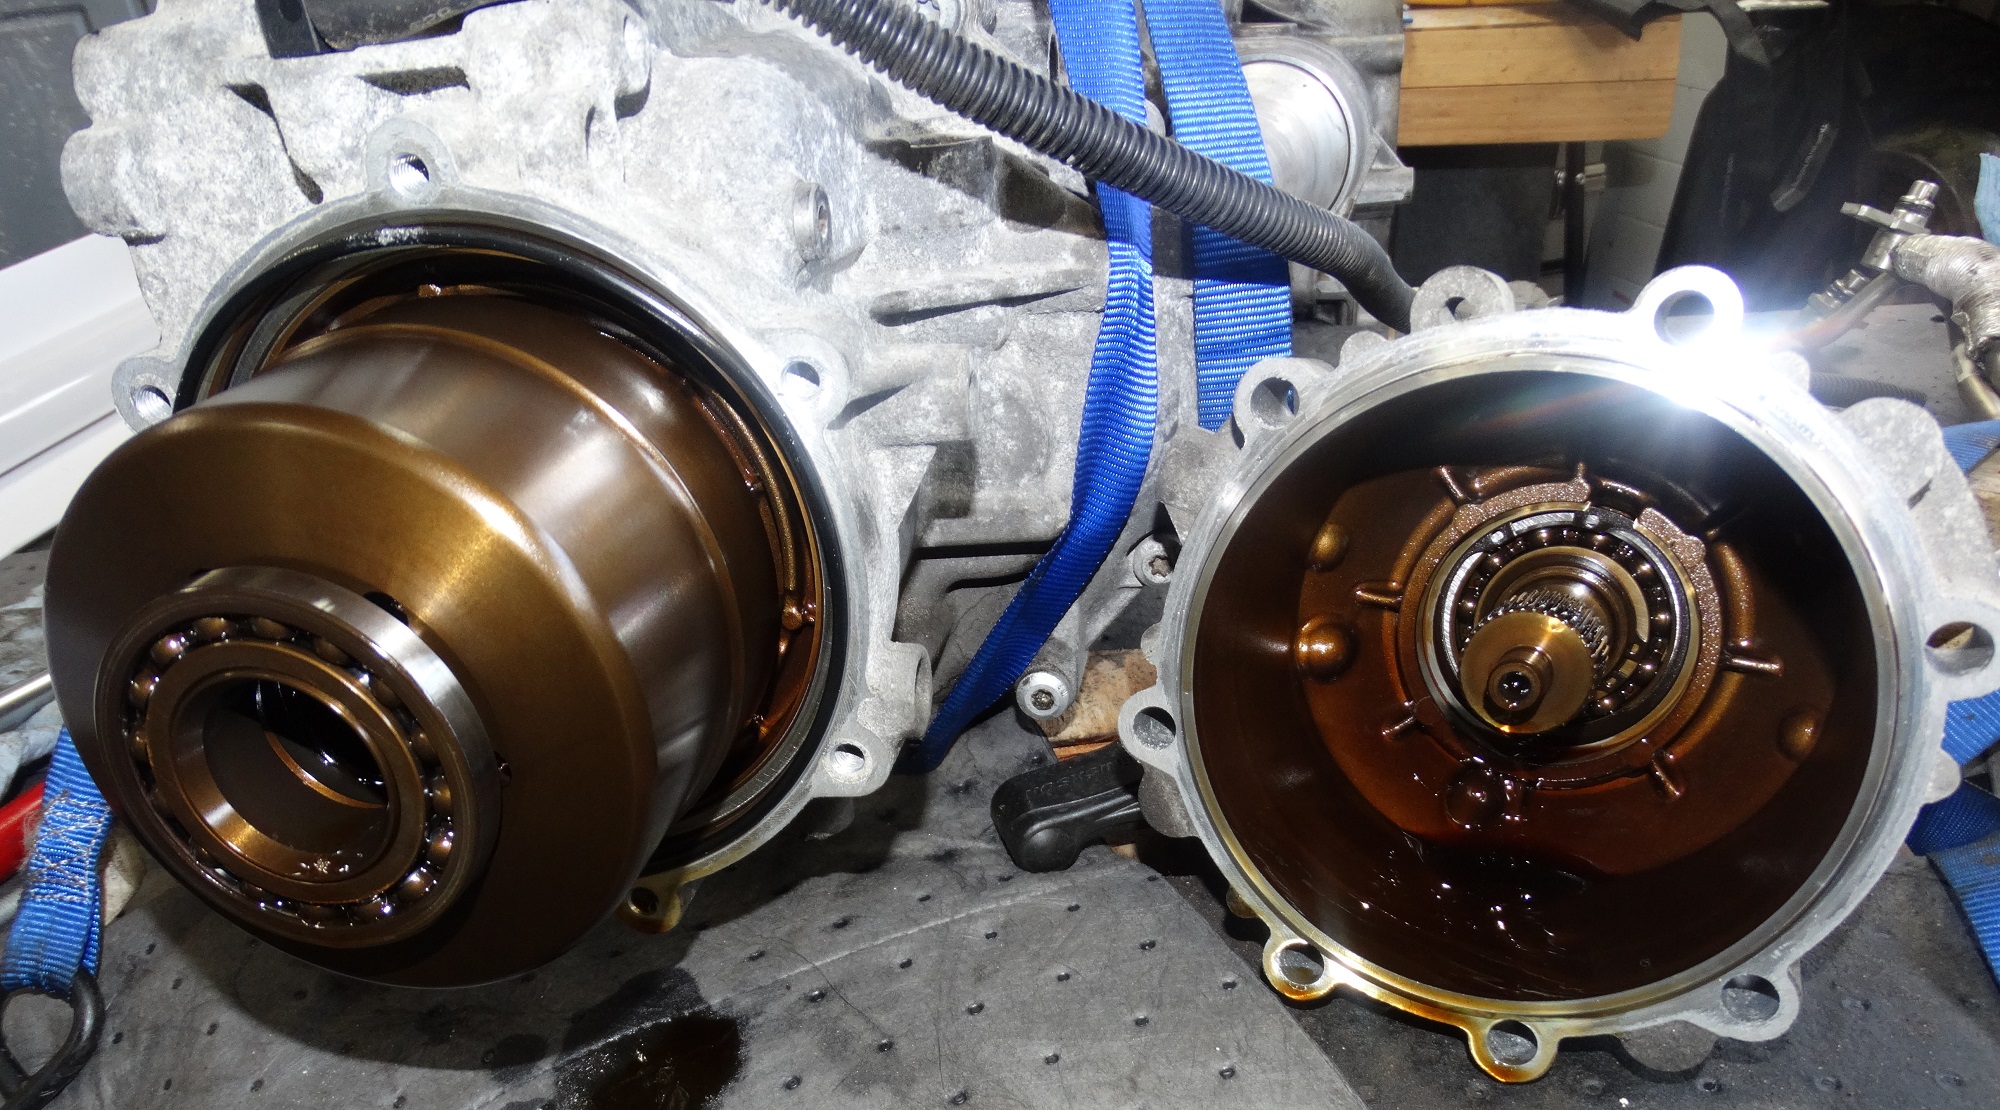
With the LH drive shaft removed, the torque converter can be just pulled out. It contains a volume of ATF and is fairly heavy. For ease of removal, you can thread a handle into one of the holes to allow you to keep it level as it is pulled out so that the shaft seal is not damaged.
http://audirevolution.net/addons/albums/images/669719599.jpg
Here is a shot of the inside of the bell housing. It was not as clean inside as I thought it would be. If you look at the left hand side shaft seal, you can see evidence that it was leaking as well.
http://audirevolution.net/addons/albums/images/110615528.jpg
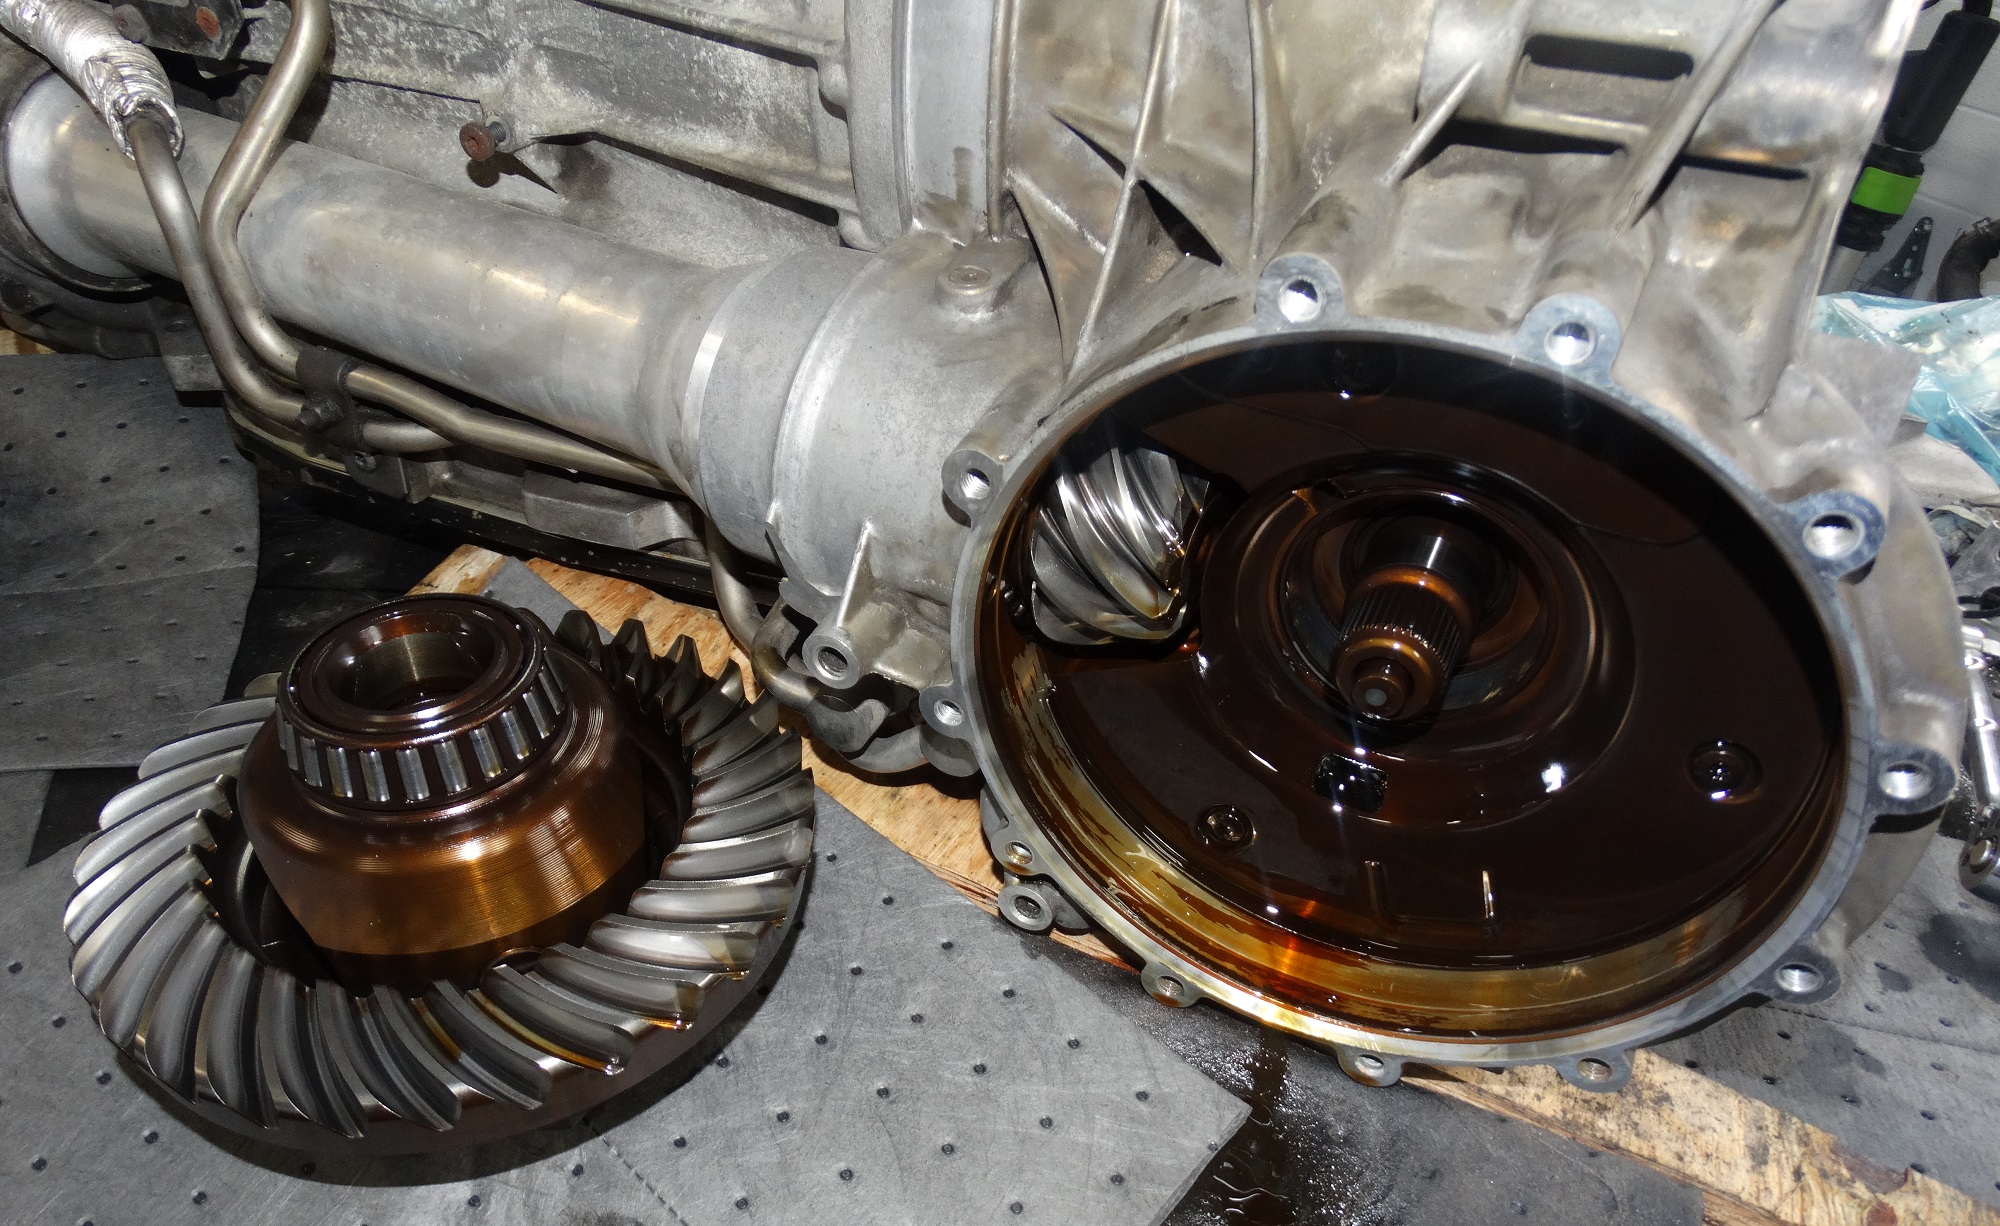
Next up was the removal of the centre differential housing. After removing a few bolts, it just pulls straight off.
http://audirevolution.net/addons/albums/images/248394032.jpg
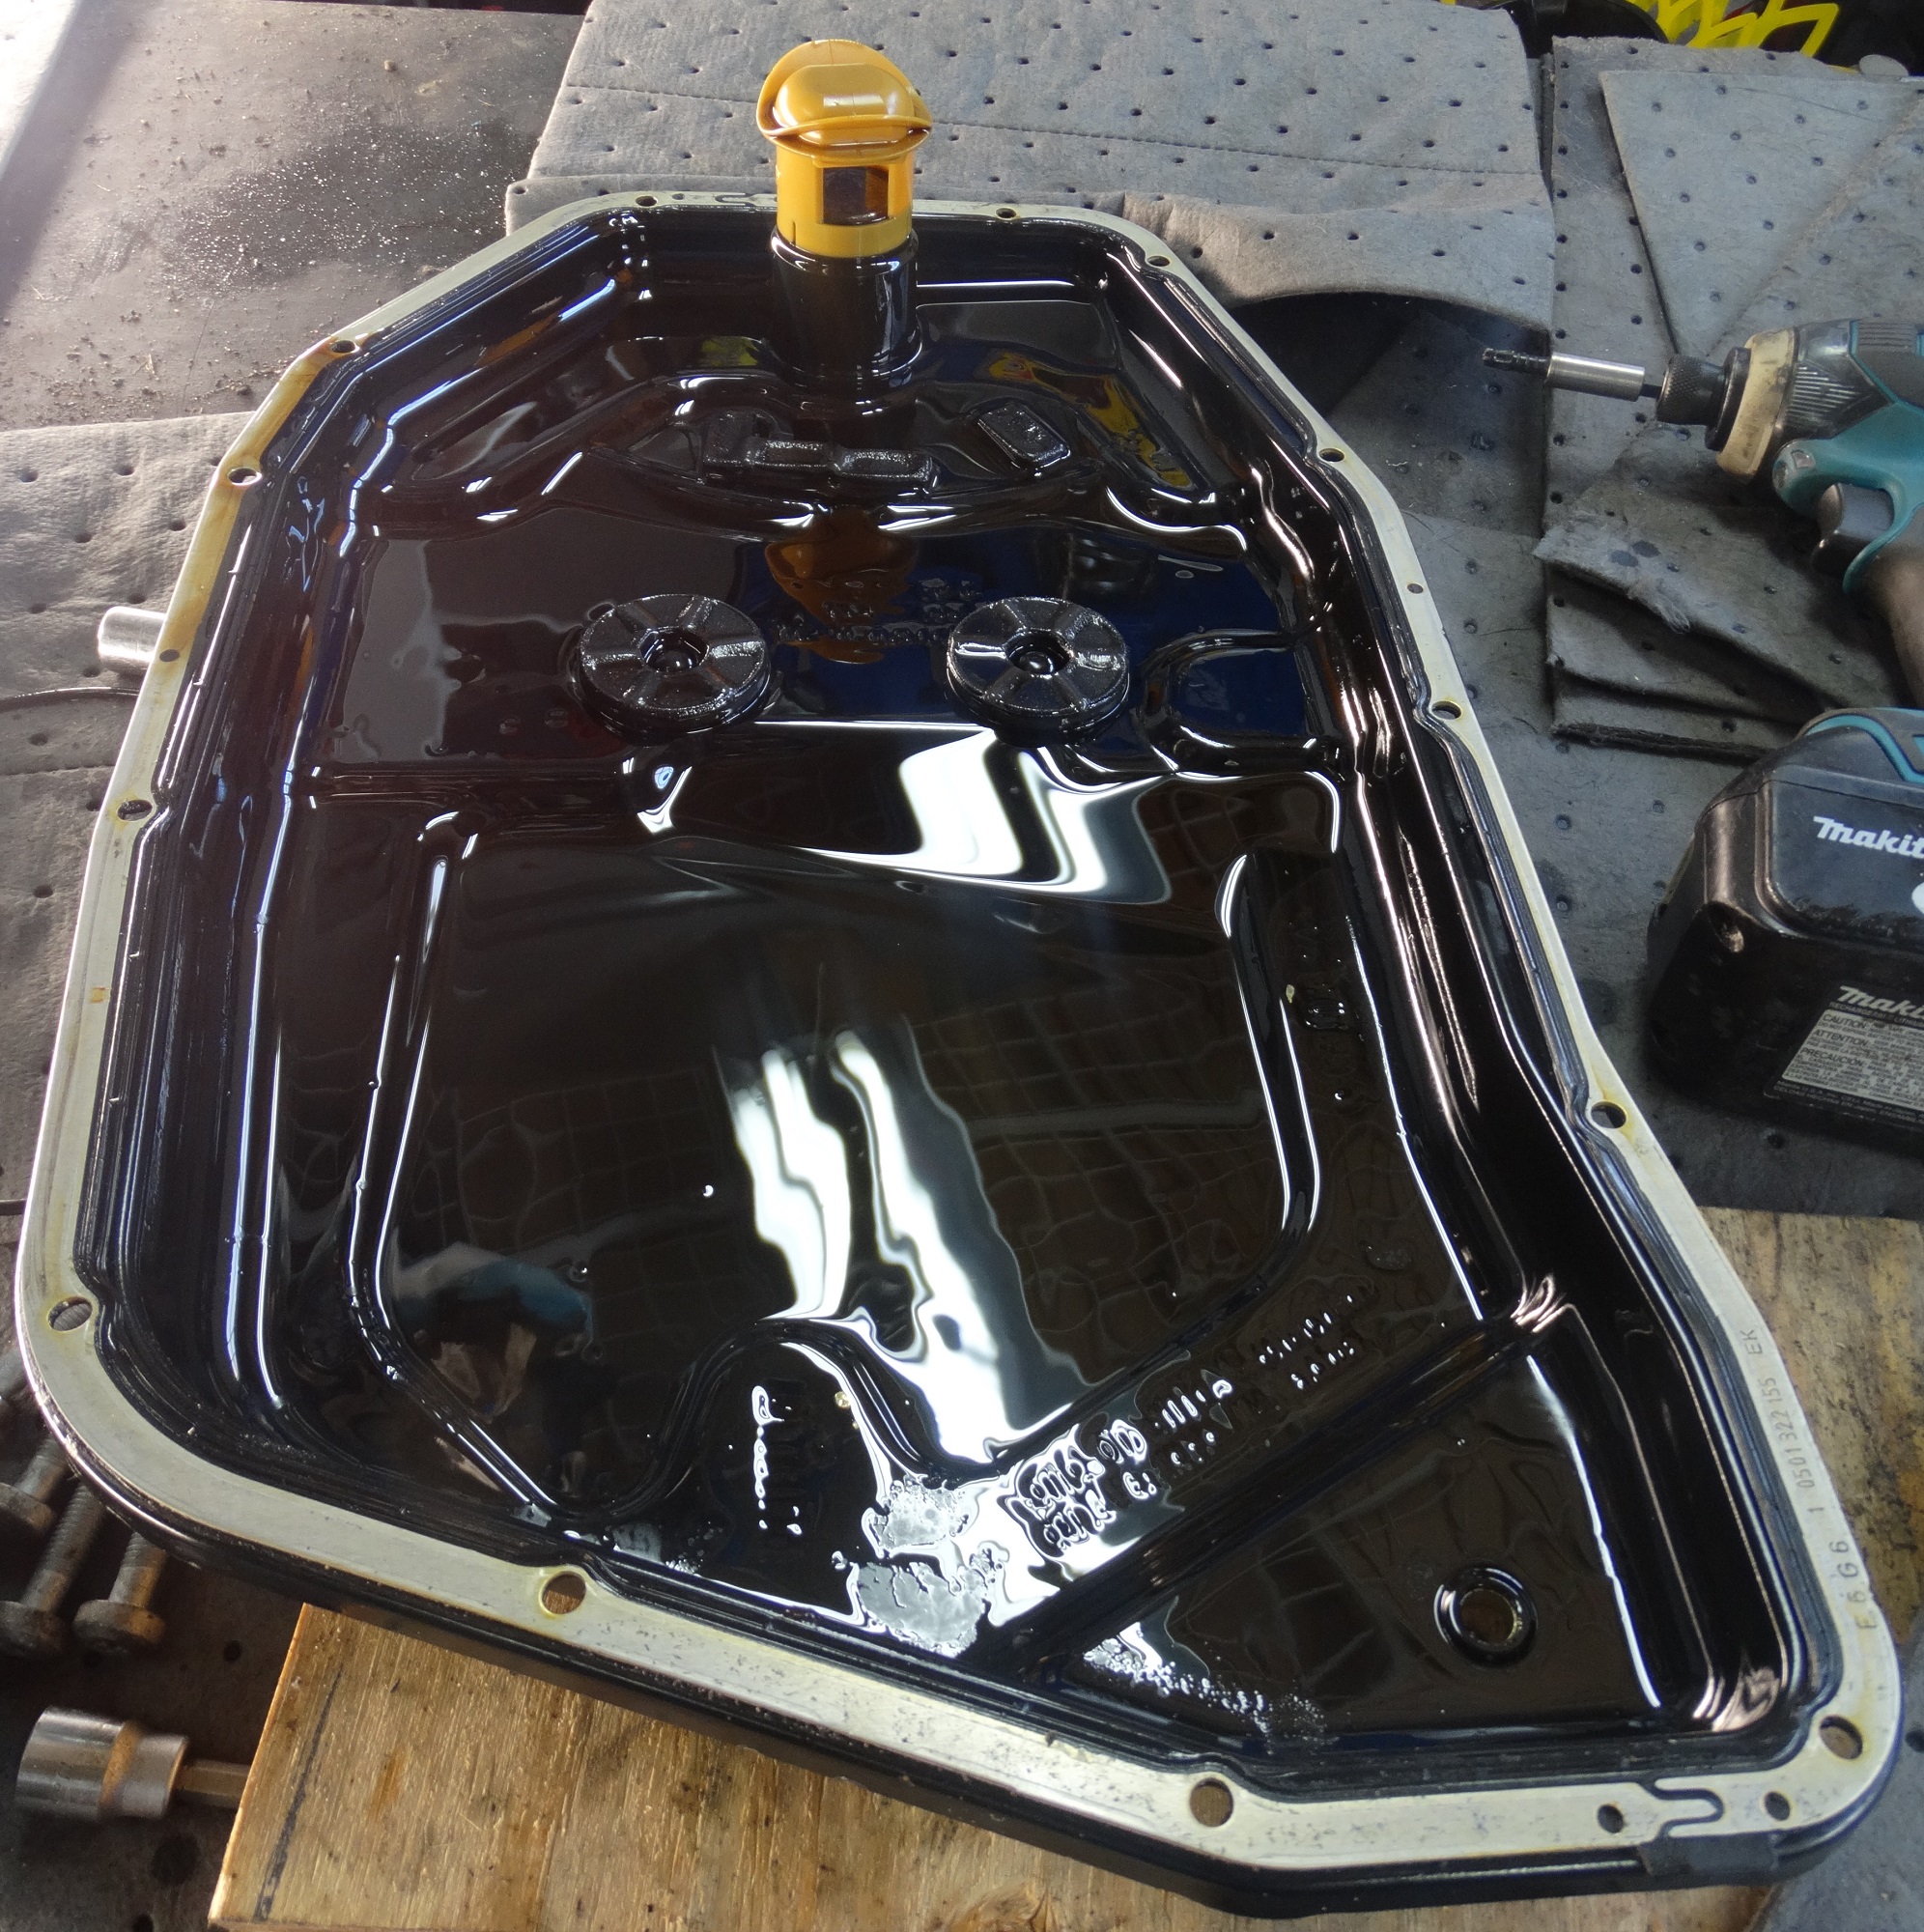
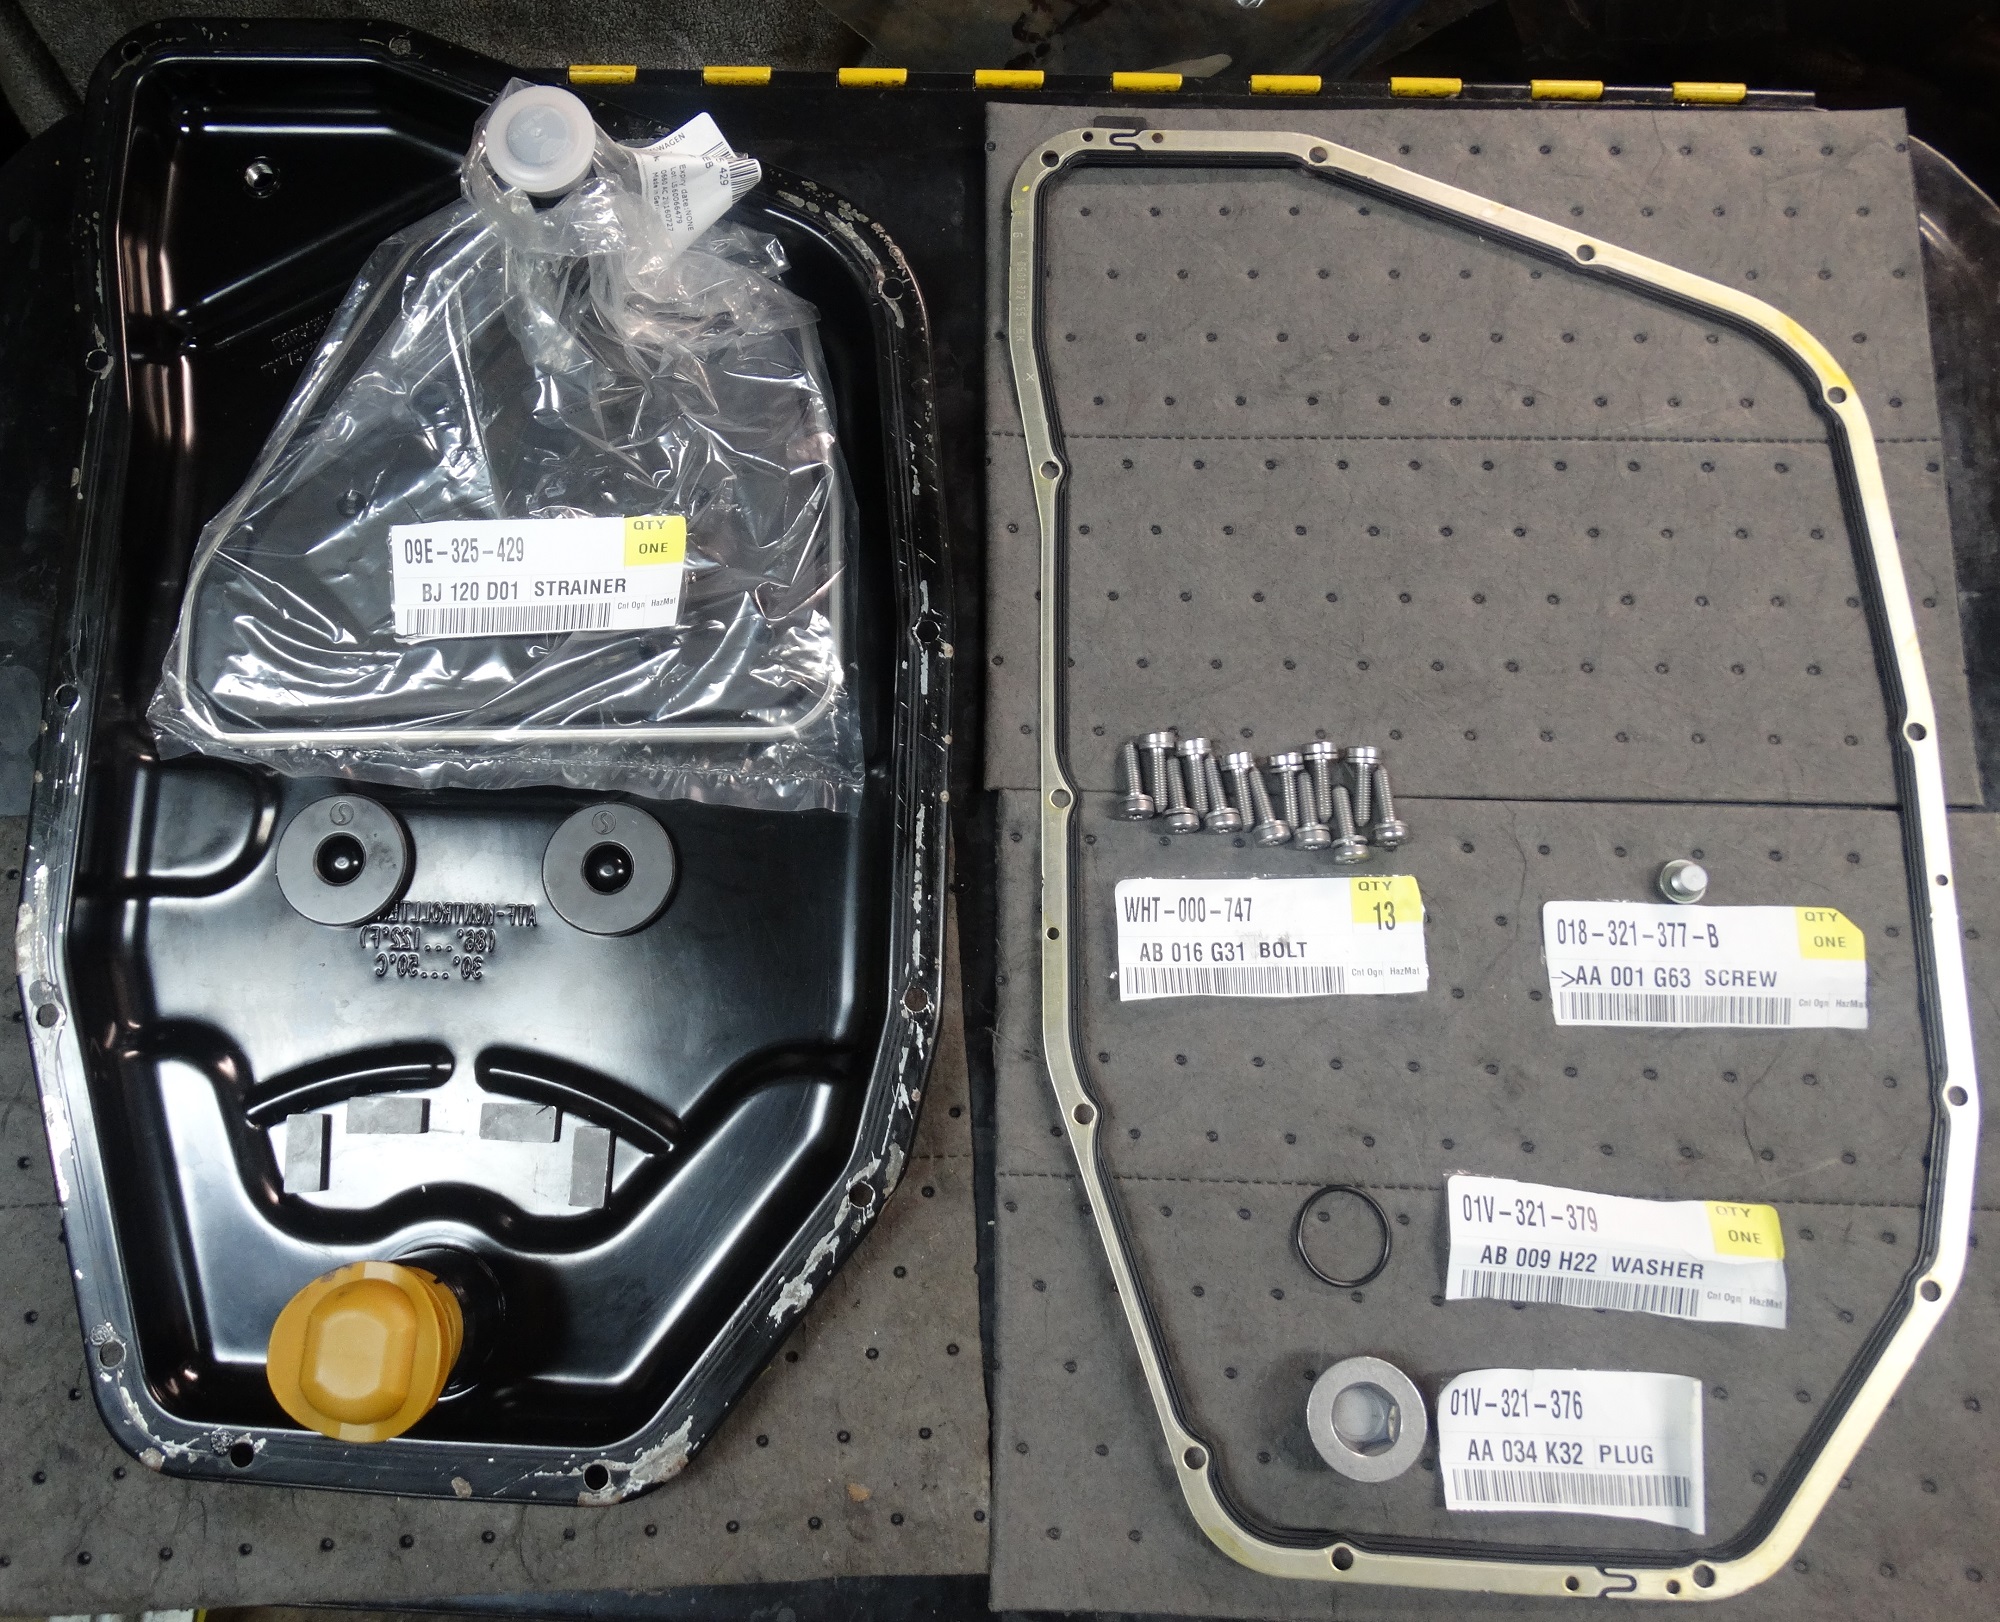
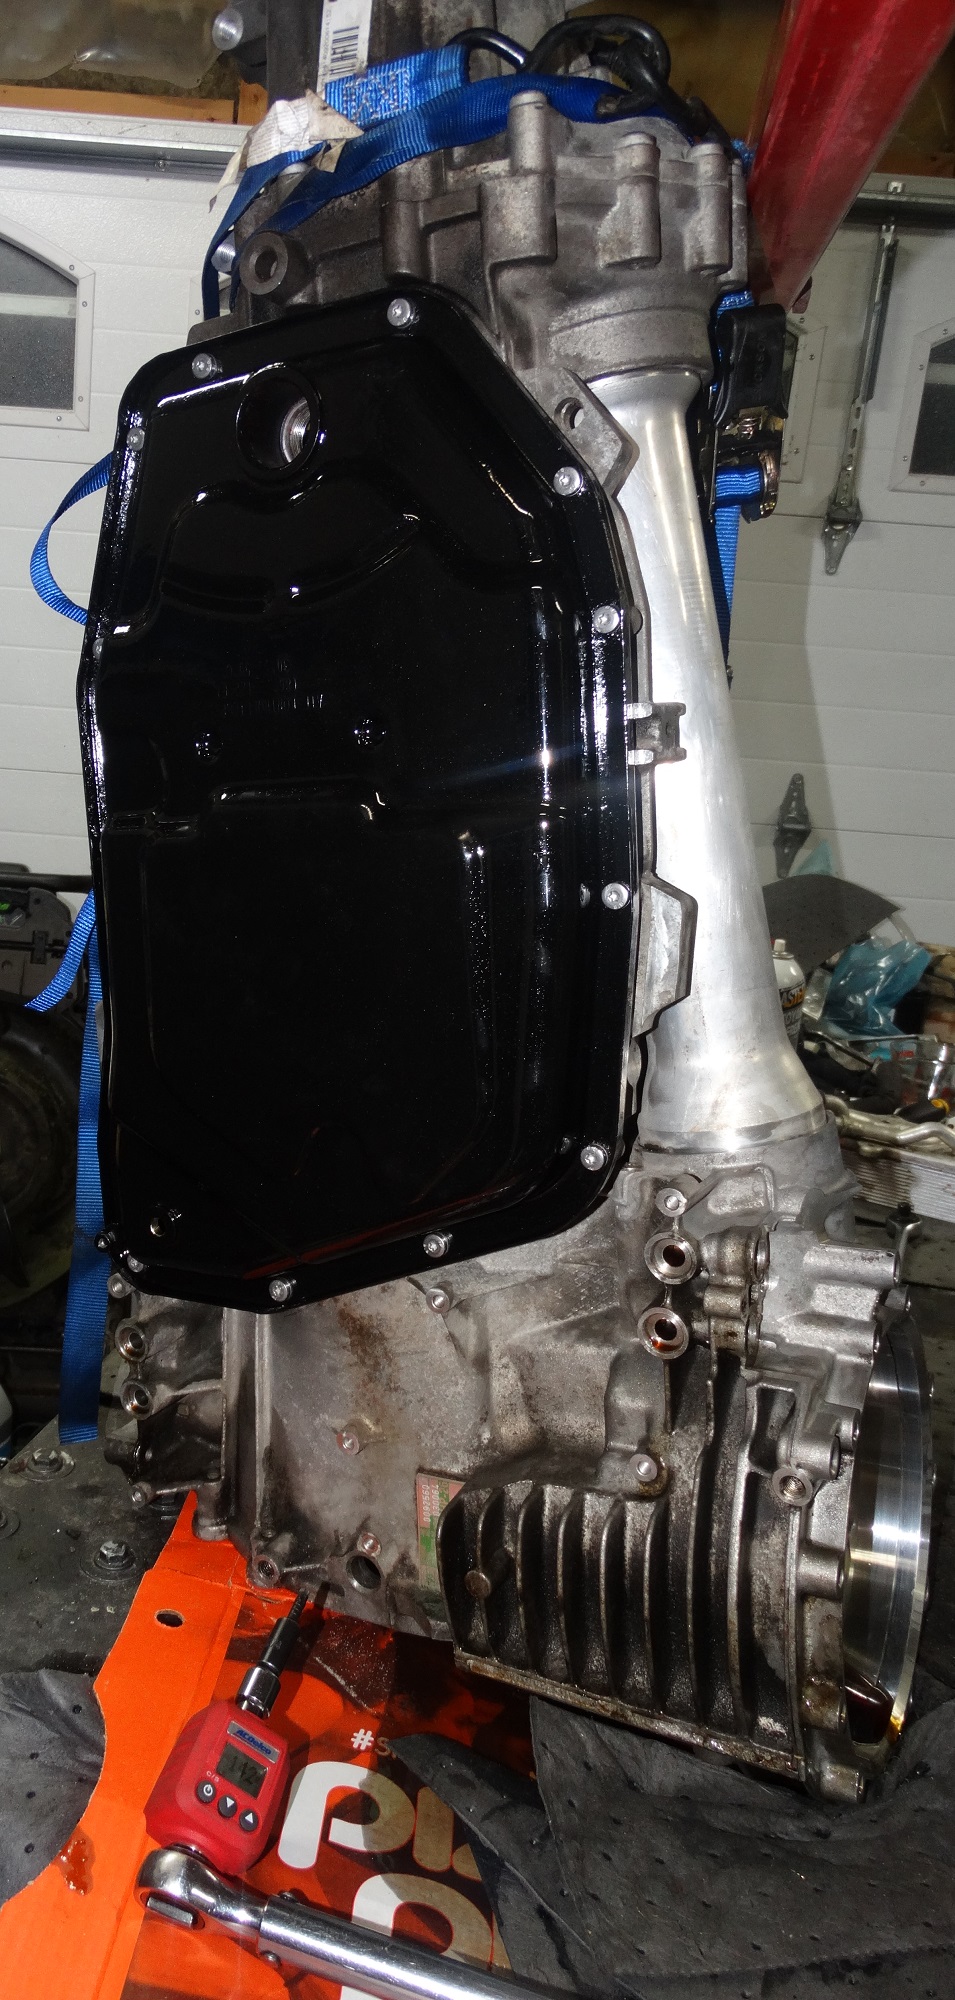
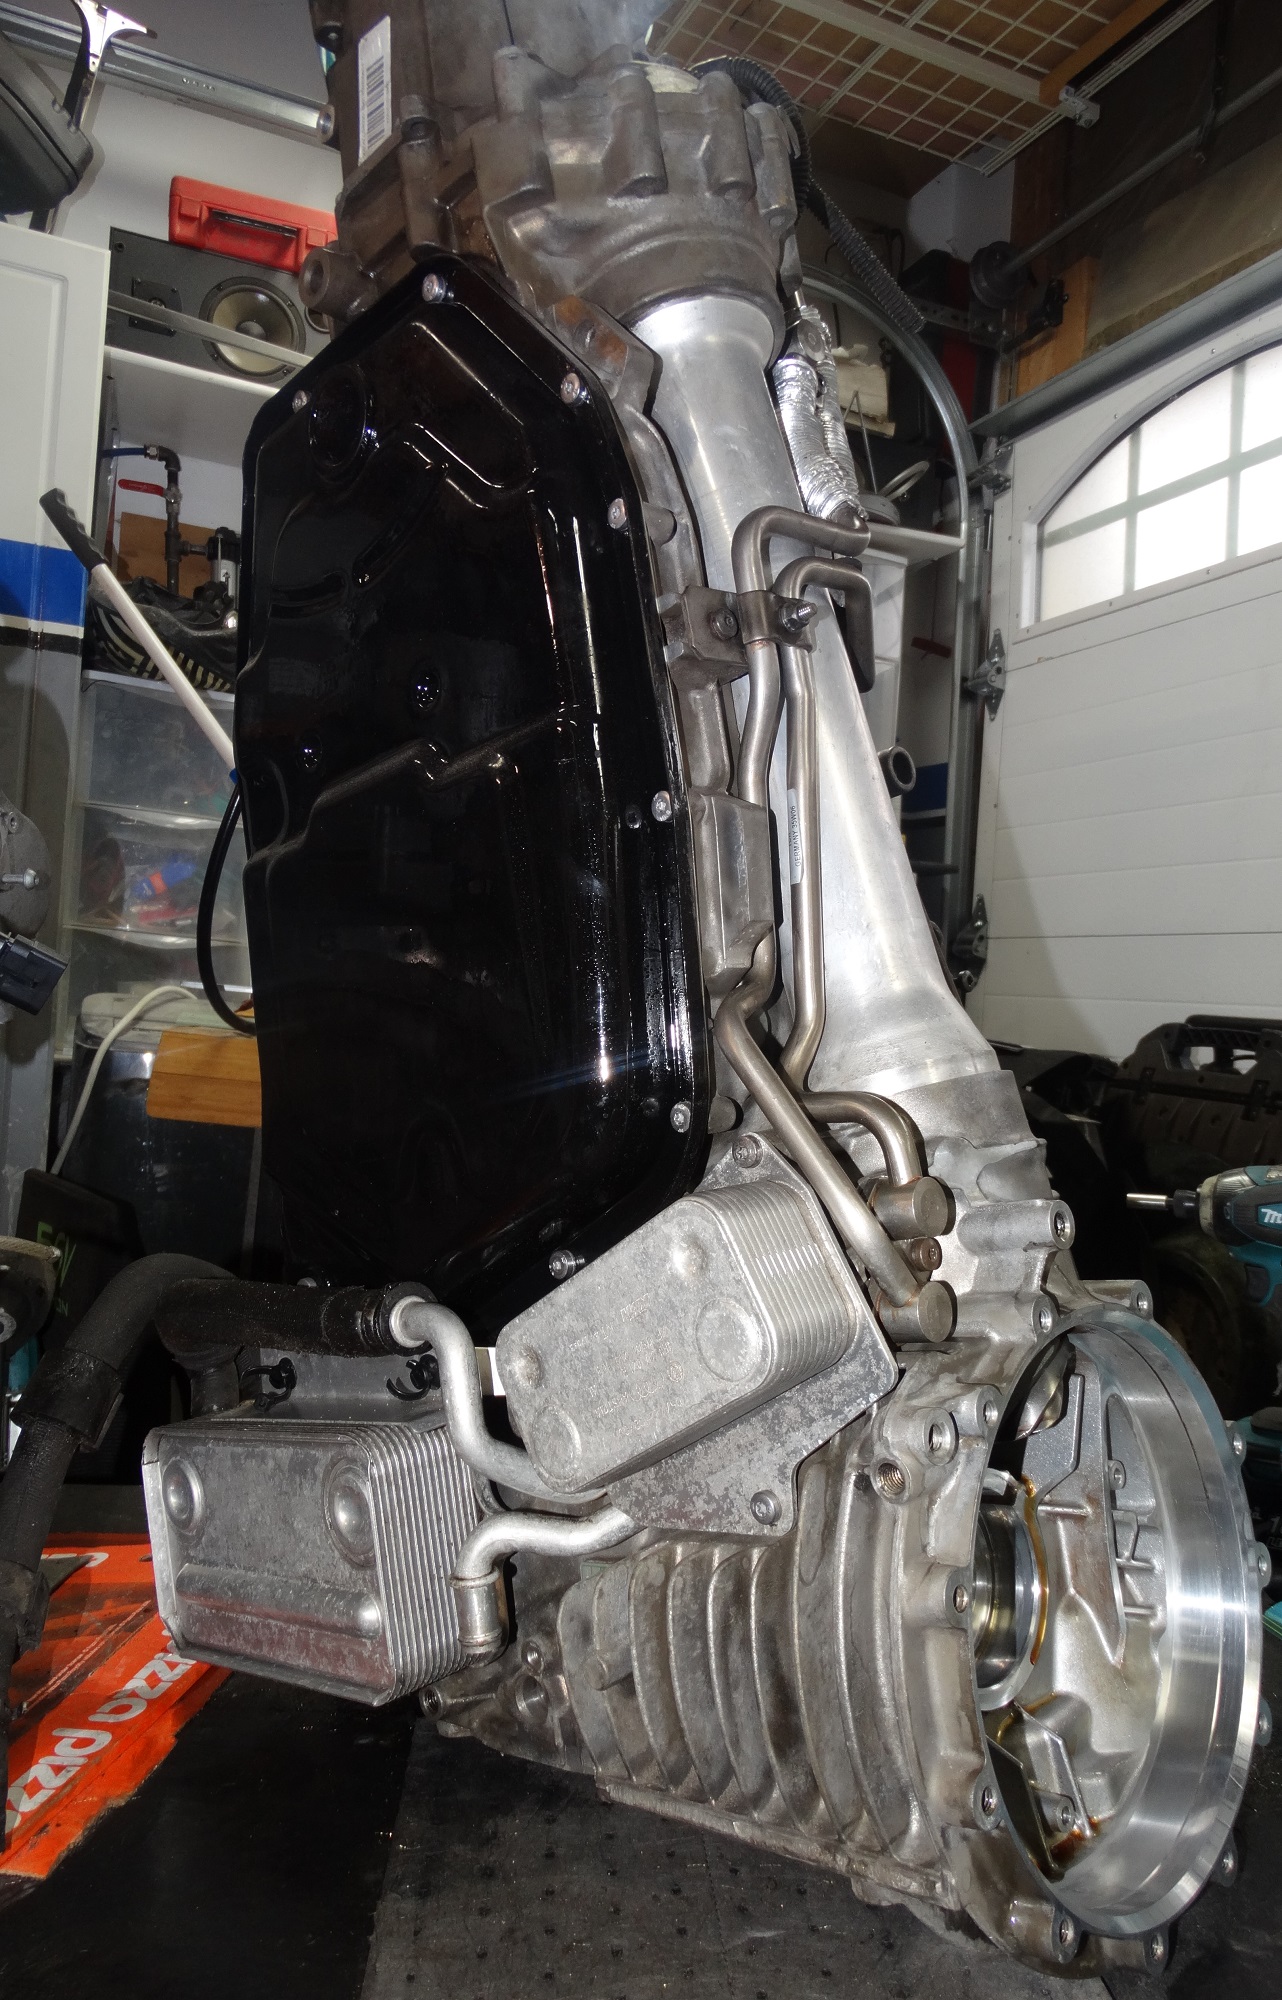
Last, but not least for removal was the transmission pan. Here is a shot of the pan removed. There is some build-up of wear metals on the magnets but not an alarming amount given the mileage on the vehicle [250 000 km (~155 000 miles)].
http://audirevolution.net/addons/albums/images/320279562.jpg
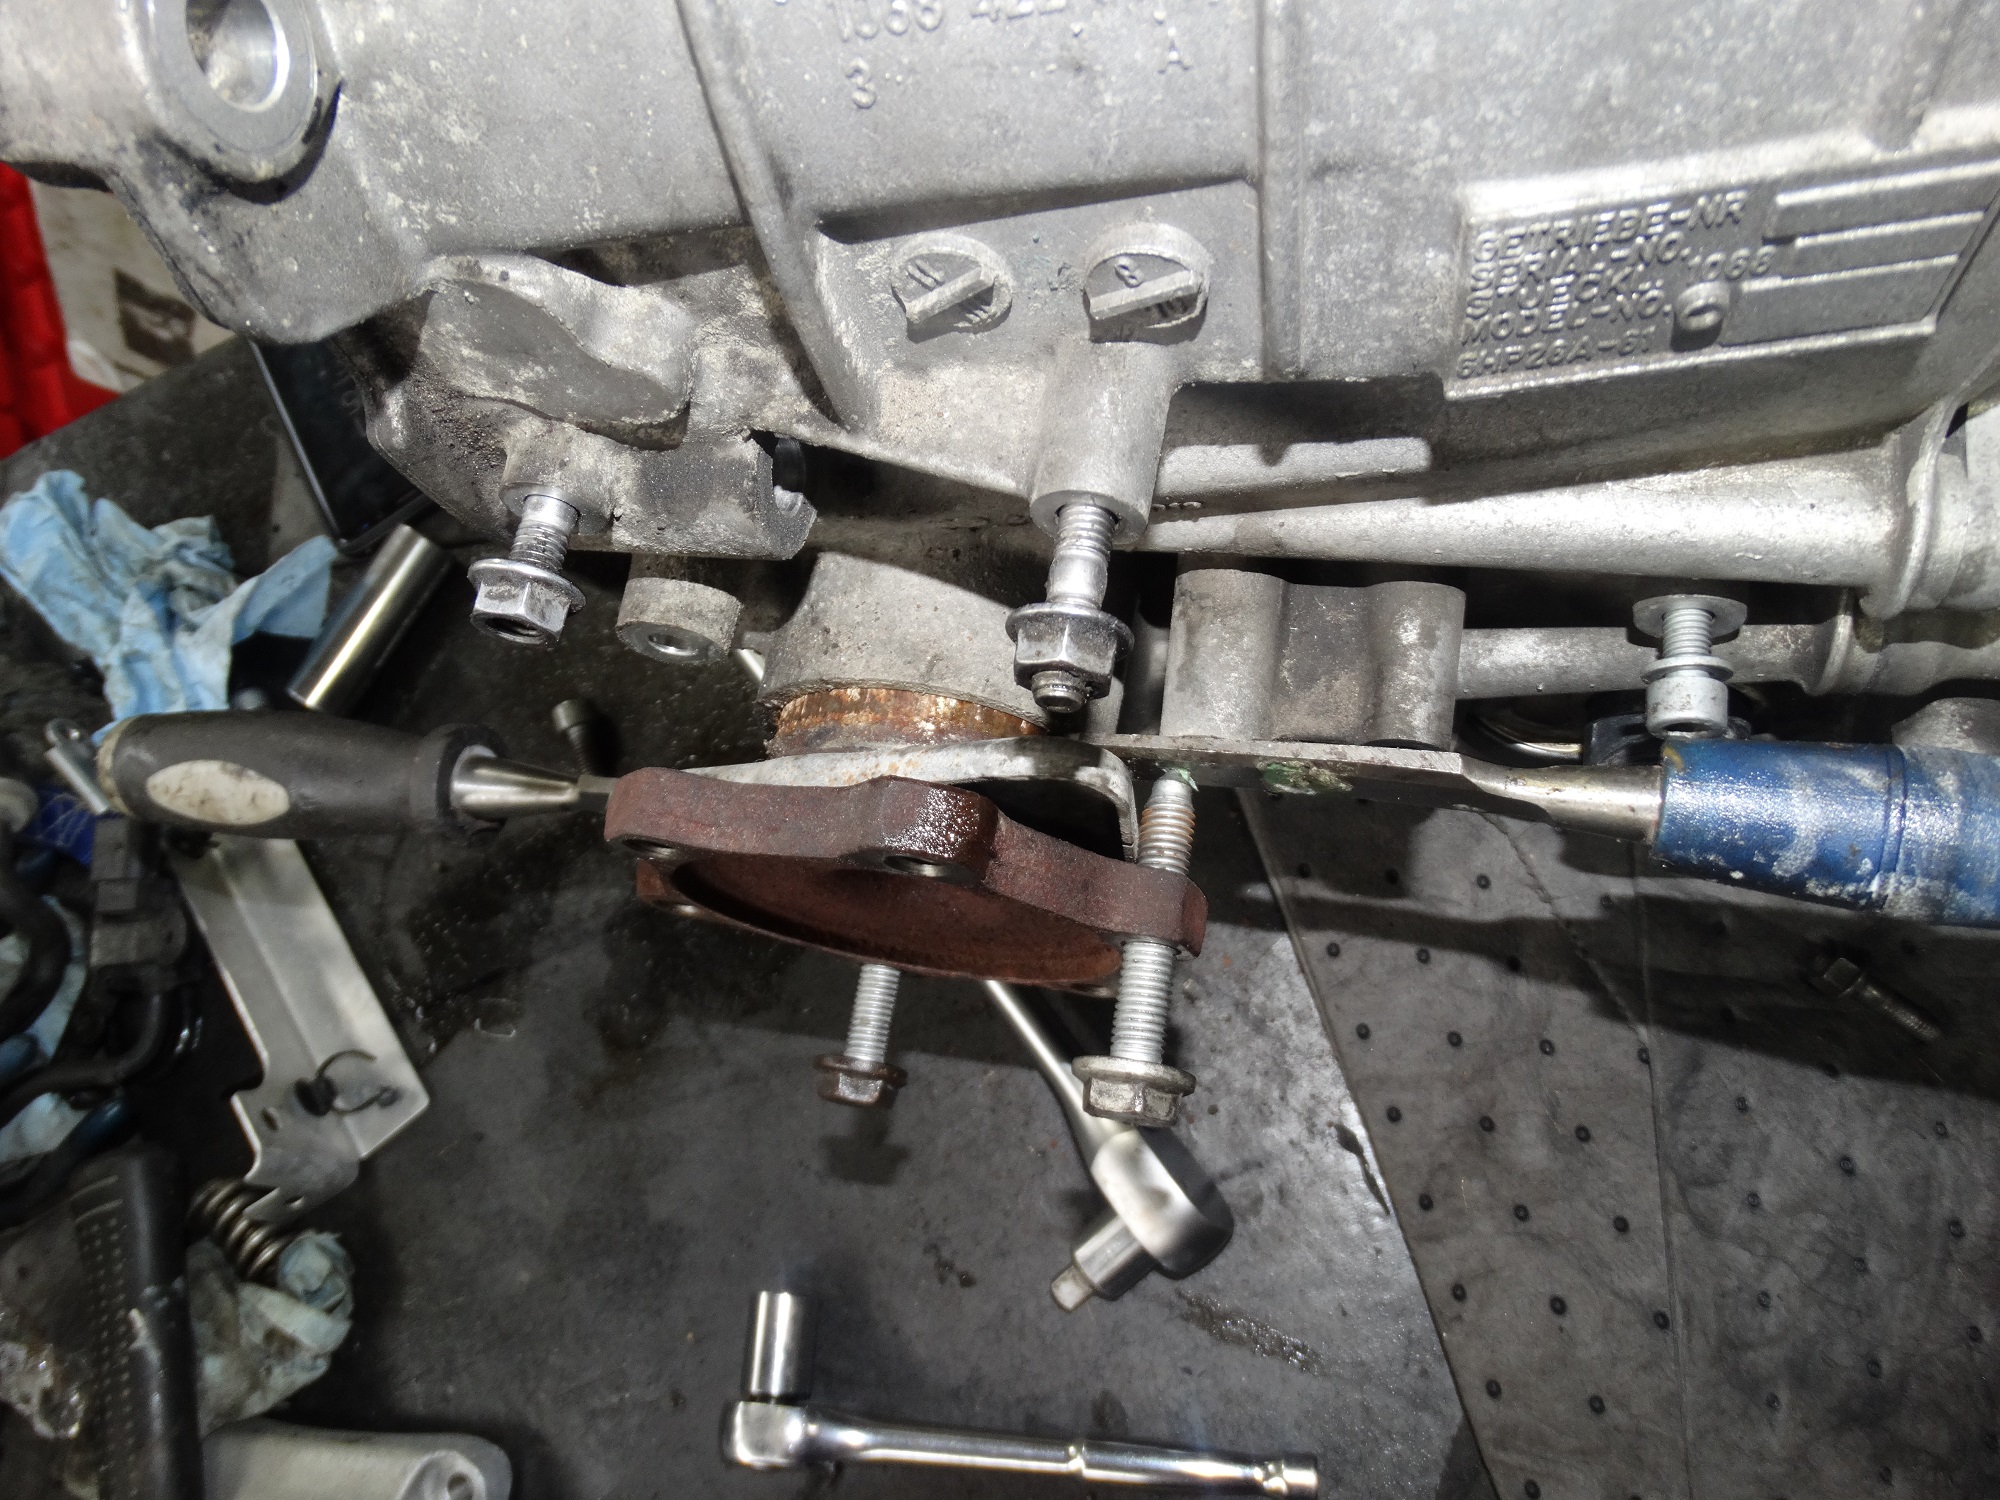
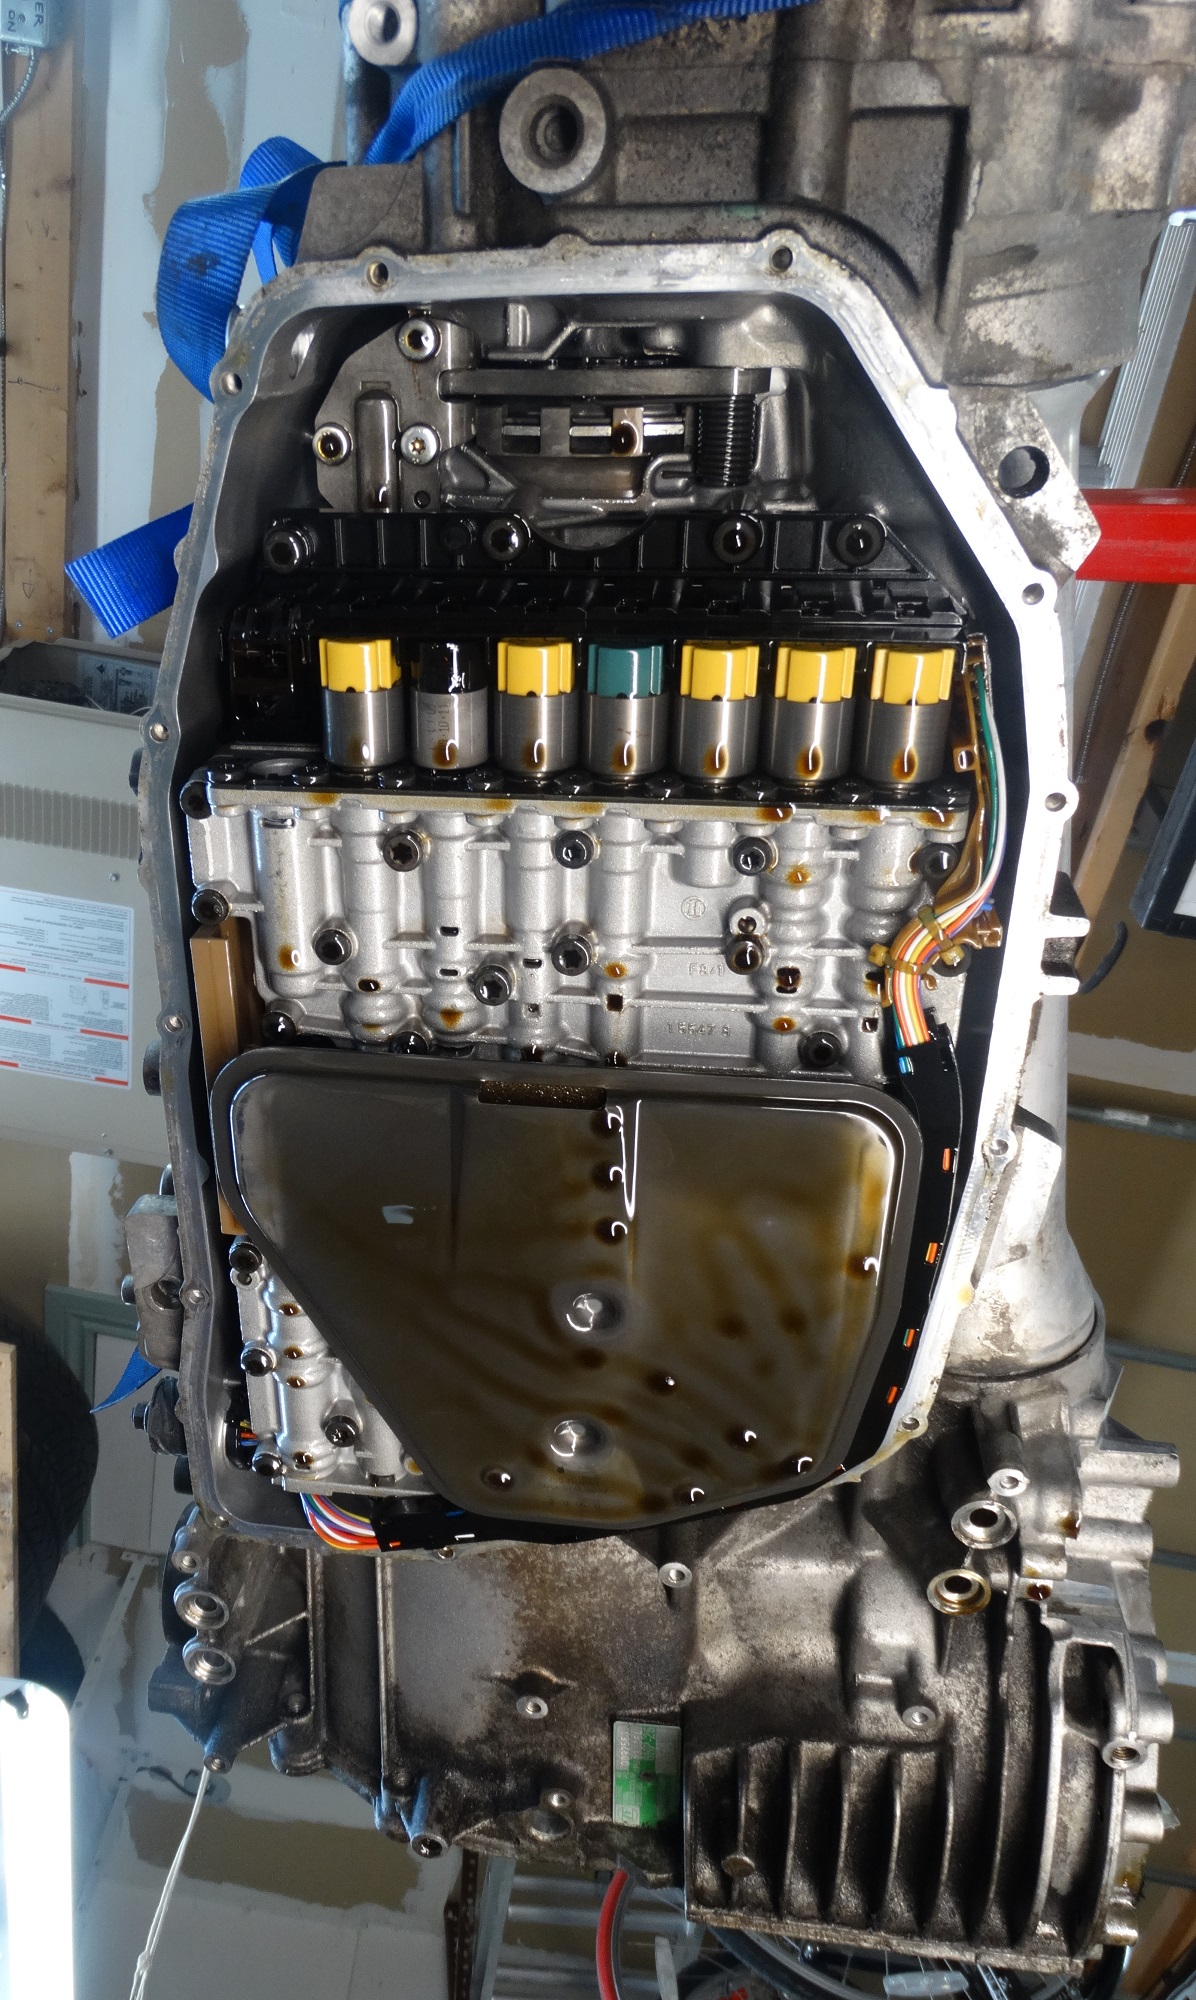
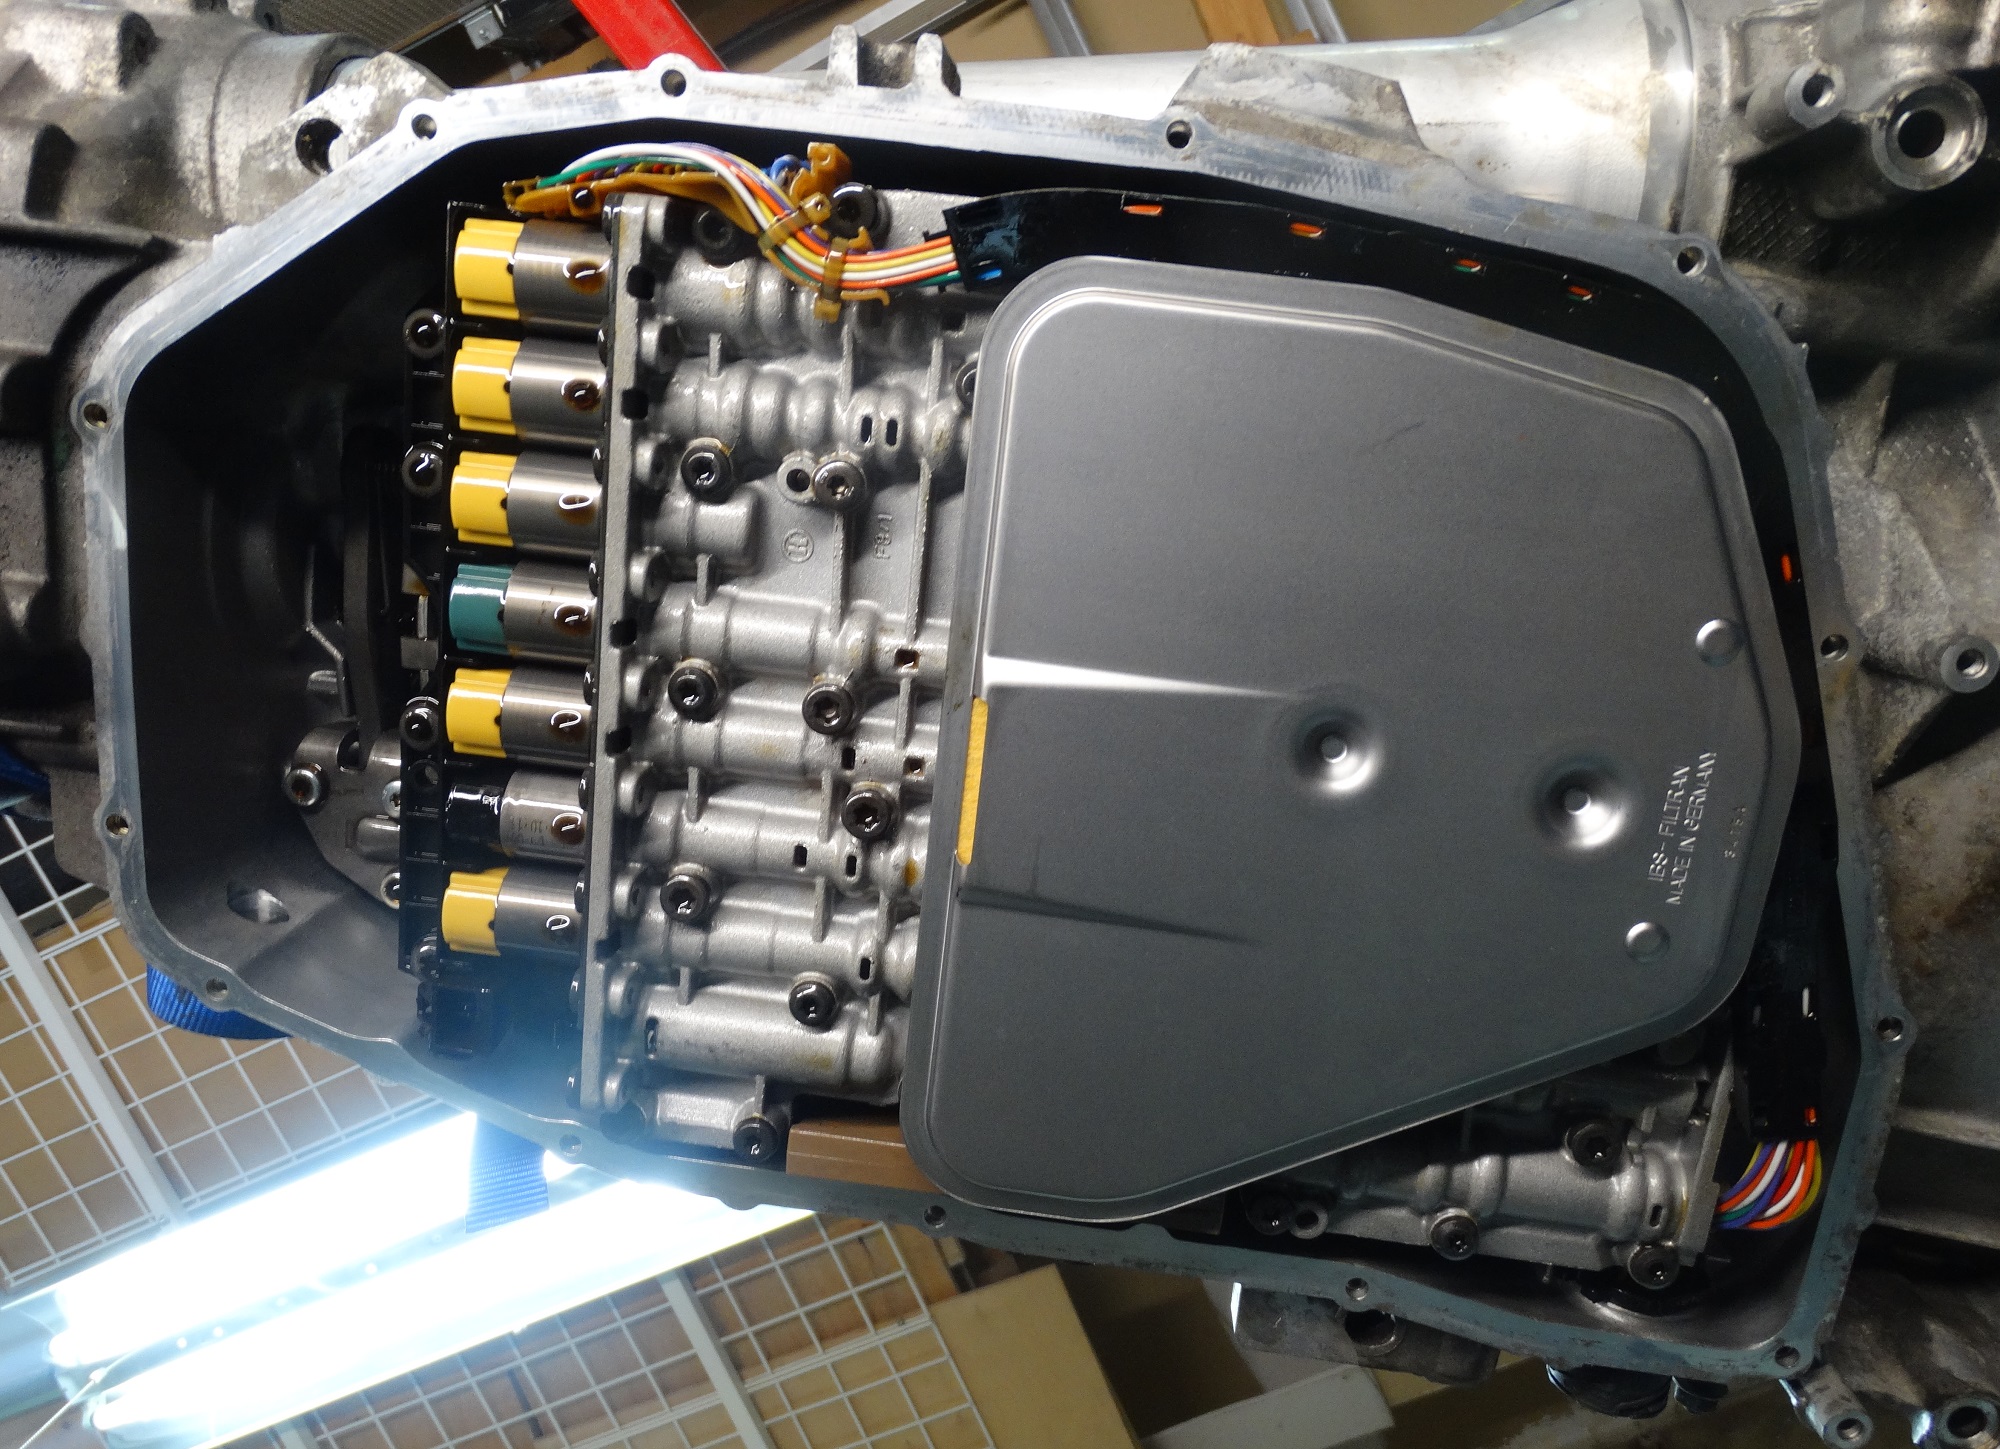
And here is another shot looking up at the underside of the transmission
http://audirevolution.net/addons/albums/images/565295239.jpg
That is the extent of the disassembly that is going to take place.
I am waiting now for a few remaining seals to come in before I start the re-assembly process.