Advice Requested - CEL's (cam position actuators & intake flaps)

So I am laying underneath this beast, starting to loosen up the bolts and a vivid vision of my head squashed beneath 900 lbs of engine and transmission comes floating into my mind.

I have a hoist and a 3 ton jack, so I decide to employ them both, one under the transmission mount and the other connected to chains off the engine hoist points.

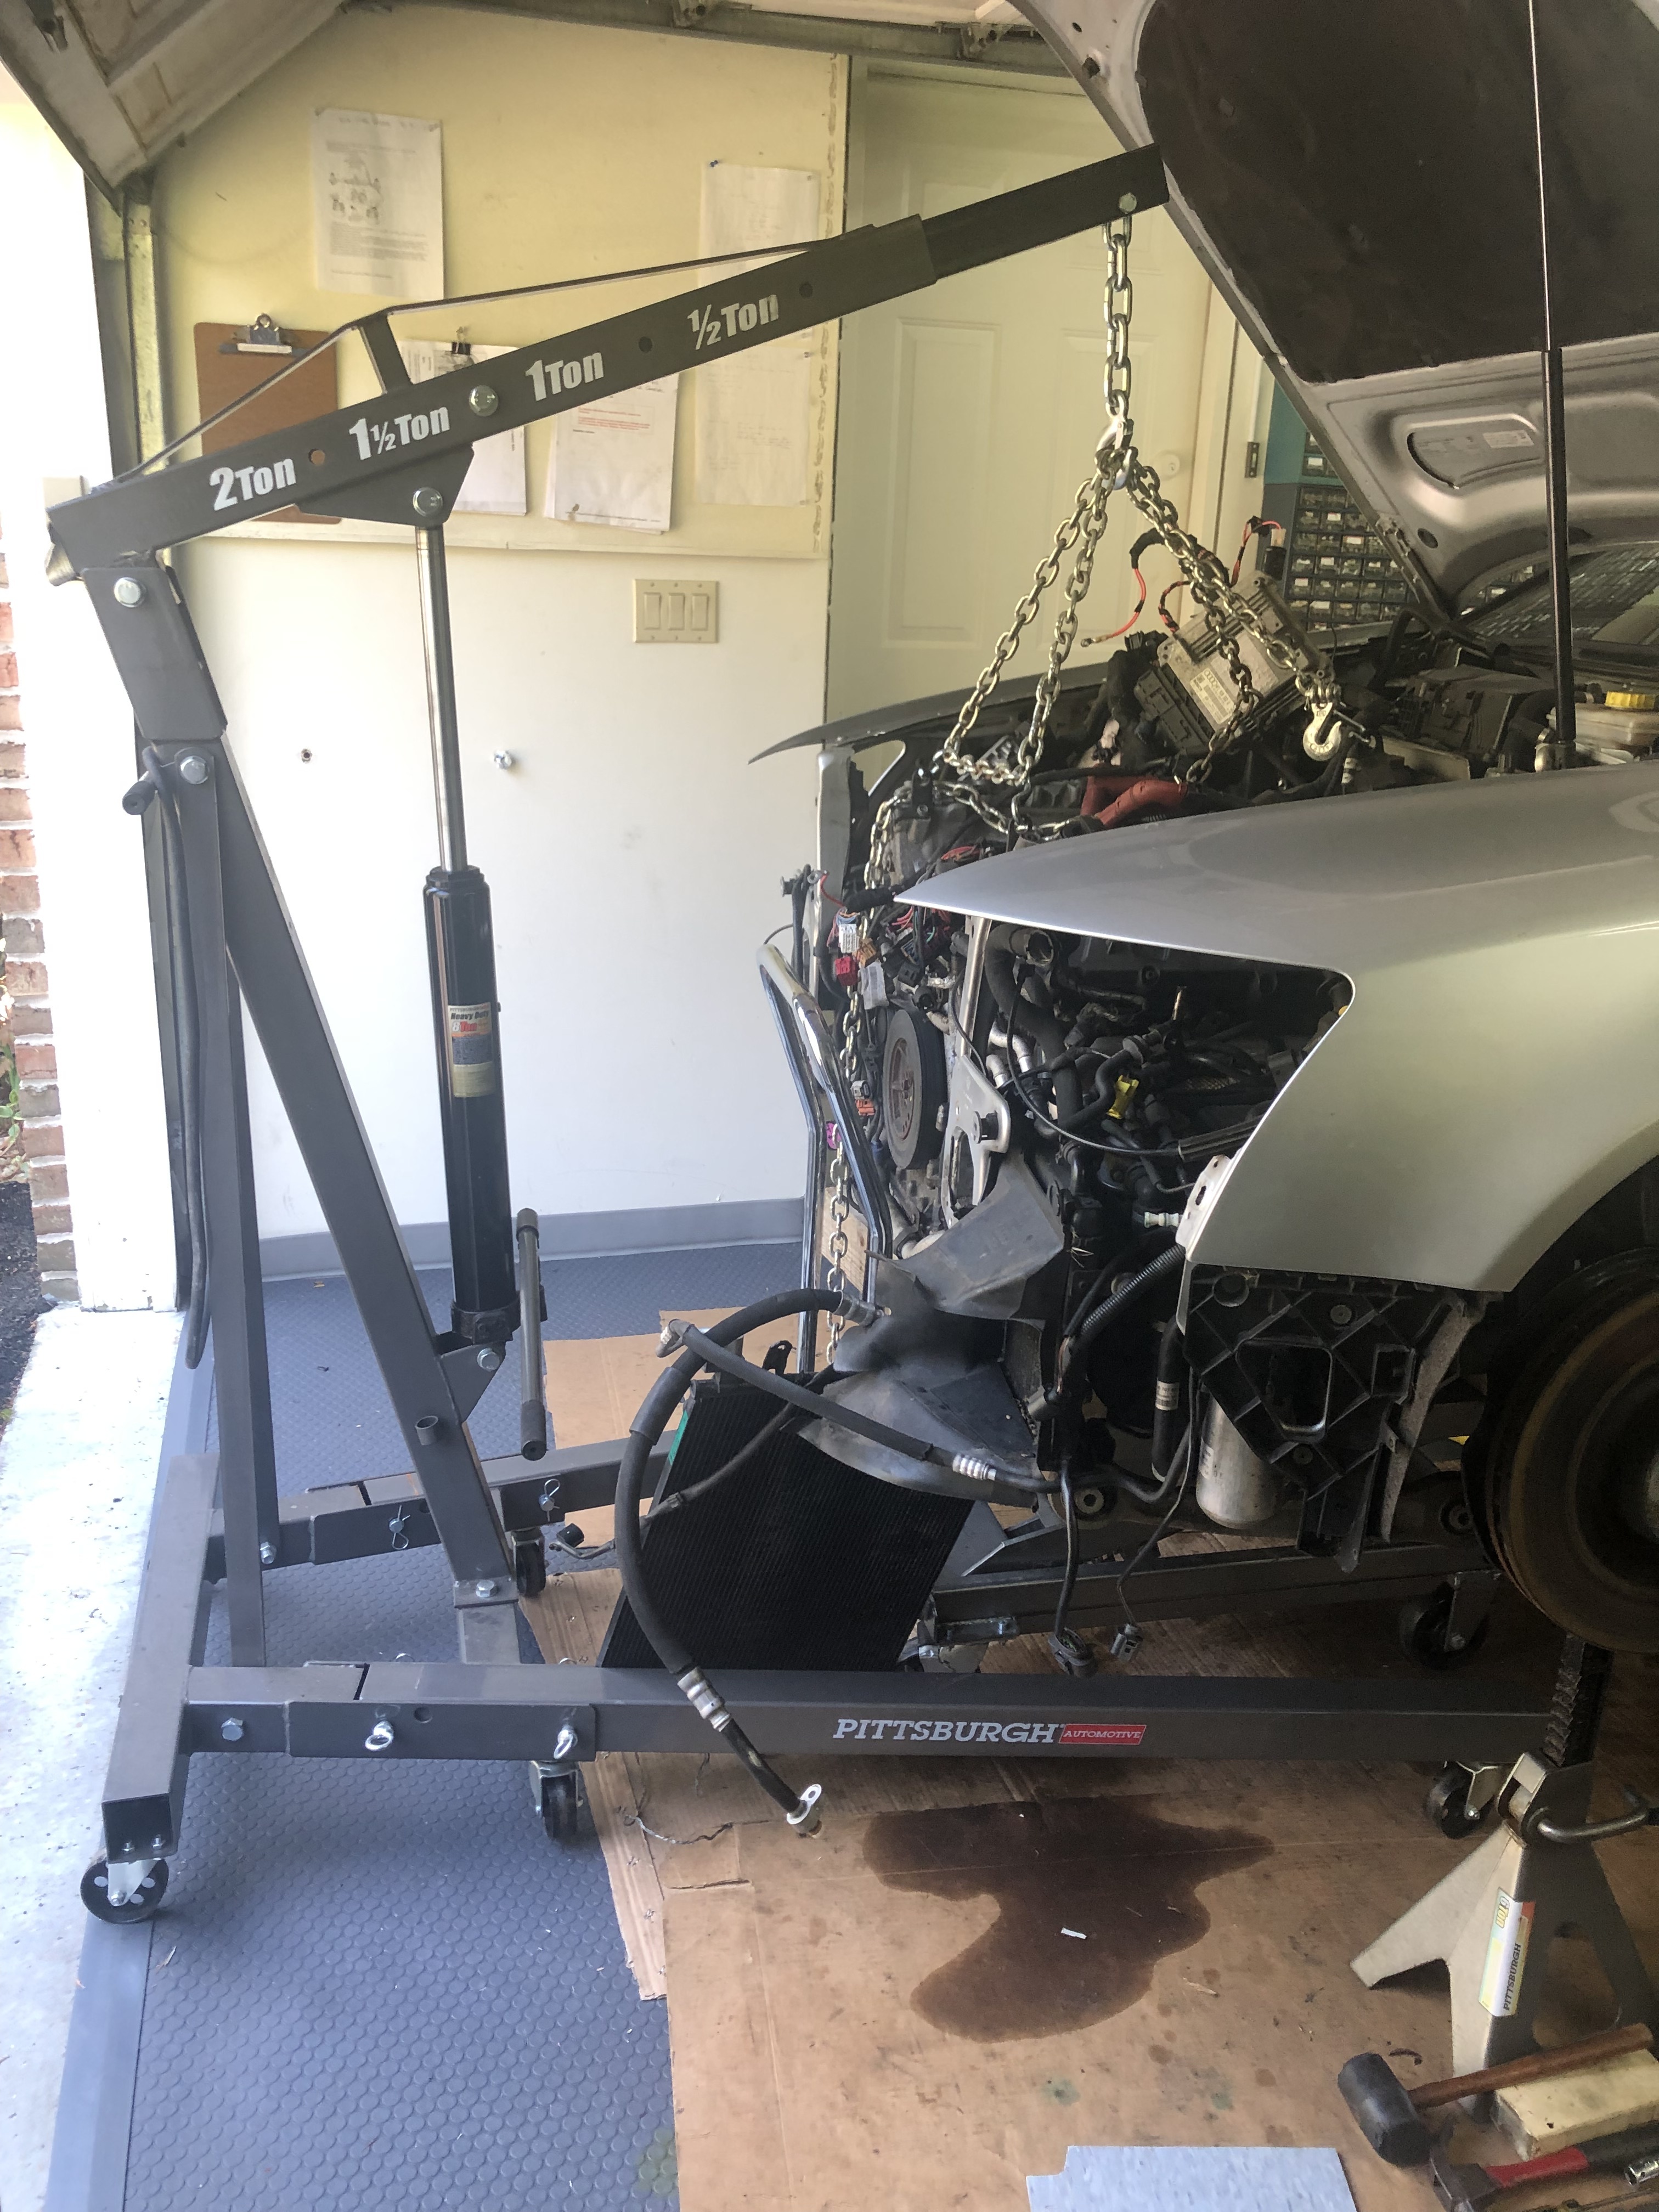
Then I start dropping it a bit so I can get to the transmission selector cable and get that off. Back to the bolts, do them in the order the Bentley suggests and then I notice that the subframe is just floating there. OK, lets just get rid of it. Raise it up a bit with the hoist, slide the subframe out, redo the wood blocks, lower the hoist and the jack on the trans down and she’s ready to be pulled:

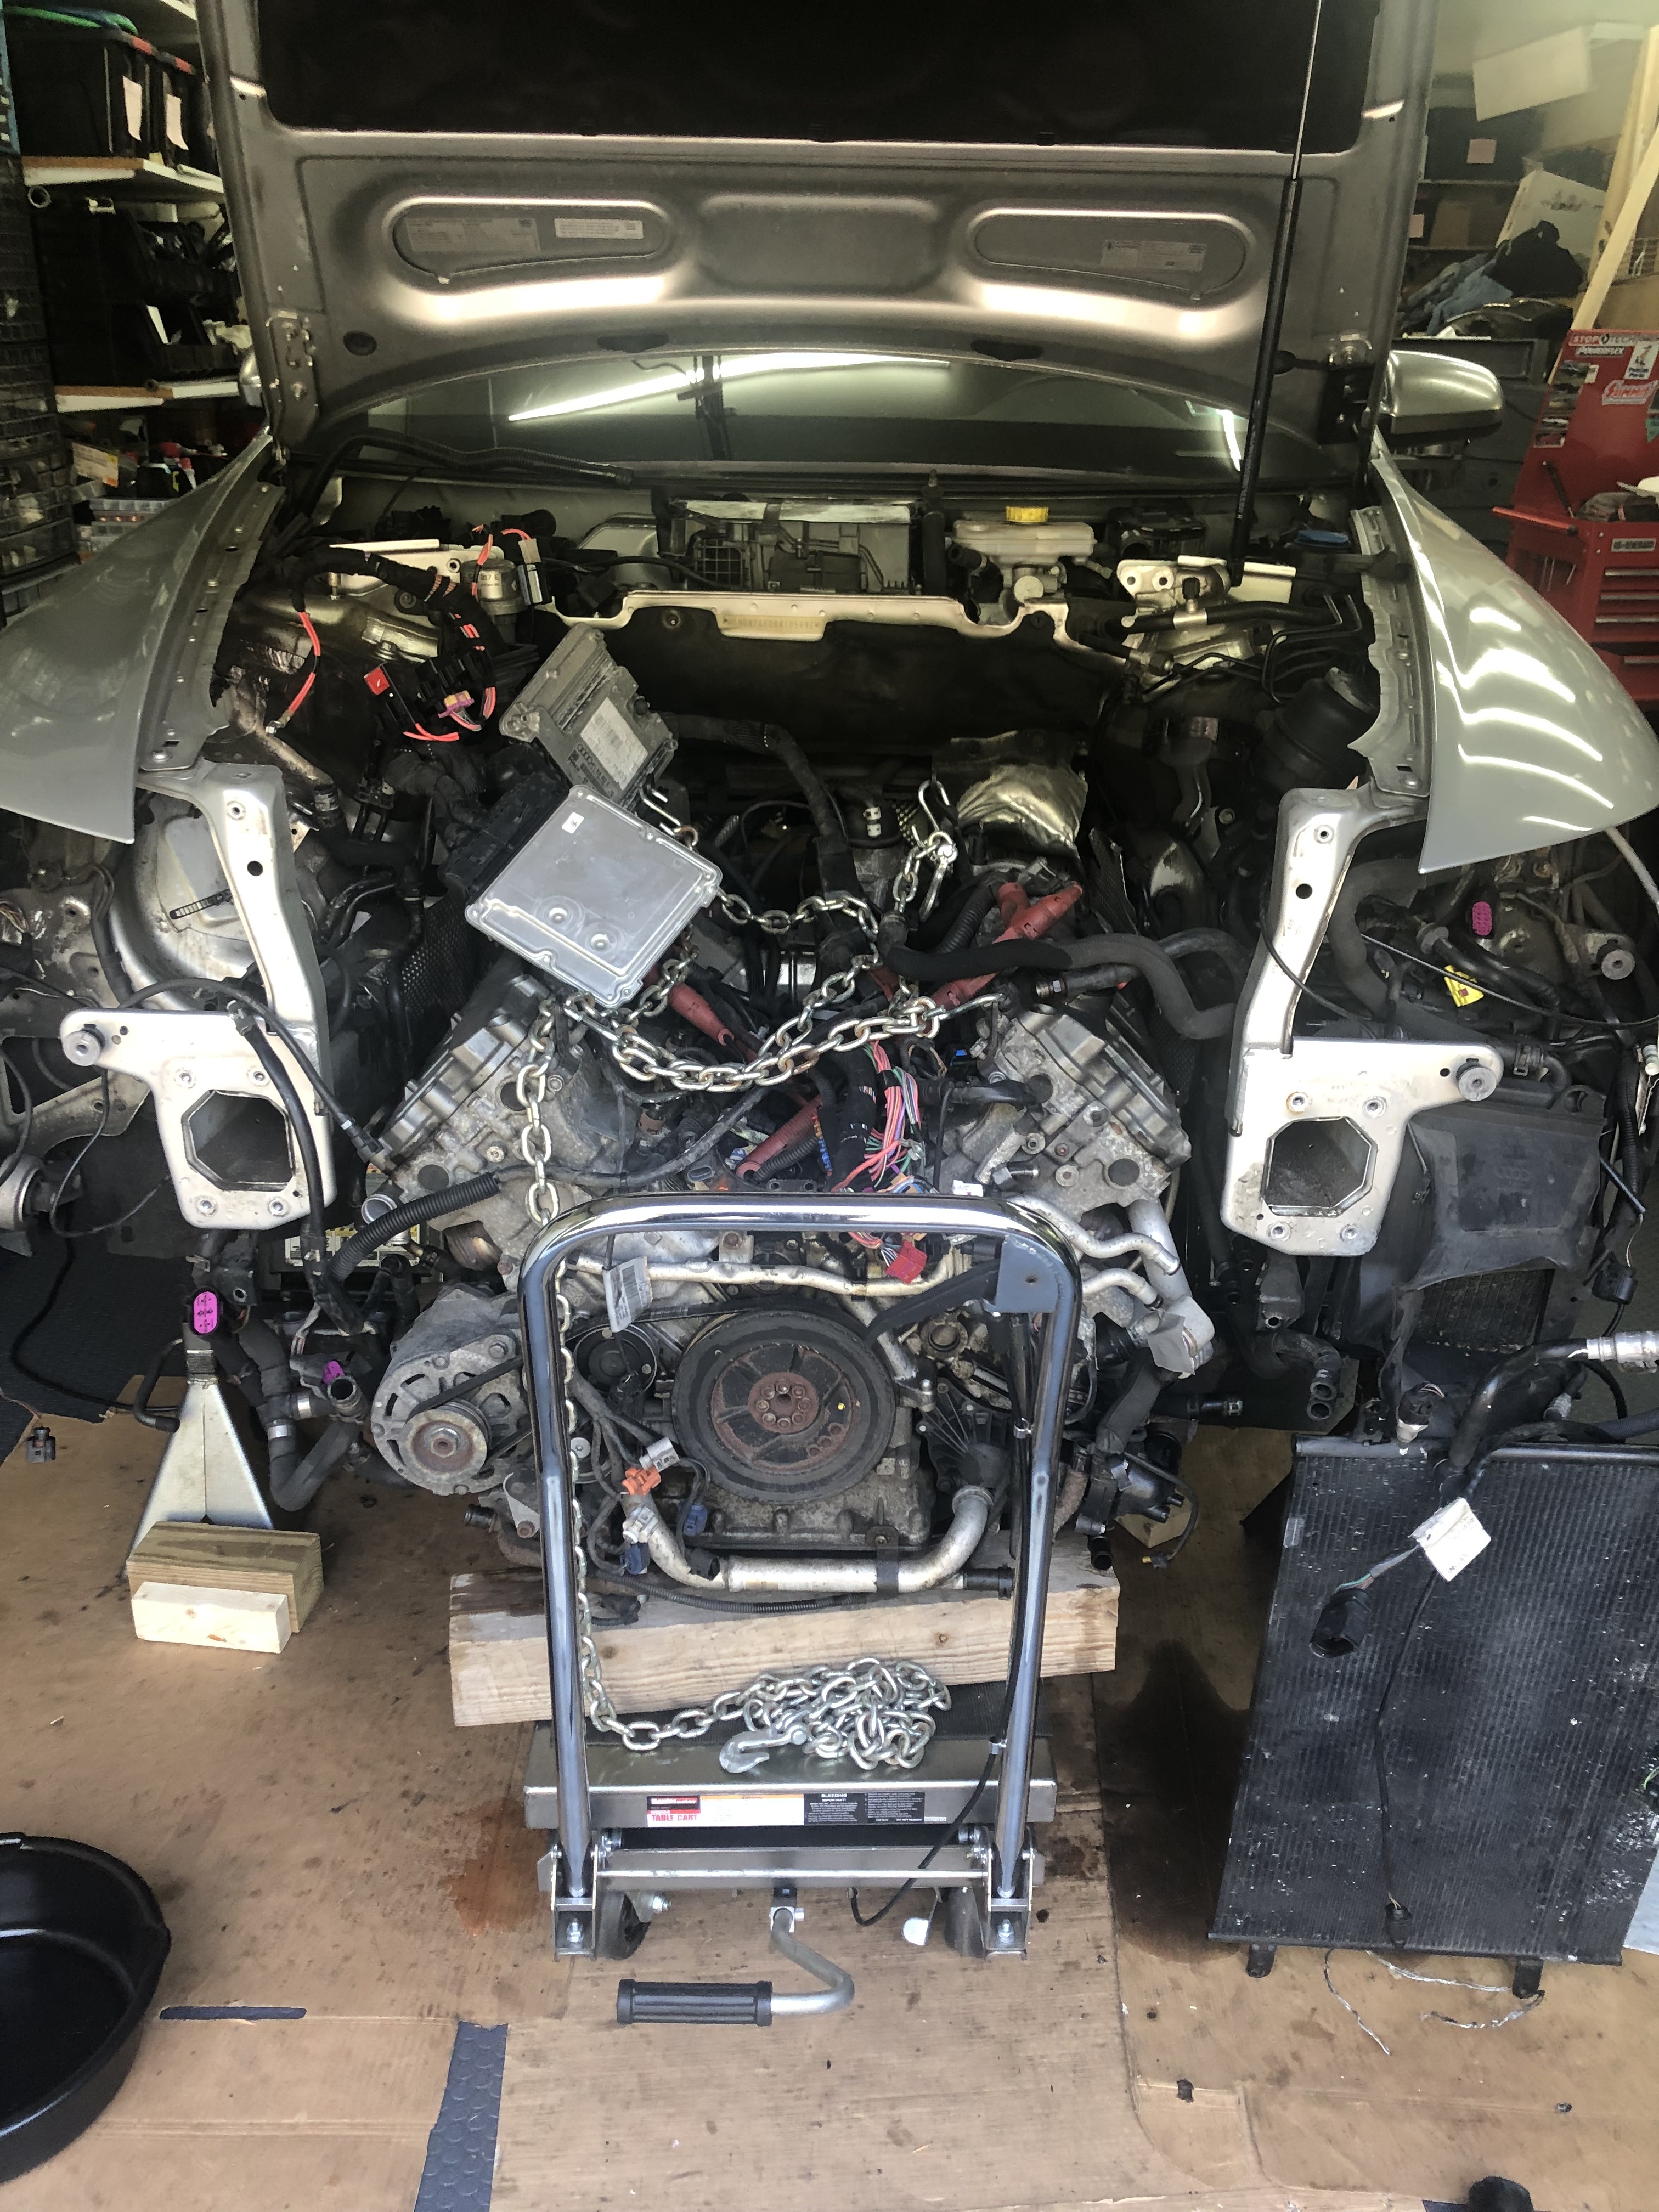
Start rolling her back, hey not too bad (my garage and drive are only slightly sloped), but as I rounded the bend from one bay to the next, I am stopped. The full impact of the weight settled in. Fortunately the kid is home from college. Attach a strap to the lift to pull with, he pushes and it’s in the garage waiting to be dissected:

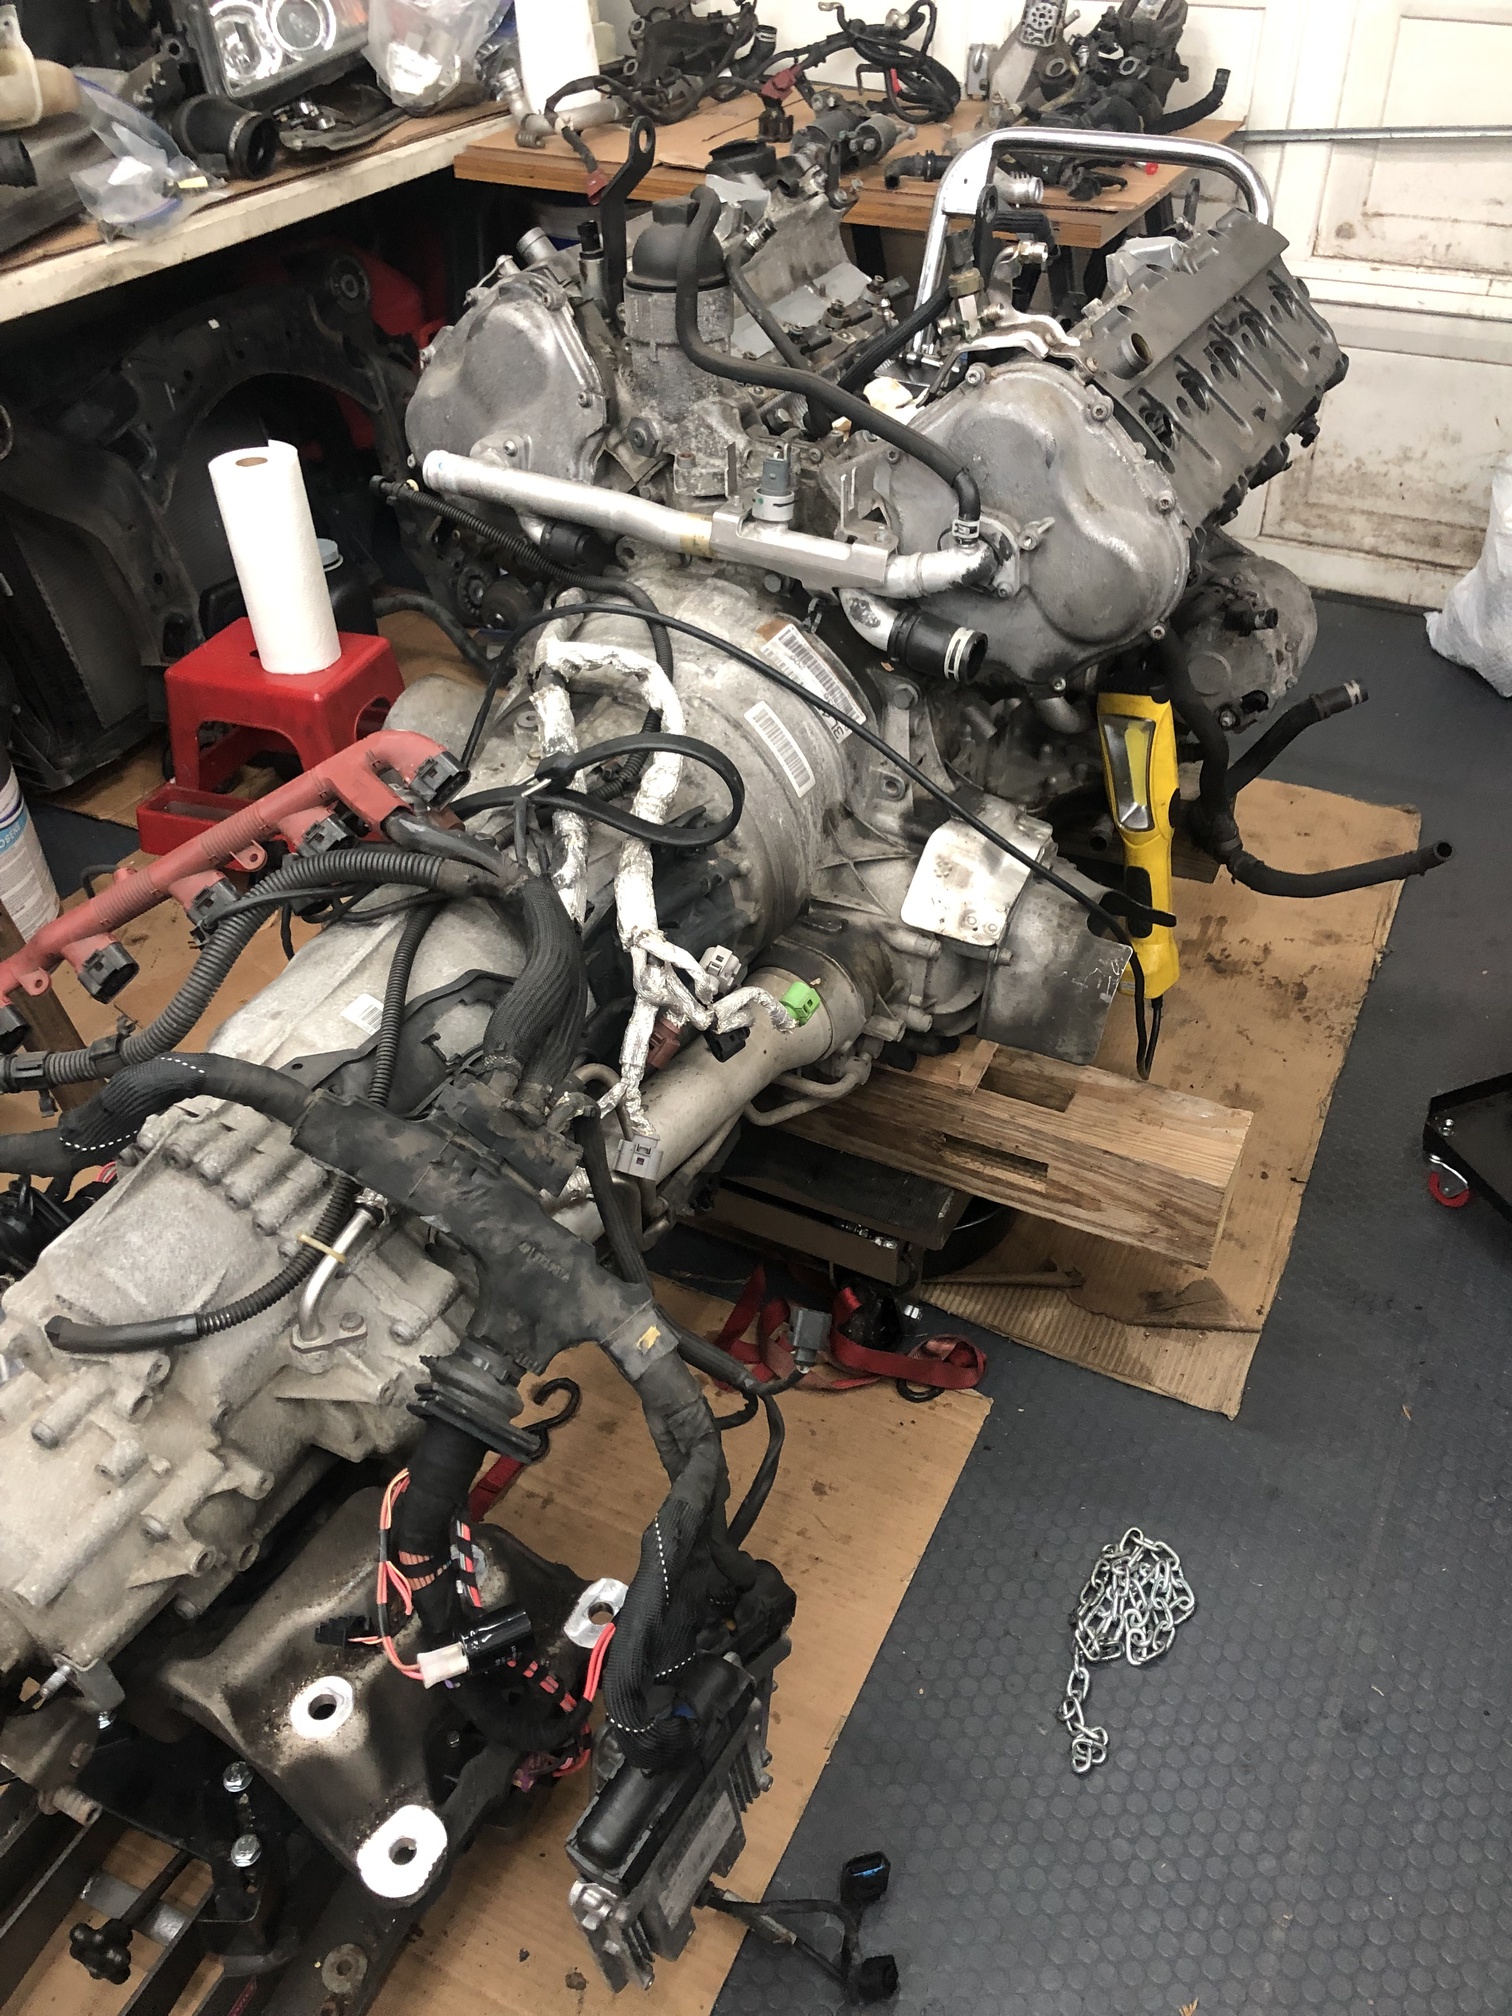
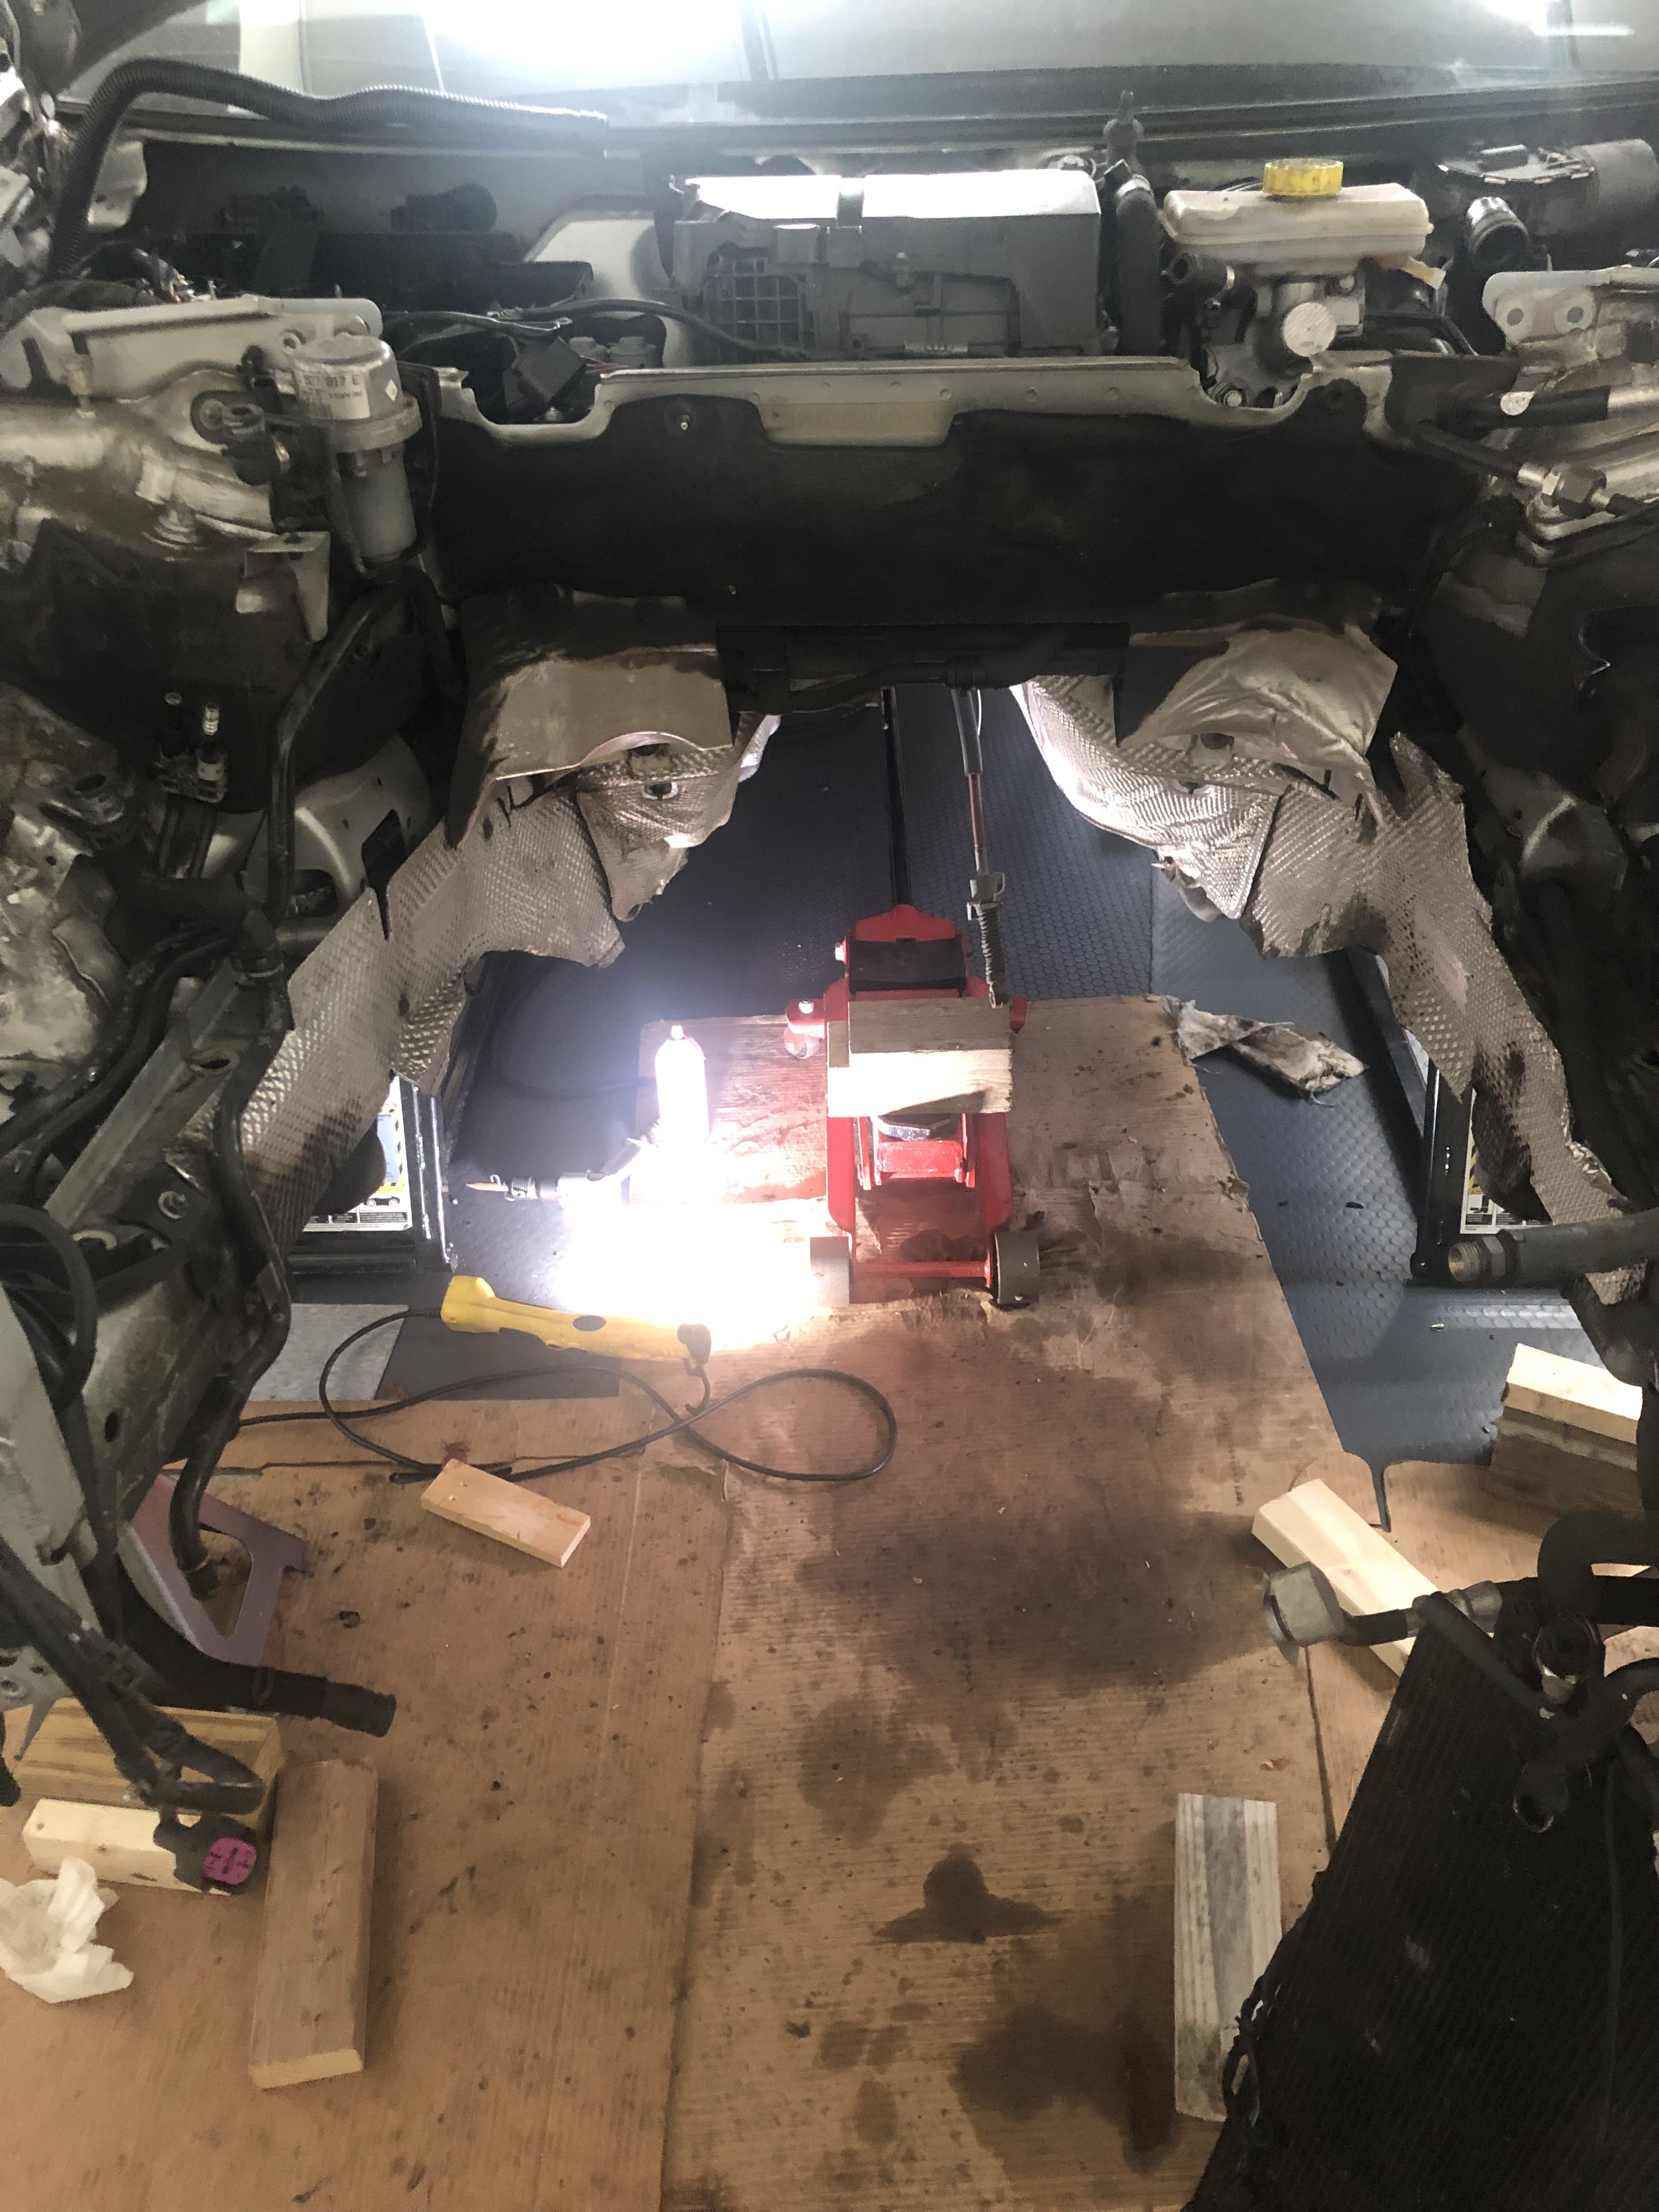
Leaving a gaping hole where once 400+ horsepower engine and a sophisticated dual clutch trans sat:

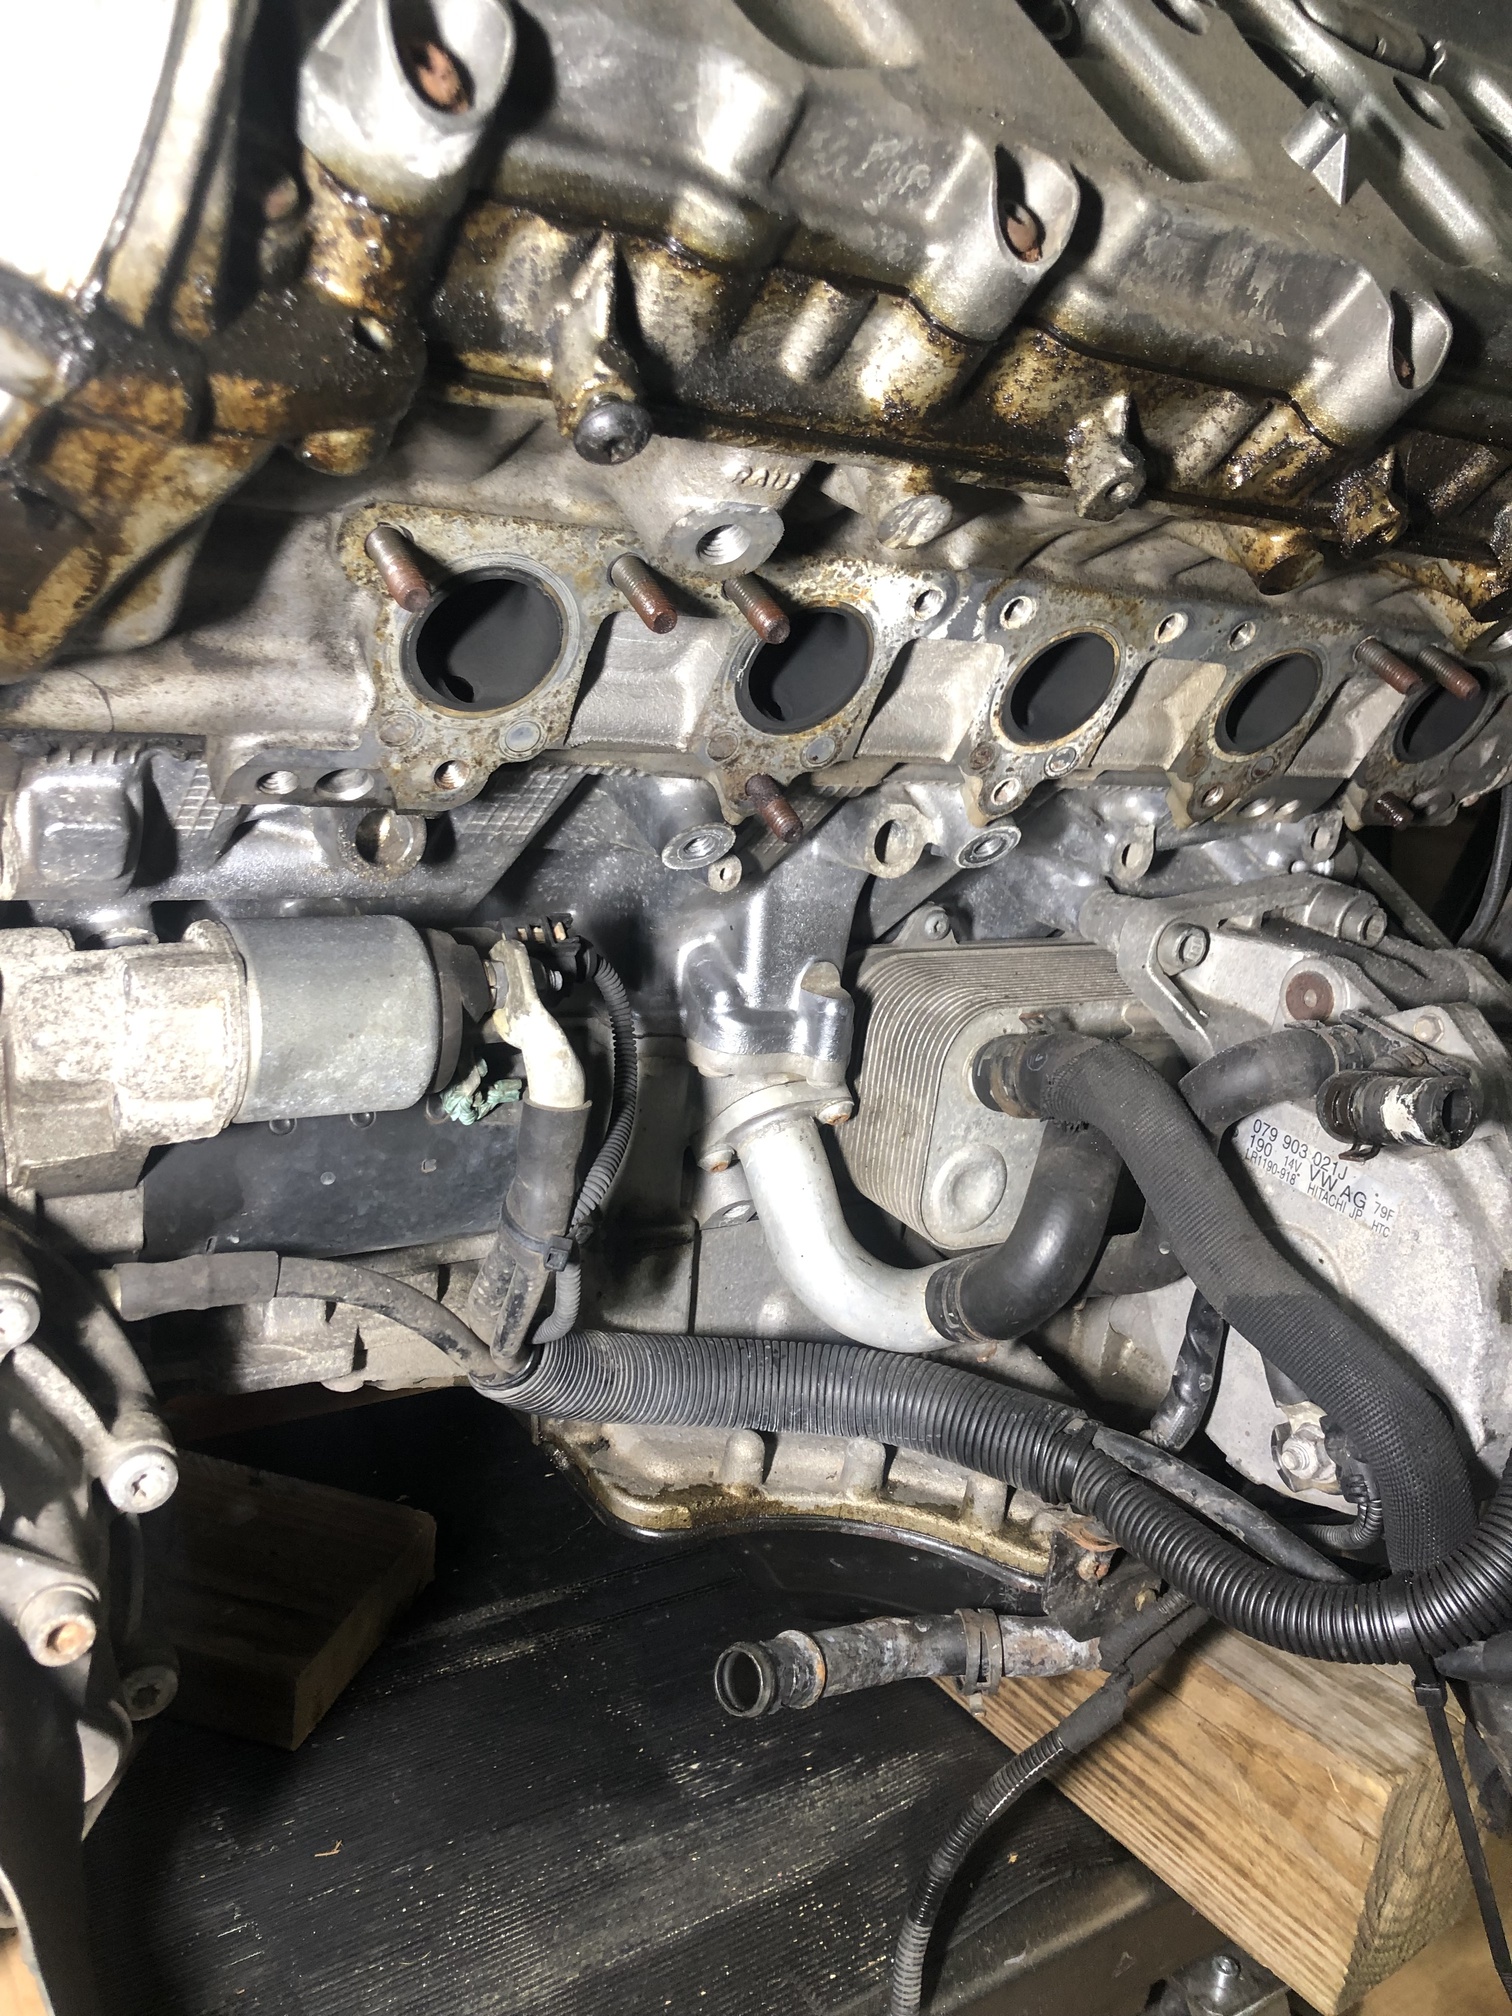
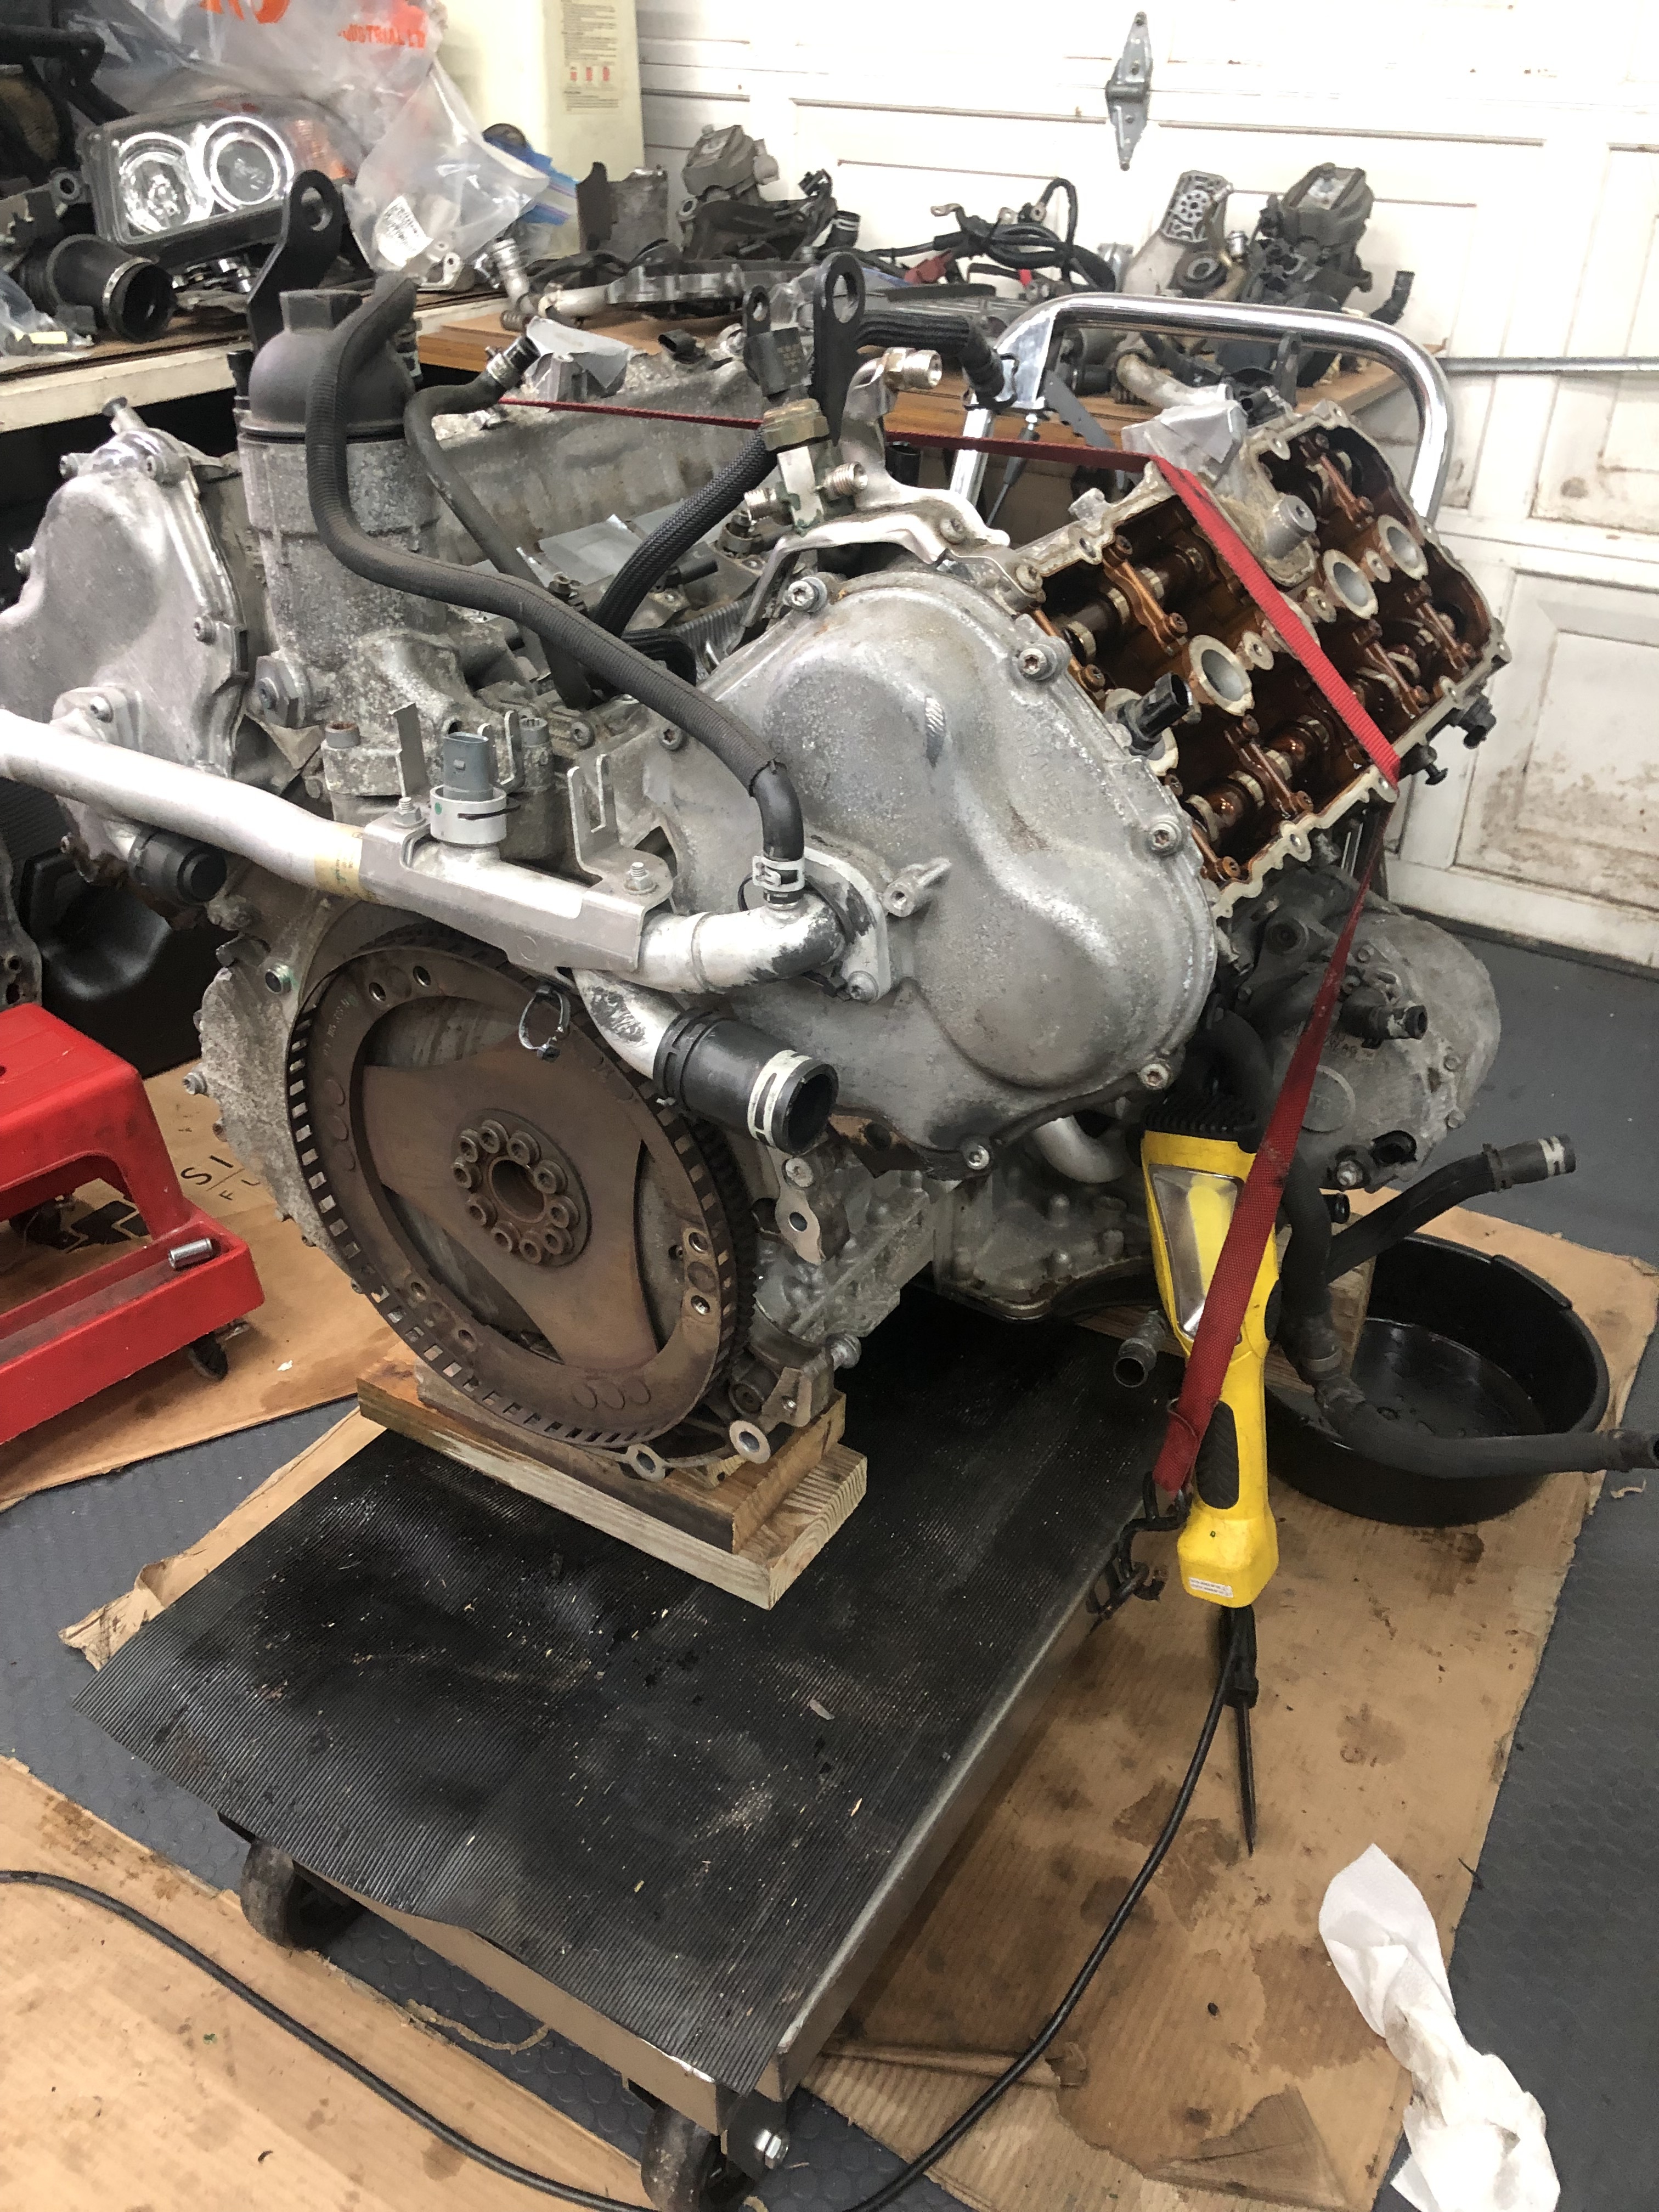
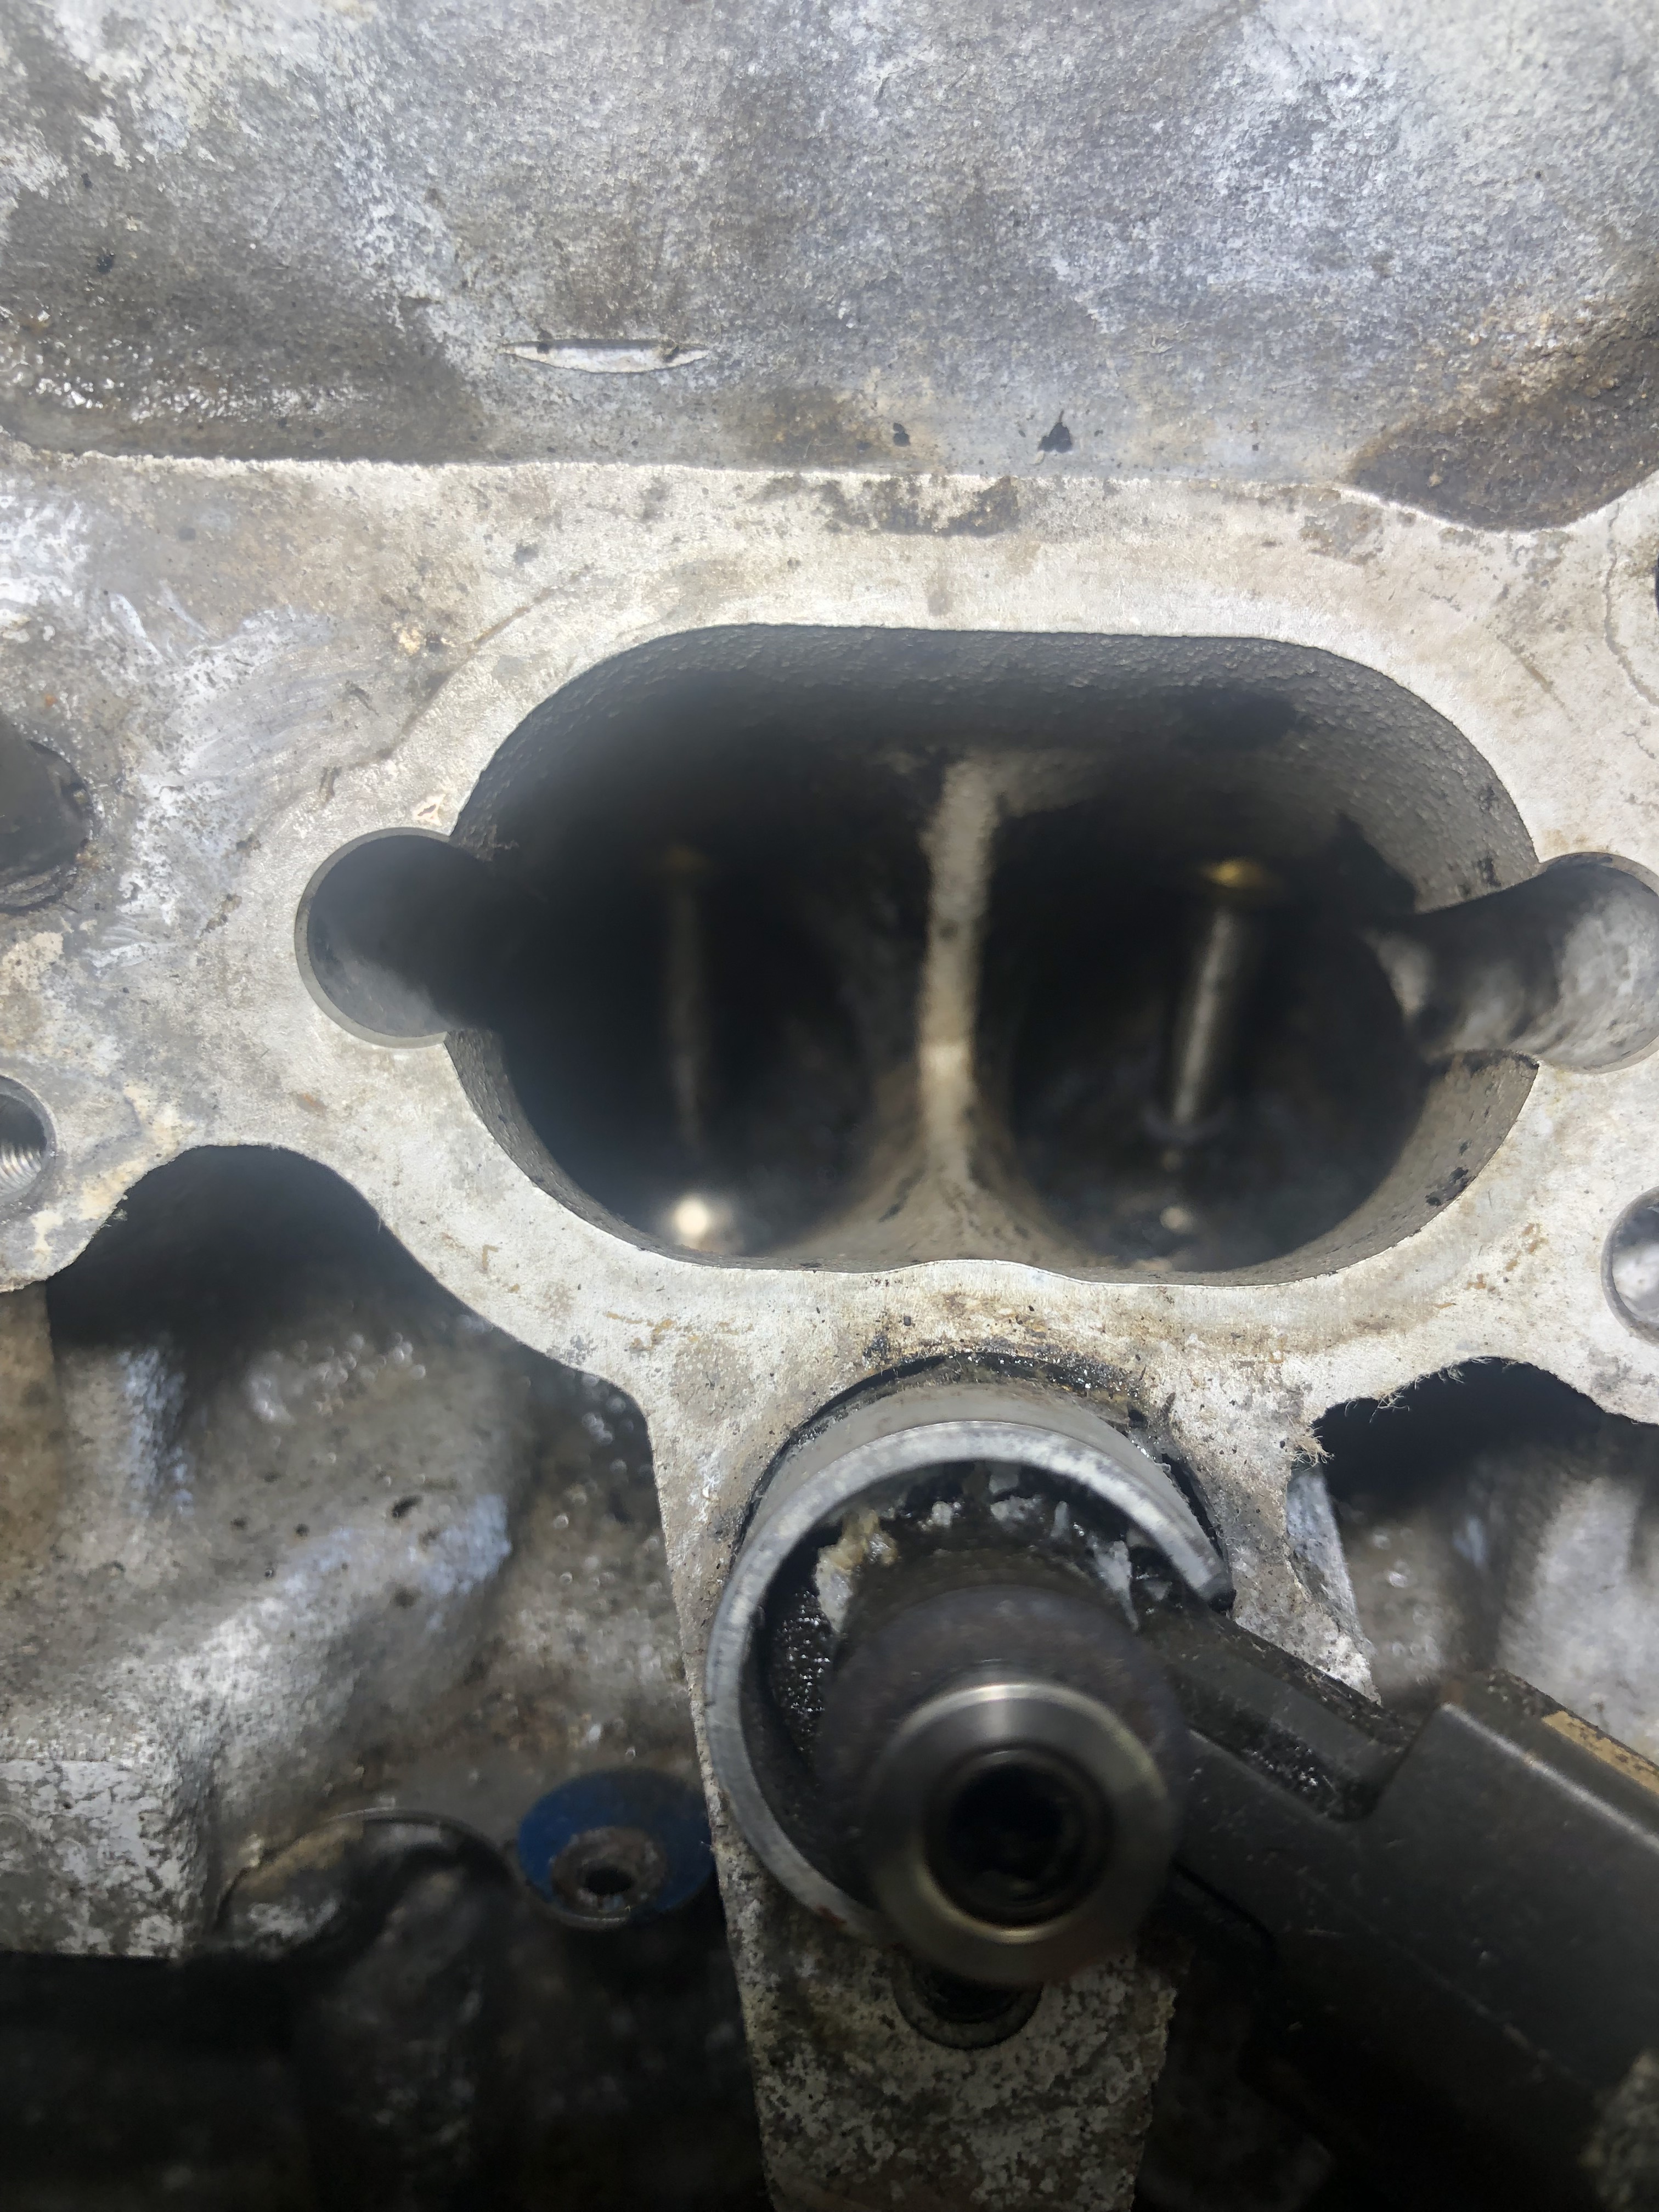
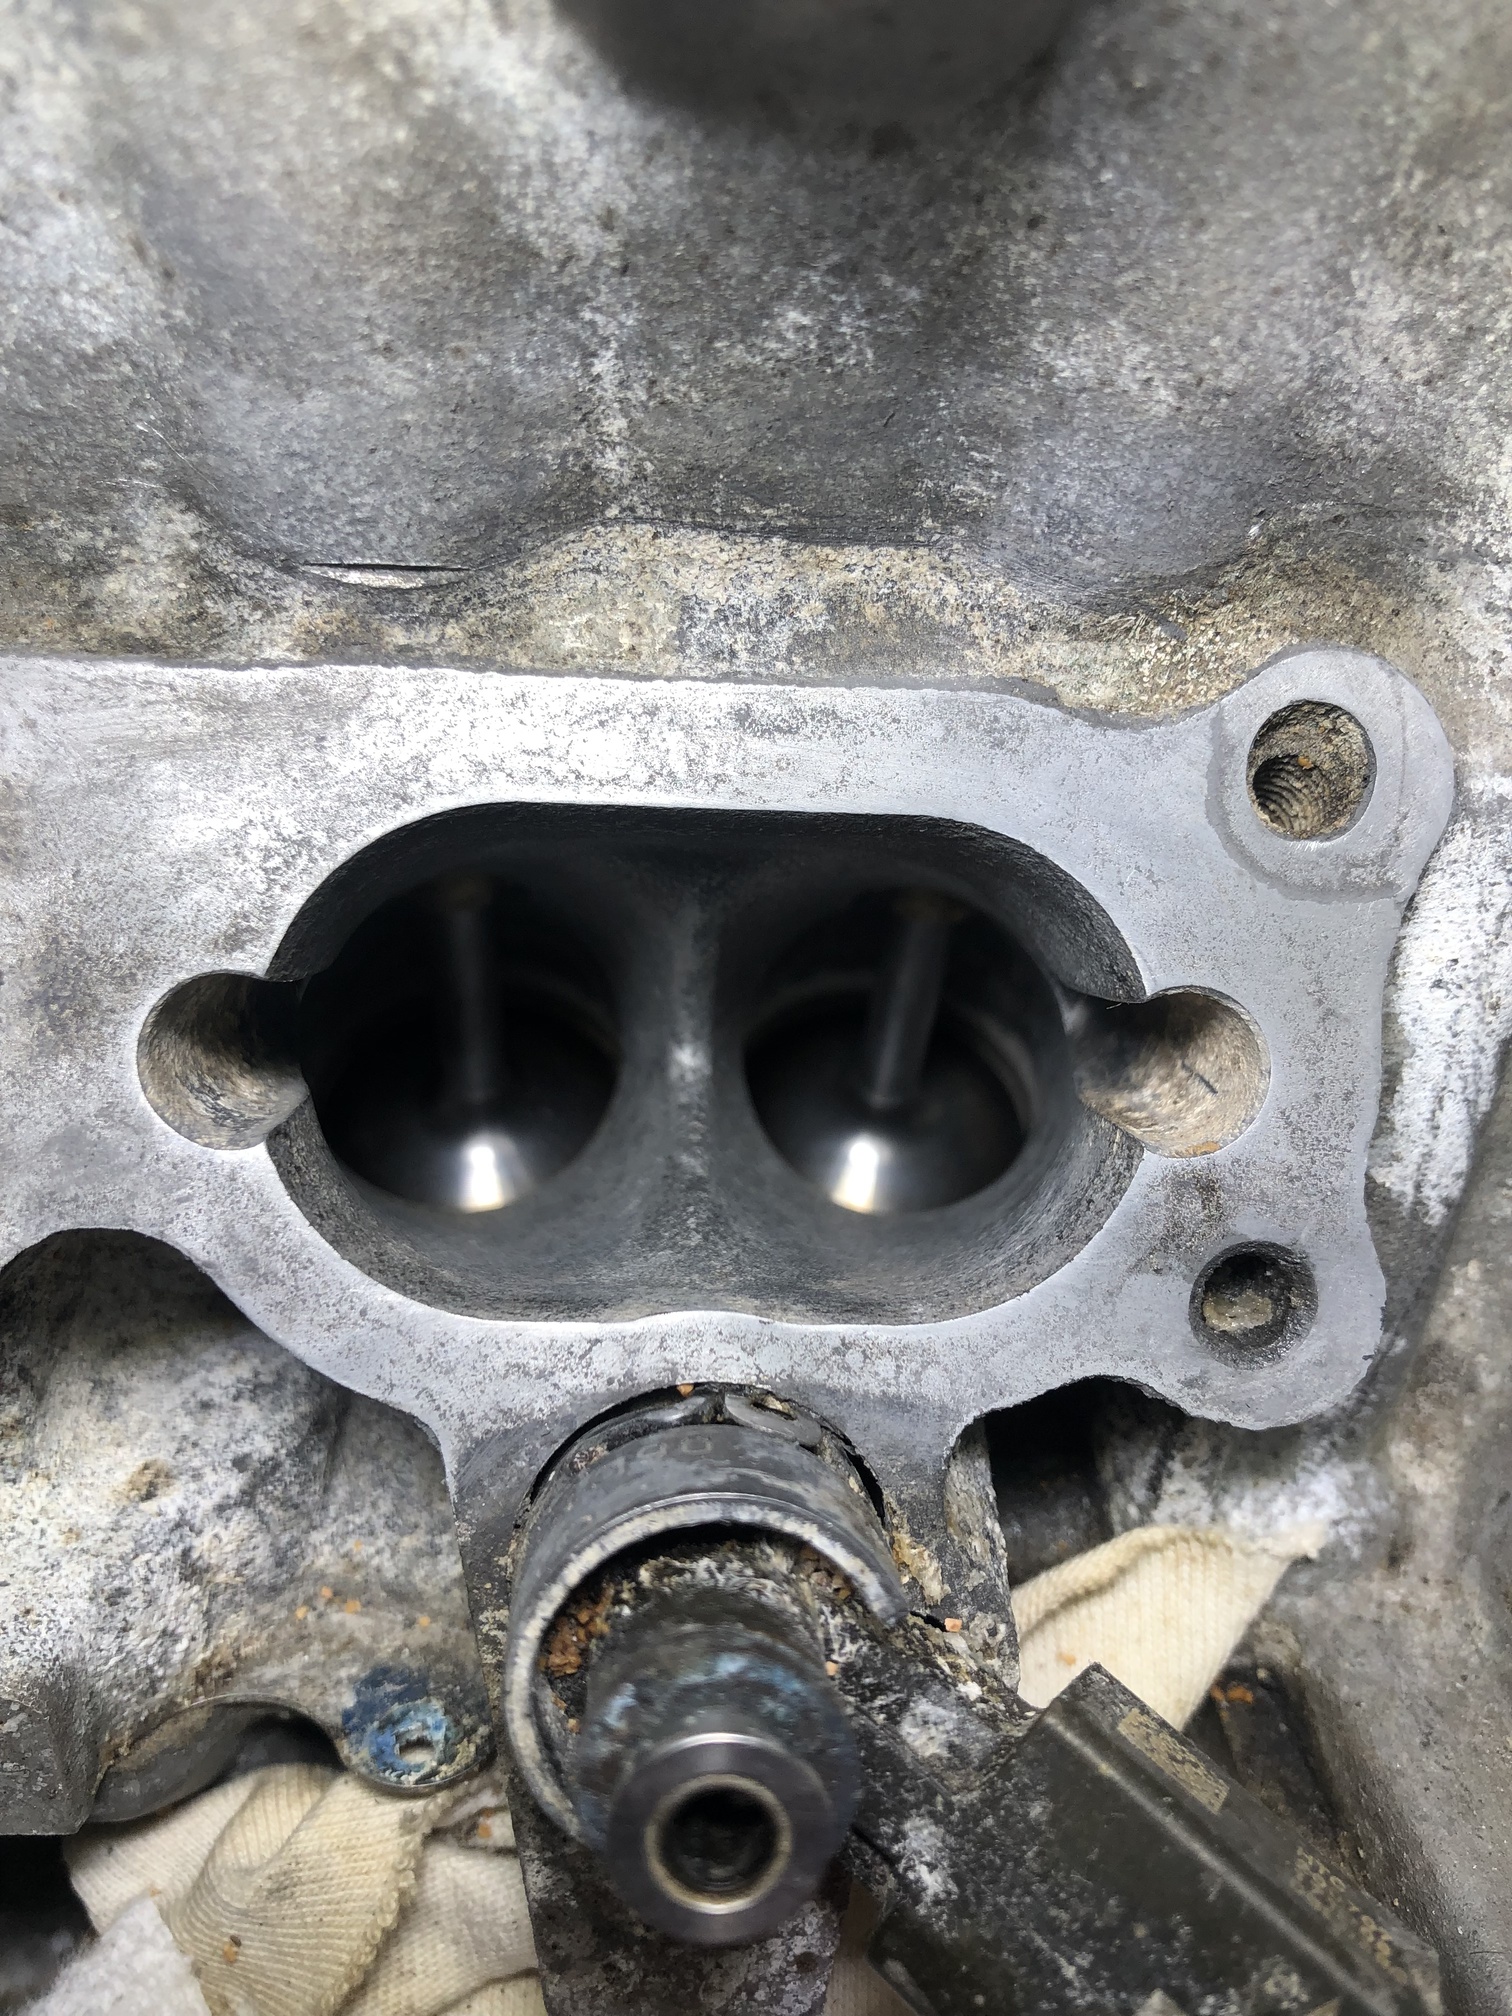
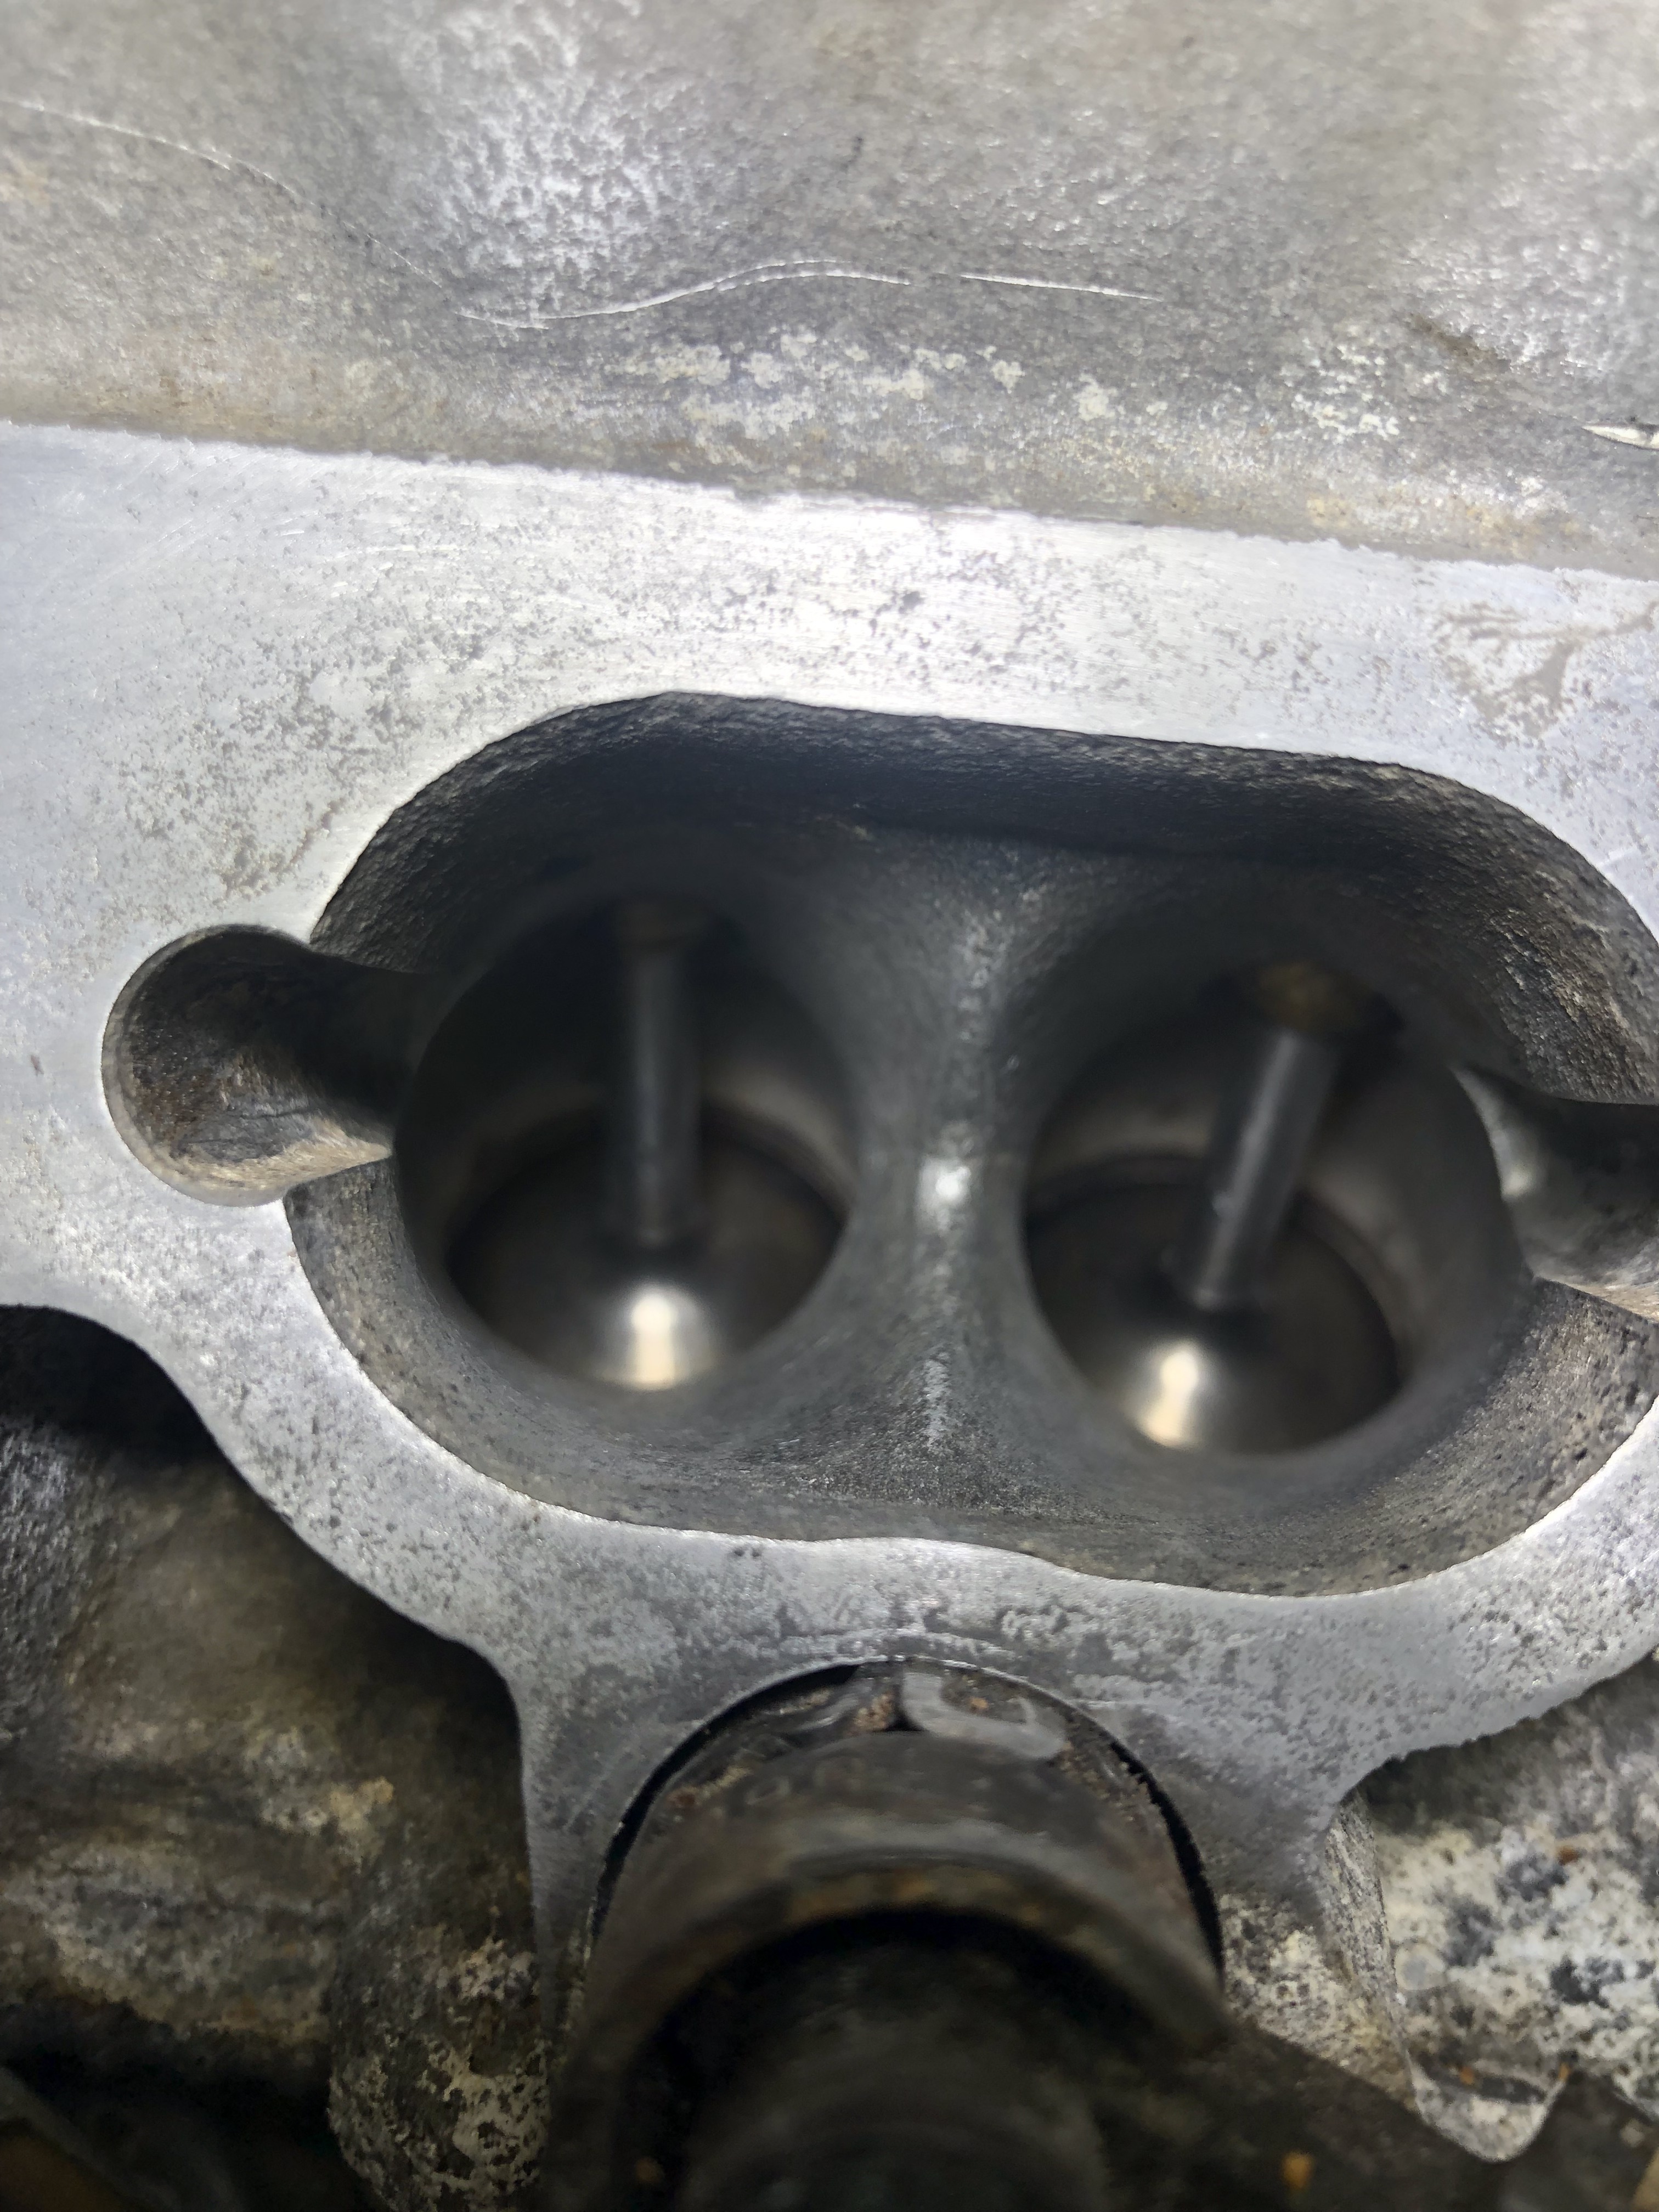
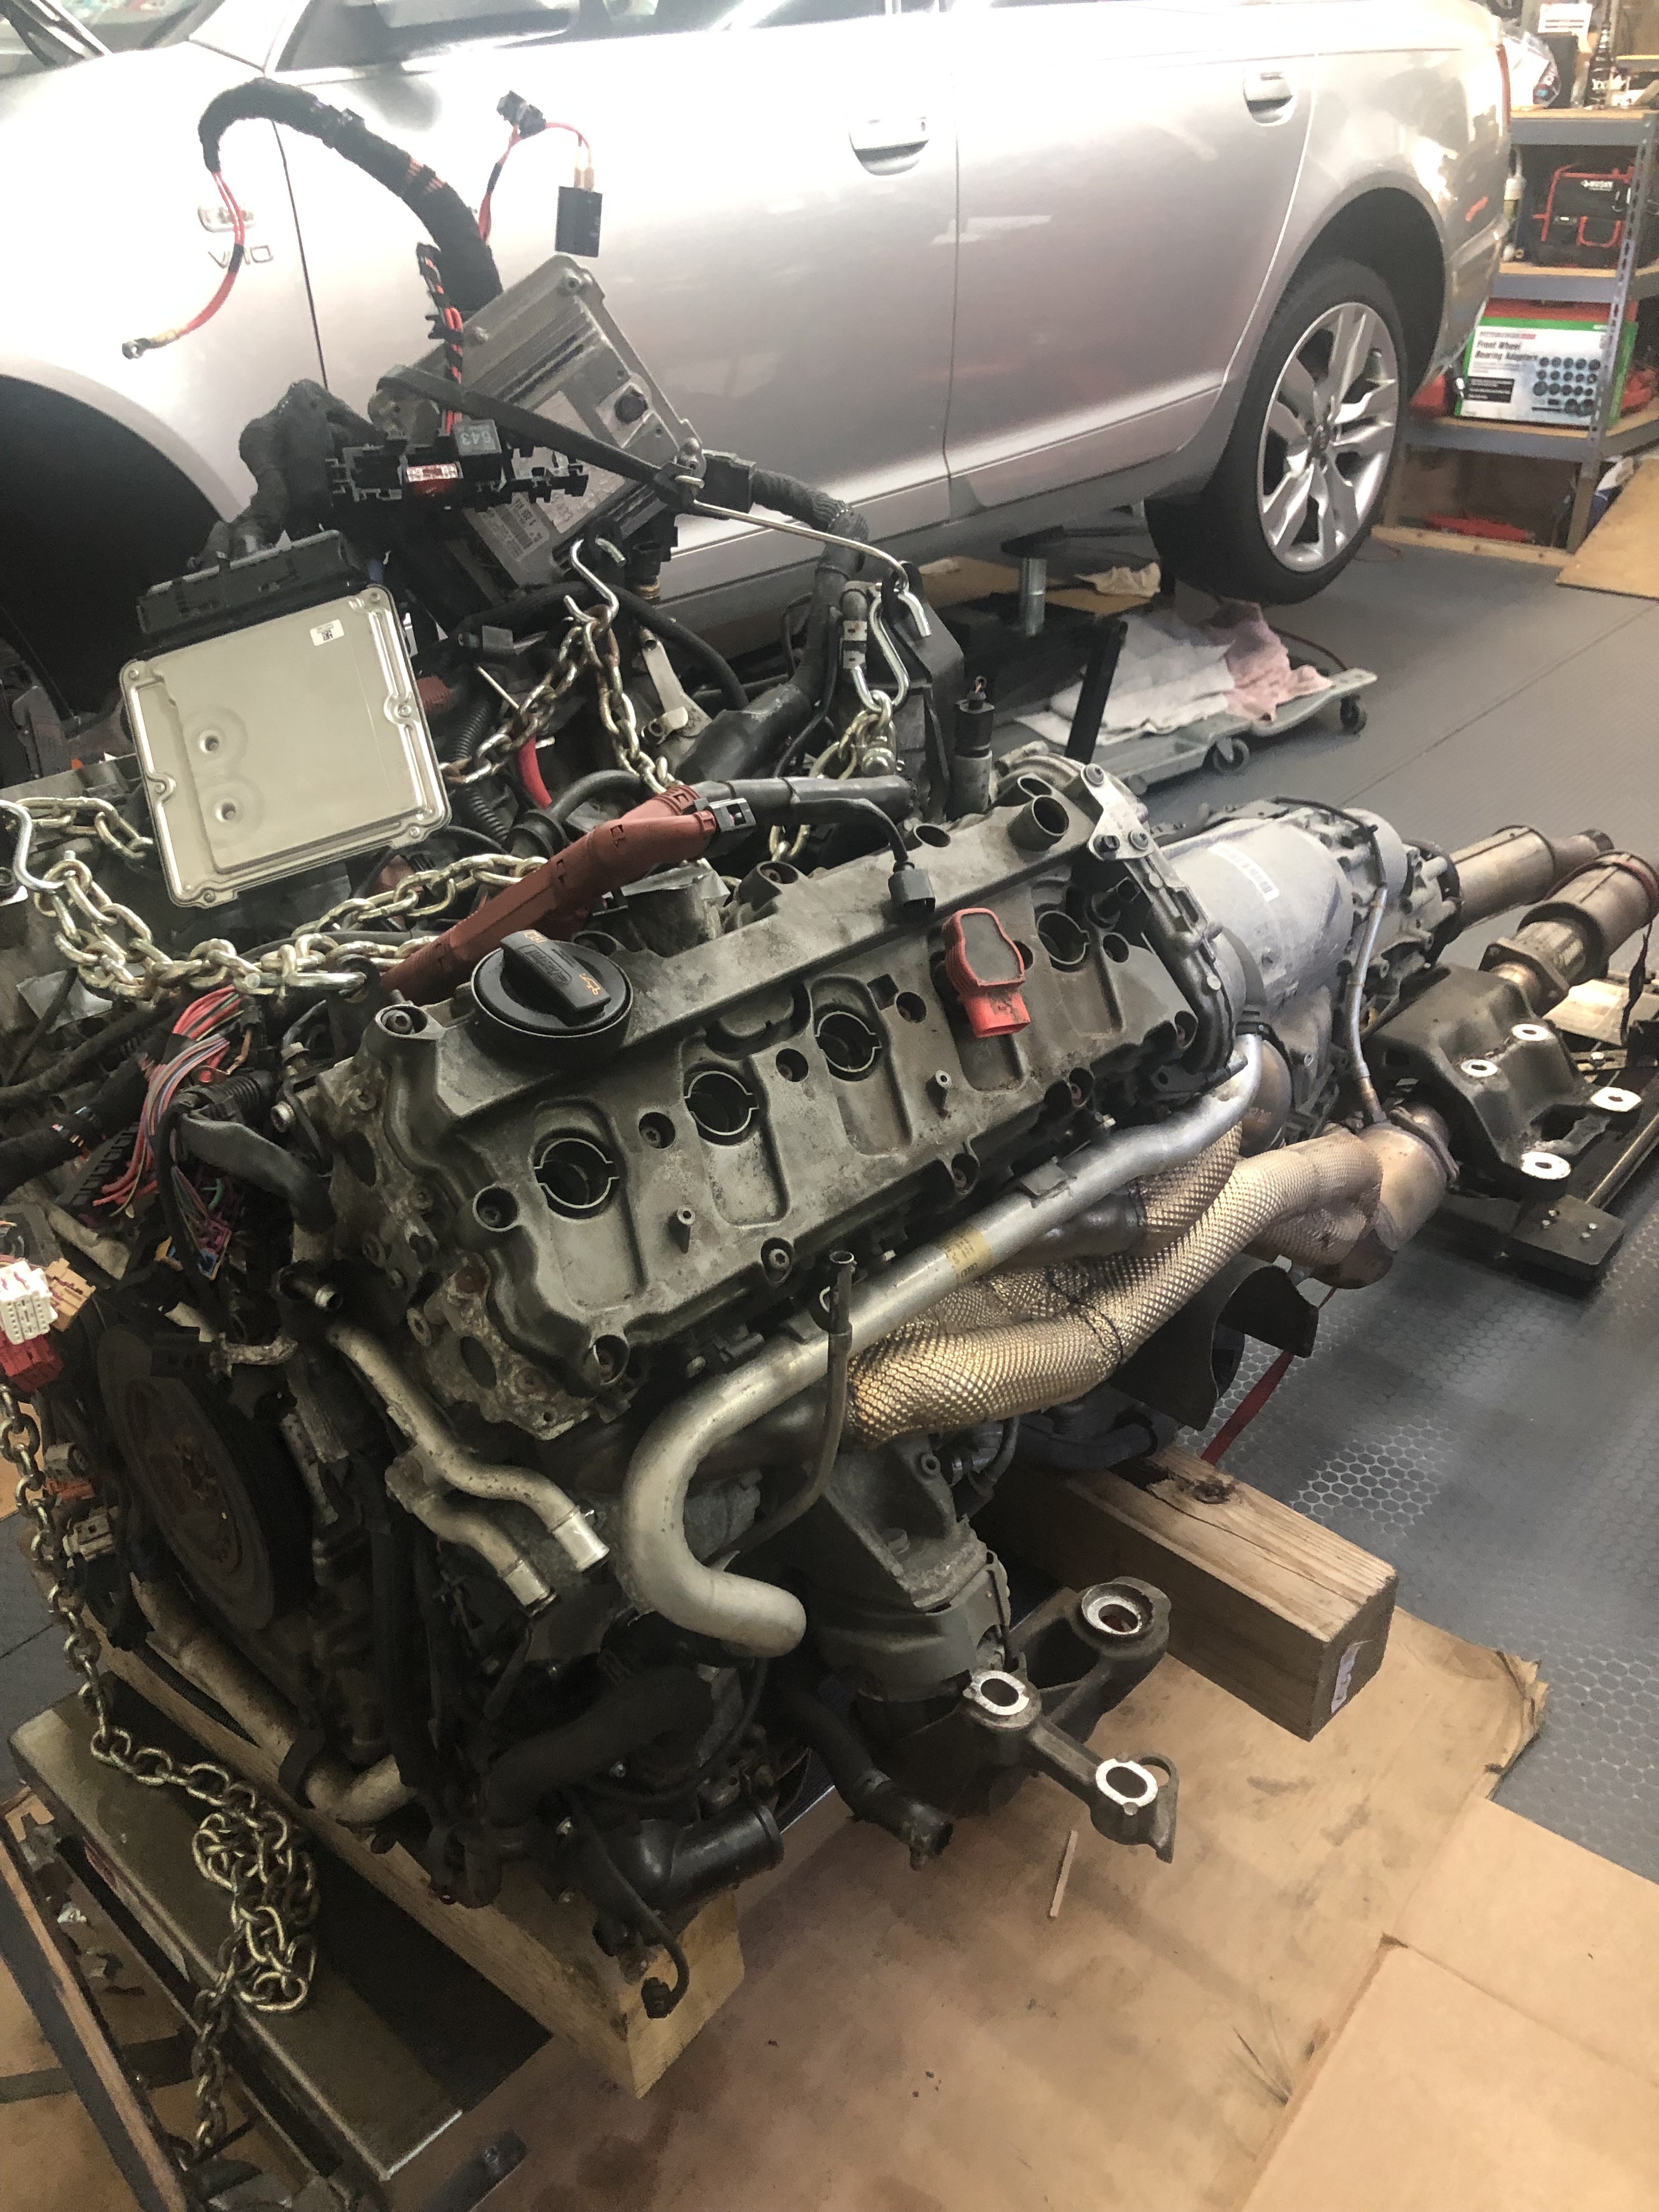
I wish I had some extra cash, because those headers and exhaust just don’t do this thing any justice at all. Who the frick came up with this layout anyway?

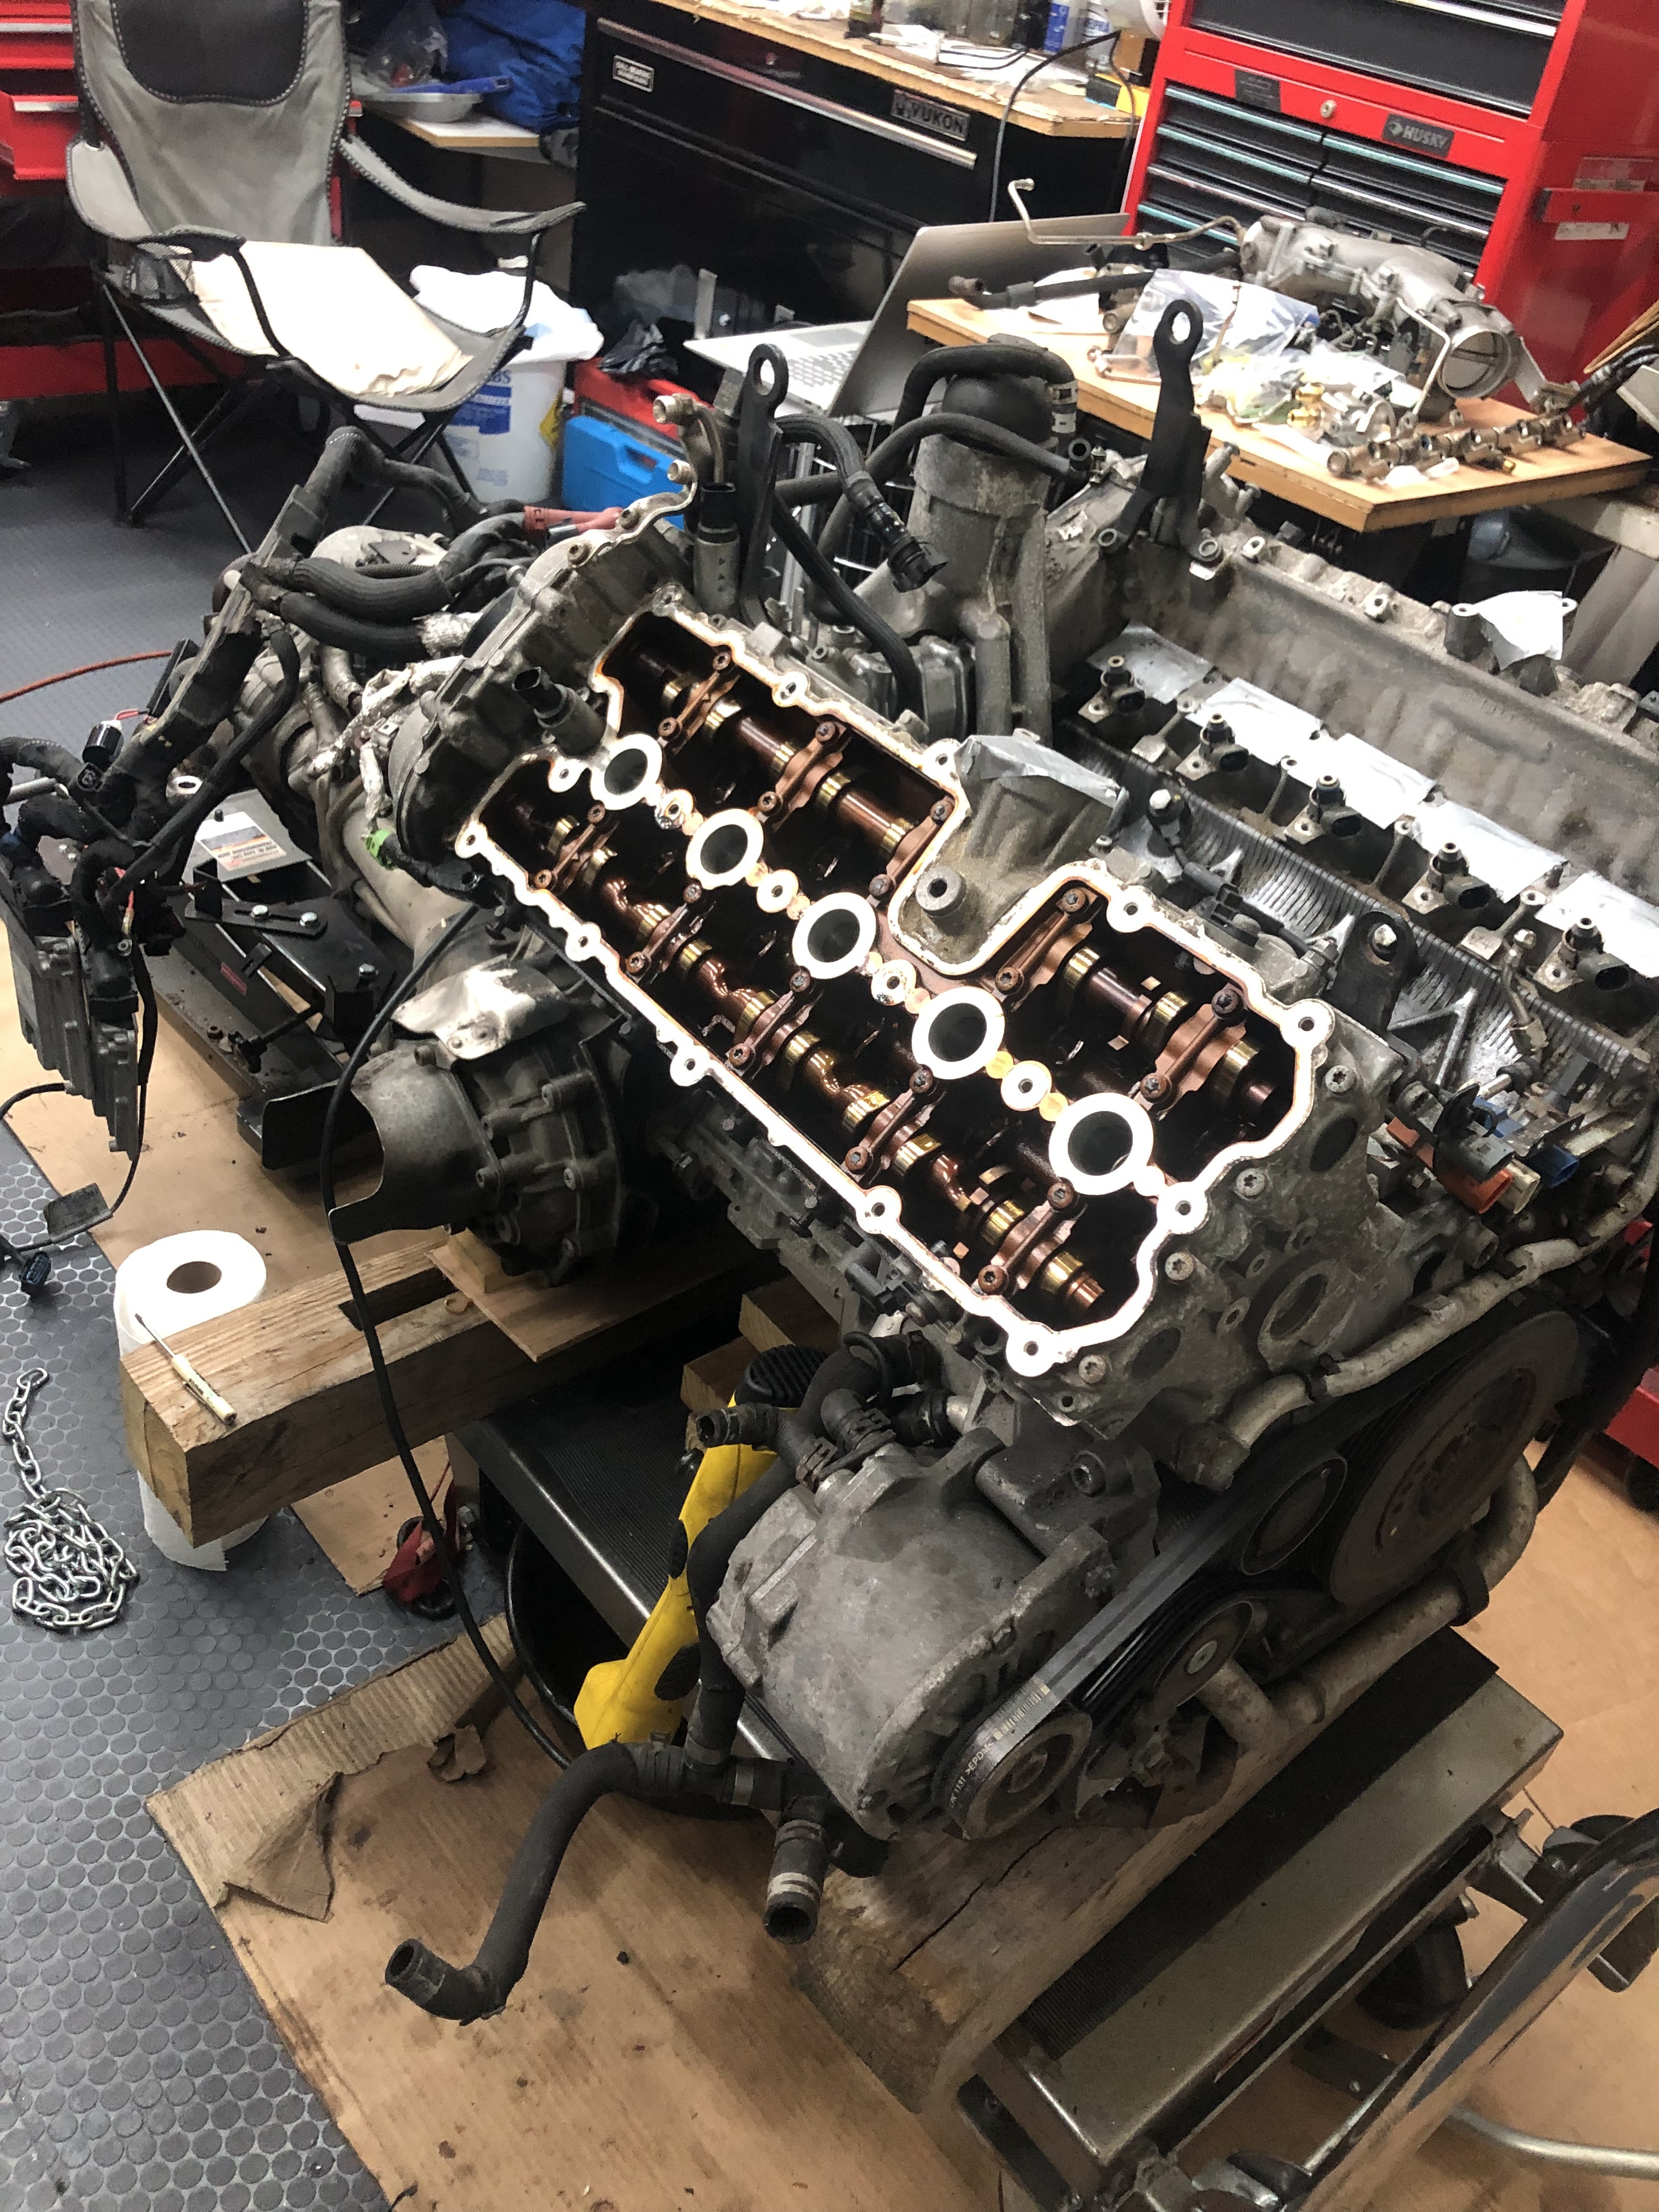
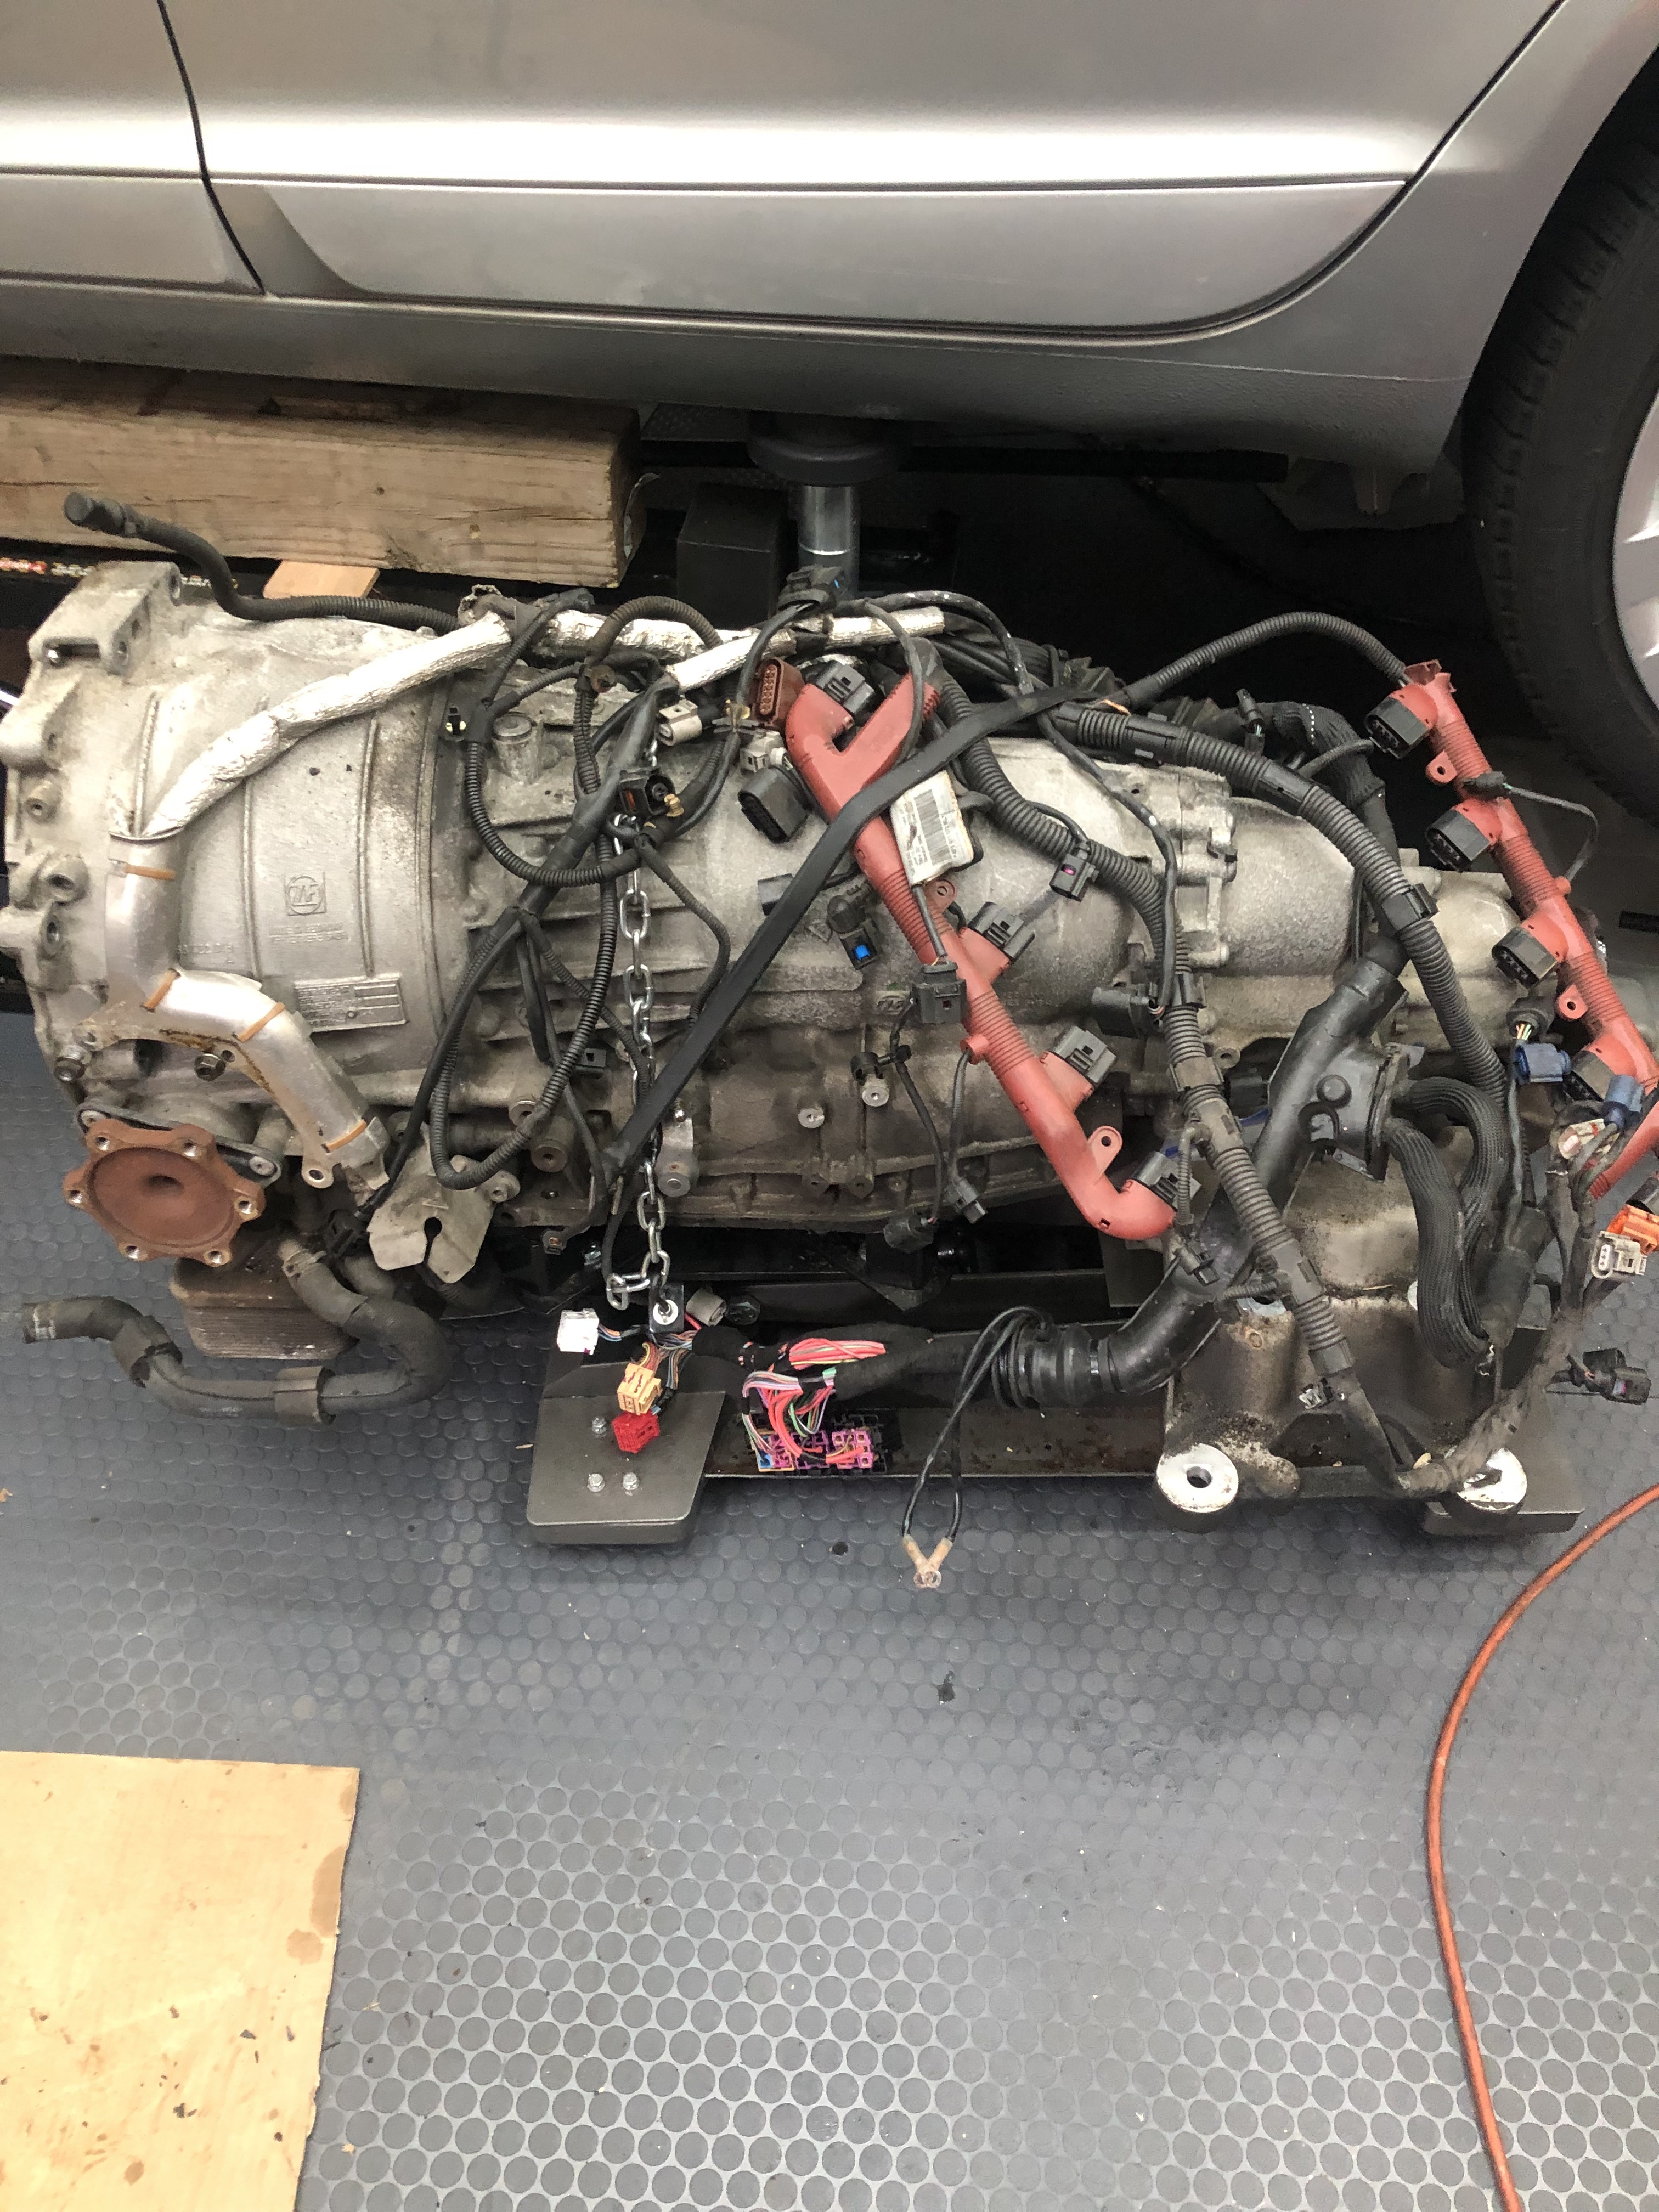
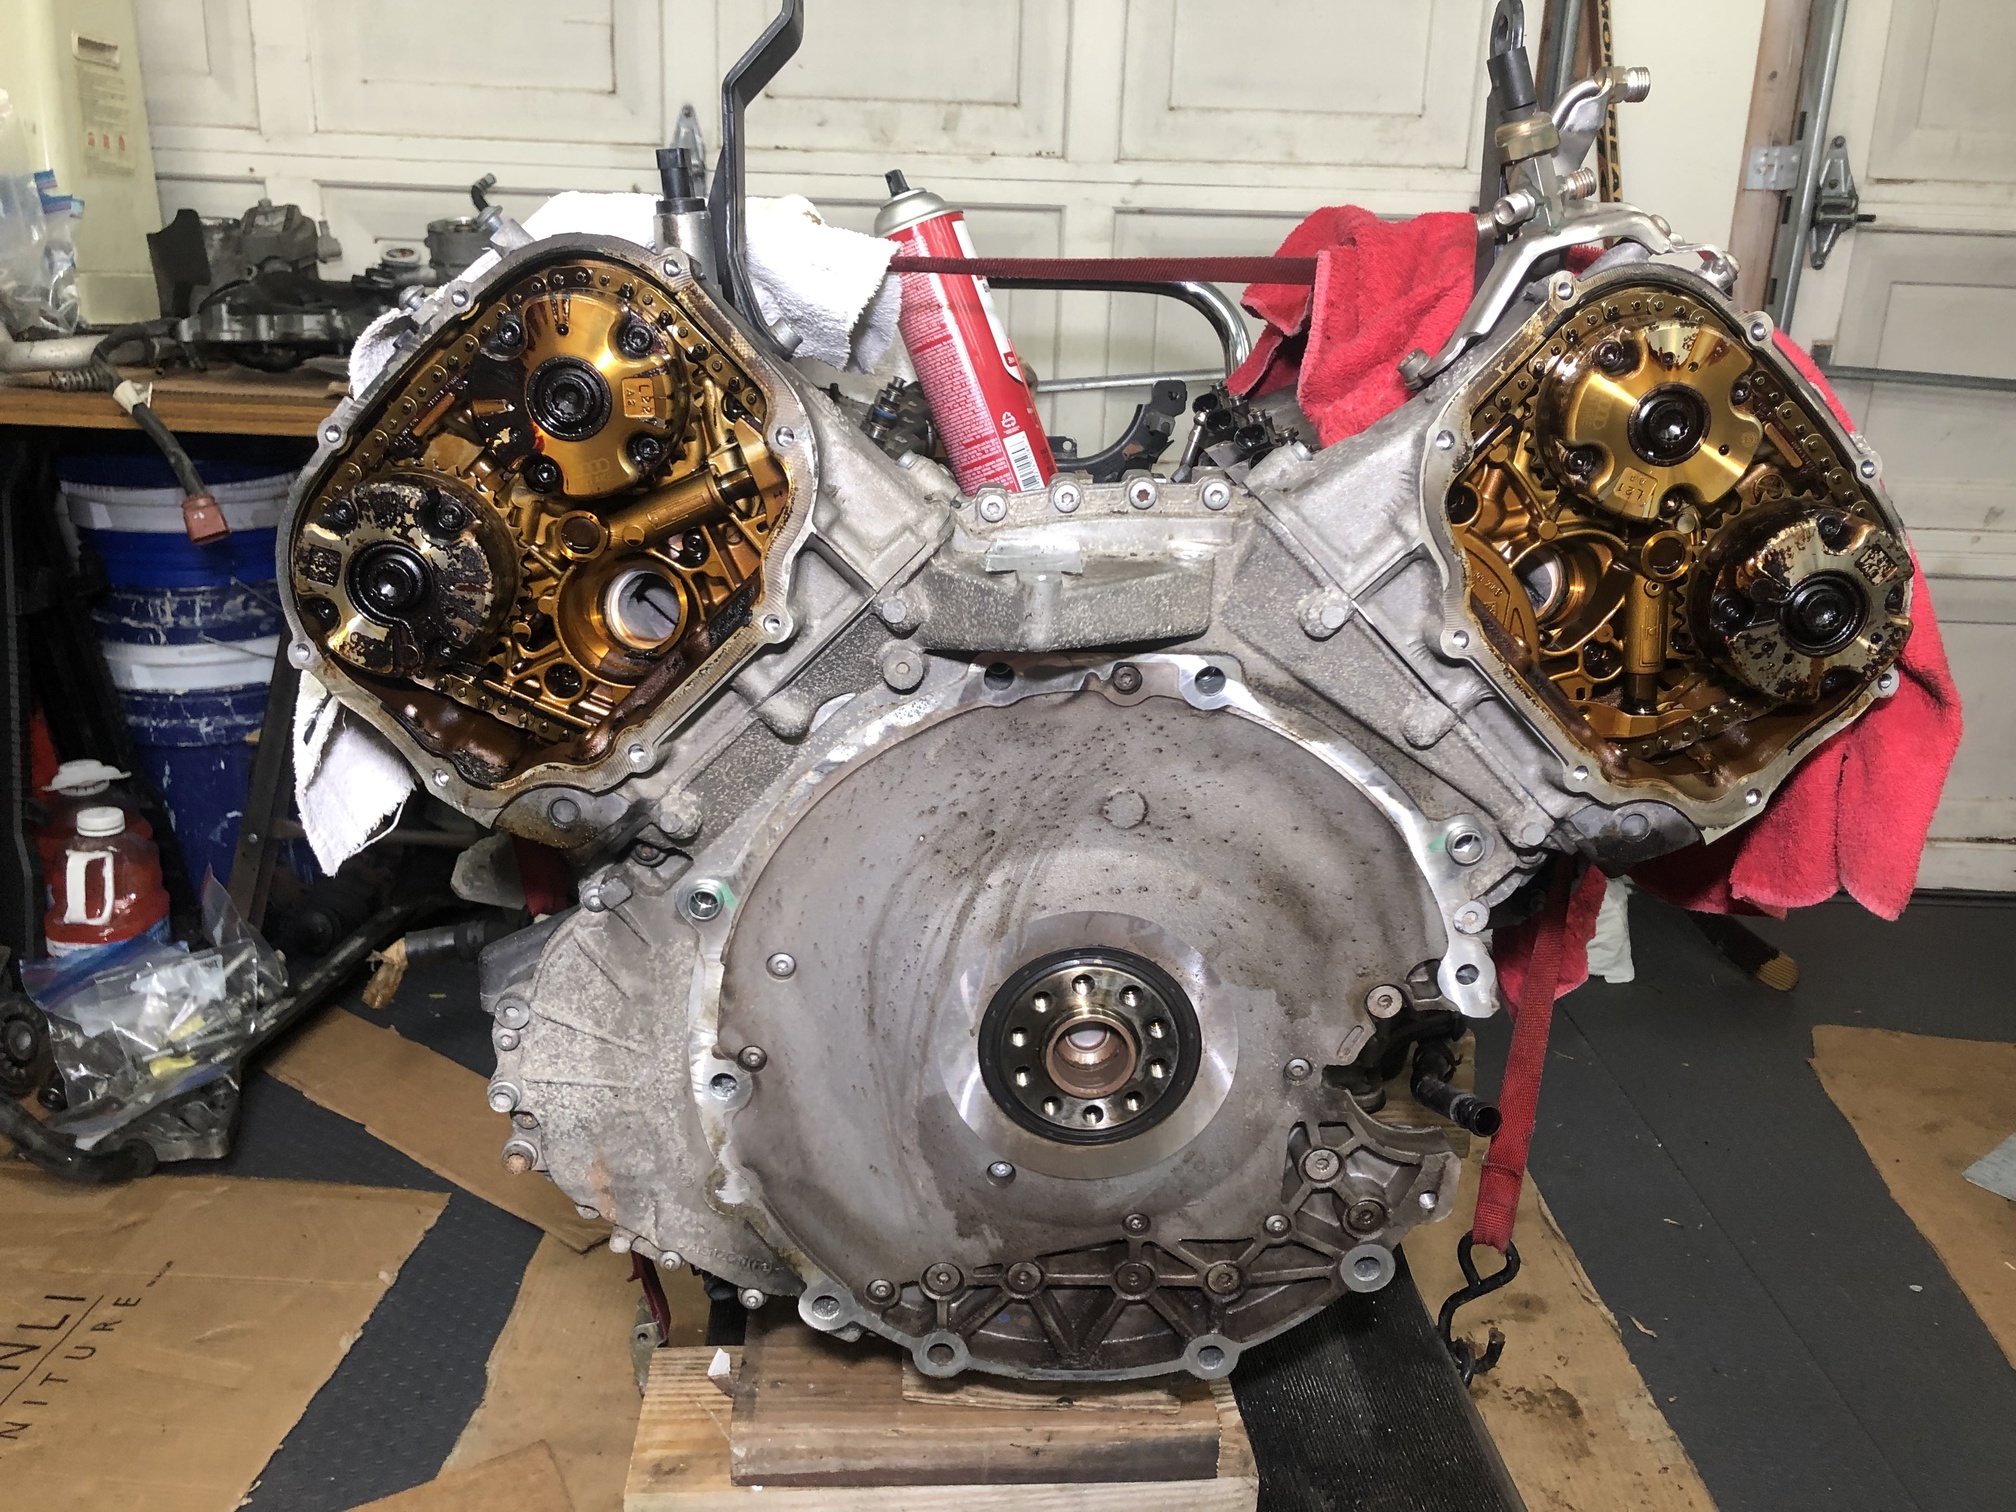
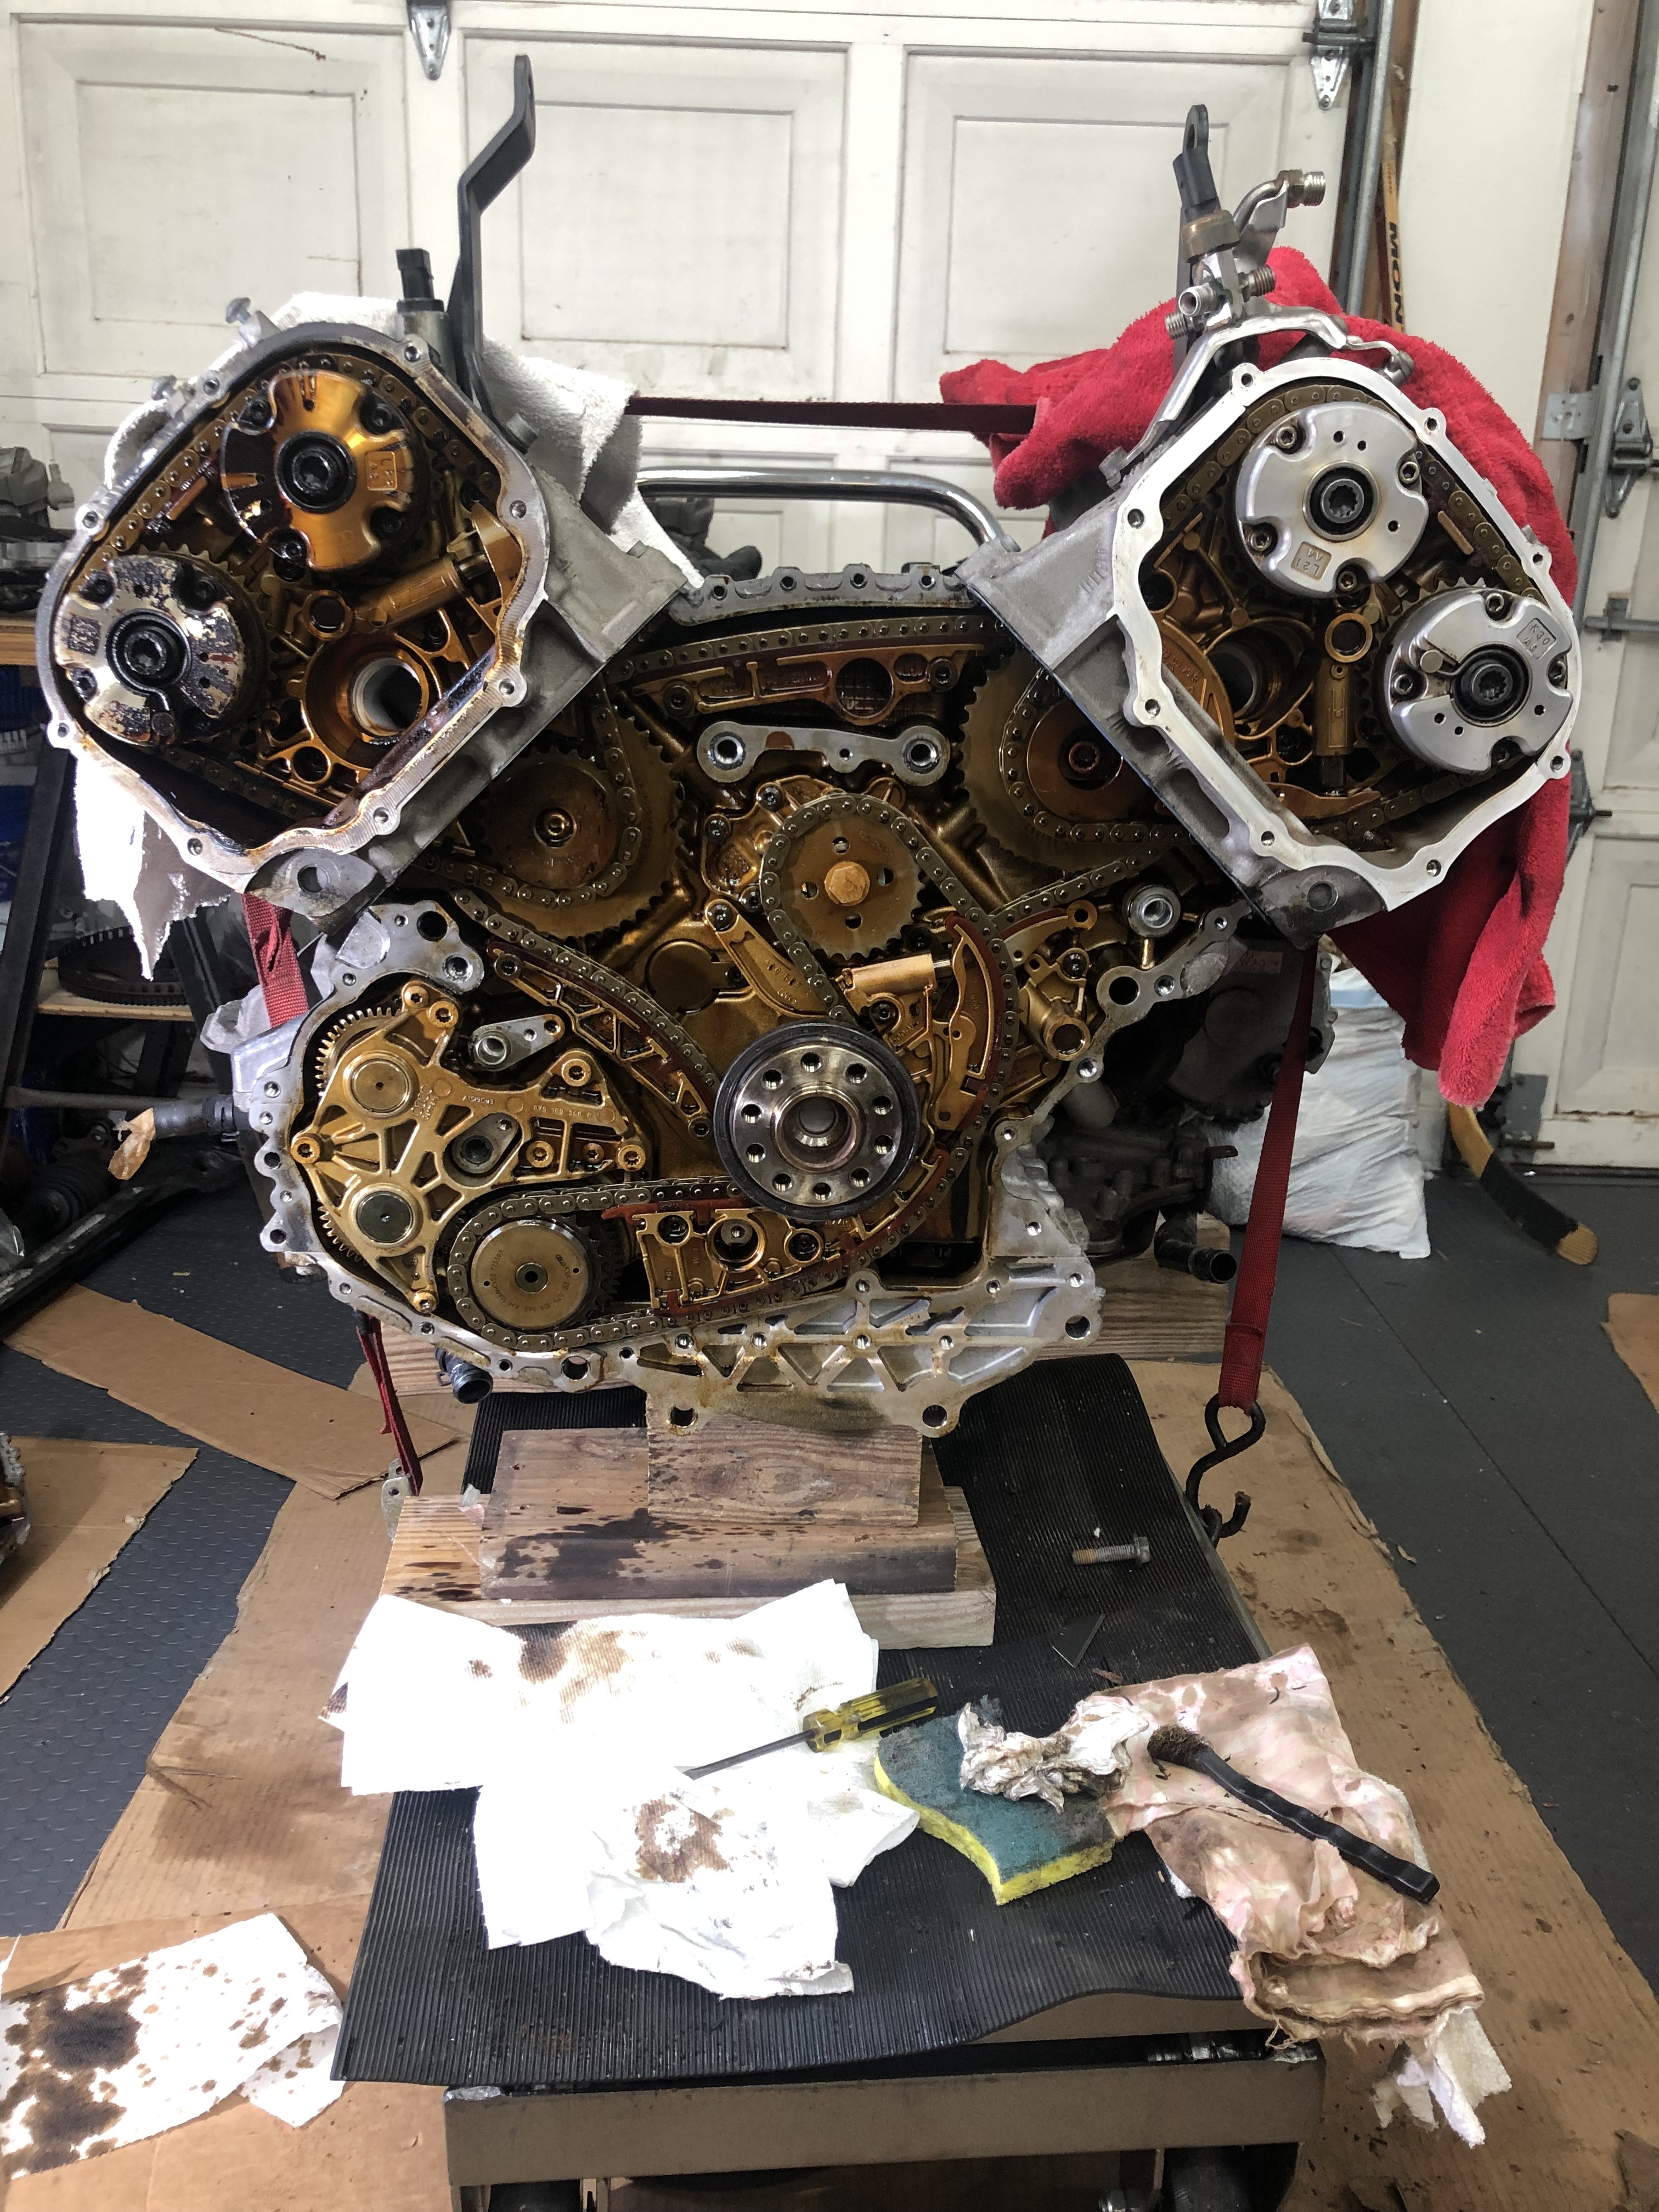
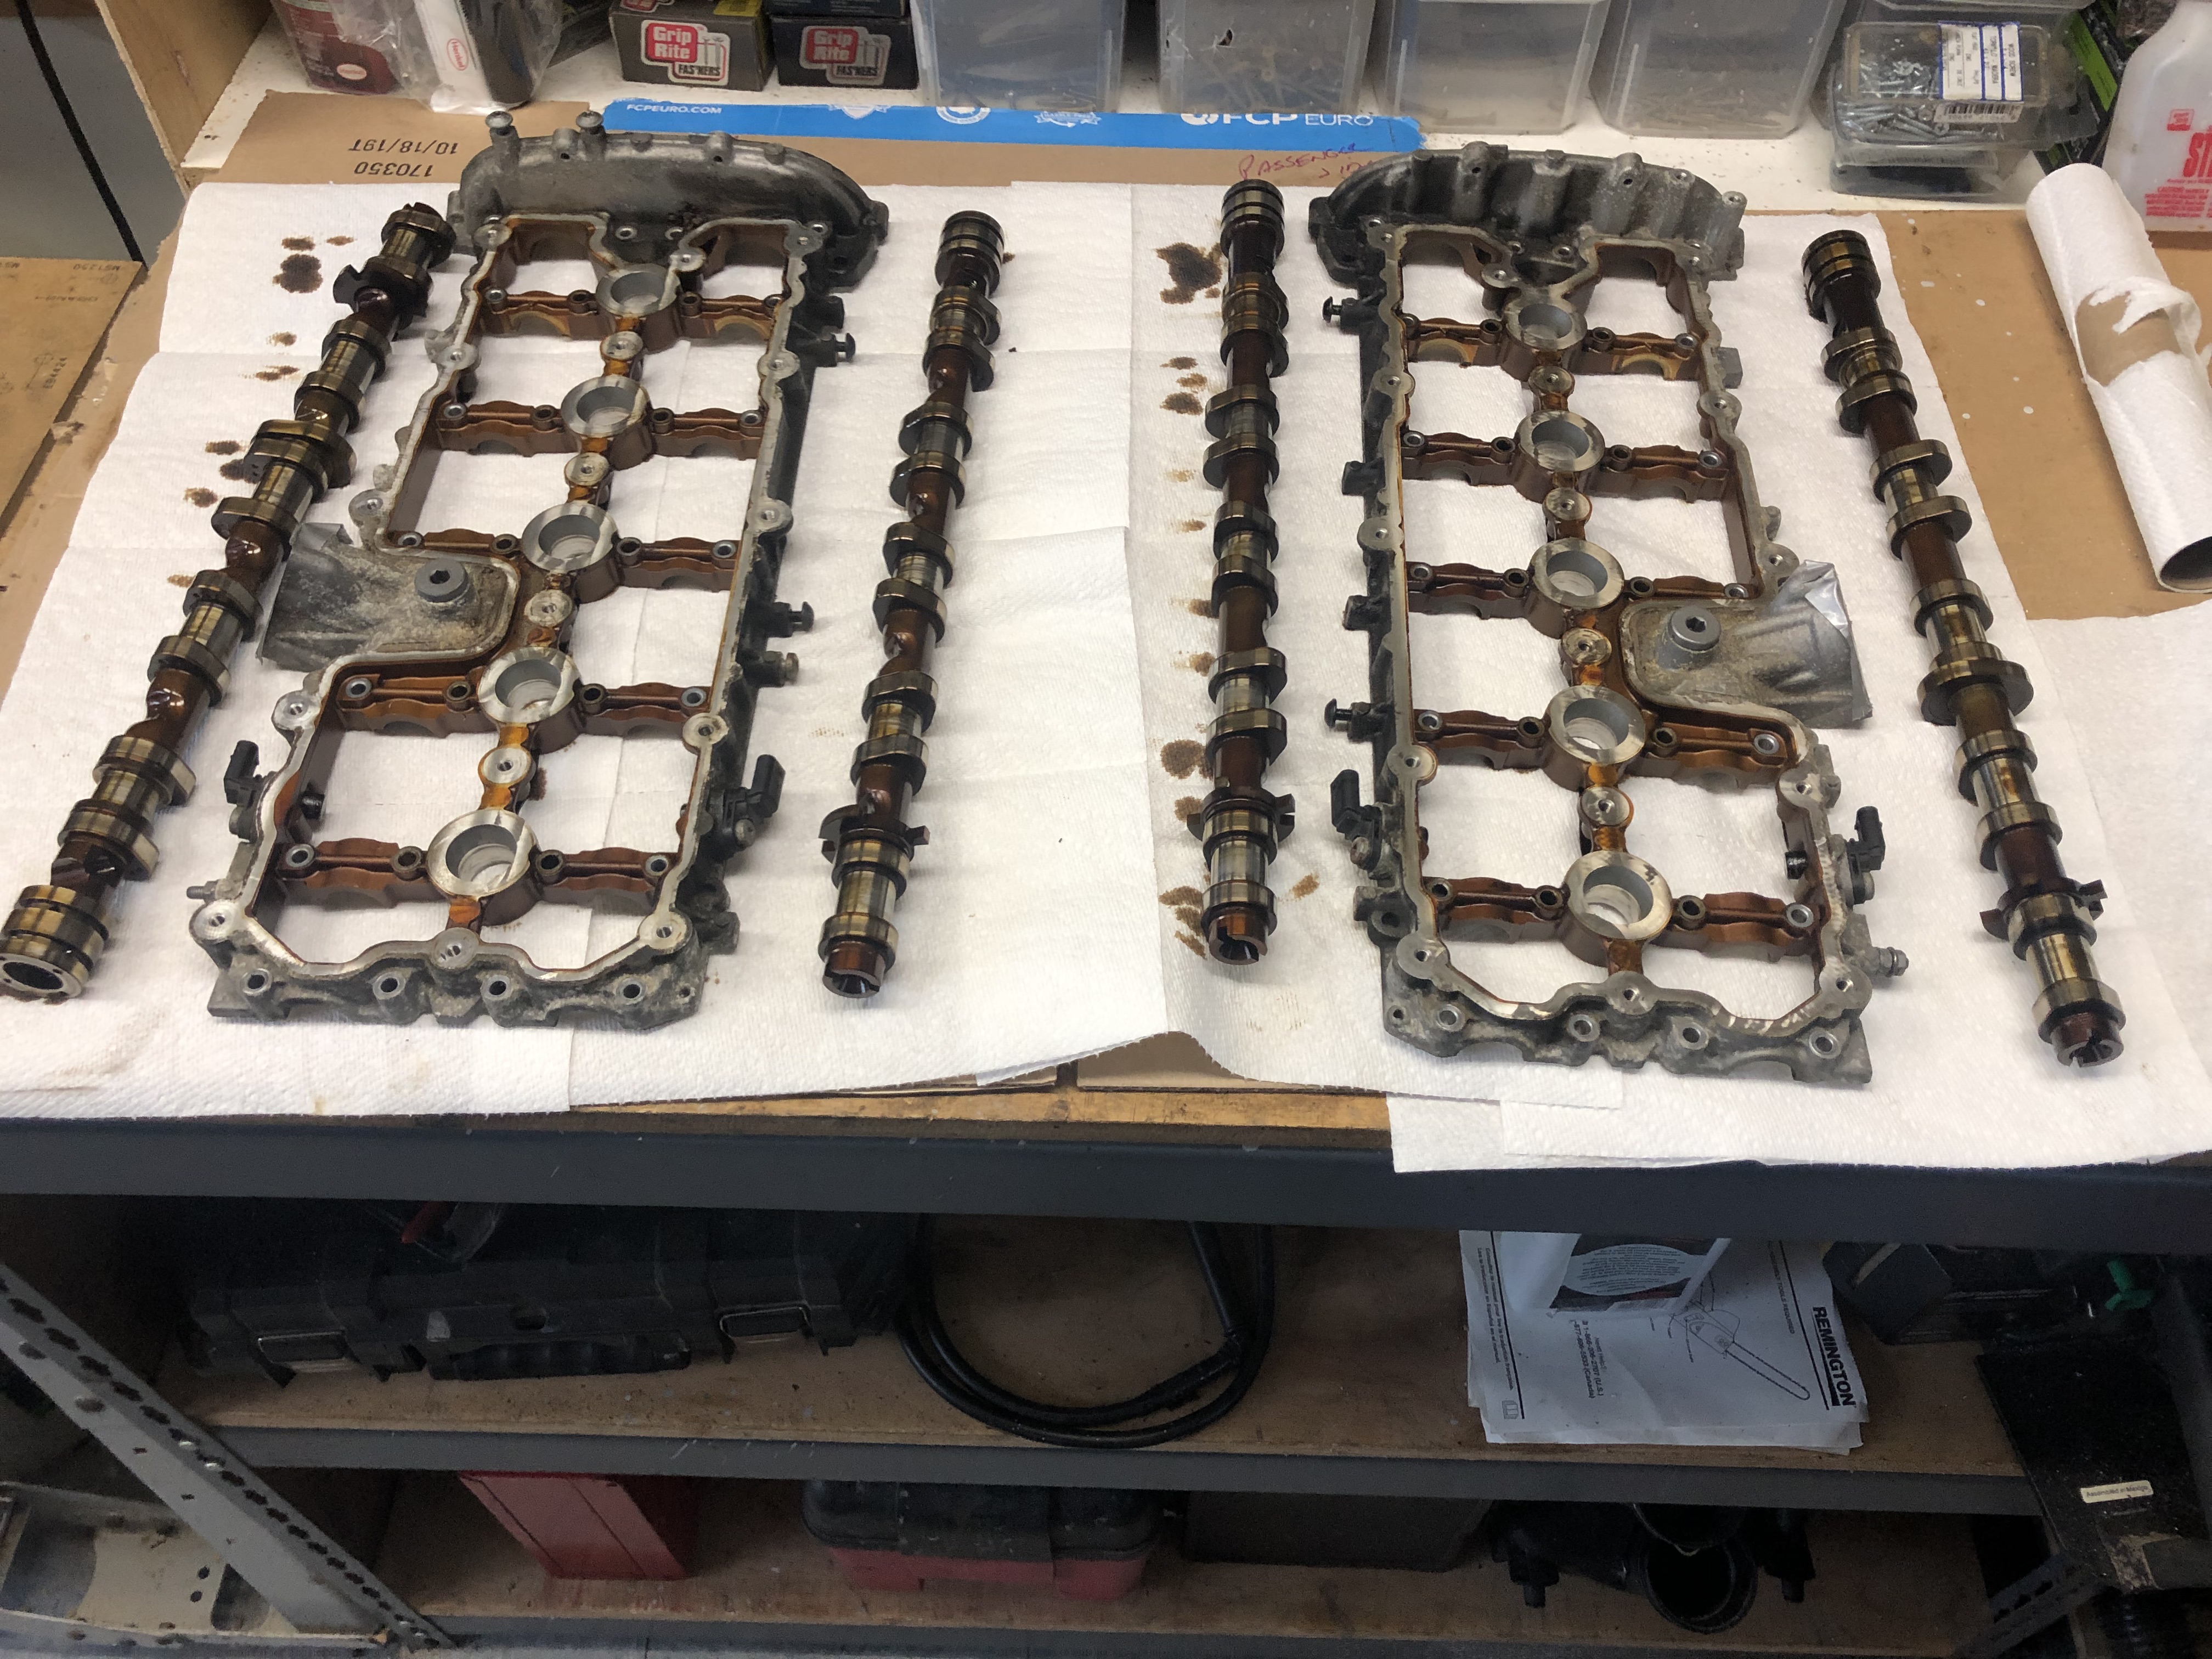
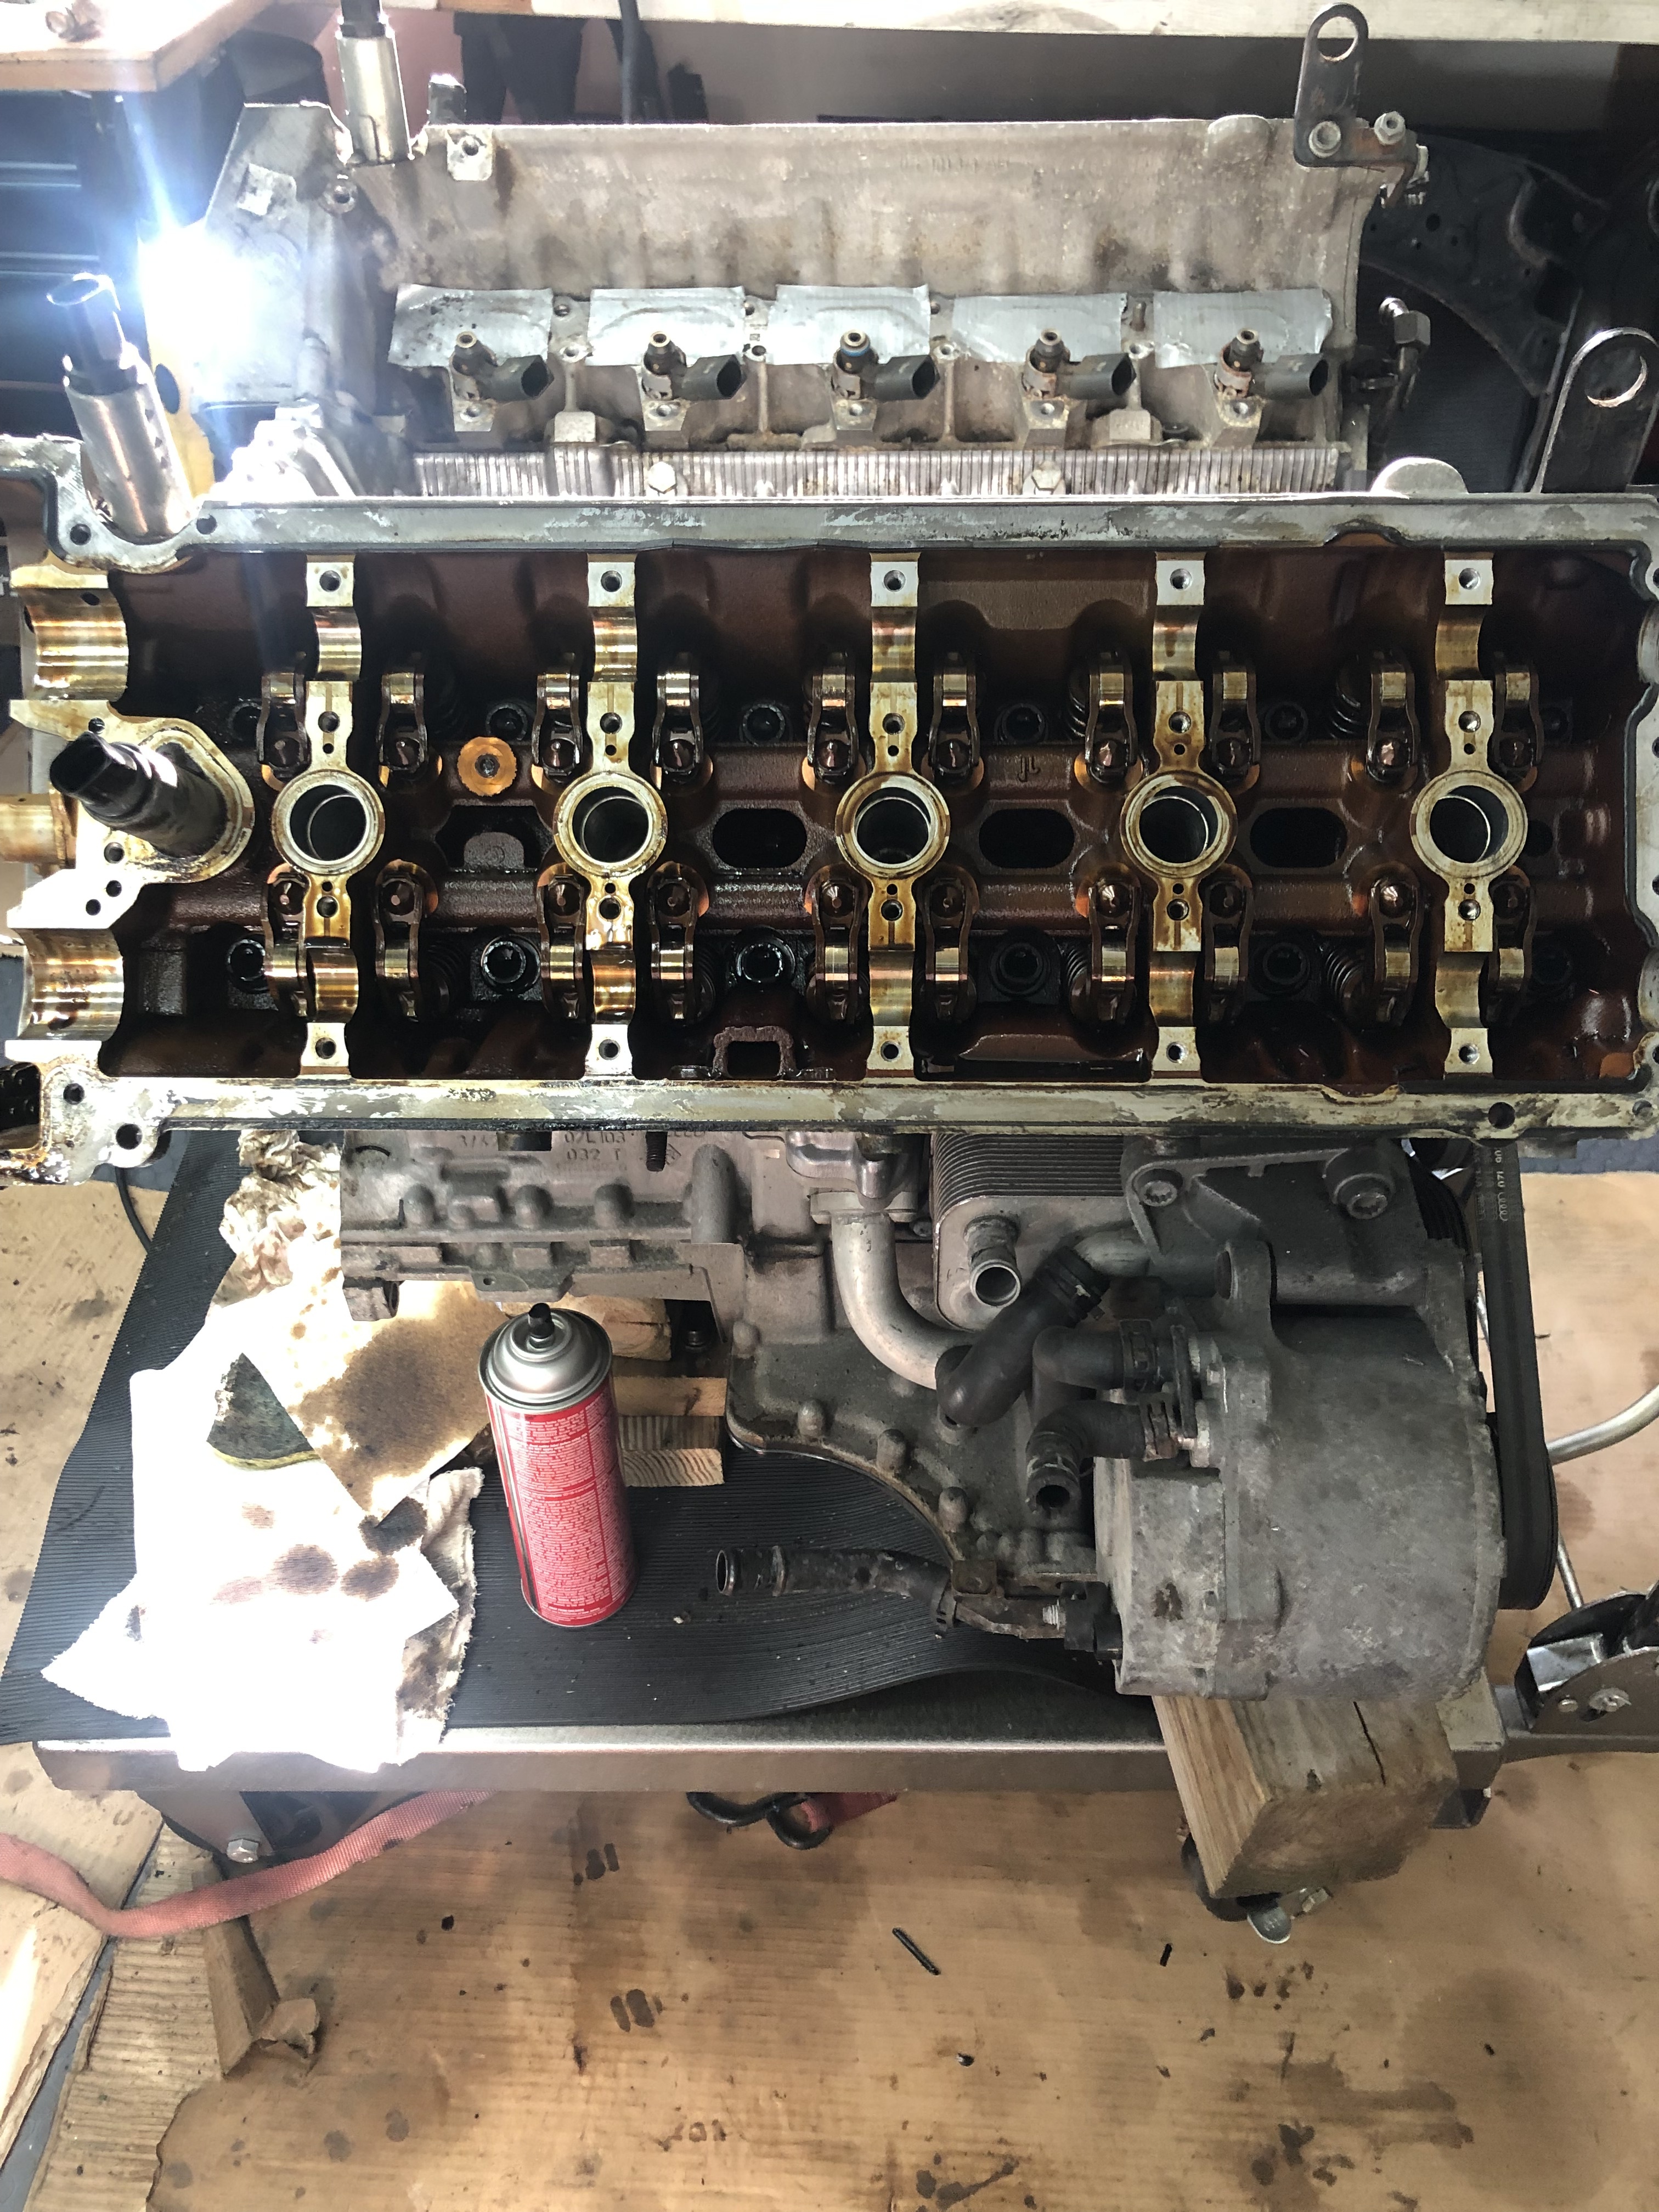
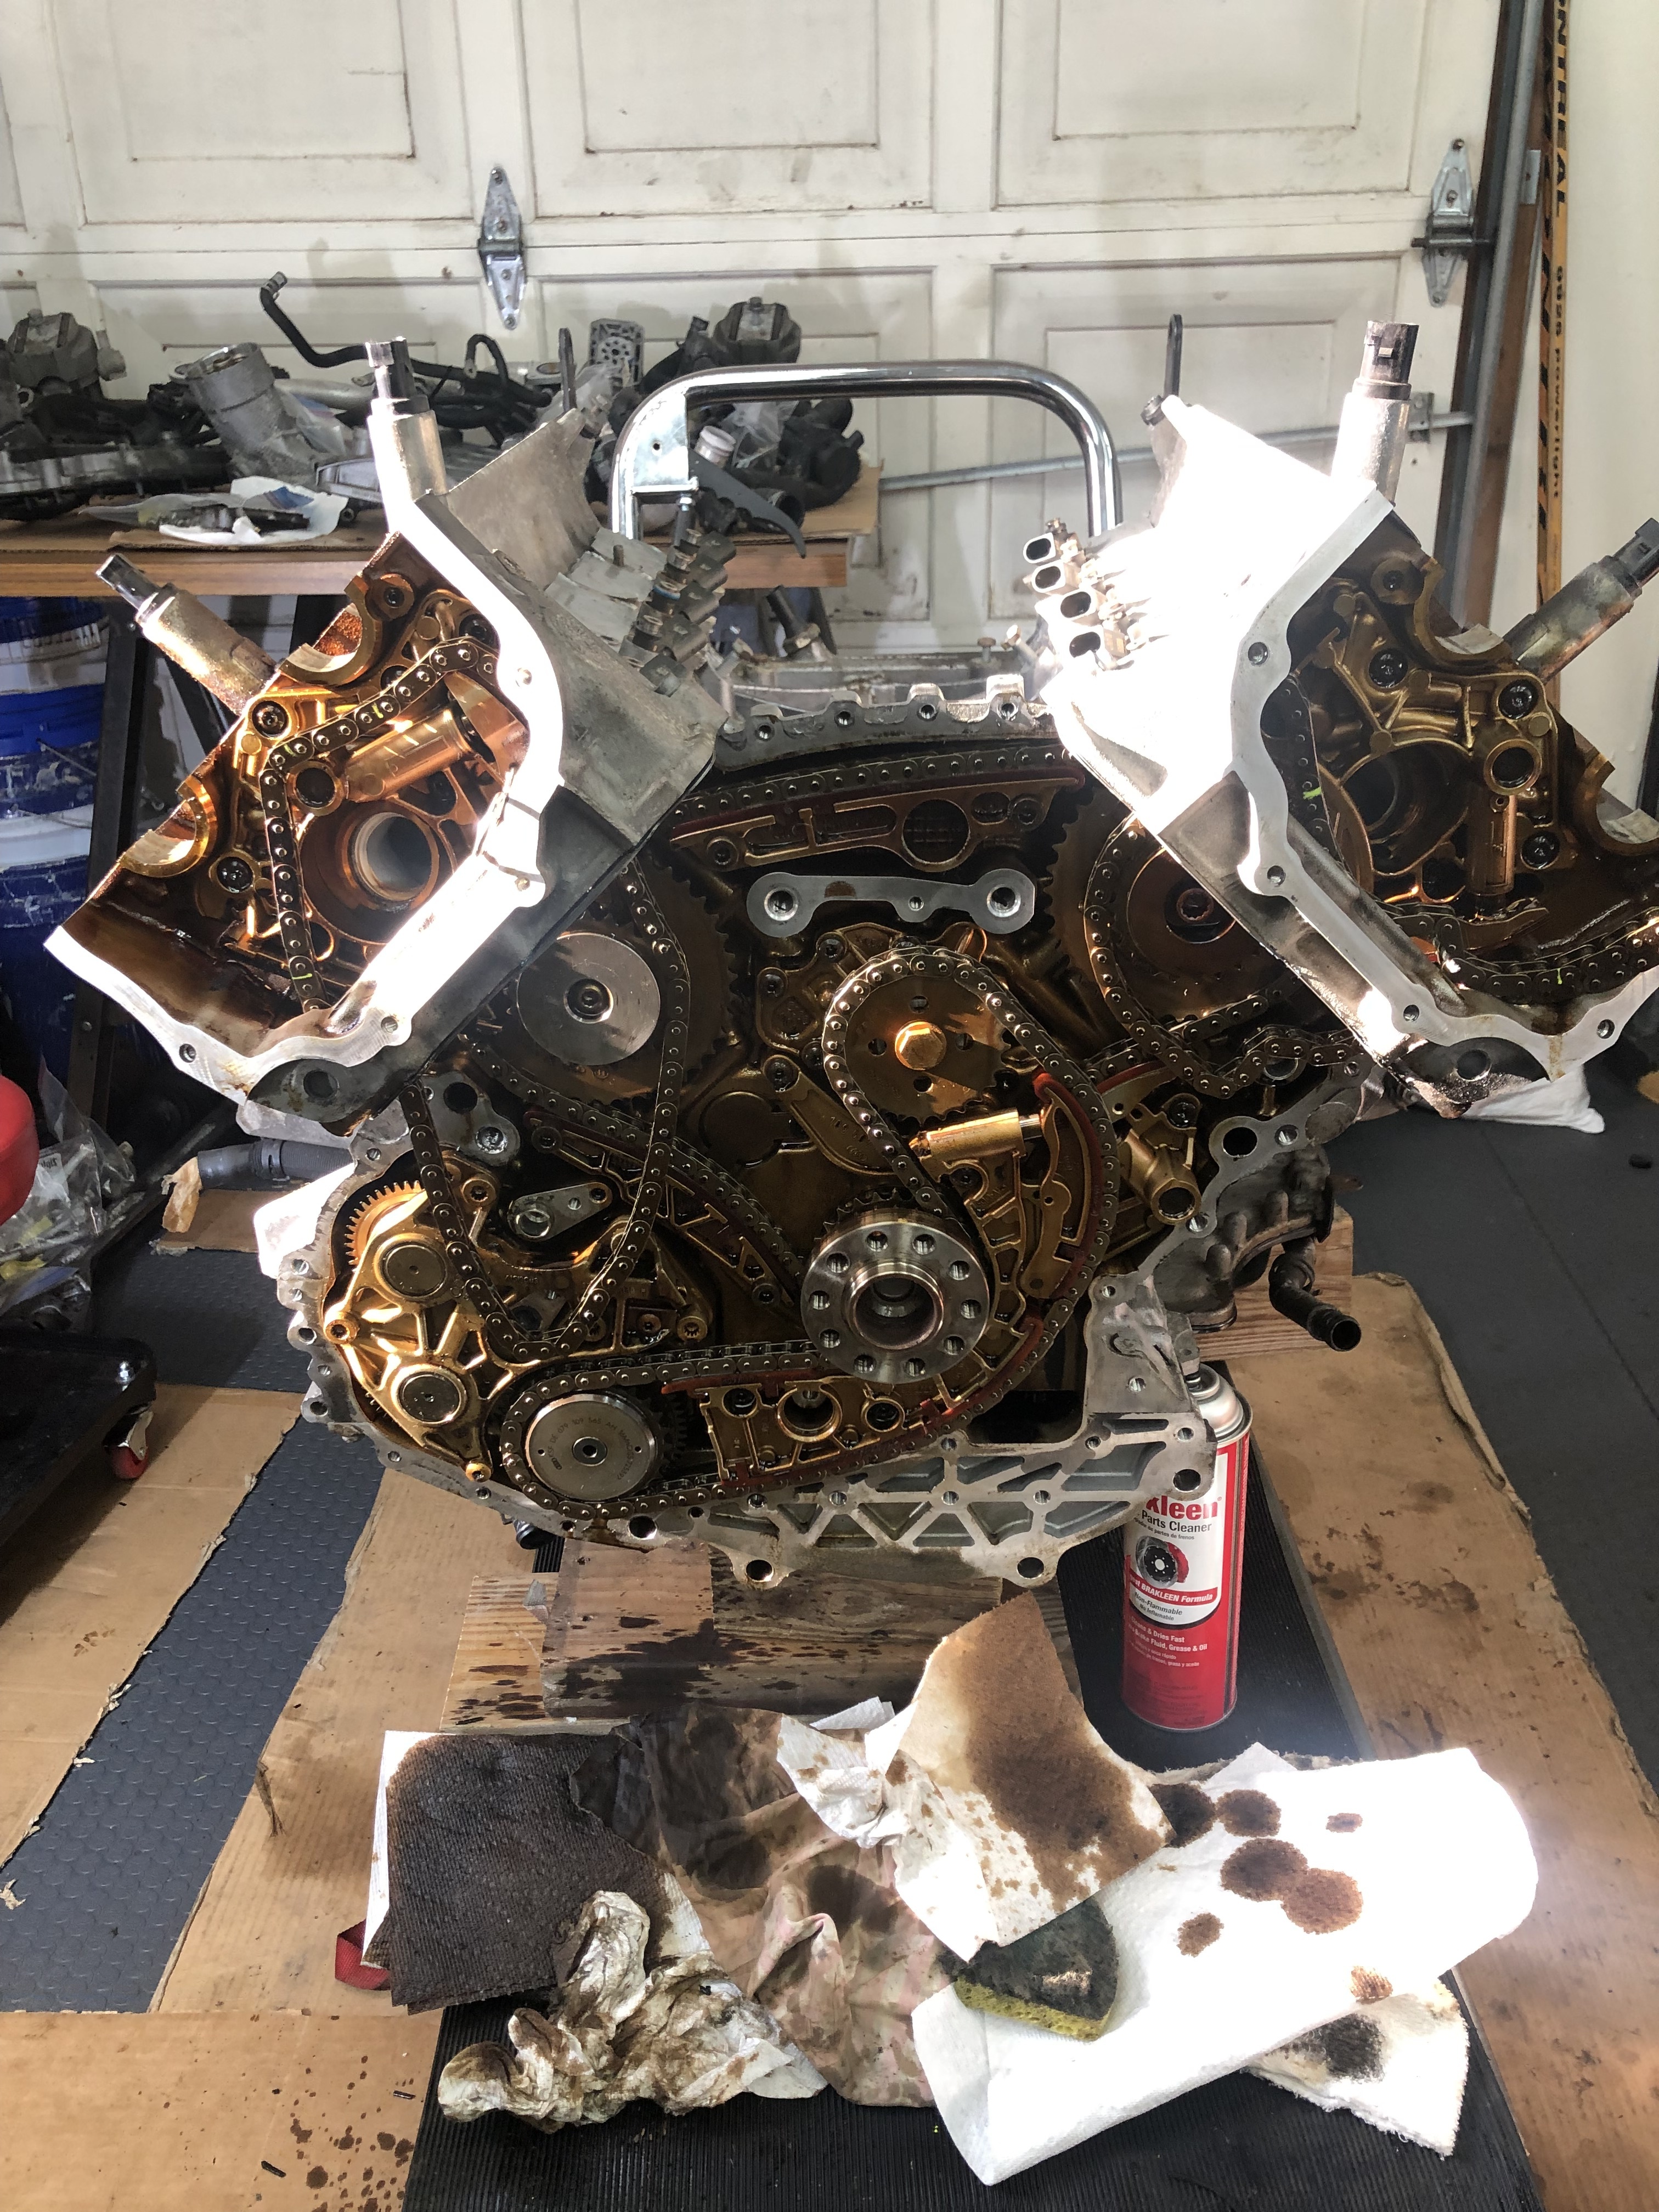
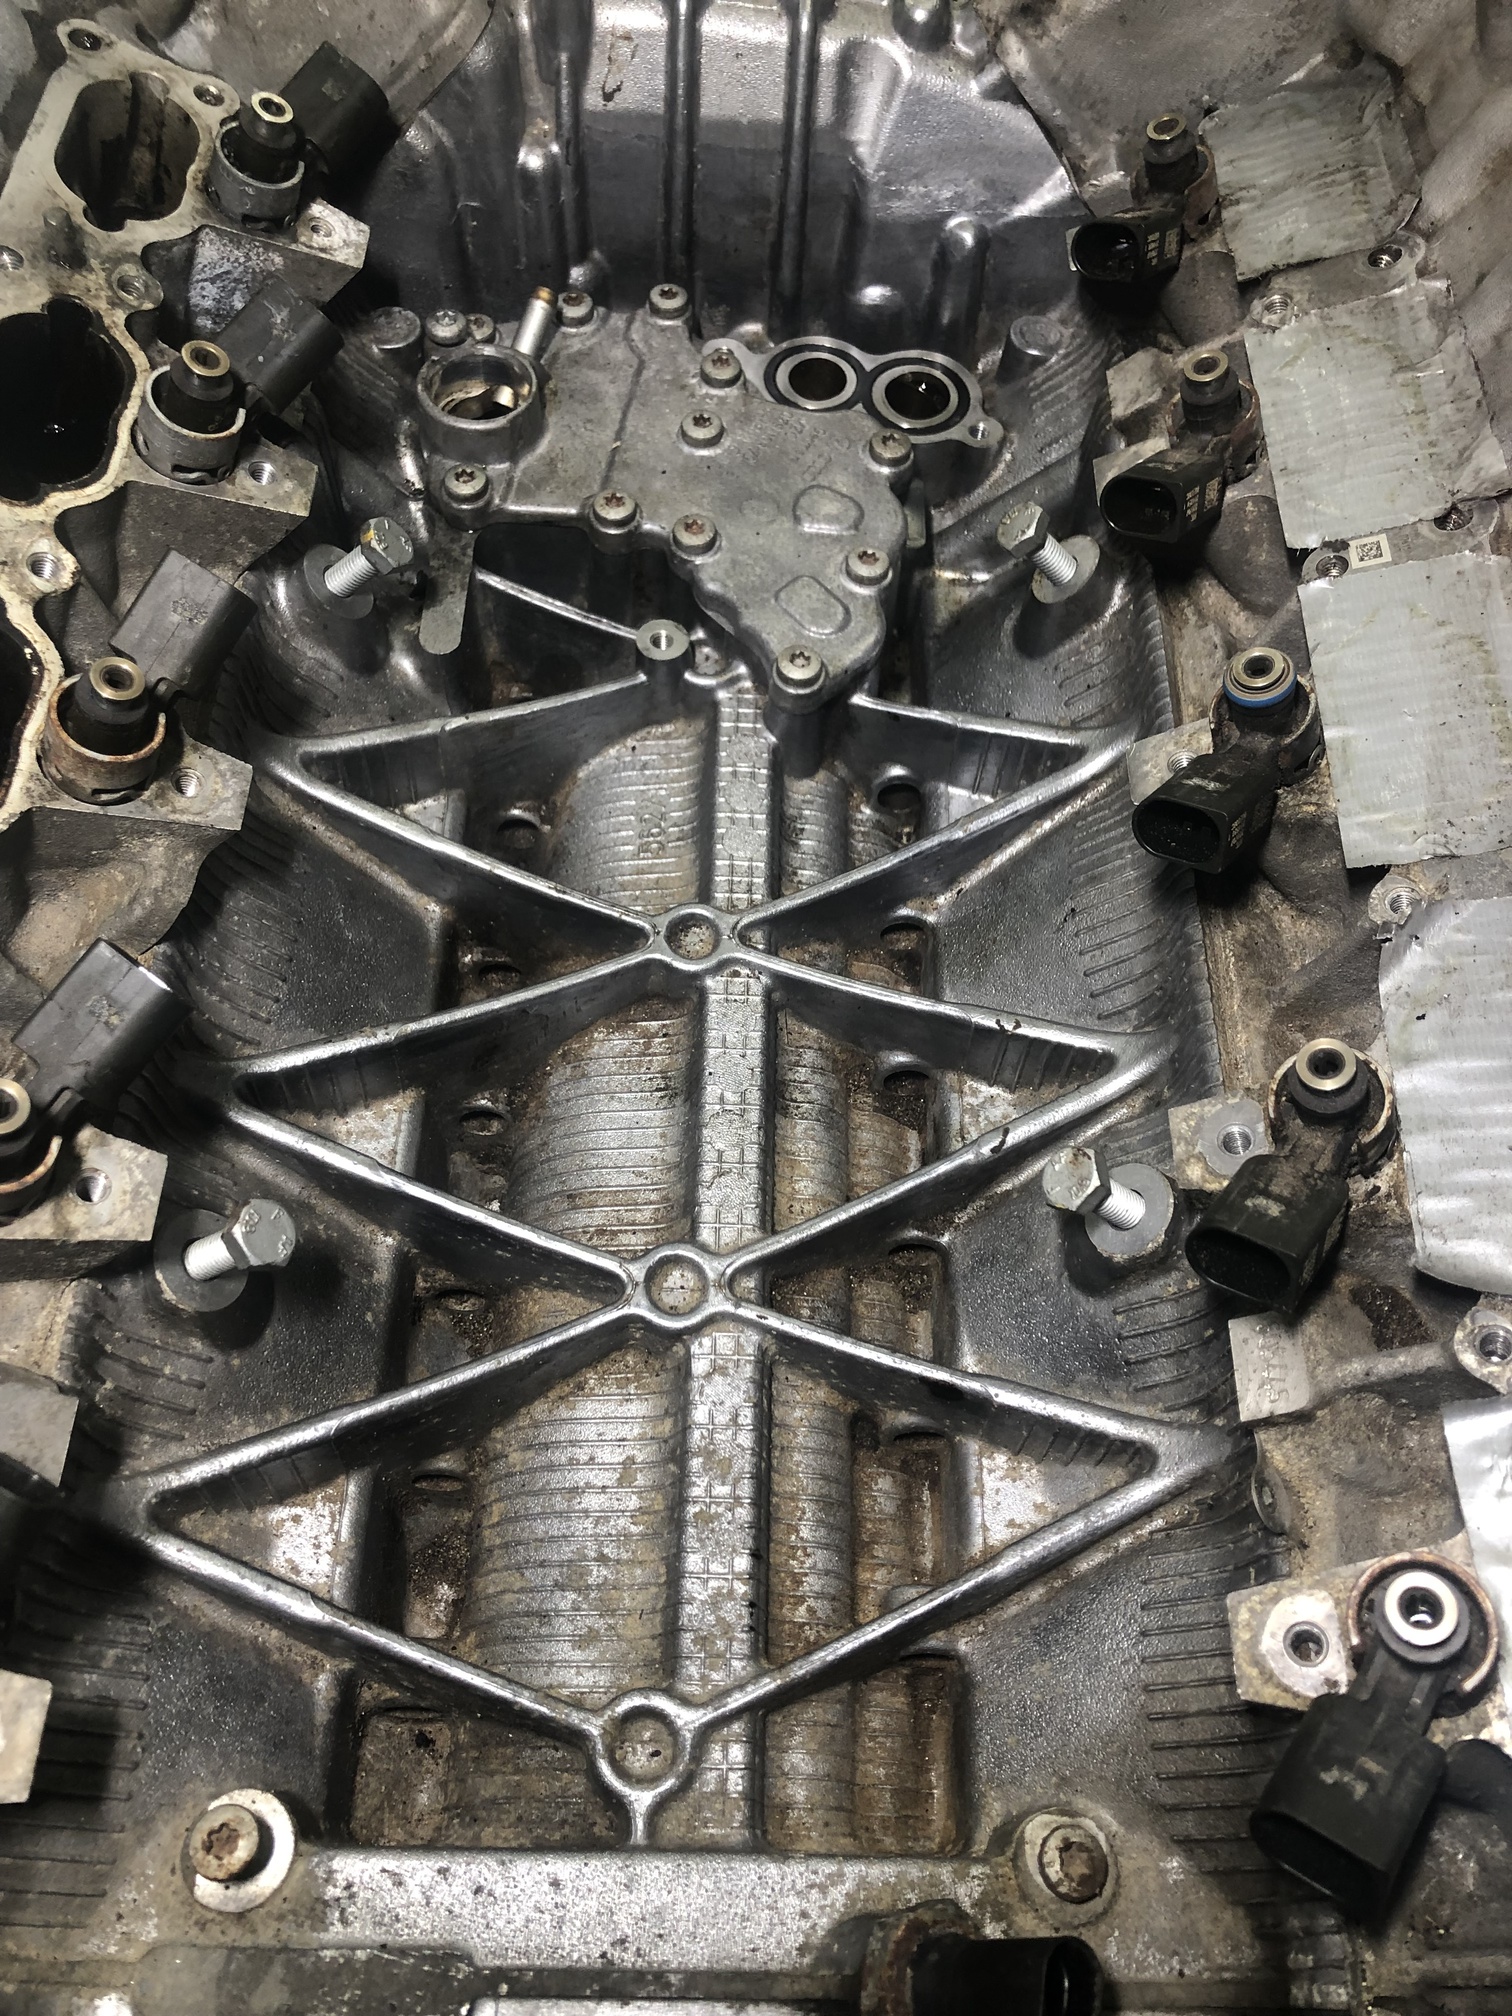
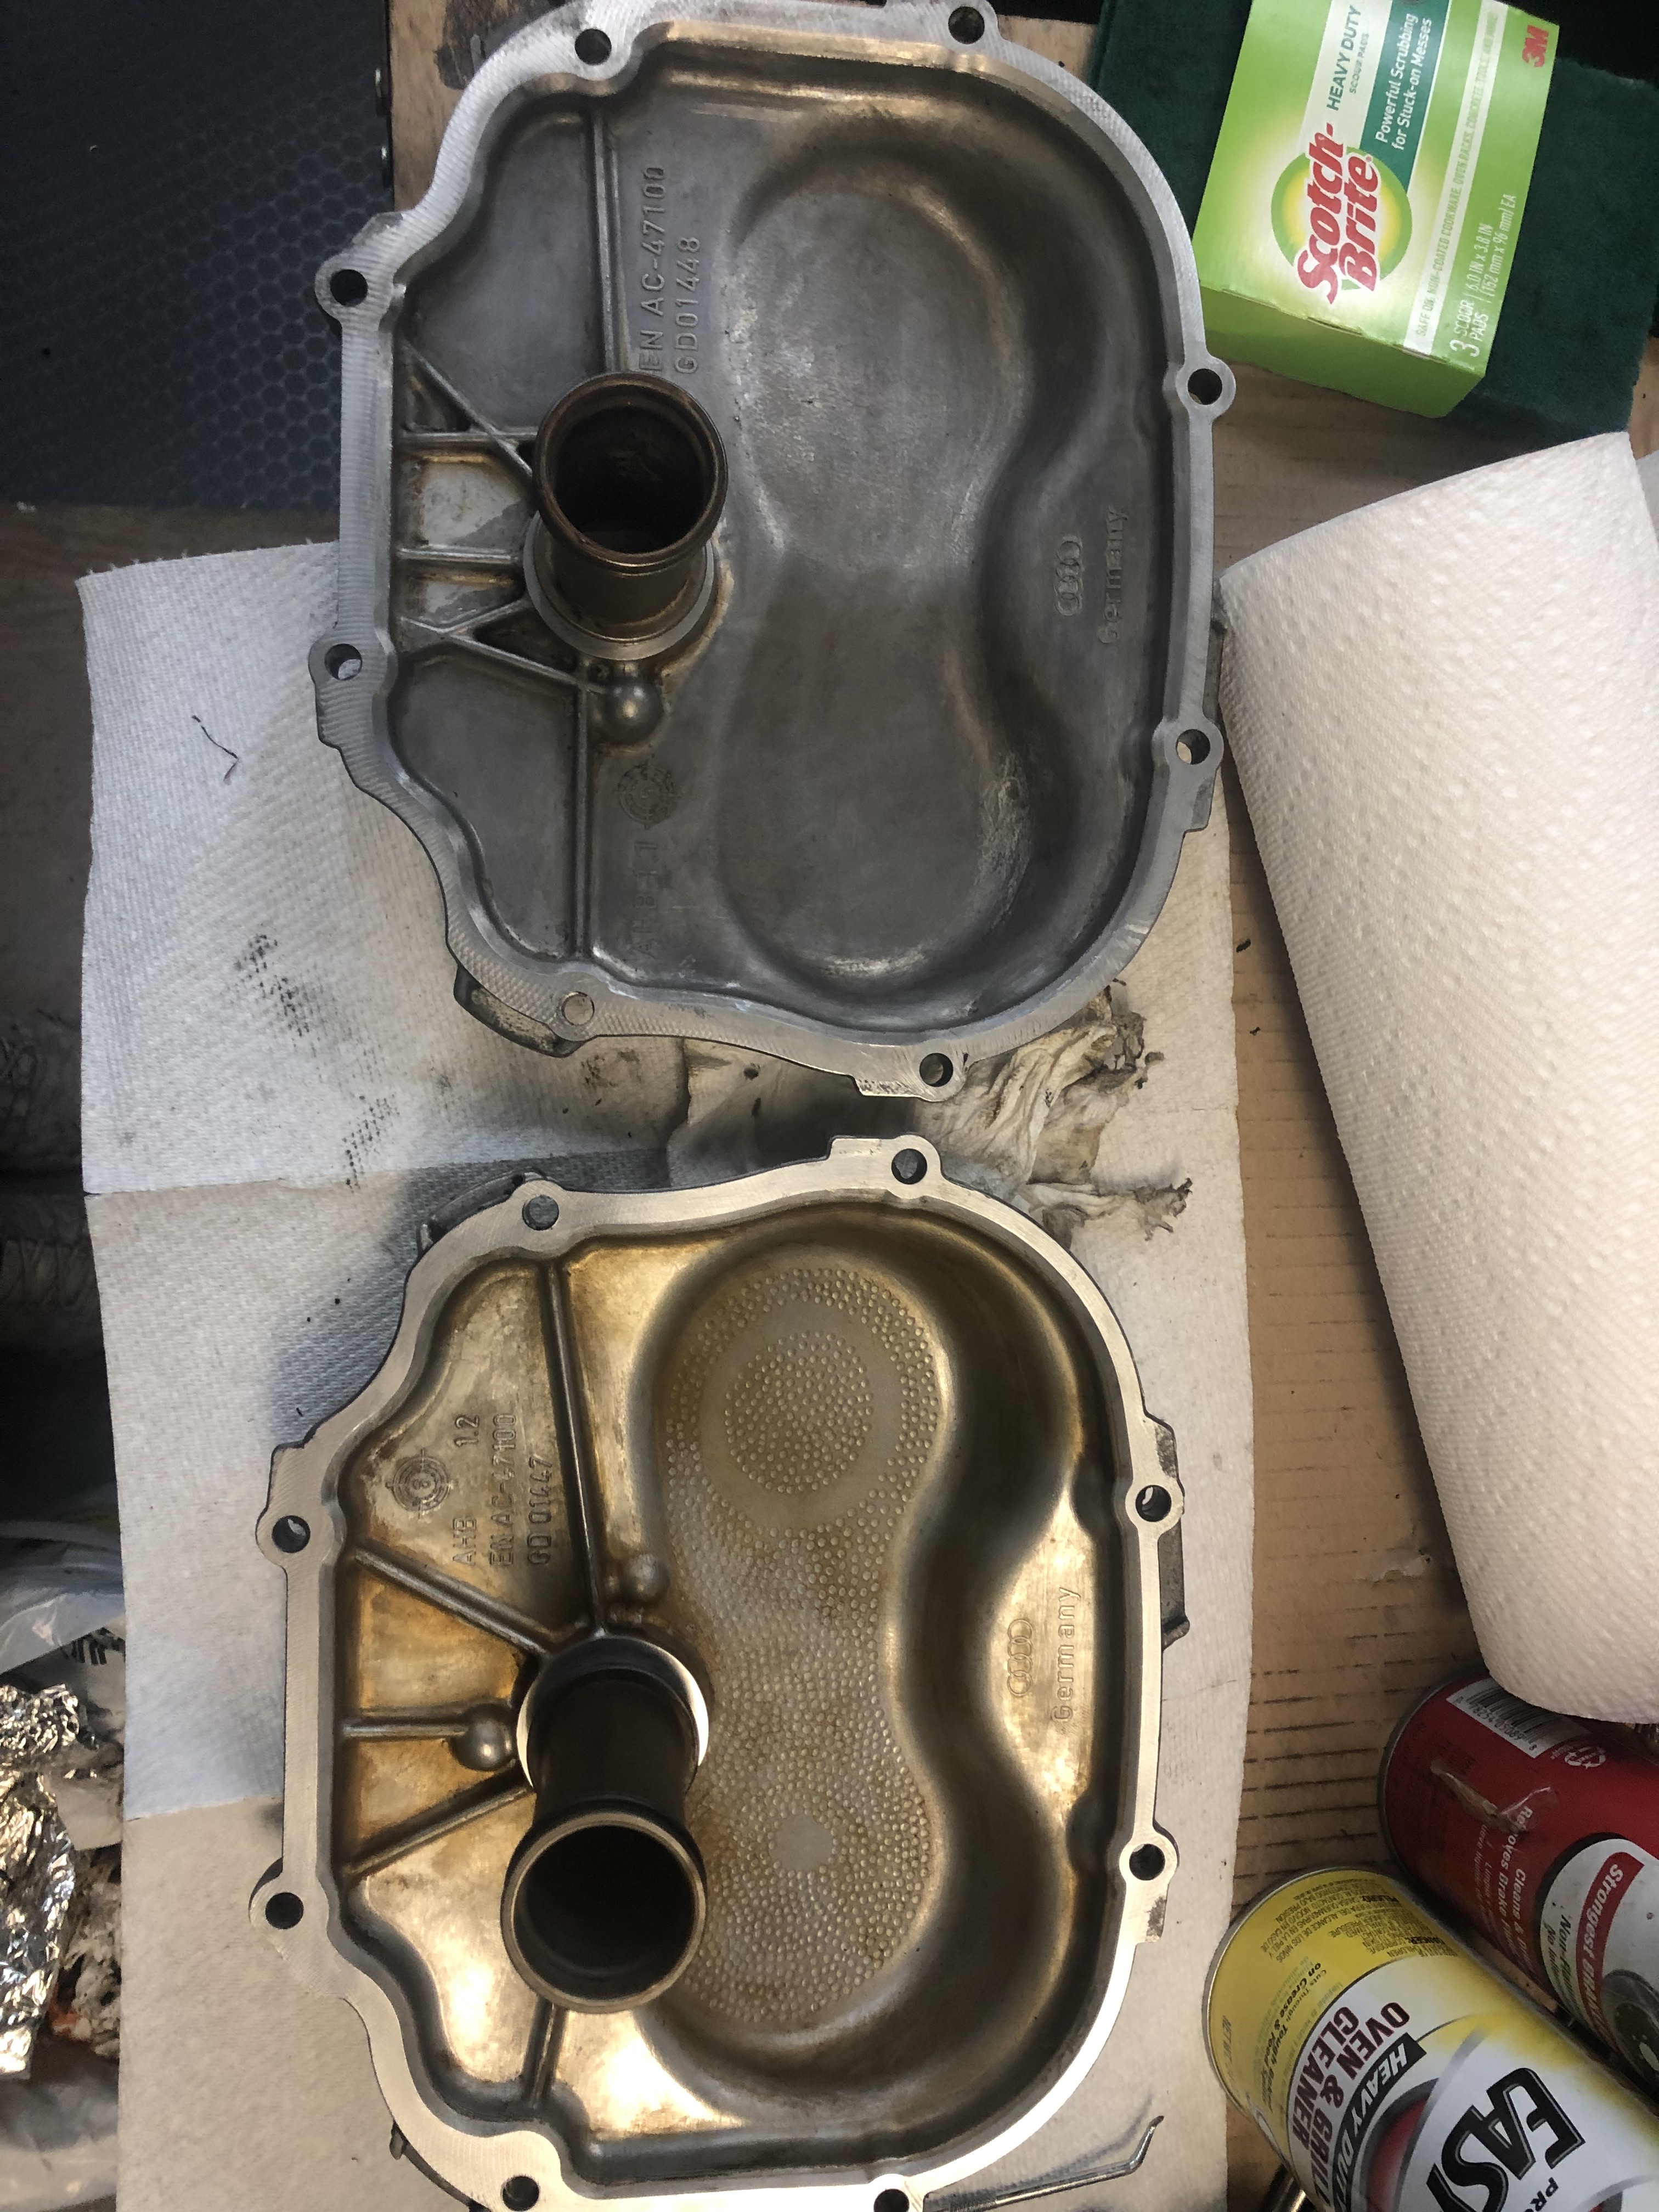
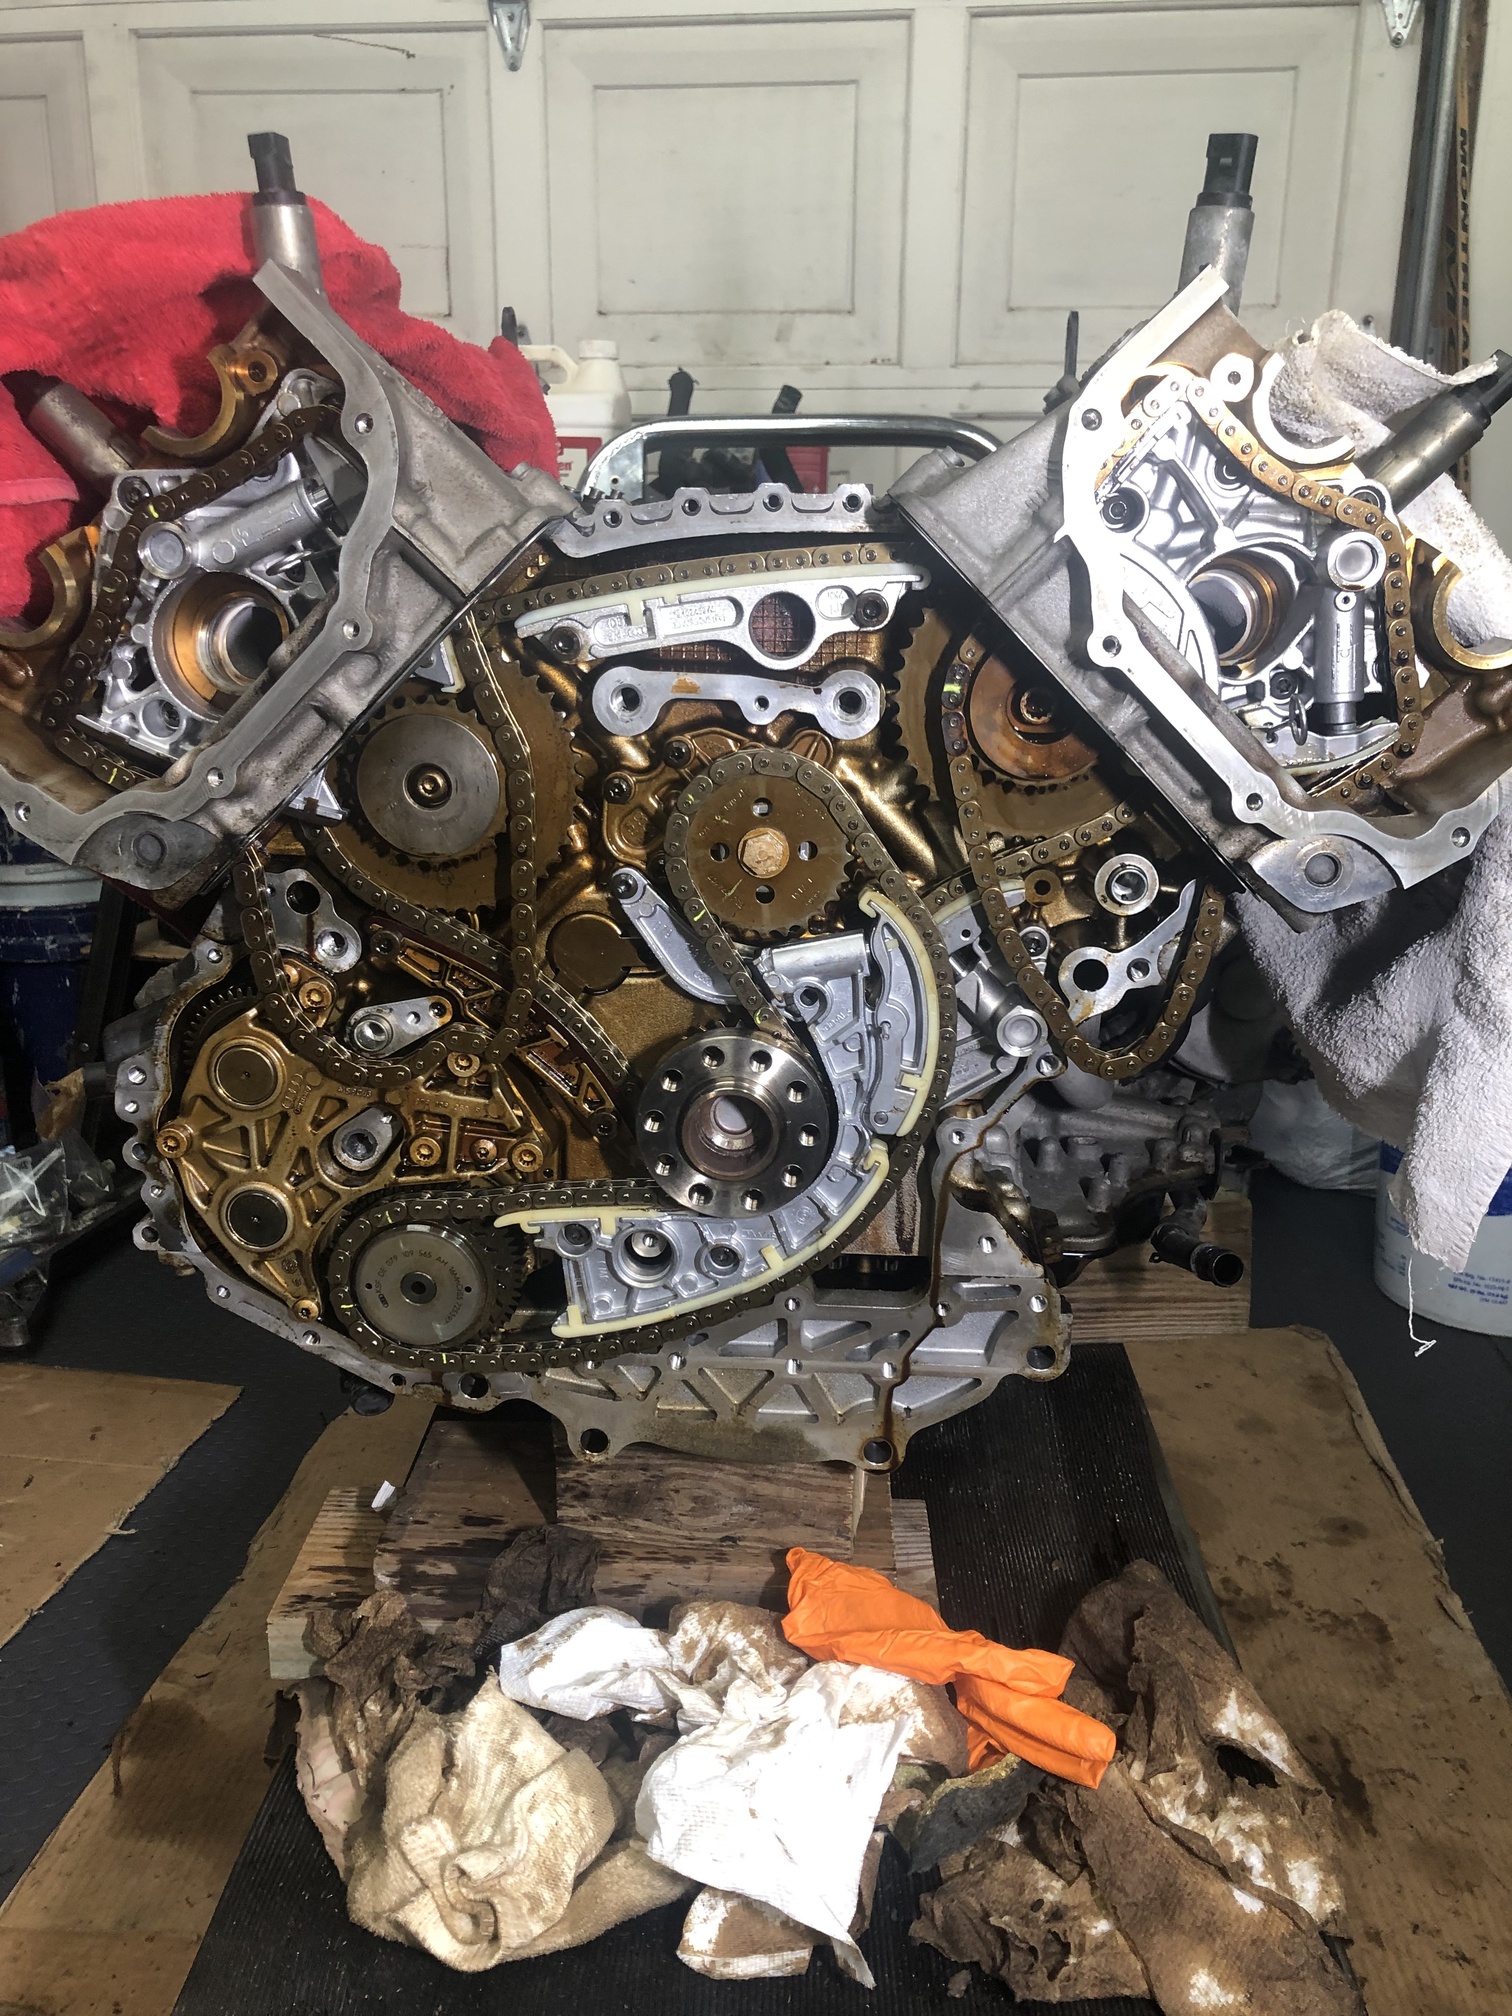
So, off to have a beer or two, then back at to disassemble the trans from the engine.

Ed

Got some more work done. Pulled the exhausts off, you can clearly see the valve cover gasket leak:

I had already removed the driver side exhaust and was feeling pretty good about it, when the forward lower nut rounded off on the passenger side. I eventually had to dremel it off. Several studs walked their way out, and I probably will replace all of them.

I removed the starter as well as some other gear, to get better access to get the torque converter bolts off. But when I started to use the transmission jack to separate the transmission, I found I was low in hydraulic oil. With all the oil I have, none of it is hydraulic oil, so I will hit Pep Boys tomorrow AM.

I did pull the wiring harness off the engine and placed on top of the transmission:

I cleaned out all of the oil from the spark plug wells and pulled the valve covers:

I had actually cleaned out the wells and removed the spark plugs to make it easier to turn the engine. I used a 24mm wrench on the alternator to turn it so I could remove the torque converter bolts, Having the sparks out made turning it very easy.

Tomorrow the transmission should be separated and I will be able to get to the timing chains/tensioners. Now that I have access to the hoses, I will finish out my parts list and get them ordered so I can put this thing back together as quickly as possible.

Ed

You can use brake fluid for the hydraulic oil

Didn’t know that but it makes sense. Not sure I want to dump my expensive Motul 600 in the jack, but in a pinch…

Got some cheap penzoil stuff at PB this AM, should be back at it once it warms up a bit here in frigid SE PA (33 F this AM - what?)

Ed

Made some more progress. After I got the transmission jack functioning, I got the transmission separated. No real surprises, followed the Bentley, but let the wiring connection to the transmission remain:

I took some time to organize the parts and identify the hoses I want to replace (easier said than done) so I can order them on Monday. This is all the parts so far. I am still waiting on some O2 sensors and miscellaneous bolts/screws and the final order of hoses. This is about $4500 of the $6500 in parts I expect to put on the engine:

This is what you have to remove (the front bumper is elsewhere) organized into three tables, the long one (ignore the rear bumper in plastic) contains the front of the car so I could pull the engine forward as well as the subframe and other items needed to pull it, the small one to the left contains the throttle body and fuel related items and the one to the right contains the items pulled off the engine once it was out:

I spent an inordinate amount of time starting to clean the valley. It was fairly nasty and the opening below the breather plate was also a bit caked with oil, so I cleaned that as best I could. I still need to go at it some more:

And here is where I got stopped. I pulled drive plate off (man those bolts are on something serious), got the timing chain covers off, started with the torx screws, but when I moved to the triple squares, I found my limited collection of 14,12 & 10 mm wasn’t going to help with the 8 mm on the lower timing cover. I guess the auto gods think I need yet 1 more tool to add to my collection. I think there is a set at a local (well about 45 minutes away) FLAPS, so hopefully I am right back at it tomorrow:

It looks like the RMS was starting to allow a little seepage, but there’s also evidence of something coming down from the top. There’s also a little caking of oil on the cam sprockets, but nothing I am worried about after 200,000 miles.

If things go well, I will have the cam girdles off an be starting to put things back together.

Ed

Got the tool (my cabinet grows yet again - the last two items were a set of E-torx - external torx for the 911 and some deep sockets - not sure how I lived this long without needing them, but what the “F” is with external torx???)

Anyway, after spending as much time checking that I got every bolt off the lower timing cover, I carefully removed it with a medium hits from a rubber mallet and some carefully placed screwdrivers (I was very careful not to mar the mating surfaces) once it opened a bit. You can also see where I cleaned one set of cam sprockets:

Pressing those GD chain tensioners was harder than it looked, but slow consistent pressure did the trick. I used a drill bit for one and the actual tool for the other. Unfortunately I should have paid more attention to the timing kit I purchased. While the cam locks were fine the crank lock was not. I got the cam locks on and positioned the crank correctly, painted marks on the cam sprockets and the dampener and then said WTF and pulled the crank sprockets. I ordered the crank lock 3242, the cam counter torque T40079 and a smaller torque wrench (oh yeah, another tool on the way - none of the torque wrenches went low enough). In addition to the positioning marks, I also marked the sprockets 1, 2, 3 and 4 so it would be really hard for me to screw them up, though the markings on them are different. I placed the girdles and cams where the parts used to be:

Be very careful when pulling the girdles, the cams want to exit the engine, so position yourself appropriately. I am pretty much done the tear down. I need to remove the tensioners and guides (none were broken, though I did chip the upper left tensioner trying to compress it - my own fault.

There were no floating rocker arms (I haven’t seen something like these since my Honda in 1980) - what’s wrong with hydraulic lifters?

I’ll get the guides and tensioners out later today after I take a break:

After that it will be re-assembly time. Actually it will be hours and hours of cleaning time first. I try and not put nasty looking parts back on. I also was thinking about what started all of this - namely the carbon cleaning. Unless I am mistaken, ALL valves are shut right now, so i can go to town and clean up the chambers without moving the crank. Unfortunately I am waiting on the media blaster and media, so I might be delayed a bit, but that won’t be a big deal. If I do that, I’ll head to COSTCO and get a huge roll of saran wrap to cover up the other parts of the engine.

Question for anyone: Should I leave the injectors in for the blasting? I will be pulling them to dump in my ultrasonic cleaner, but if I pull them, there will be a hole for the shells to blow out of, correct?

Anyway, I think I am approaching the peak of the project and will soon be heading down the back side, woo hoo!

Ed

When I used media blast on my motor. I found small bits of blast media in the injector gaps. Keep in mind most of that was probably from not being very precise with the blast wand. But still there was shells in places they shouldn’t have been. So, worst case it’s just another good plug to stop unwanted flying materials.

Mainly a cleaning and ordering day. Parts/Tools/Supplies cost is past $7K now, but that should be it. Accept for a couple of accessible hoses, there won’t be an old piece of rubber on the car.

Man, cleaning is a bitch. I have tried a few different solvents, but I need to get a combination of scrubbies & brass/nylon brushes to help out. The cam girdles are pretty good, at least the sealant only surfaces are pristine. The valve cover gasket surfaces need a little more work.

I had to change tactics on the media blast and order a siphon separately from my original HF product, but I think it will wind up being a good move. I contemplated a chemical approach, but while I am not a 100% tree hugger, I still think somewhat environmentally and with all the brake clean, I didn’t want to add to my chemical footprint anymore than I had to.

Tomorrow I will make some progress with the timing gear, but then I will be in a holding pattern until I get the media blast gear to take care of the chambers while they are still closed. I’ll probably clean up the valve covers and some other components while I wait. If I am lucky I will have the gear before the end of the week and make some good progress over the weekend.

Ed

To each their own, but I would add with the chemical method, you wouldn’t use brake clean. You would want to use oven cleaner. Oven cleaner is actually designed to get carbon to breakdown. Media you’re not going to be able to get into the spots that chemical cleaner will and in most cases unless you feel like spinning the valves around you’re not going to be able to clean with great consistency the back side of the valve and stem where you can’t see.

As someone that’s done both ways I thought I would Just throw something to think about. Either way you go. I’m sure you’ll still get good results.

Sounds good, I’ll go hybrid, blast first, oven cleaner second.

Ed

Holy crap, cleaning just bites. I have tried a few methods and settled on this routine for cleaning oil crudded parts:

  1. Brake cleaner & wire brush to get the heavy stuff off. Careful use of a razor blade to scrape a bit, especially around the mating surfaces.
  2. Oven Cleaner, let sit, agitate with a scrubbie, wipe down with cloths
  3. Back at it with a dental pick for the corners, some more brake cleaner and final wipe down

Things like the valley of the engine are just a pain to work on, and I don’t want to use the oven cleaner there, so it’s brake cleaner, scrubbies, picks, whatever to clean it the best I can:

I tried using the ultrasonic cleaner for a couple of the parts, but there is just too much gunk for it to be effective. I will relegate that to any fine tuning cleaning like the injectors. I am waiting on several items (and discovered 2 more I missed) that should be here this week. The right motor mount and a hose are back ordered, but I paid extra to get them here more quickly, but that still will be about two weeks.

An example of ultrasonic vs. oven cleaner/scrubbies/pick with the cam chain covers:

I started working on the valves. I experimented with a couple of methods and I have settled on this:

  1. Use dental pick/vacuum scrapings - this is done at least 3 times
  2. Walnut blast
  3. Pick/chemicals

First round of picking:

Second & third round of picking and oven cleaner/pick:

The siphon tool should be here Friday so I can see if my theory about the steps to do this the most efficiently and completely work. I did start to reassemble some components (that’s when I found I had forgotten to order 1 guide and the 4 bolts that hold both guides in place). The torque wrench was supposed to be here today, but it is hung up at the main Philly post office. Hopefully it gets here soon:

I cleaned the other cam chain cover to match the one I did with oven cleaner and the dividers. All 5 chambers on one side have had at least 3 sessions with the dental pick. I’ll continue my cleaning efforts over the next few days.

I was basically filling the bottom of the chambers with carbon scraped down from the sides. I shouldn’t be surprised since this is it’s first cleaning.

Ed

If it is helpful. Im a blast convert. I did blasting for a while and then gave the chemical route a shot. Once I went chemical cleaner I was sold… Oven cleaner and just let it set for 10 15 min. I blasted and it just wasn’t nearly as effective as chemical oven cleaner.

What I do. I verify all of the cylinders that are closed. Spray in oven cleaner in the first cylinder. Then move onto the other cylinders. Your letting the oven cleaner soak in. You might have to go back and top off.

Get a drill and then set up a wire brush on the end. check JHM they have a good one. Or harbor freight has good wire brush attachments for this. Don’t put the wire brush on before you spray in the cleaner. Take the time to set up your tools while the spray cleaner is setting up. After you get the wire brush attachment on. Run the wire brush at the end of your drill in the first cylinder.

If you’ve left the oven cleaner in log enough the carbon will have just melted off the wall. The wire brush will do all the scrubbing work. After you’ve run the brush in all the ports. Vacuum out that cylinder. Then refill with oven cleaner and move onto the second cylinder.

When done right. YOU SHOULD NOT EVEN NEED A PIC OR SCRAPE TOOL.

After doing hundreds of carbon cleans. This IMHO is the best and most effective route. Takes some getting a pattern down but you will be glad you did.

What is the best delivery method for the over cleaner. The one port I tried sprayed all over the place.

Some kind of funnel to spray into? Put a little red tube like other sprayers have?

Ed

The read tube works wonders. You can use anything even the tube from WD40. Or if you get the can super close you can get that without much excitement. I used to use the tube and that works just fine. I now just position the car in a way I can get right in the port no tube needed

Making some progress. I stuck with my hybrid approach to cleaning the intake chambers. There was just too much crap to only go at it one way. Pick, pick, pick, chemical then blast. Some more picking, some more blasting then a final chemical dousing. Looking much better than when I started:

Tumble plates (I like shiny things):

You would not believe the mound of carbon crap I scraped off those things, and that was even before melting the rest off with the oven cleaner.

I still have a about 4 hoses on the way, but the triple square bolts and one chain guide as well as the inch - lb torque wrench showed up, so the timing component of the work is done & all torqued down. Once I get the intake chambers cleaned up, I’ll get the cam girdles/cams & sprockets back on and button up the engine. I still have to clean the valve covers, but I think I’ve inhaled enough chemical fumes for one day.

Timing gear:

I’m probably calling it quits for the day. Oh, the crank lock pin came in. Slipped it in place without having to touch the dampener, so at least it never moved. Think I’m going to pound a couple of Voodoo Rangers and watch some Netflix or something. With the valves cleaned, I really do feel like I am on the downward slope.

Ed

The port and valves are looking great Ed!

I was thinking to do the same hybrid cleaning method.
Did you use and 3D printed mouth piece or did you just use radiator hose method?

I used the tool that allows a shop vac and blaster to be used without much debris going anywhere.

Originally I planned on using the HF media blaster, but after some research I decided to get a Campbell Hausfeld siphon blaster, but I had to modify it so there was a small wand at the end. I did this with a metal fuel line from Pep Boys, modifying it by cutting off the nub at one end and using a couple of rubber grommets and washers to allow the nose piece to hold it in place. Works pretty well.

Since I had let this go so long, I really needed to the multi faceted approach, no single tactic would rid the chamber of all of the crap.

Ed

Almost nobody puts the port spacers back in. I never do. I would suggest Don’t put the port spacers back in. They are just a carbon magnet.

They act as a port spacer to divide the cylinder in 1/2. But when the lower intake flap is active it already cuts off 80%. The spacers are a 20% fix that end up with 70% carbon.

Hmmm, what about those gaping cuts on either side of the chamber? My guess is they would screw with the air flow.

From what I understand about their purpose, they are to help with cold starts and light throttle cruising.

I’ll have to ponder this as I put the second cam girdle in.

Ed

The TQ control flap shuts off the air path for the most part and the cylinder is pulling air in the most direct path. The spacers limits the air flow and as you can see the spacers act more as carbon magnets than anything else.

Cold starts most people report are better without the spacers. And all my results have come back the same.

As for light throttle. Since the V10 has a big ability to make Tq down low the flaps act more as a Tq limiter than any slow or low speed driving.

The JHM tune keeps the flaps open other than on start up and we all know how big of a difference that makes. pulling out the spacers just helps with more Tq down low.