Help motivate me to pull the V10 out

So some words to the wise, dont do as I did and assume where the O2 sensors should go. Best to always mount the headers to the car and mimic its location with perspective to the subframe.

Lucky for me I had drilled and welded two mistake O2 bungs on the opposite side and was able to relocate from under the car everything installed

What I ended up doing was relocate the “lower” WBO2 G39 and G285, sensors that are for CYLs 123 / 678 from below the collector where the cat bung used to be, to above the collector shown below I had capped off.

Then, since the wires were short I tried my best to insulate them as shown below.

Additionally, during the welding or during install of the headers, the pipes were about 5mm lower than they were before the exhaust work.!

I was forced to improvise so I could maintain the use of the subframe cross support bar by lowering it 12mm. Replaced with extended bolts from a porsche for $2 ea, 90mm by 1x10, came out near perfect. Yes, it is a bit lower but maintains functionality.


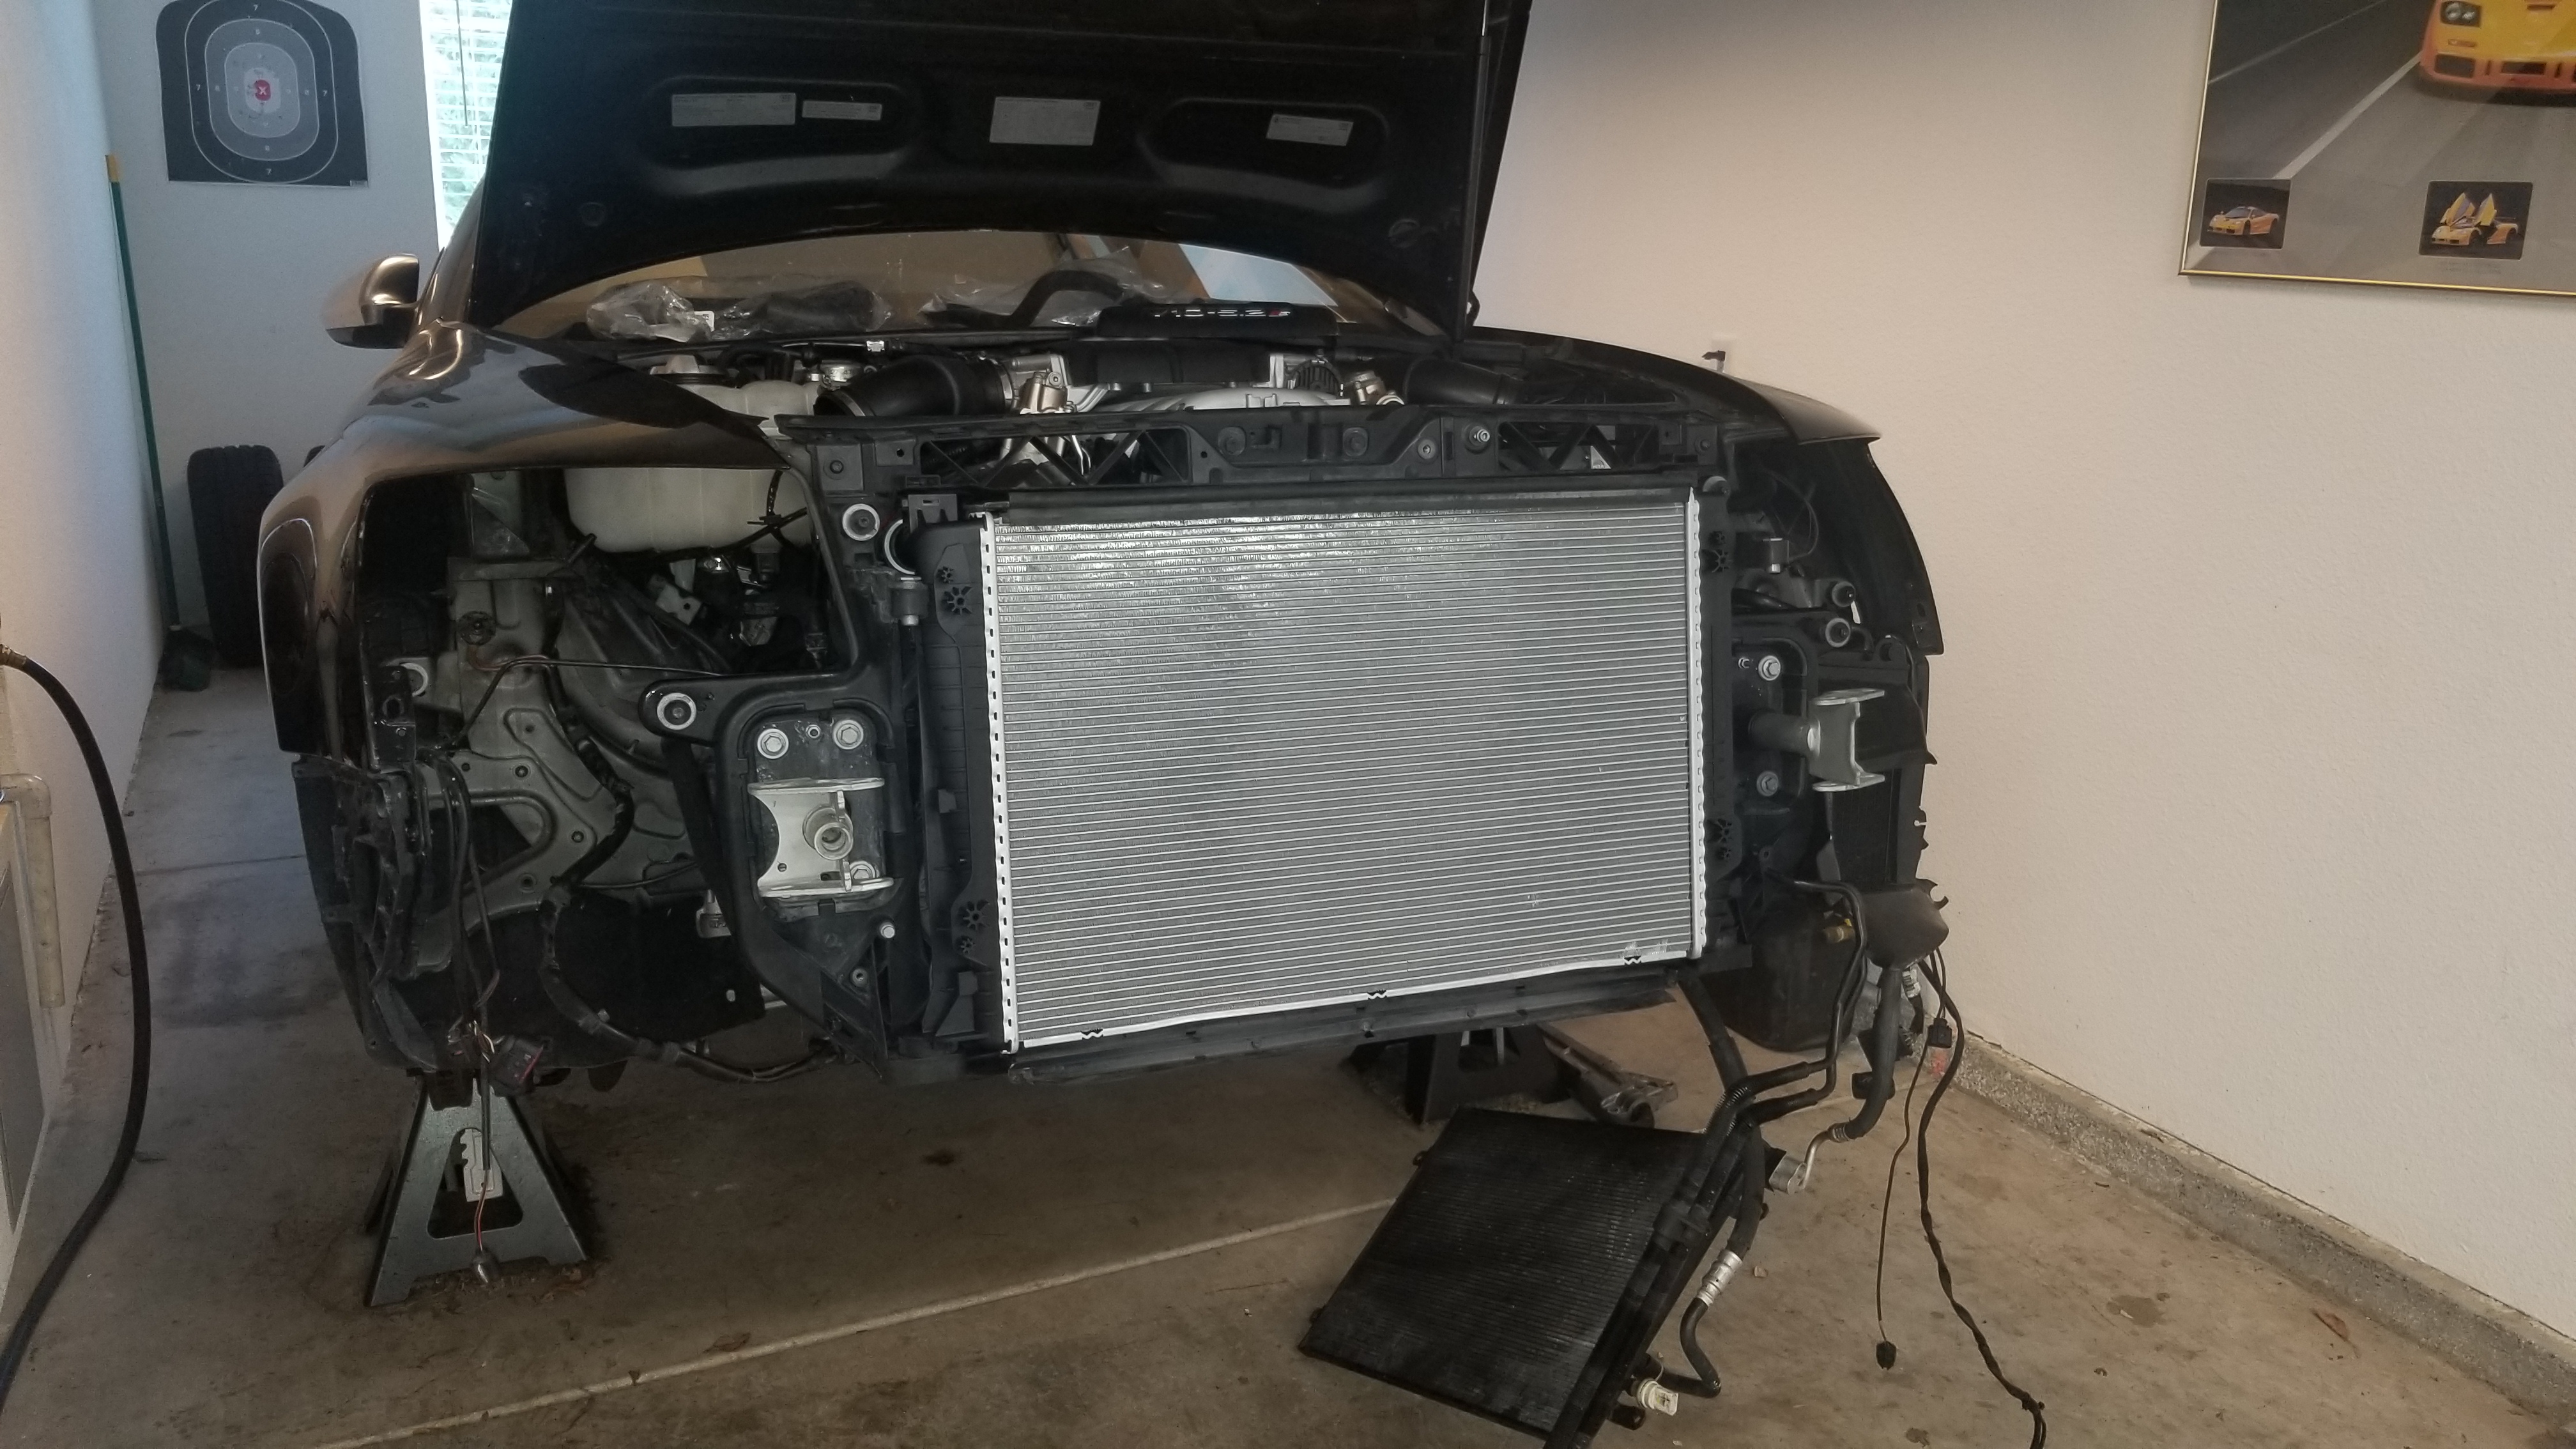
Fast forward, 5 months later I was able to replace my radiator, the whole reason I started this endeavor in the first. Just a cheap ol Mahle for $230, probably last 4 years, well see.

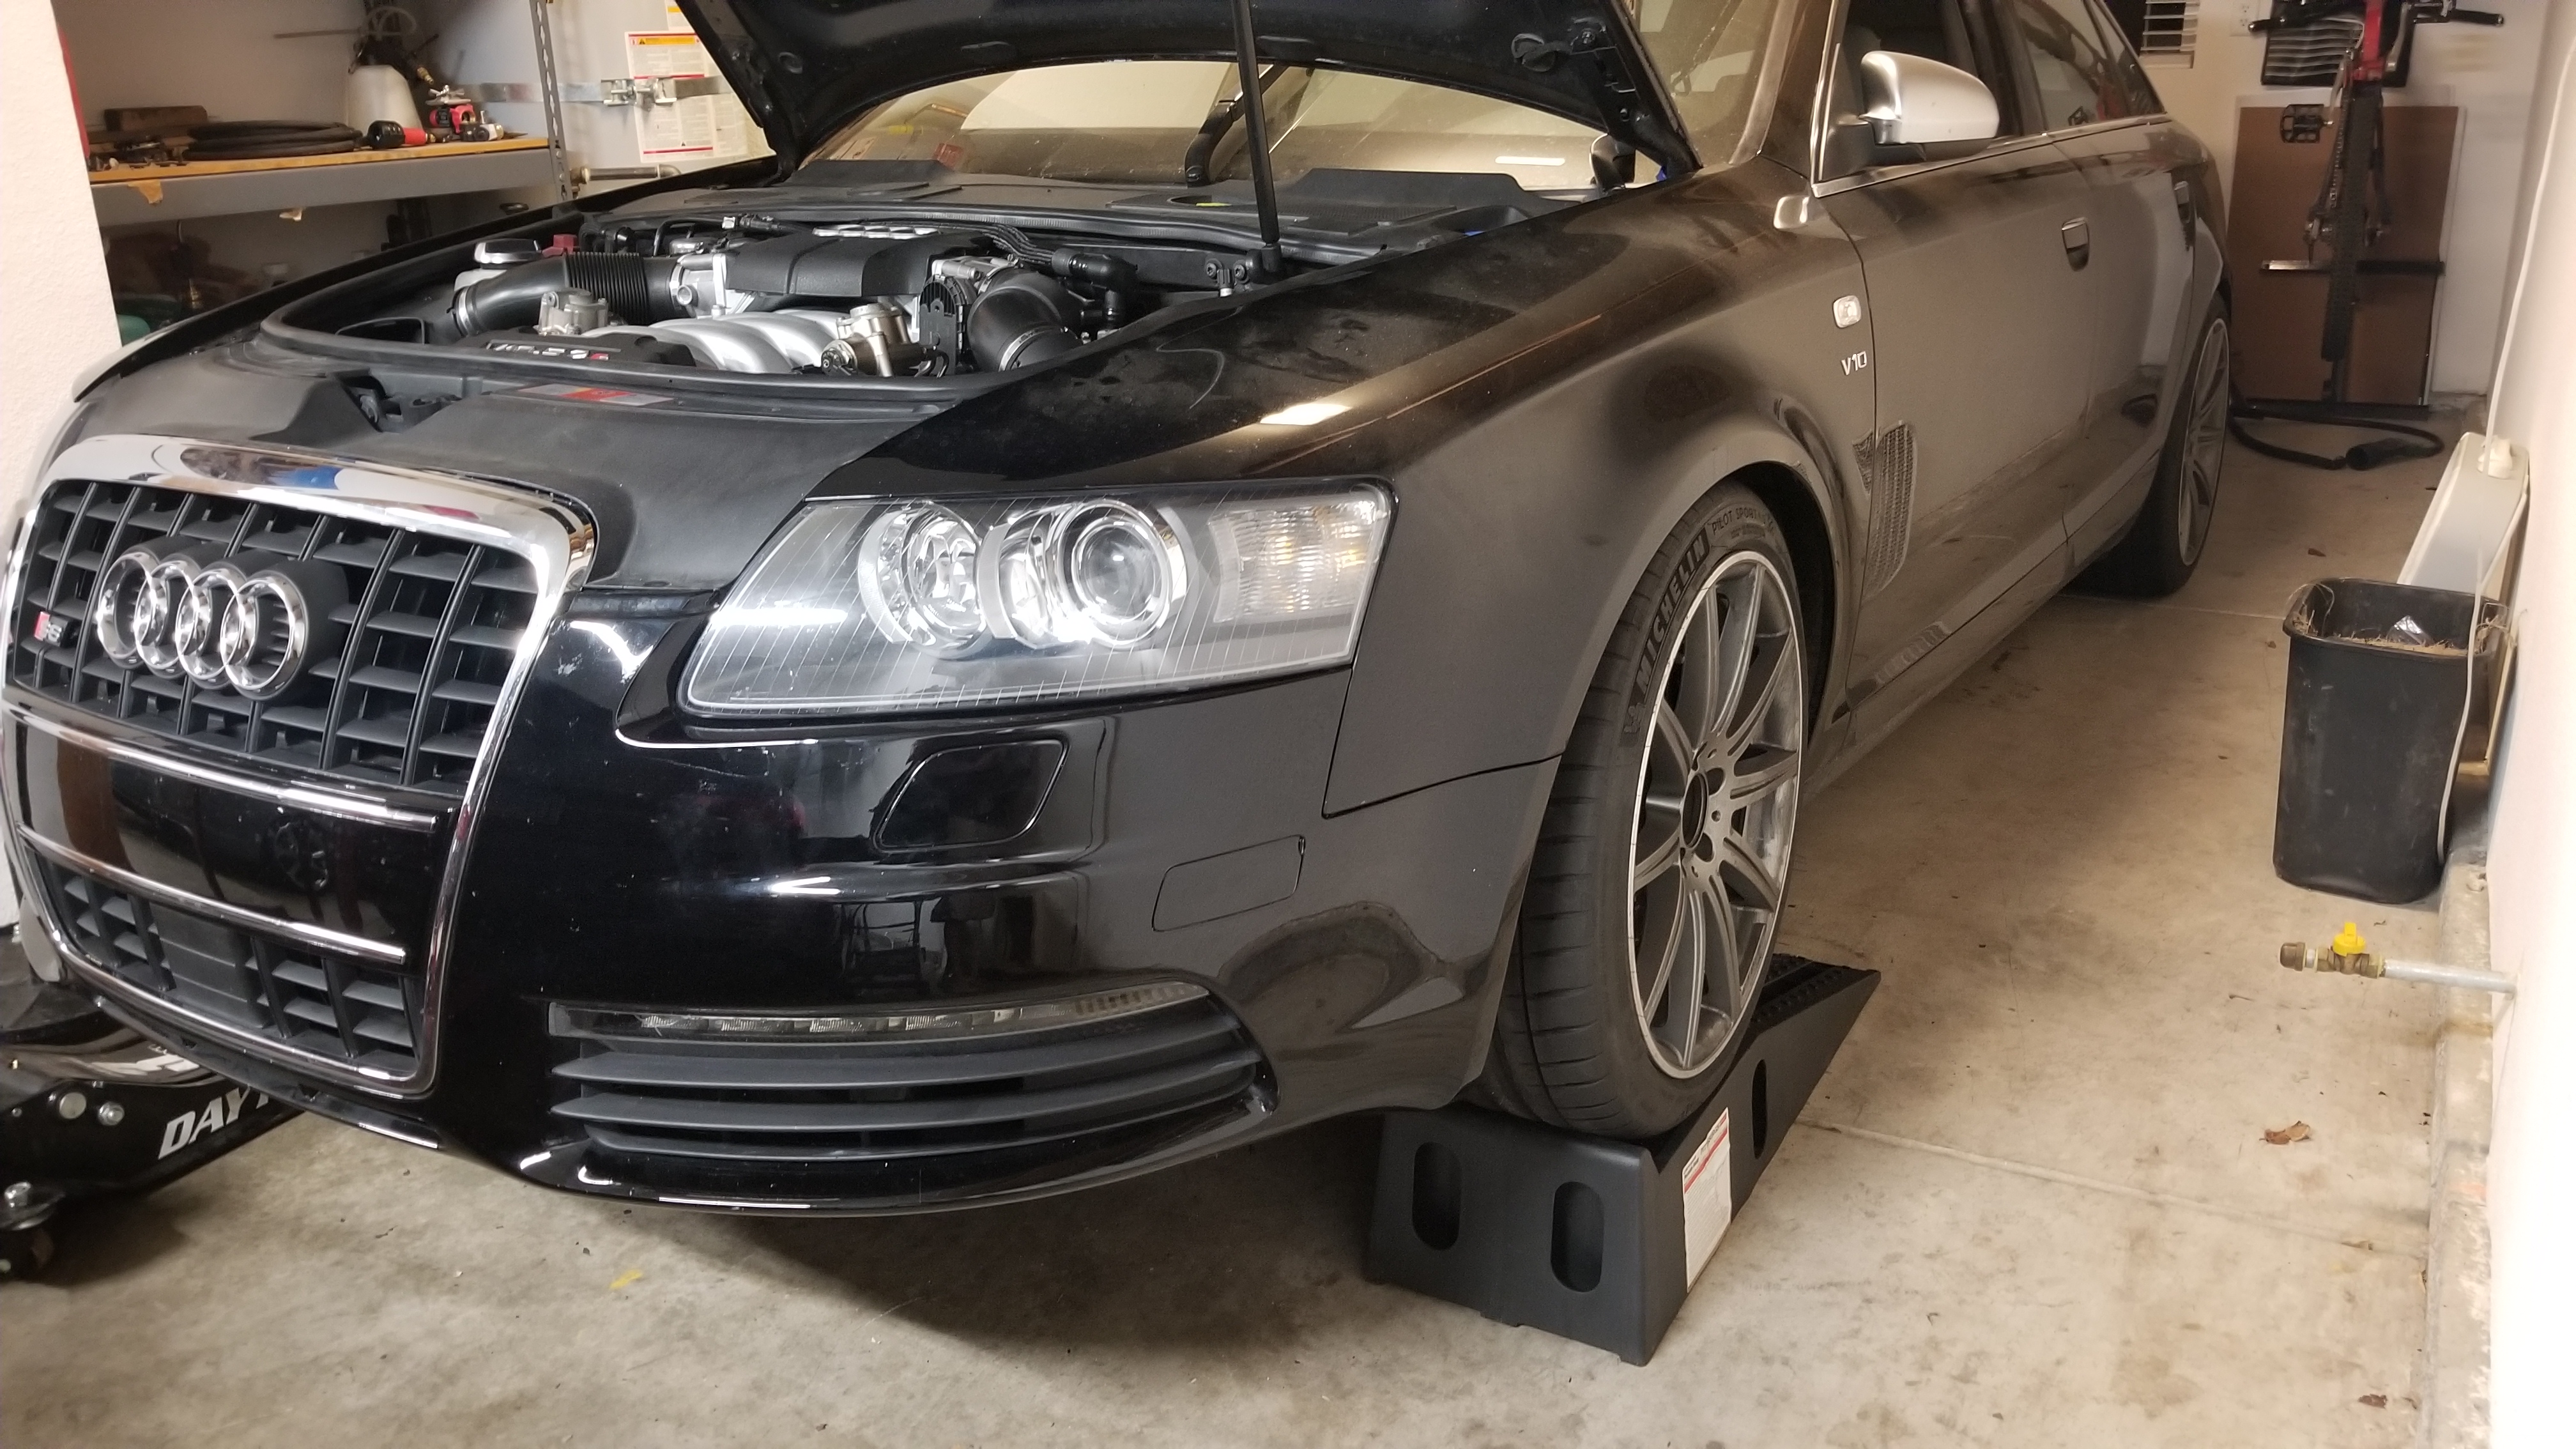
Put the bumper cover back on and buttoned it up. Btw, using the HF hydraulic table really helps position the bumper and plug all the wires and everything in with just 1 person.

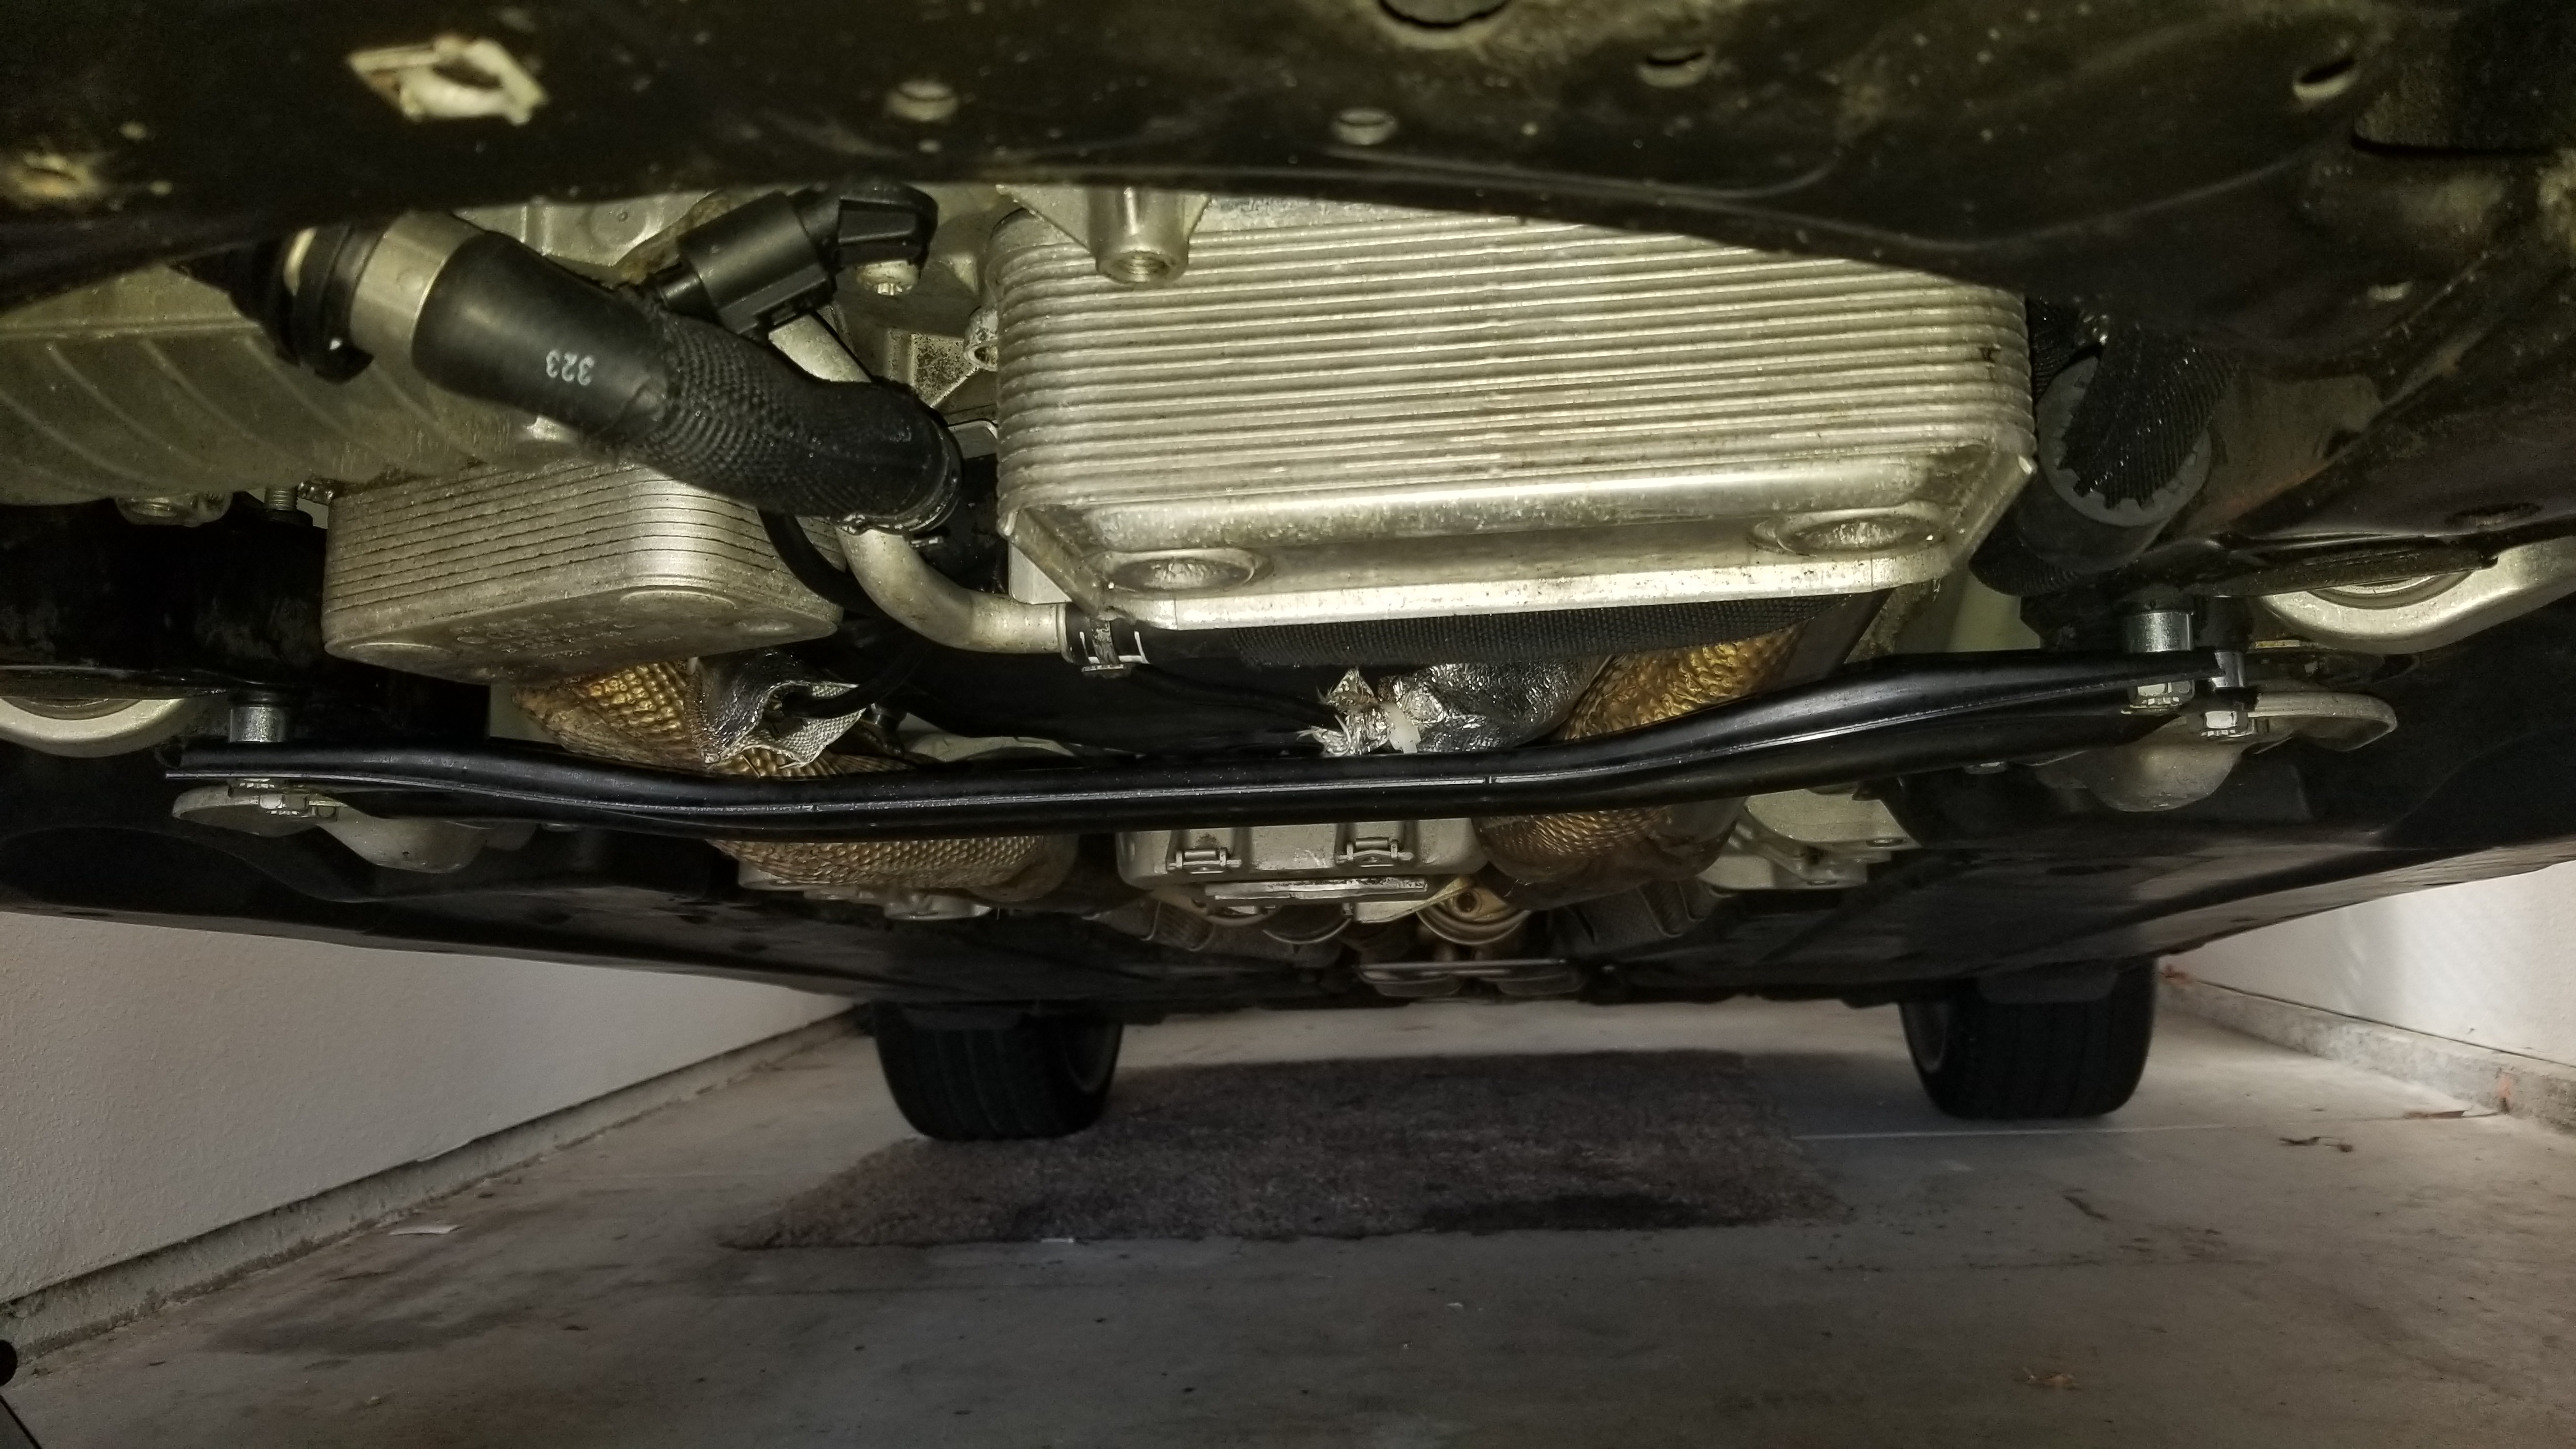
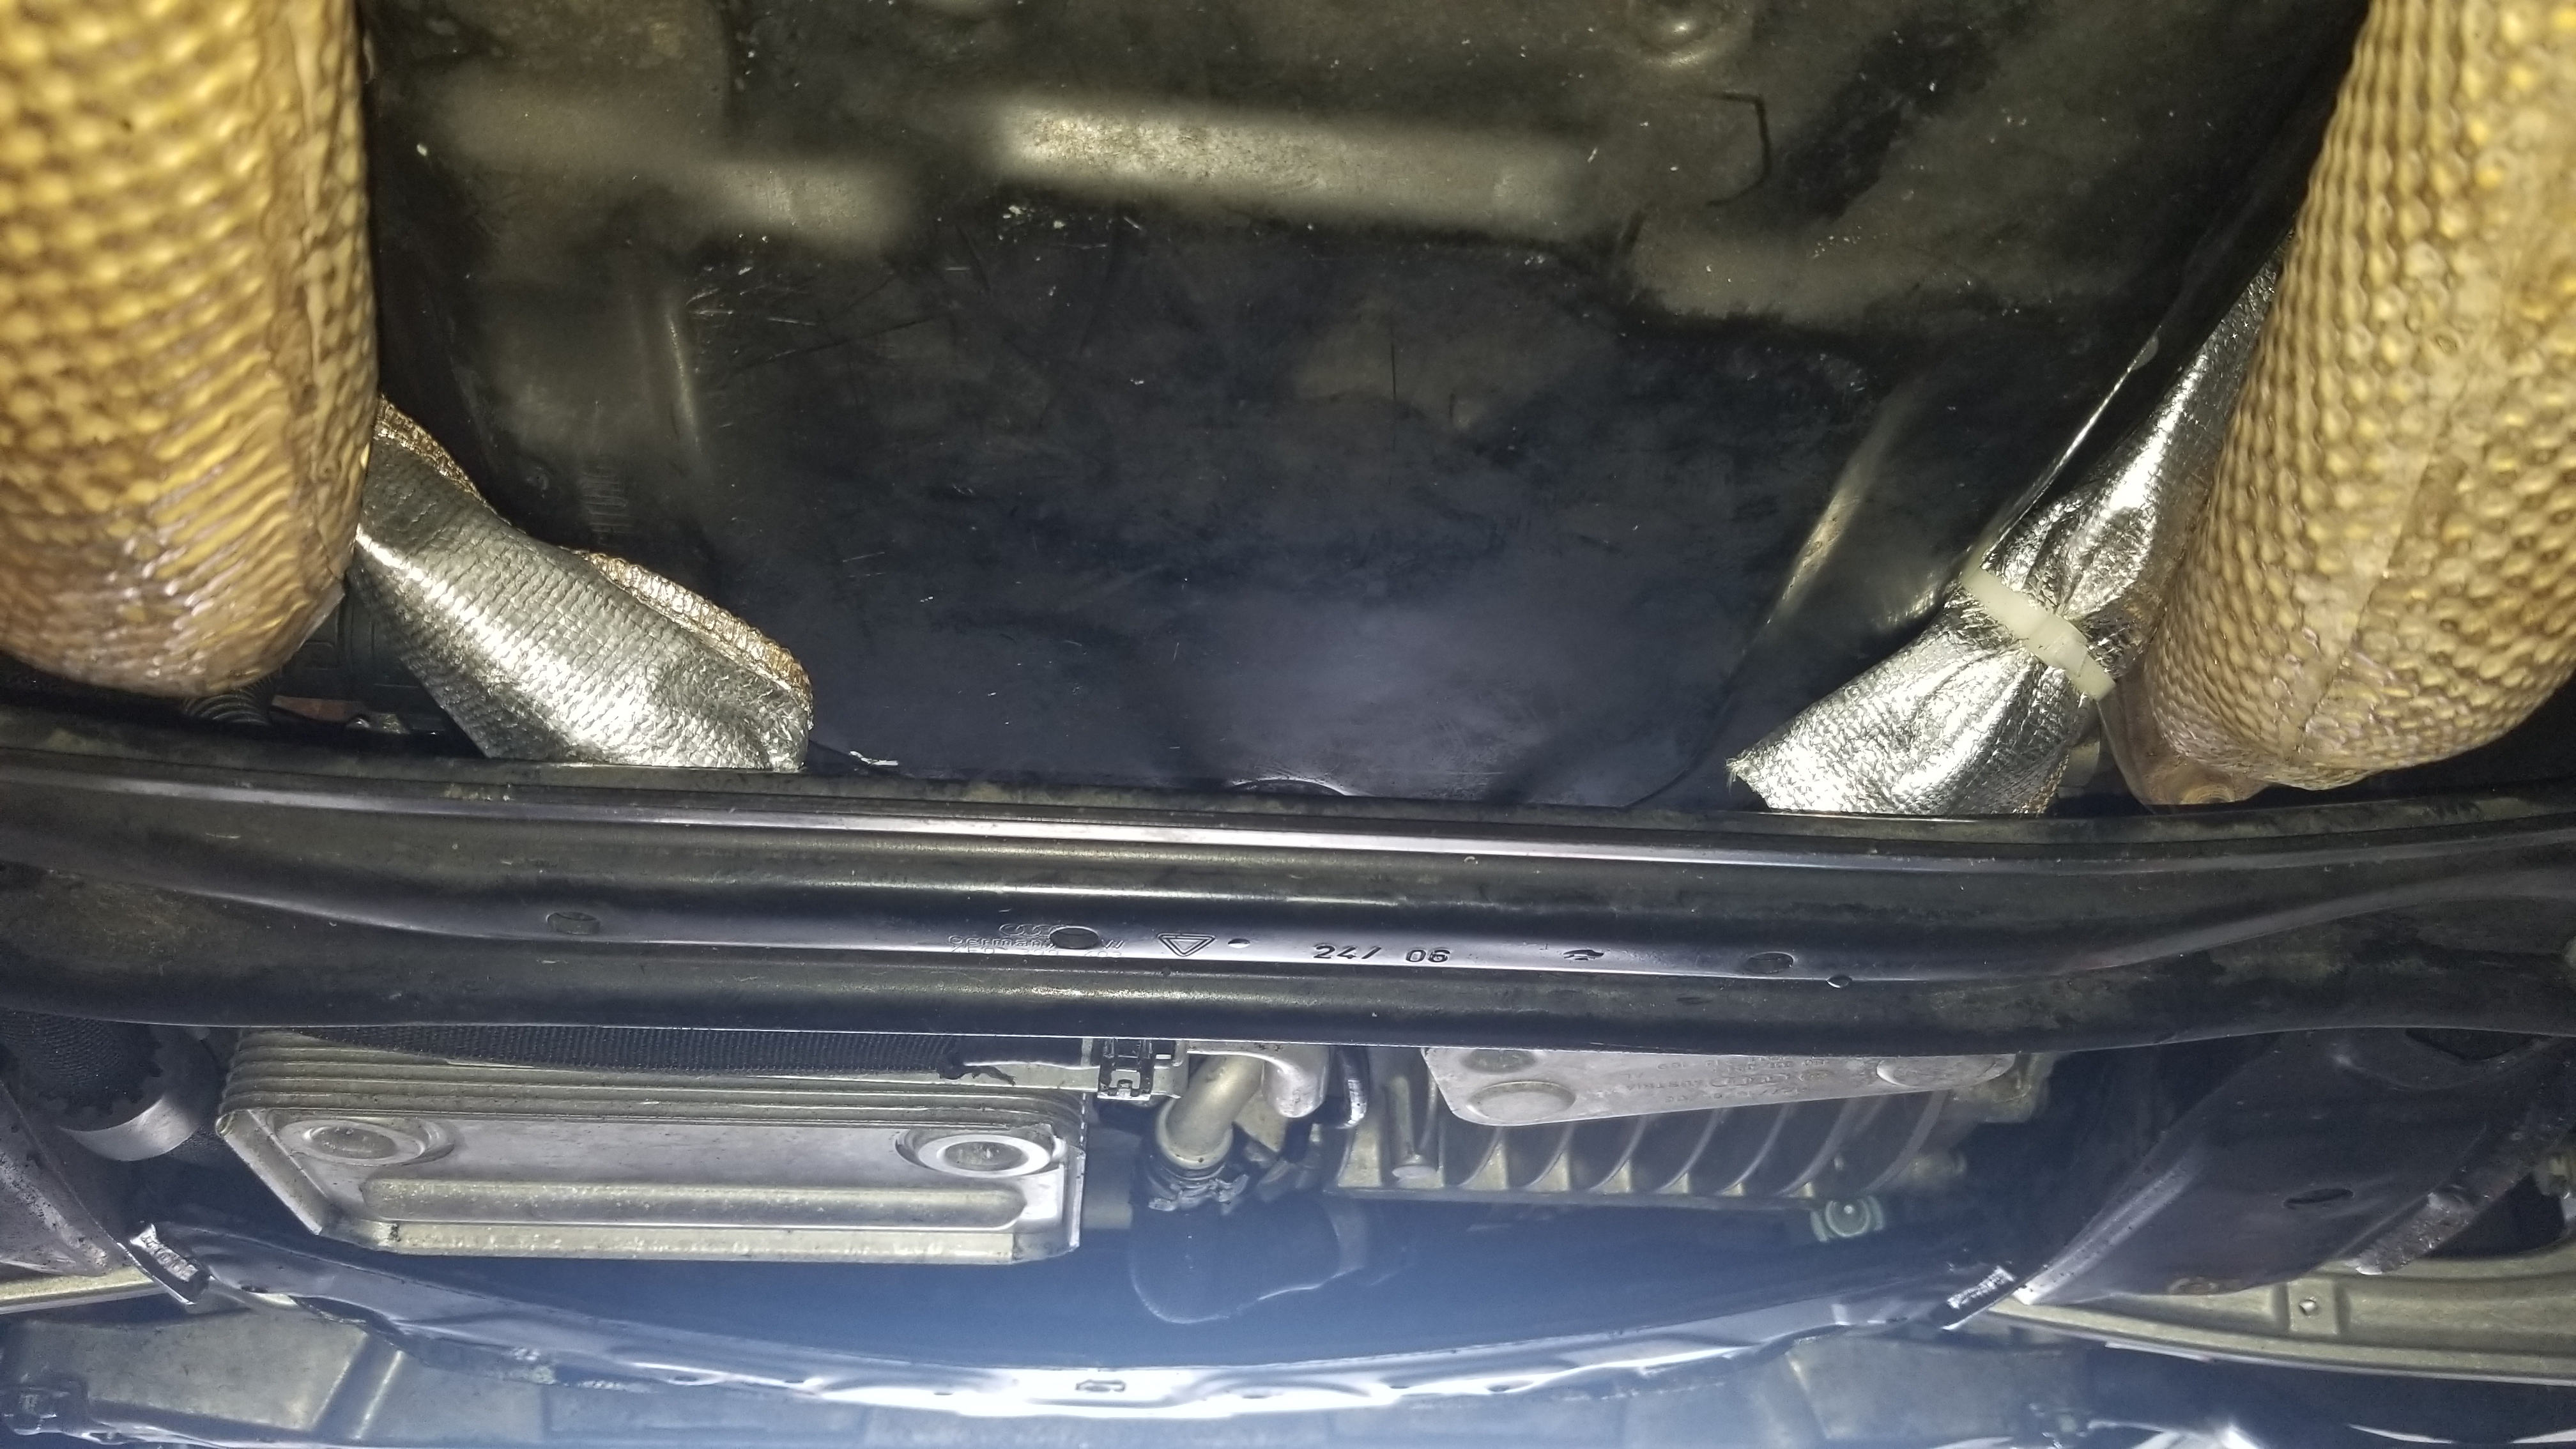
The whole engine, engine bay, undercarriage is competly spotless. Feels like I spent a solid 10 hours cleaning the car sludge off or parts, engine bay, underbelly, etc. The dealer who replaced this engine left a massive mess behind when they just replaced it. Used piping hot water directly to my pressure washer and 15 degree tip to blast it all off. Each part cleaned spotless or replaced. Aluminum brightener works wonders to clean up our aluminum parts. It’s like having a new car now. A PPI would def give it a pass. I’m just stoked and glad I finally pulled the trigger on this 60k mileage audi service these cars need to stay alive sometimes.

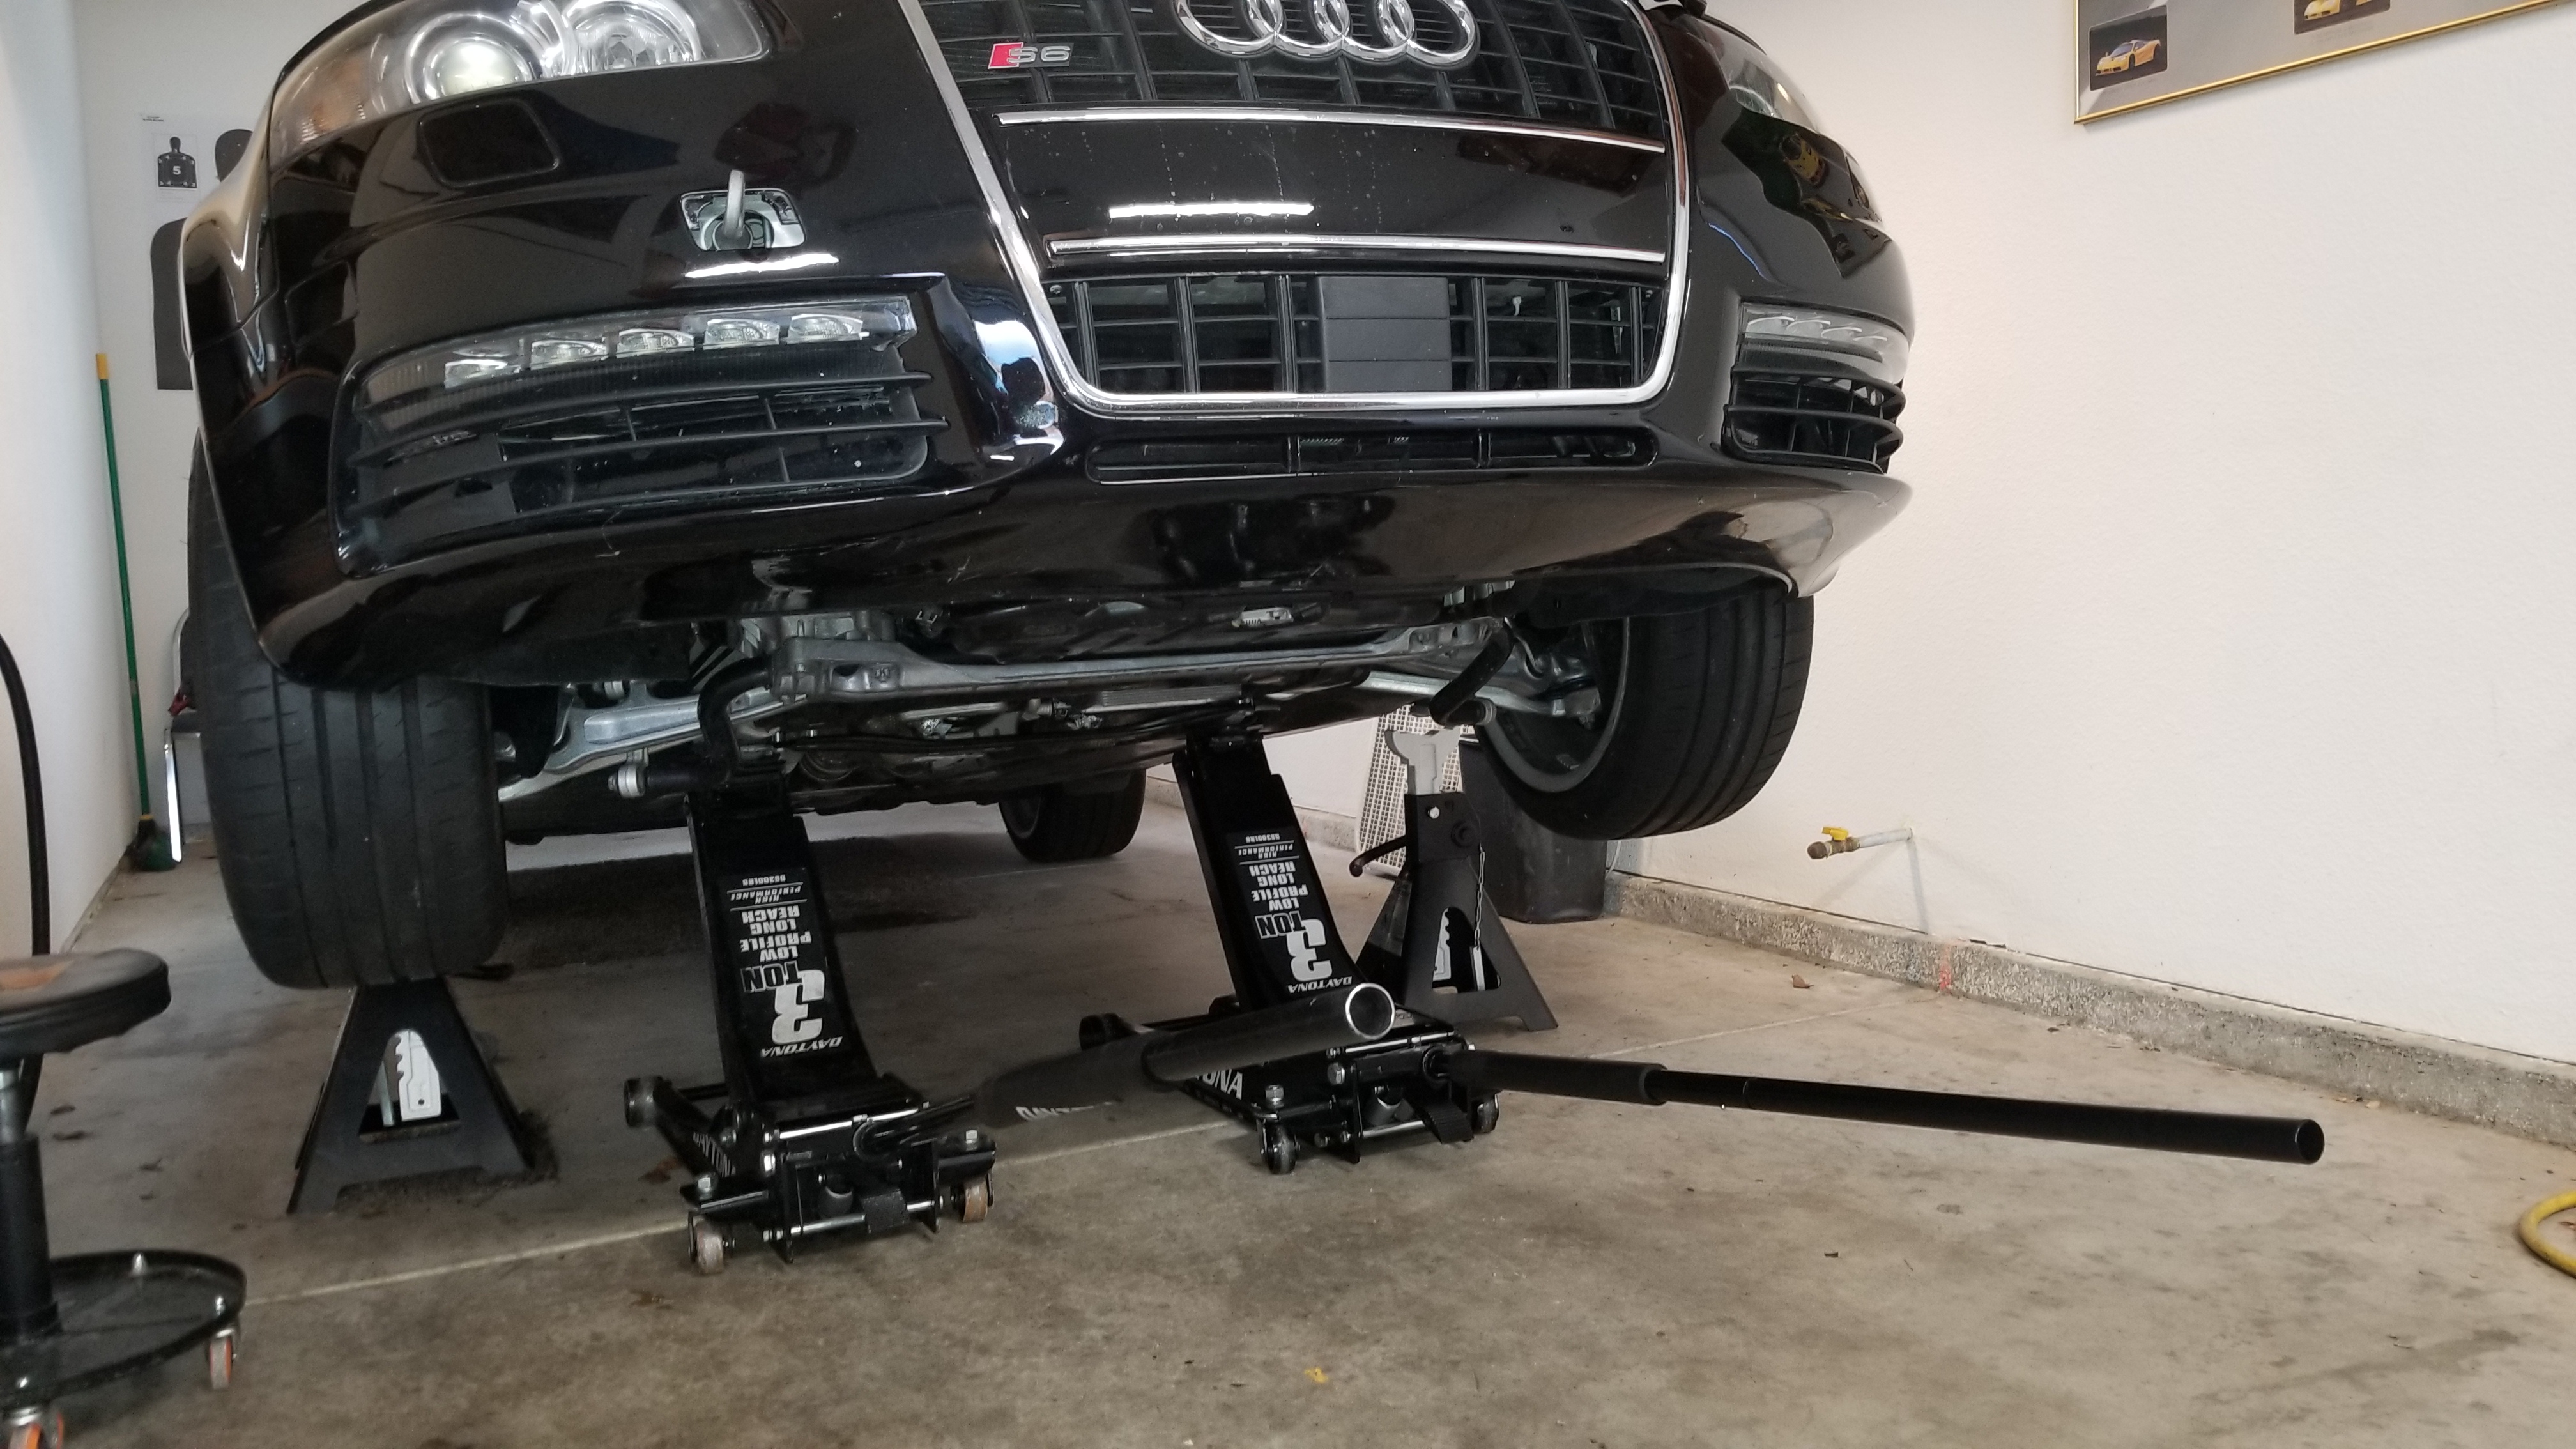
Dropped the car today. Finally gets to rest on all 4 wheels again.

Going to let it settle with the new control arms and torque down in a few days.

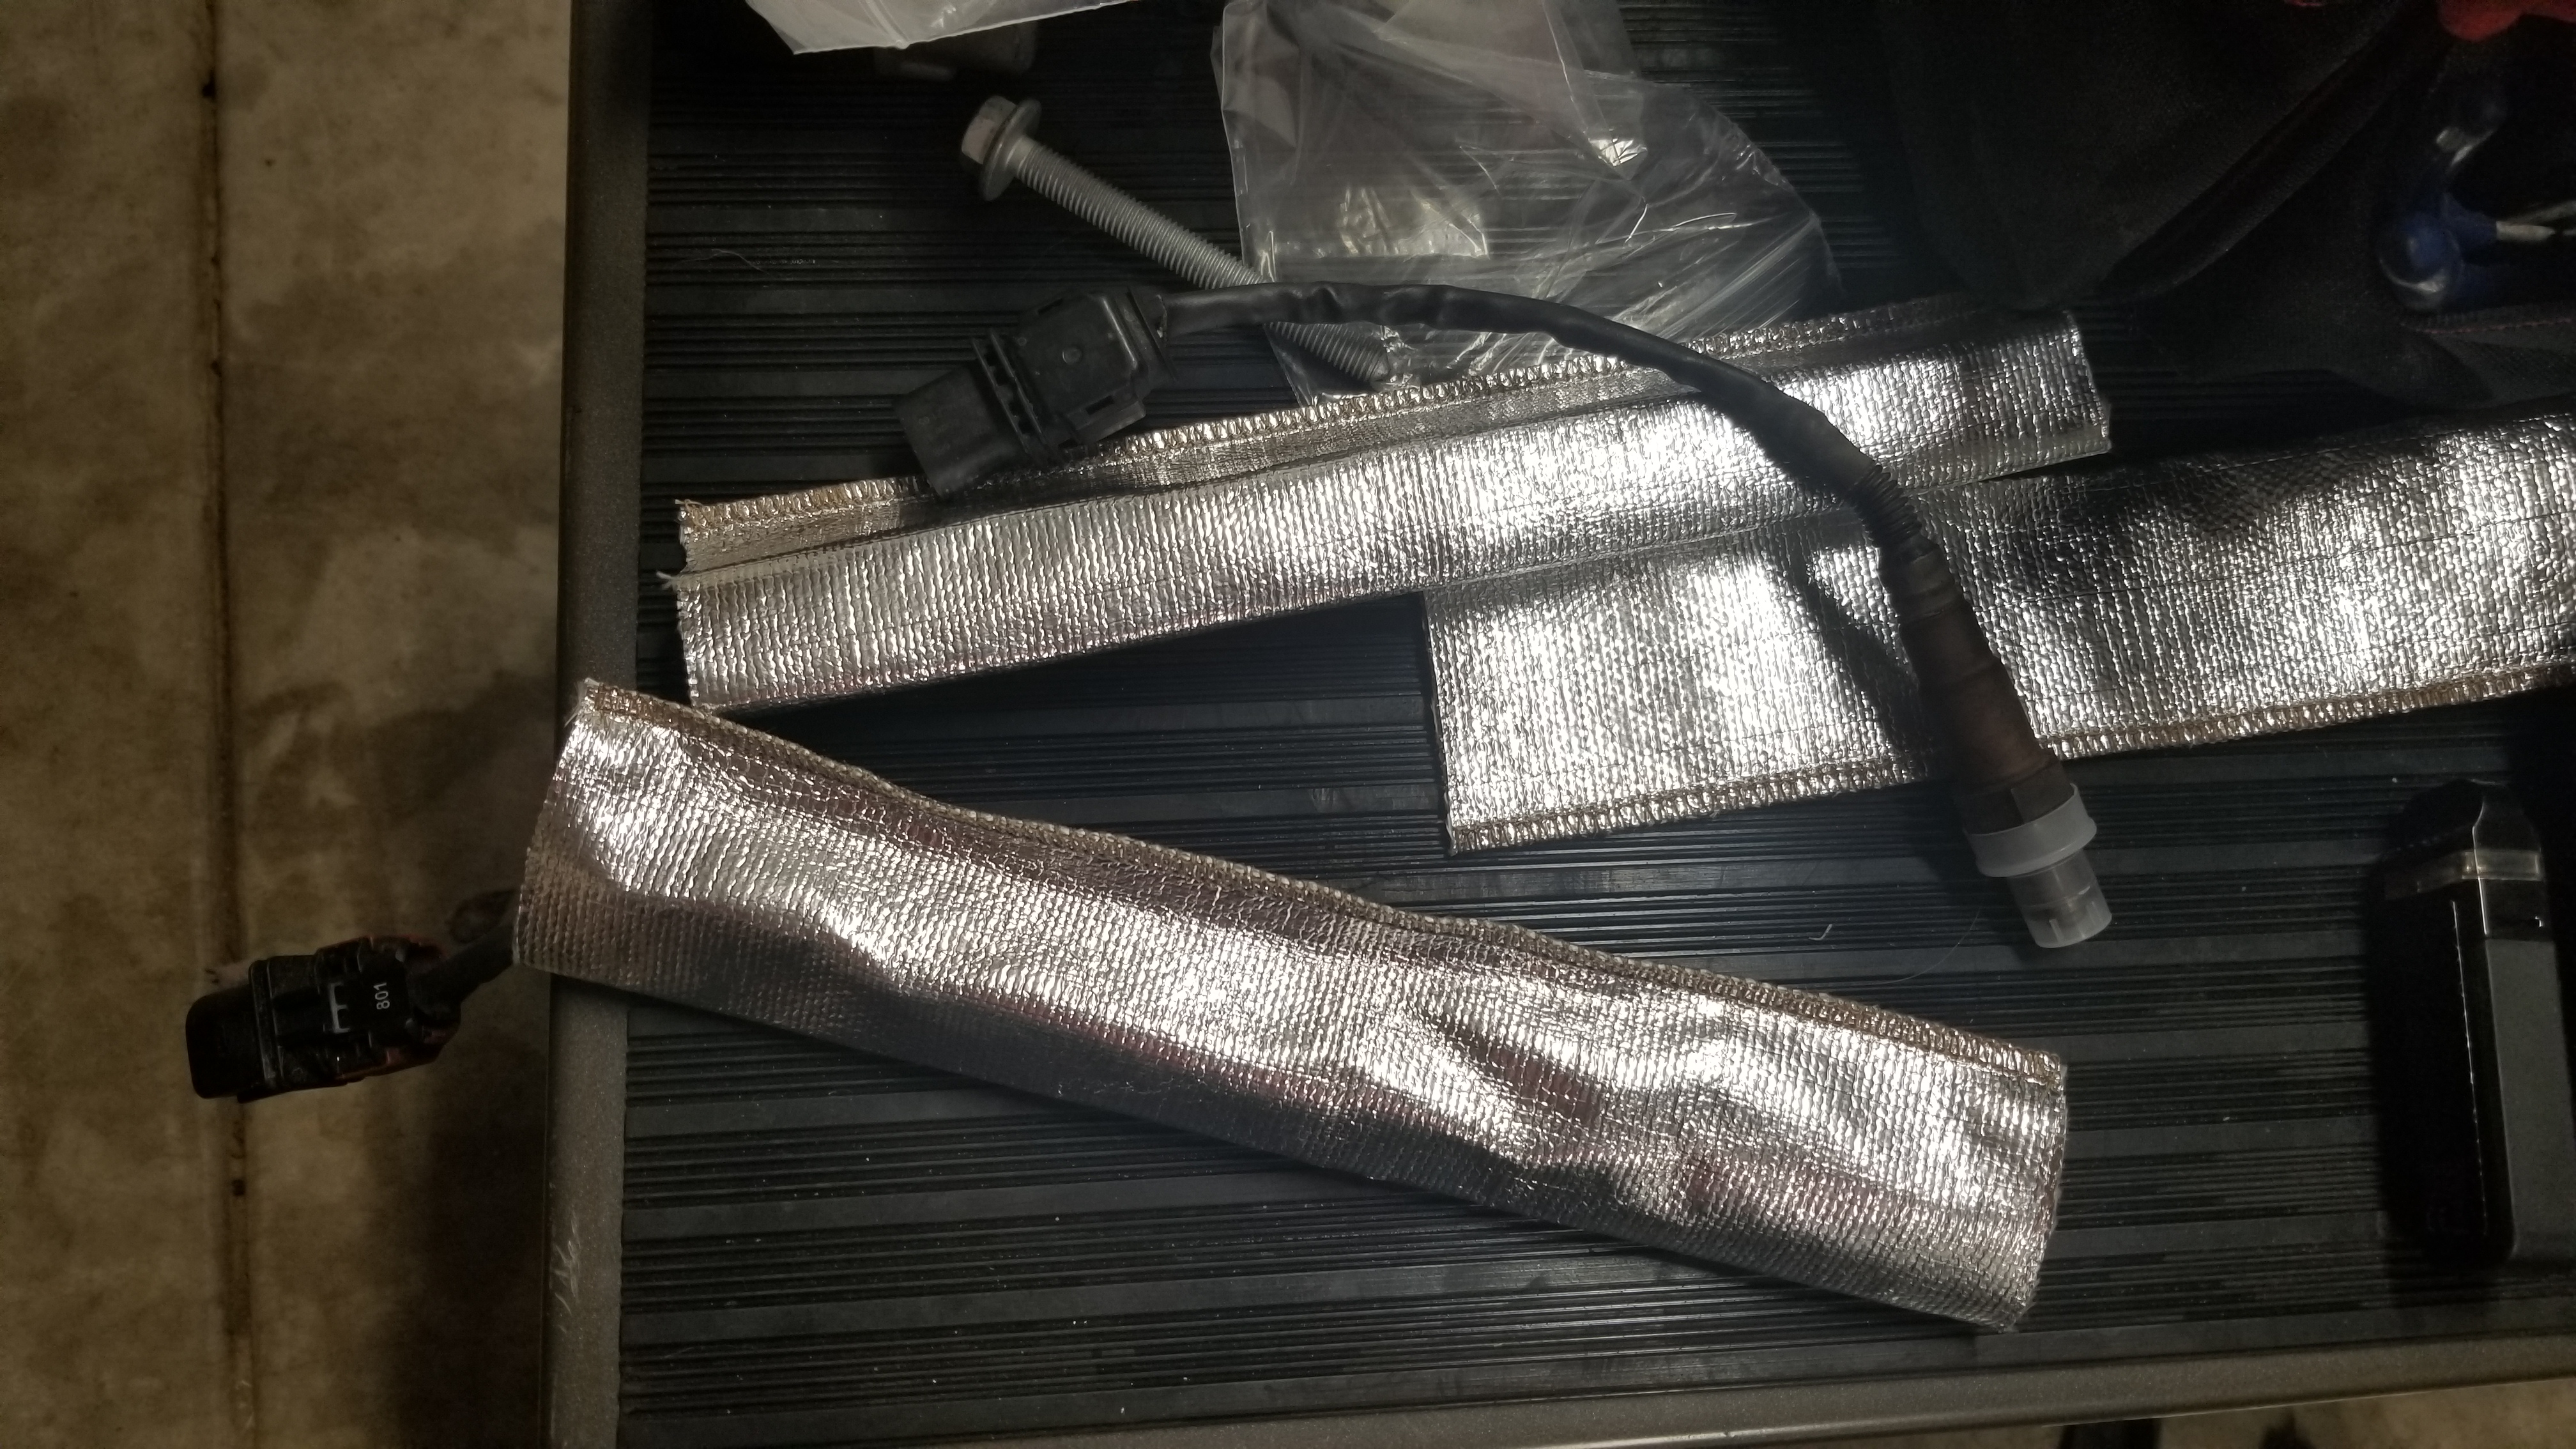
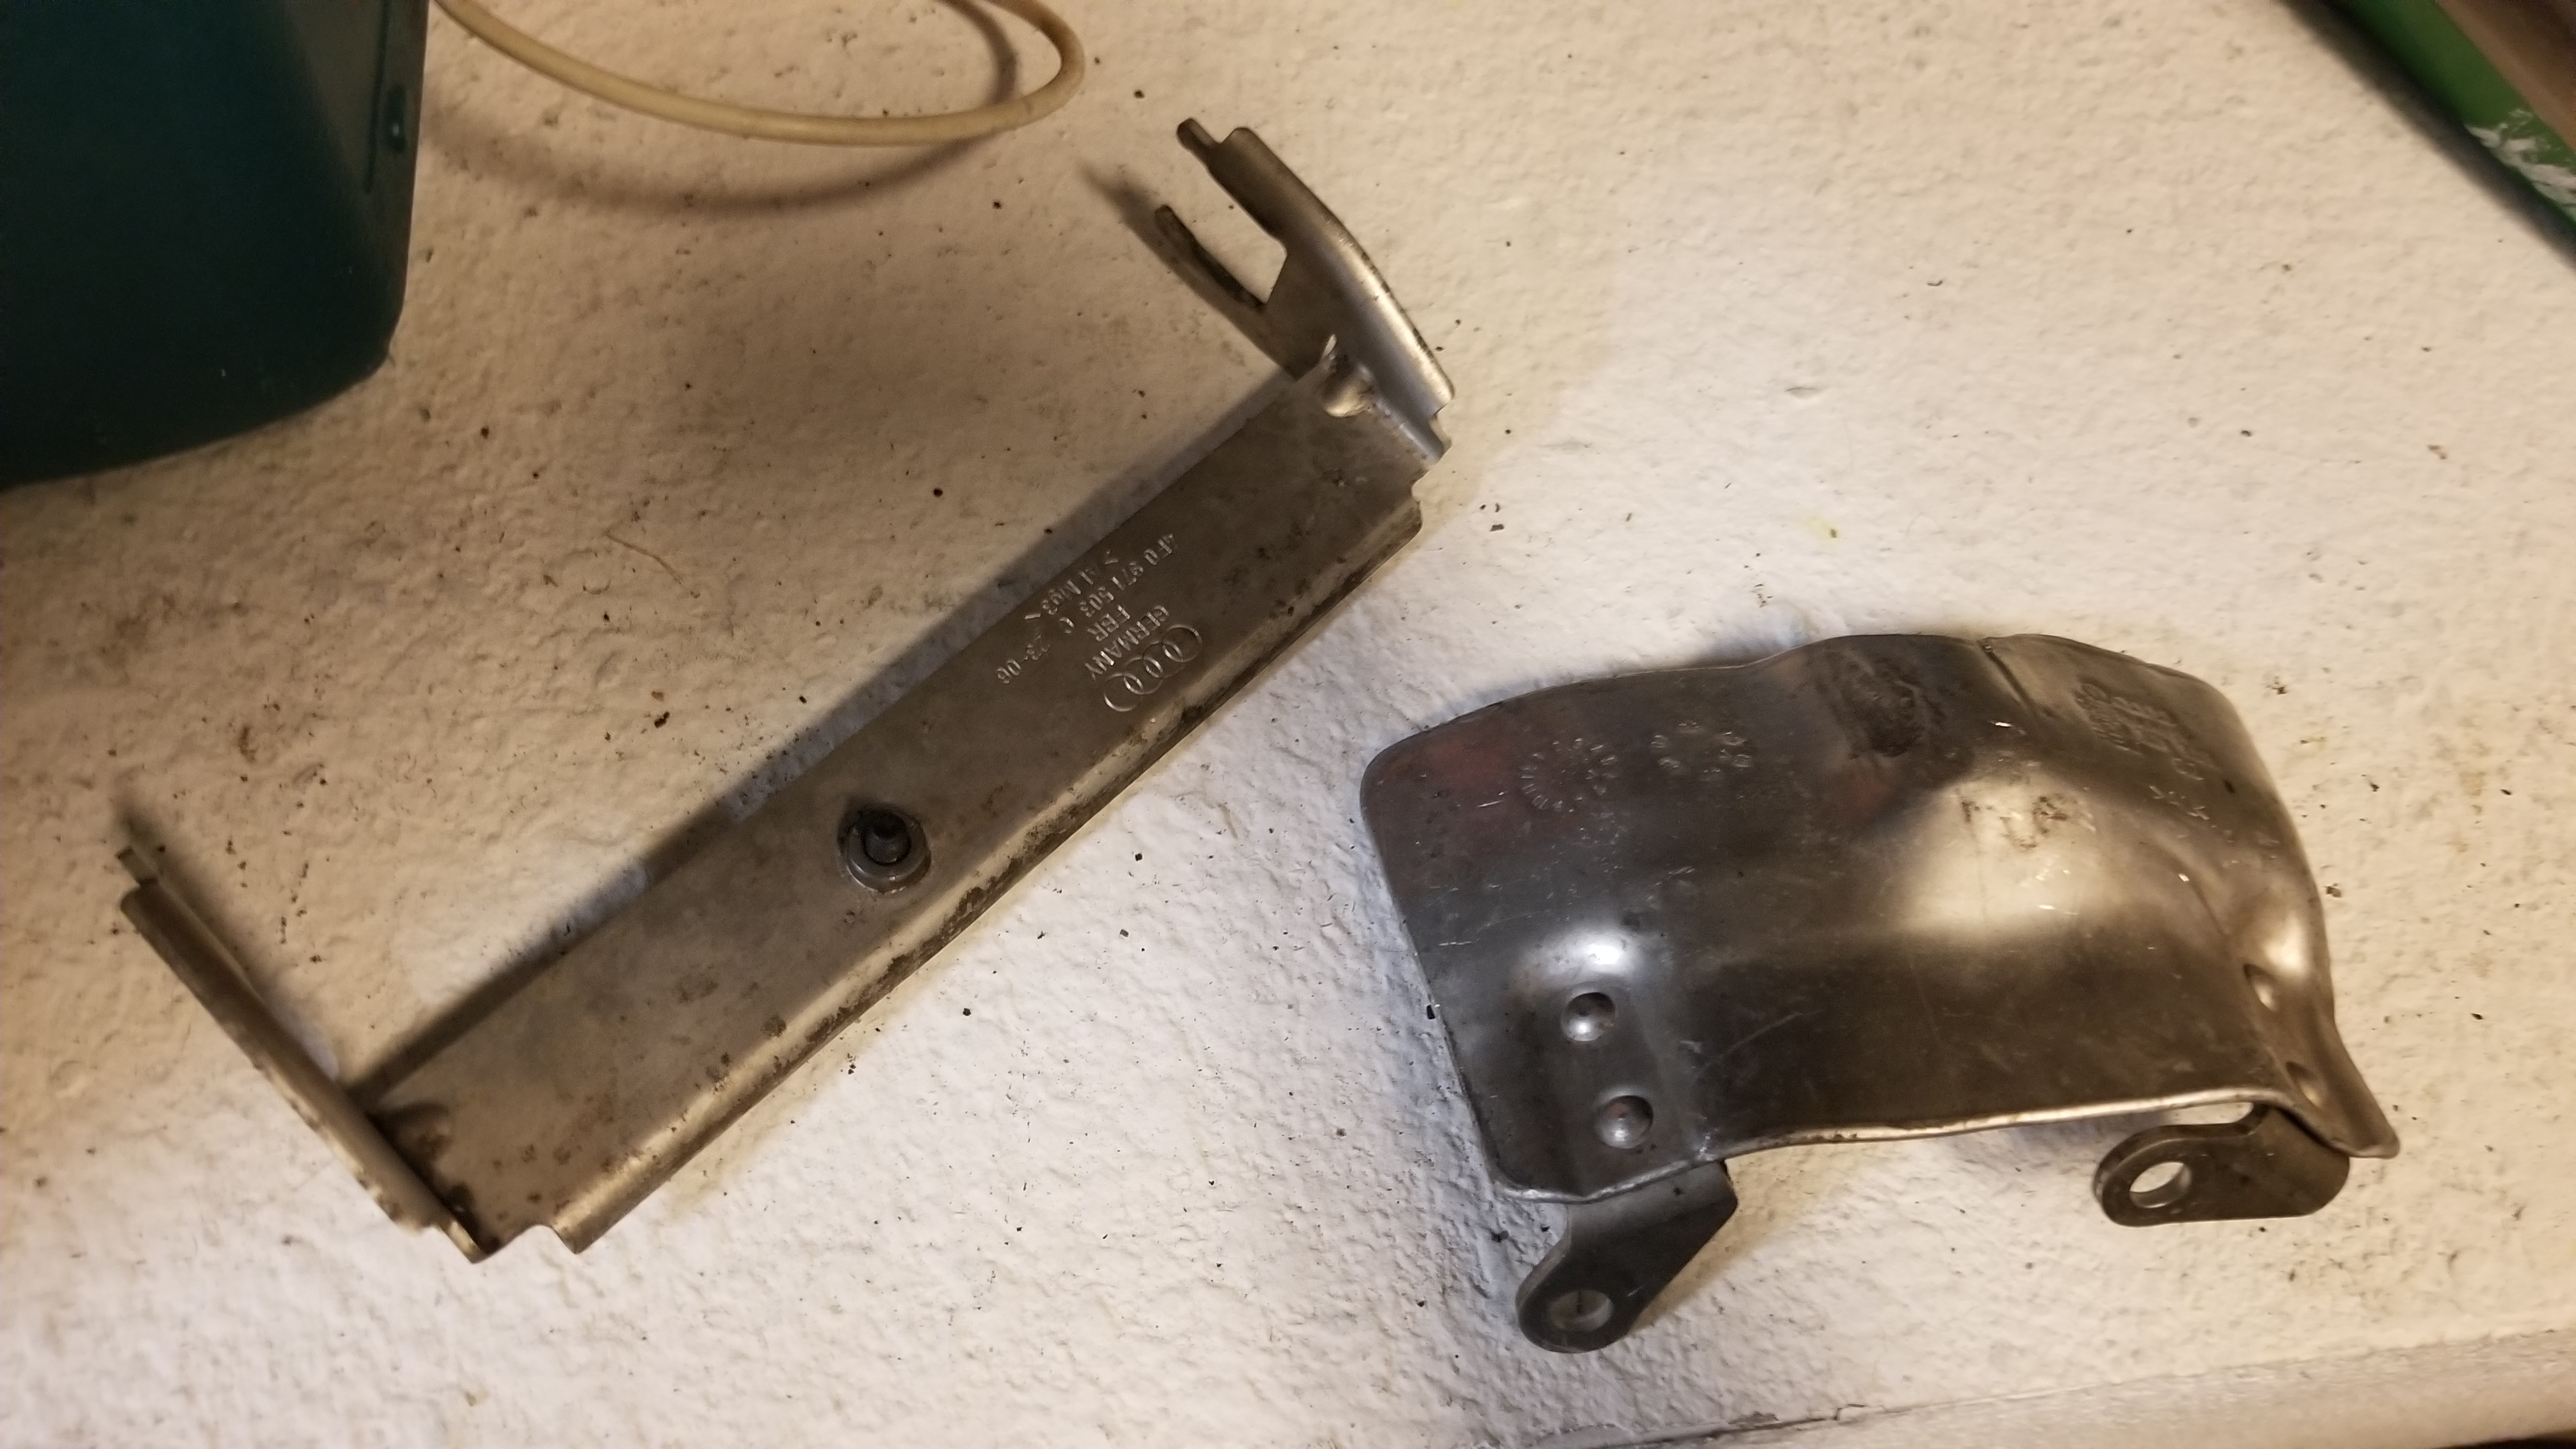
And of course, always the left over parts. Least time I used all the nuts and screws, no left over hardware haha.

Next, I need to do the first start of the engine and clear any codes, check for codes, let the trans fluid move around while parked and cycle gears. Drive the car a few blocks to cycle the trans and diff fluid. Raise car again on ramps and jacks to level trans. Check trans temp at 70degC or whatnot, drain or fill depending. Last check front diff fluid level after drive.

Last, will flash the updated “stg2” revision to the engine computer and end with the tcu flash to close things out!! Optomistic about the final product.

The curved piece is a heat shield for the driver CV joint.

I tried to search the part number on the bracket but was unsuccessful. It looks like a cable bracket of some kind.

Ed

That bracket bolts on the lateral cross member at the rear of the subframe and holds the connectors for the B1S1 & B3S1 O2 sensors.

He buried that in the middle of the paragraph like it’s no big deal…

One must point out and respect the level of detail that is going into this build. Kudos to you LTQ, if your goal was to have the nicest S6 in the country, you may be on track.

Will you clear bra the front end?

what diameter of pipe did you use?

Ha thanks man. Just saw this, appreciate it. Those pics are with the front brawd and ceramic’d.

I found these in my build file, know I went a tad larger due to lack of pipe options. I want to say 1.75"?


Thank you! Much appreciated. Will be doing this soon myself, so lets me order some decent pipe in advance.