Thank you very much for the reply. That’s the motivation I needed to tear into it. I will update the post when completed. Thanks again. Rob
How did you run your smoke test? I had similar issues and thought my smoke test was fine. Found out I ran it incorrectly and had a vacuum leak at the throttle body whoch seems to be fairly common.
That’s a good question and I probably didn’t do it right or thorough enough. Since I couldn’t find any how-to’s, I guessed. I removed the air/oil separator and ran it through the rubber line that runs below the intake manifold. That was the line I suspected. I’d love to know where the best place is to connect if you could offer any guidance on that. The hoses that run from the valve cover are new but there are a billion other hoses I’m not sure about.
I did spray starter fluid at the gasket locations around the throttle body, manifold and plenum and it didn’t seem to impact the idle at all.
Thank you.
It does seem to start once the car is up to temp but it could be because I don’t stomp on it until it’s warmed up.
I kept the pcv attached. Rubber gloves over the intake tubes and ran the smoke machine through the hose at the front on the intake manifold. Press the gas a couple of times to open the throttle bodies as well. The rubber gloves should be filled with smoke.
I did another smoke test in the way you mentioned and still saw no leaks.
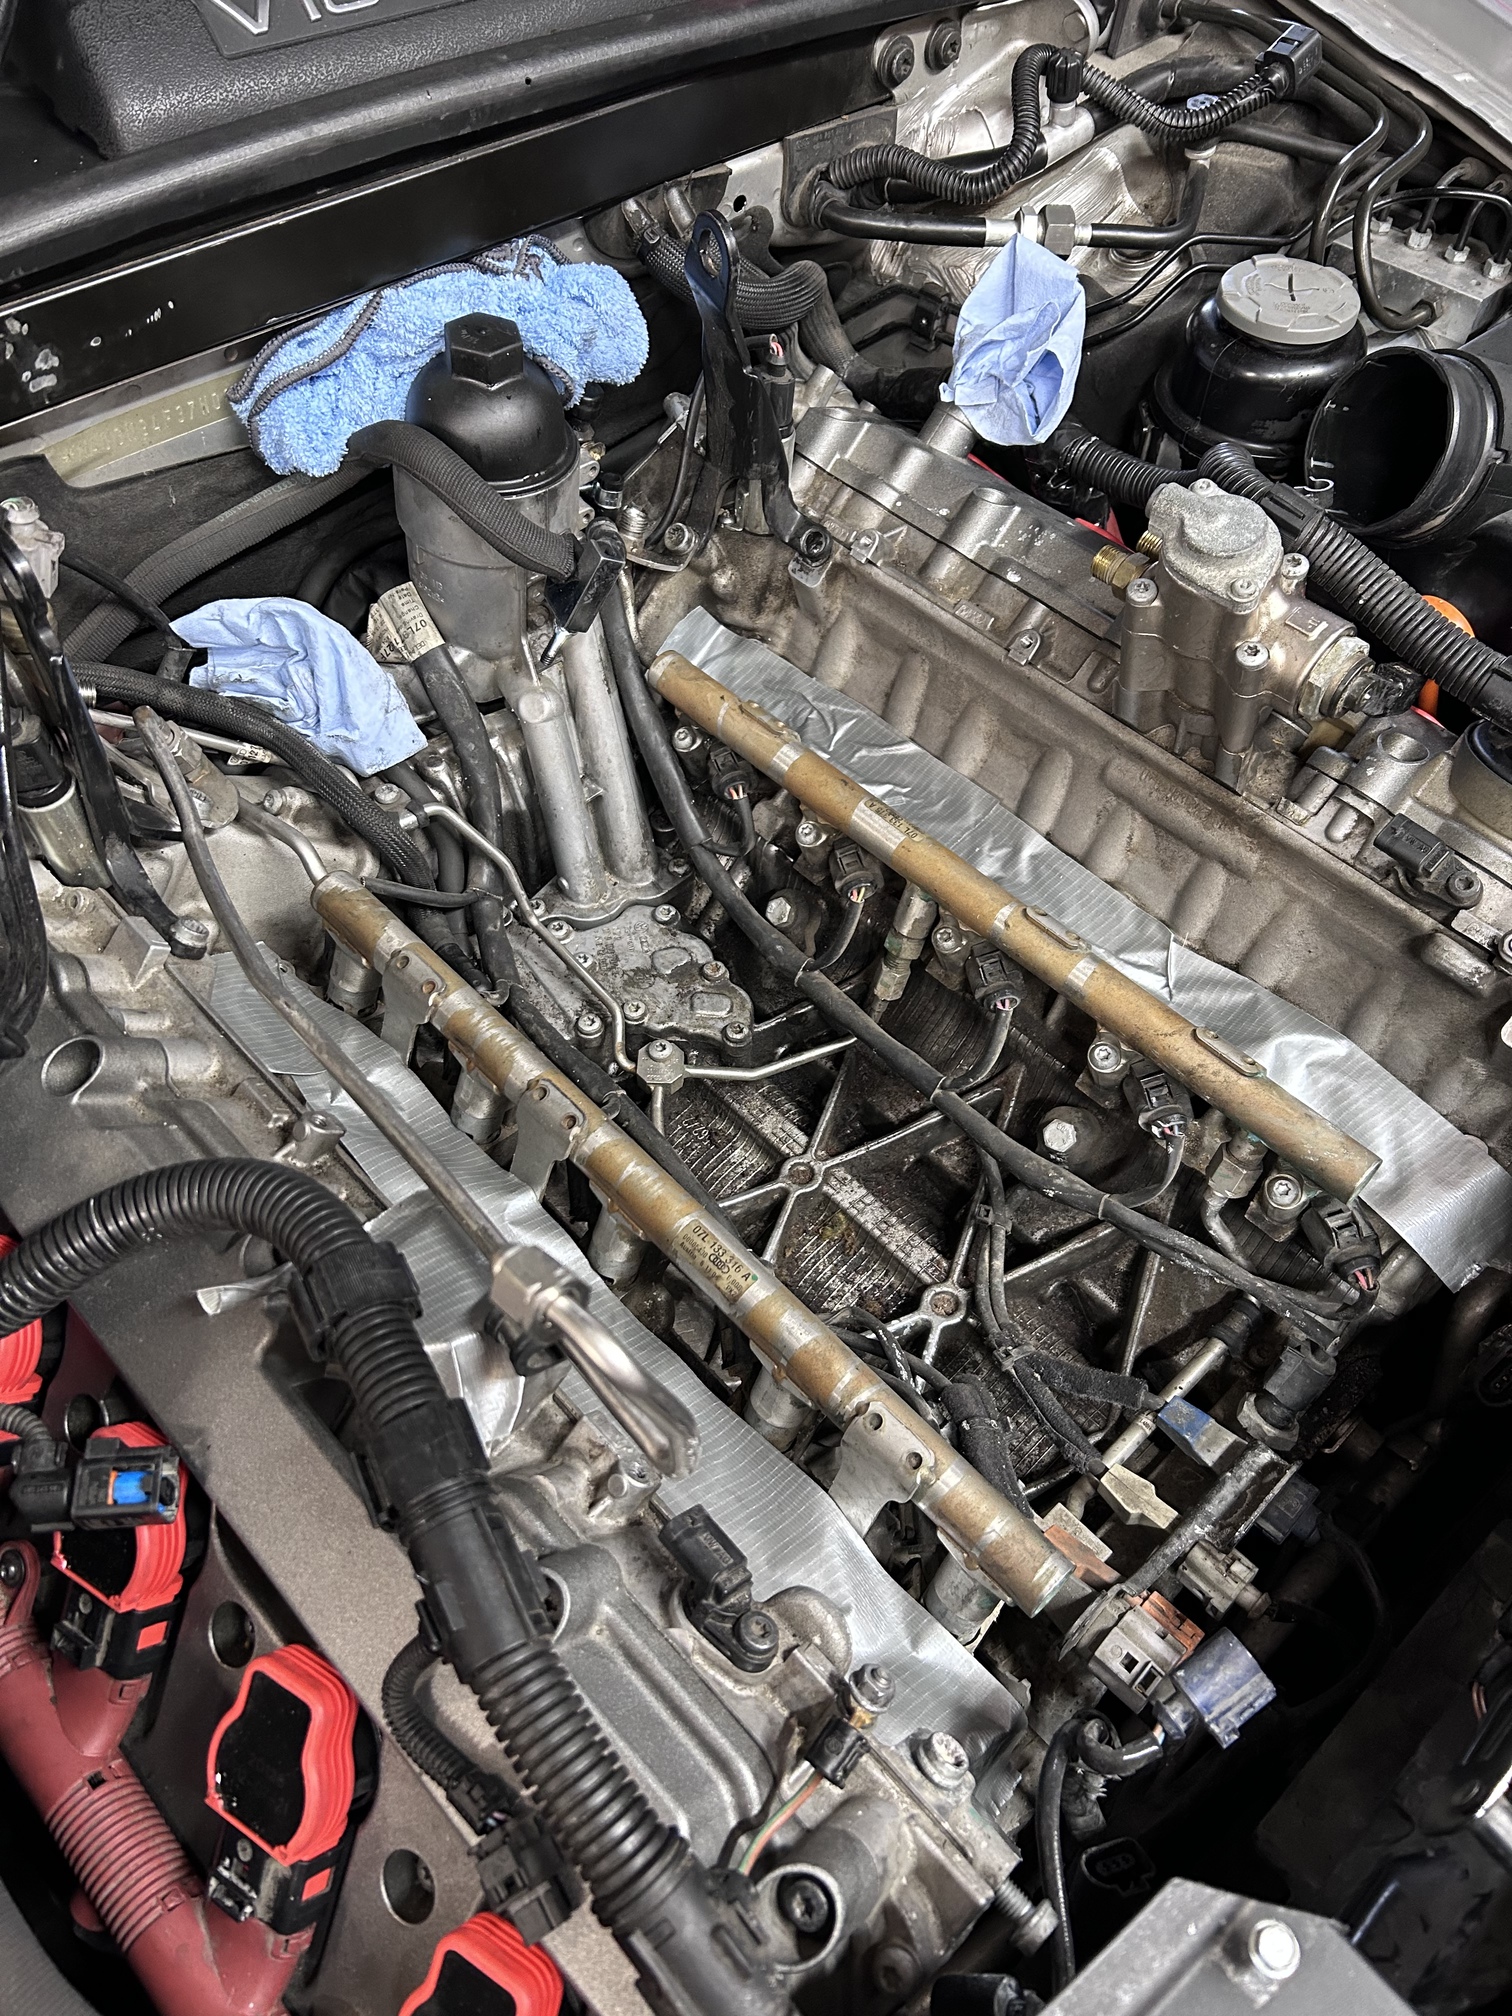
So I finally got the courage to start removing the intake to get to the fuel injectors.  . It’s probably going to take me a few weeks because I’m moving slow and very carefully. I will eventually report back…
Update:
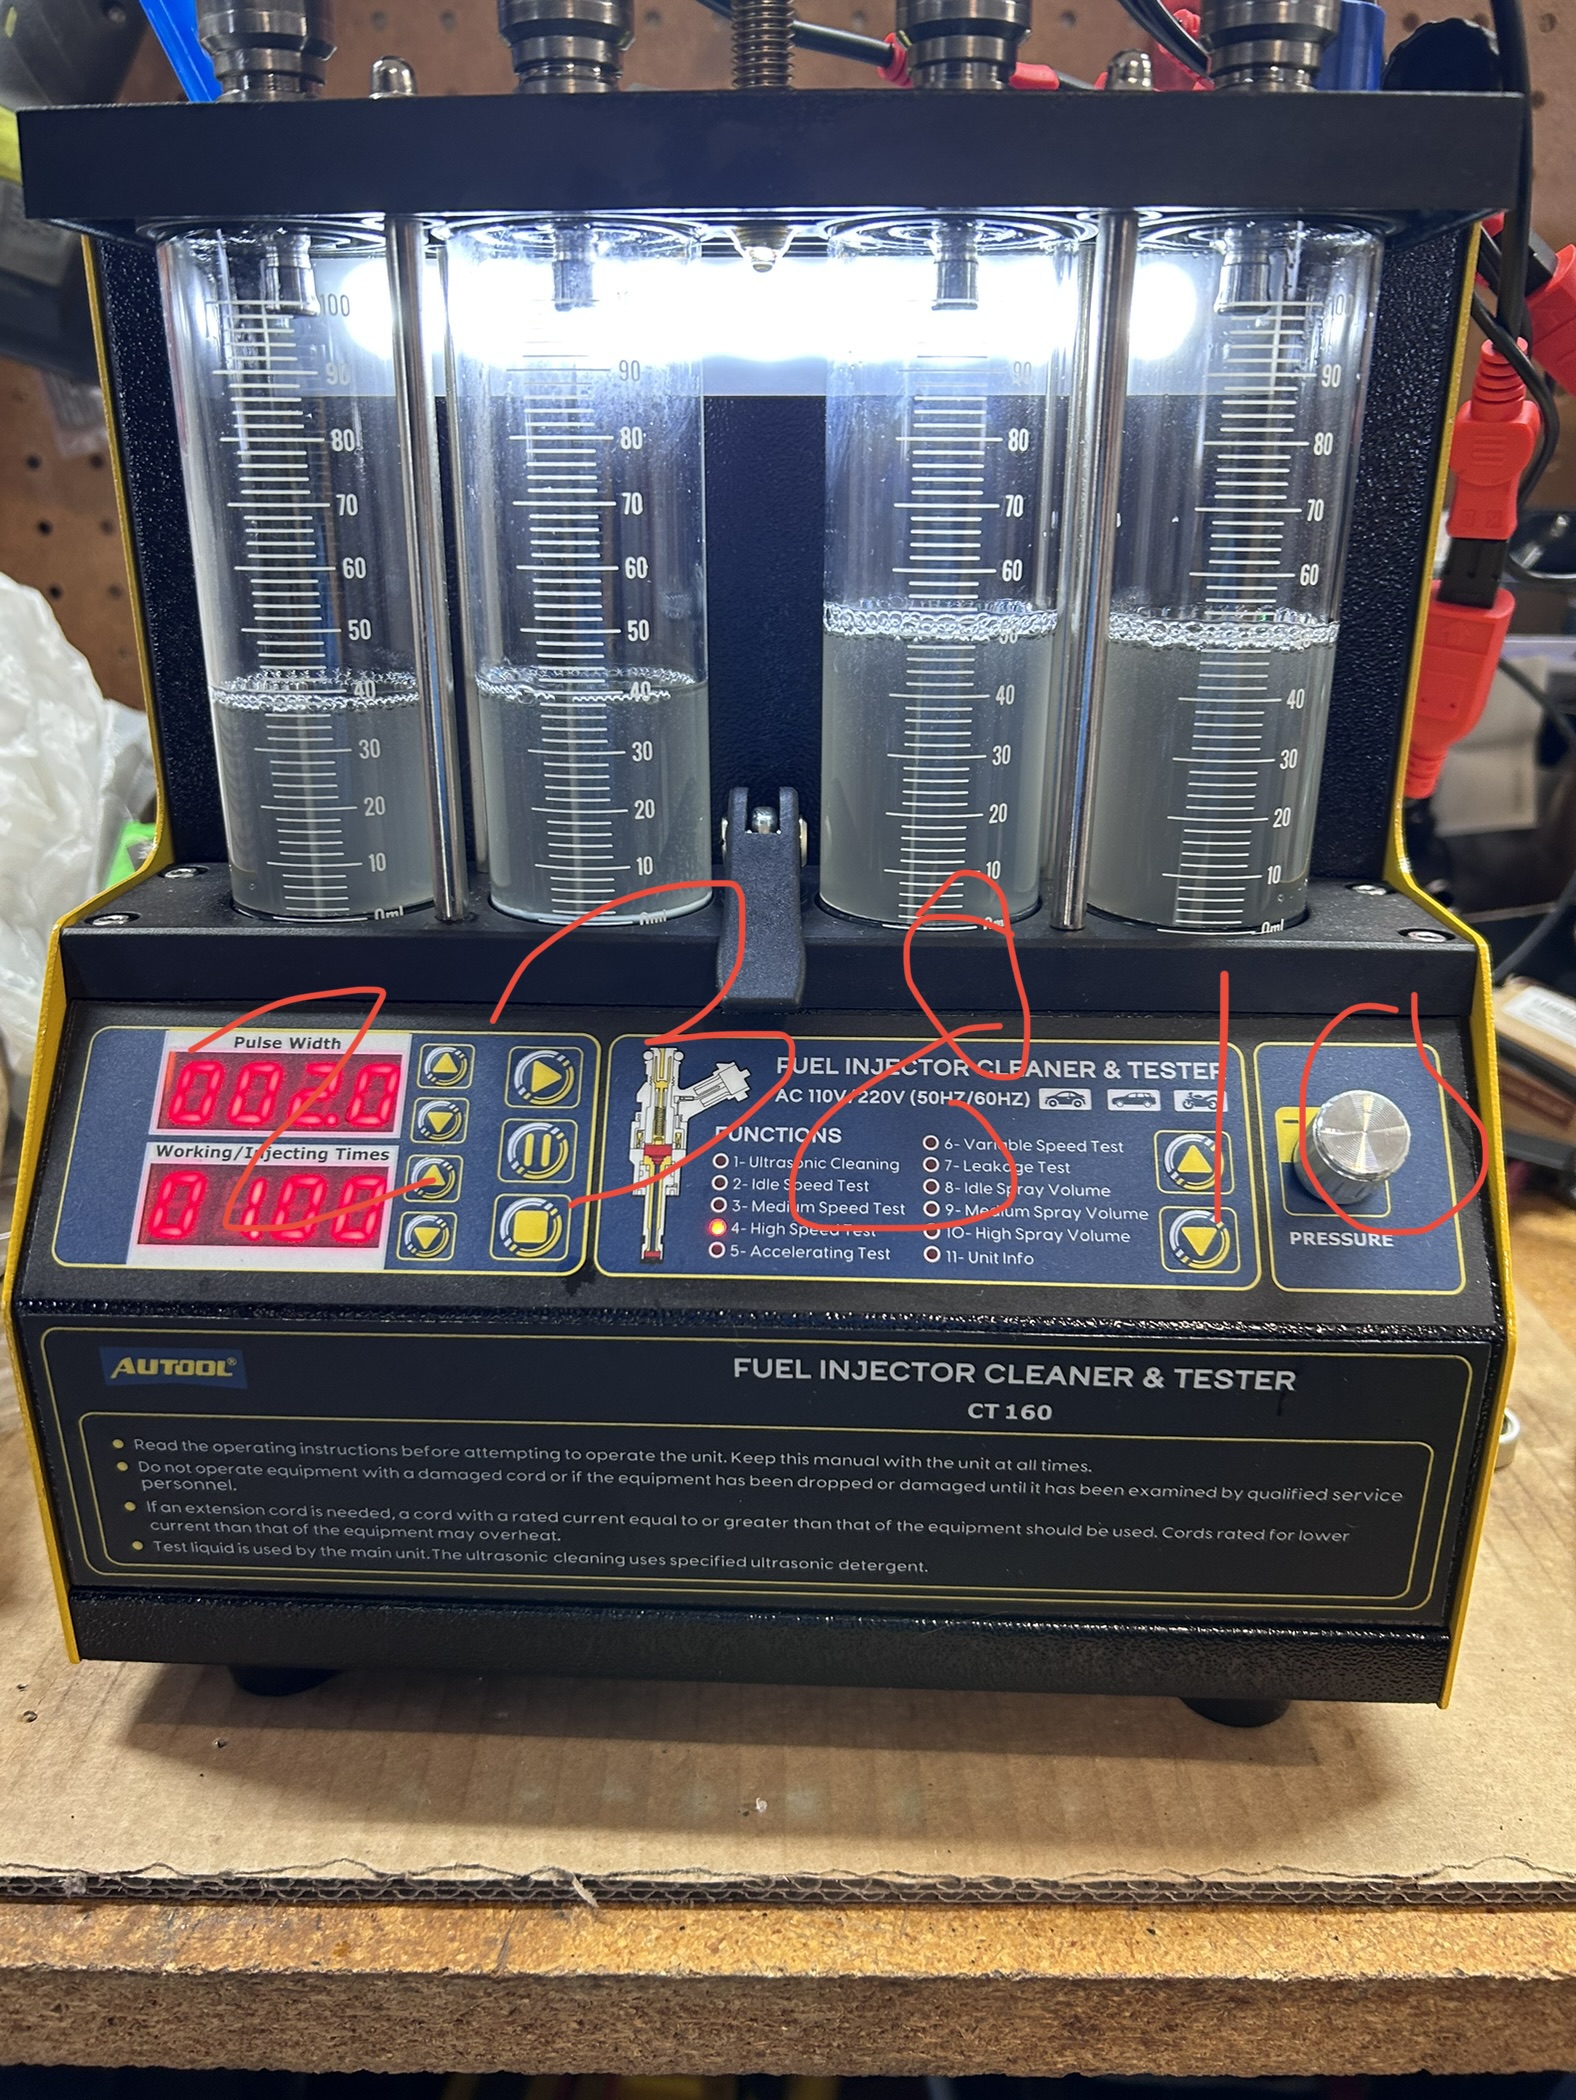
I can confirm that fuel injectors 2 and 3 shown on the left are bad or still clogged inside. This is after a lot of ultrasonic cleaning. All other injectors are even after ultrasonic cleaning. Interestingly, injector 3 had a paint mark on it like it was used. I was surprised how bad 3 was, but it had been missing quite a bit as well. I’m going to try and replace the filters and see if that works. If not, I’ll buy injectors.
Update:
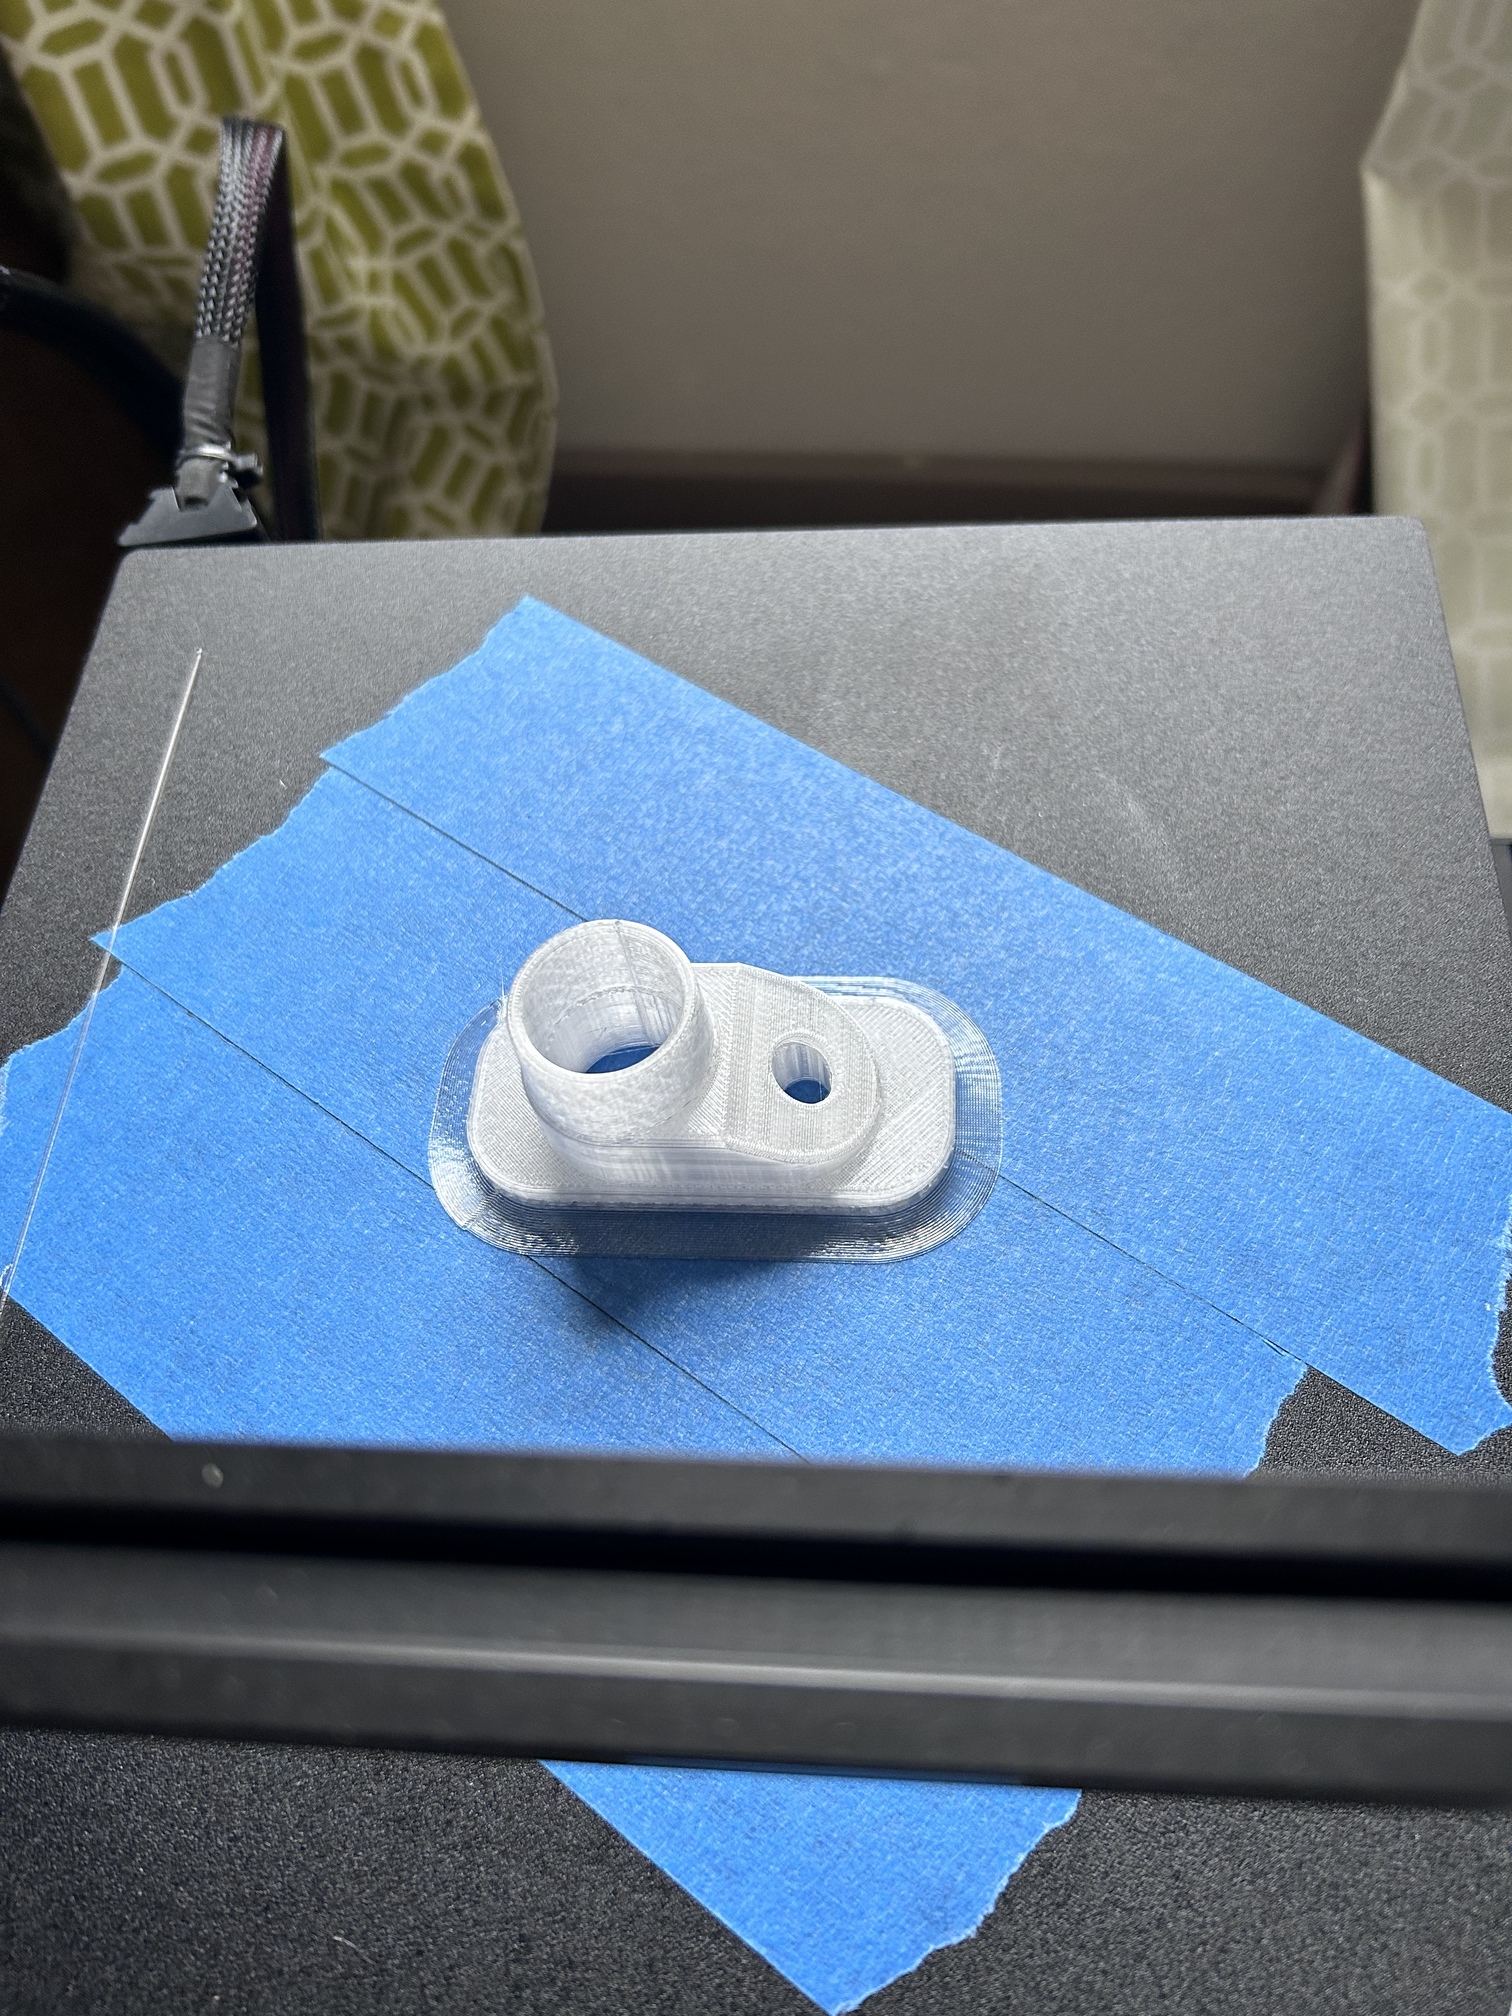
3D printed some injector adapters to backflow injectors. Same two proved bad even after backflow cleaning. Ordered two new injectors.
Injector filter baskets were gone. Only the brass and a tiny bit of plastic remained. Ordered and installed new stainless screens per other post on this site. Flow tested injectors again. No change.
Reassembled injector Teflon gaskets and gasket kit. Injectors are ready to be reinstalled, BUT…
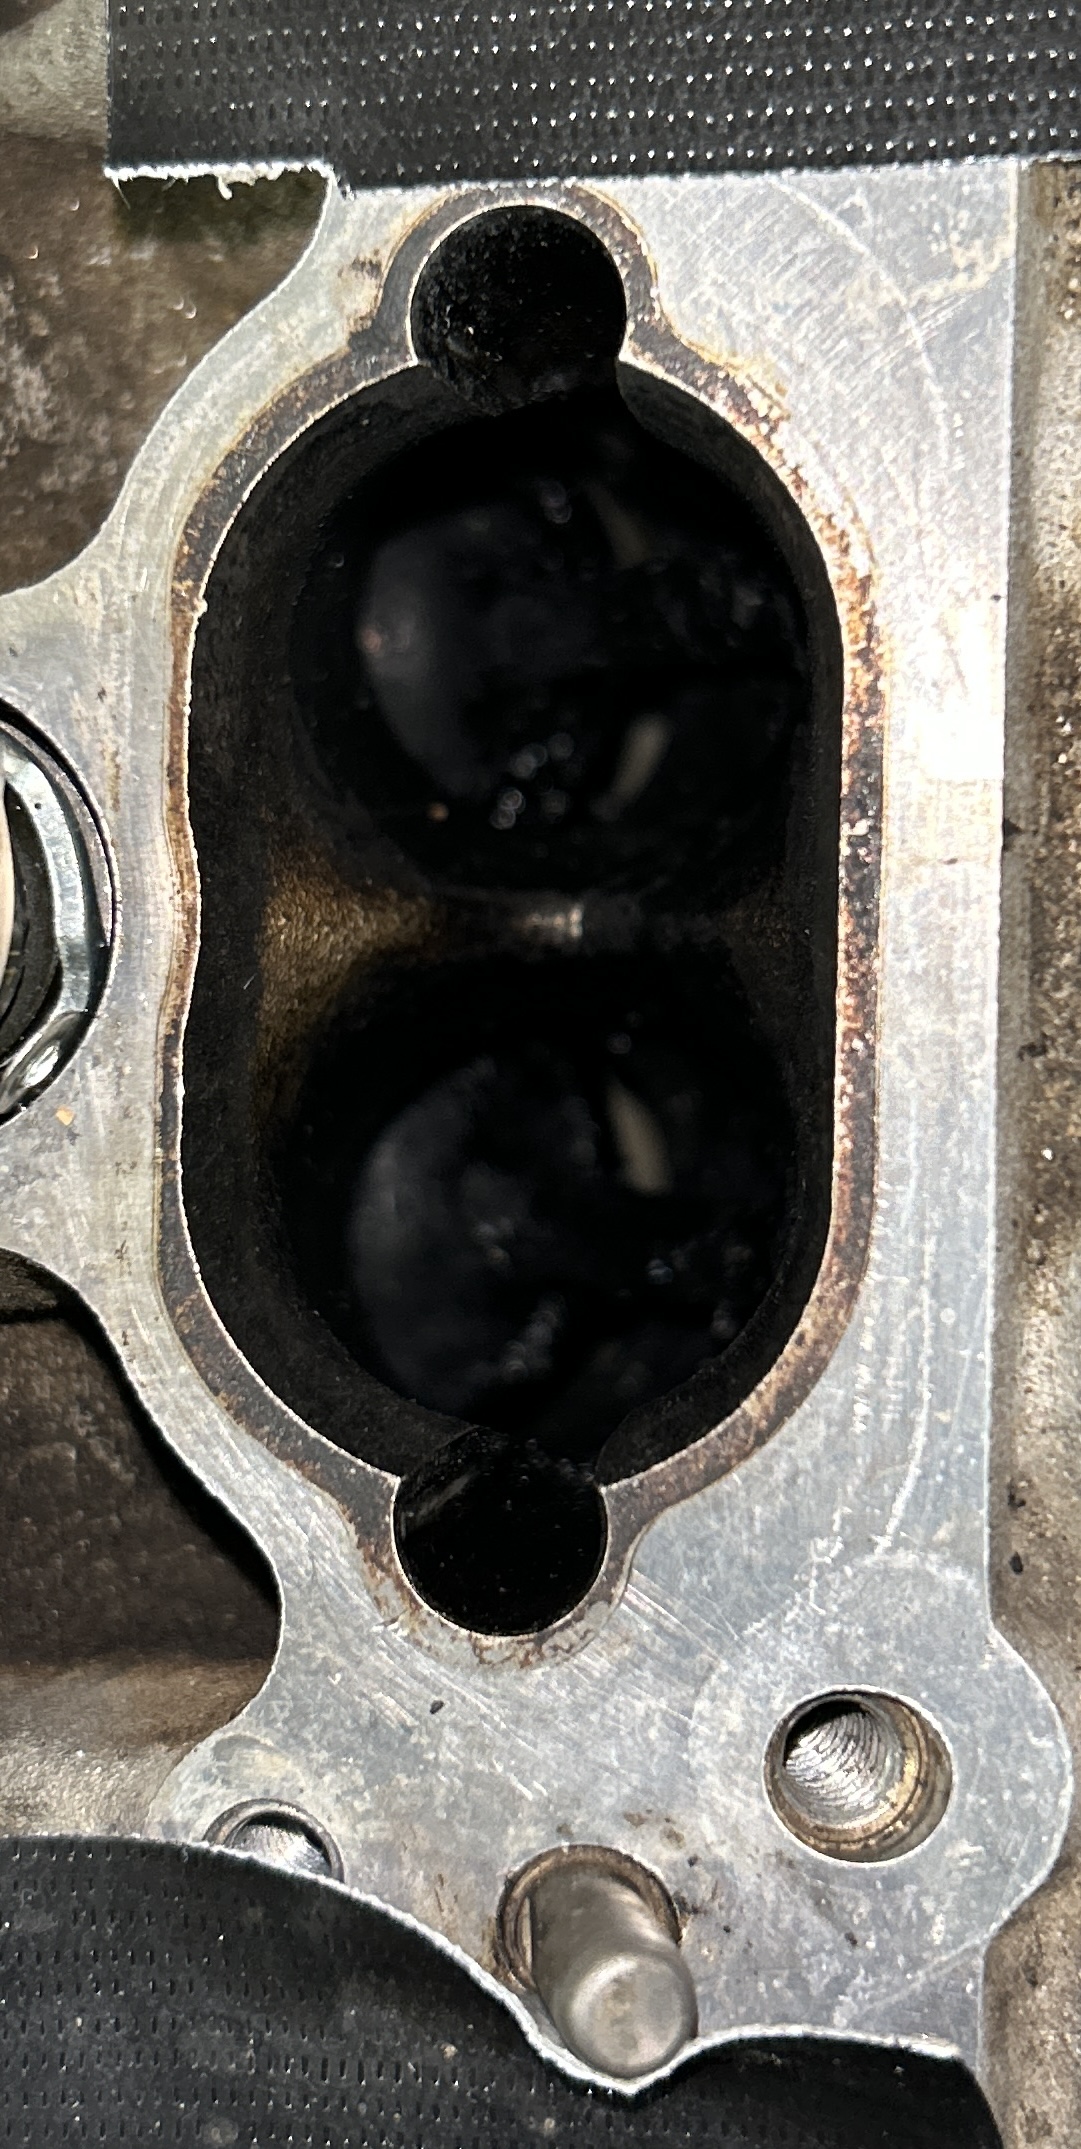
I’m taking a detour and going to walnut blast the valves. The previous owner said they were done about 20k miles ago which looks to be true since I spent about 2 hours painstakingly cleaning all the old walnut media. 3D printed media blasting adapter. Cleaning valves next weekend…
Have a great week!
WOW those injectors were in terrible condition. I think members really need to be aware of just how bad these injectors can be when they age.
That looks like almost 20% down on flow after cleaning. Is that about right?
Still cleaning the valves; I’m slow…lol
I’m wondering if there is a reason why people don’t use a steam cleaner to clean off the carbon? Steam makes quick work of removing old grease and dirt from the outside of engine. I would think that as long as you vacuumed out the water, use carb cleaner and compressed air to remove all the water, it should work, right? Thoughts? I’m guessing I’m missing something or someone would have done it by now.
I think that may be a great idea to try steam. I always use chemicals as the walnuts go everywhere.
Okay, I tried steam and it worked okay, but I wouldn’t recommend it over chemicals + walnut blasting + picks + bamboo skewers + brushes + a lot of time. 3 more cylinders to go. Hoping to put this monster back together next weekend.
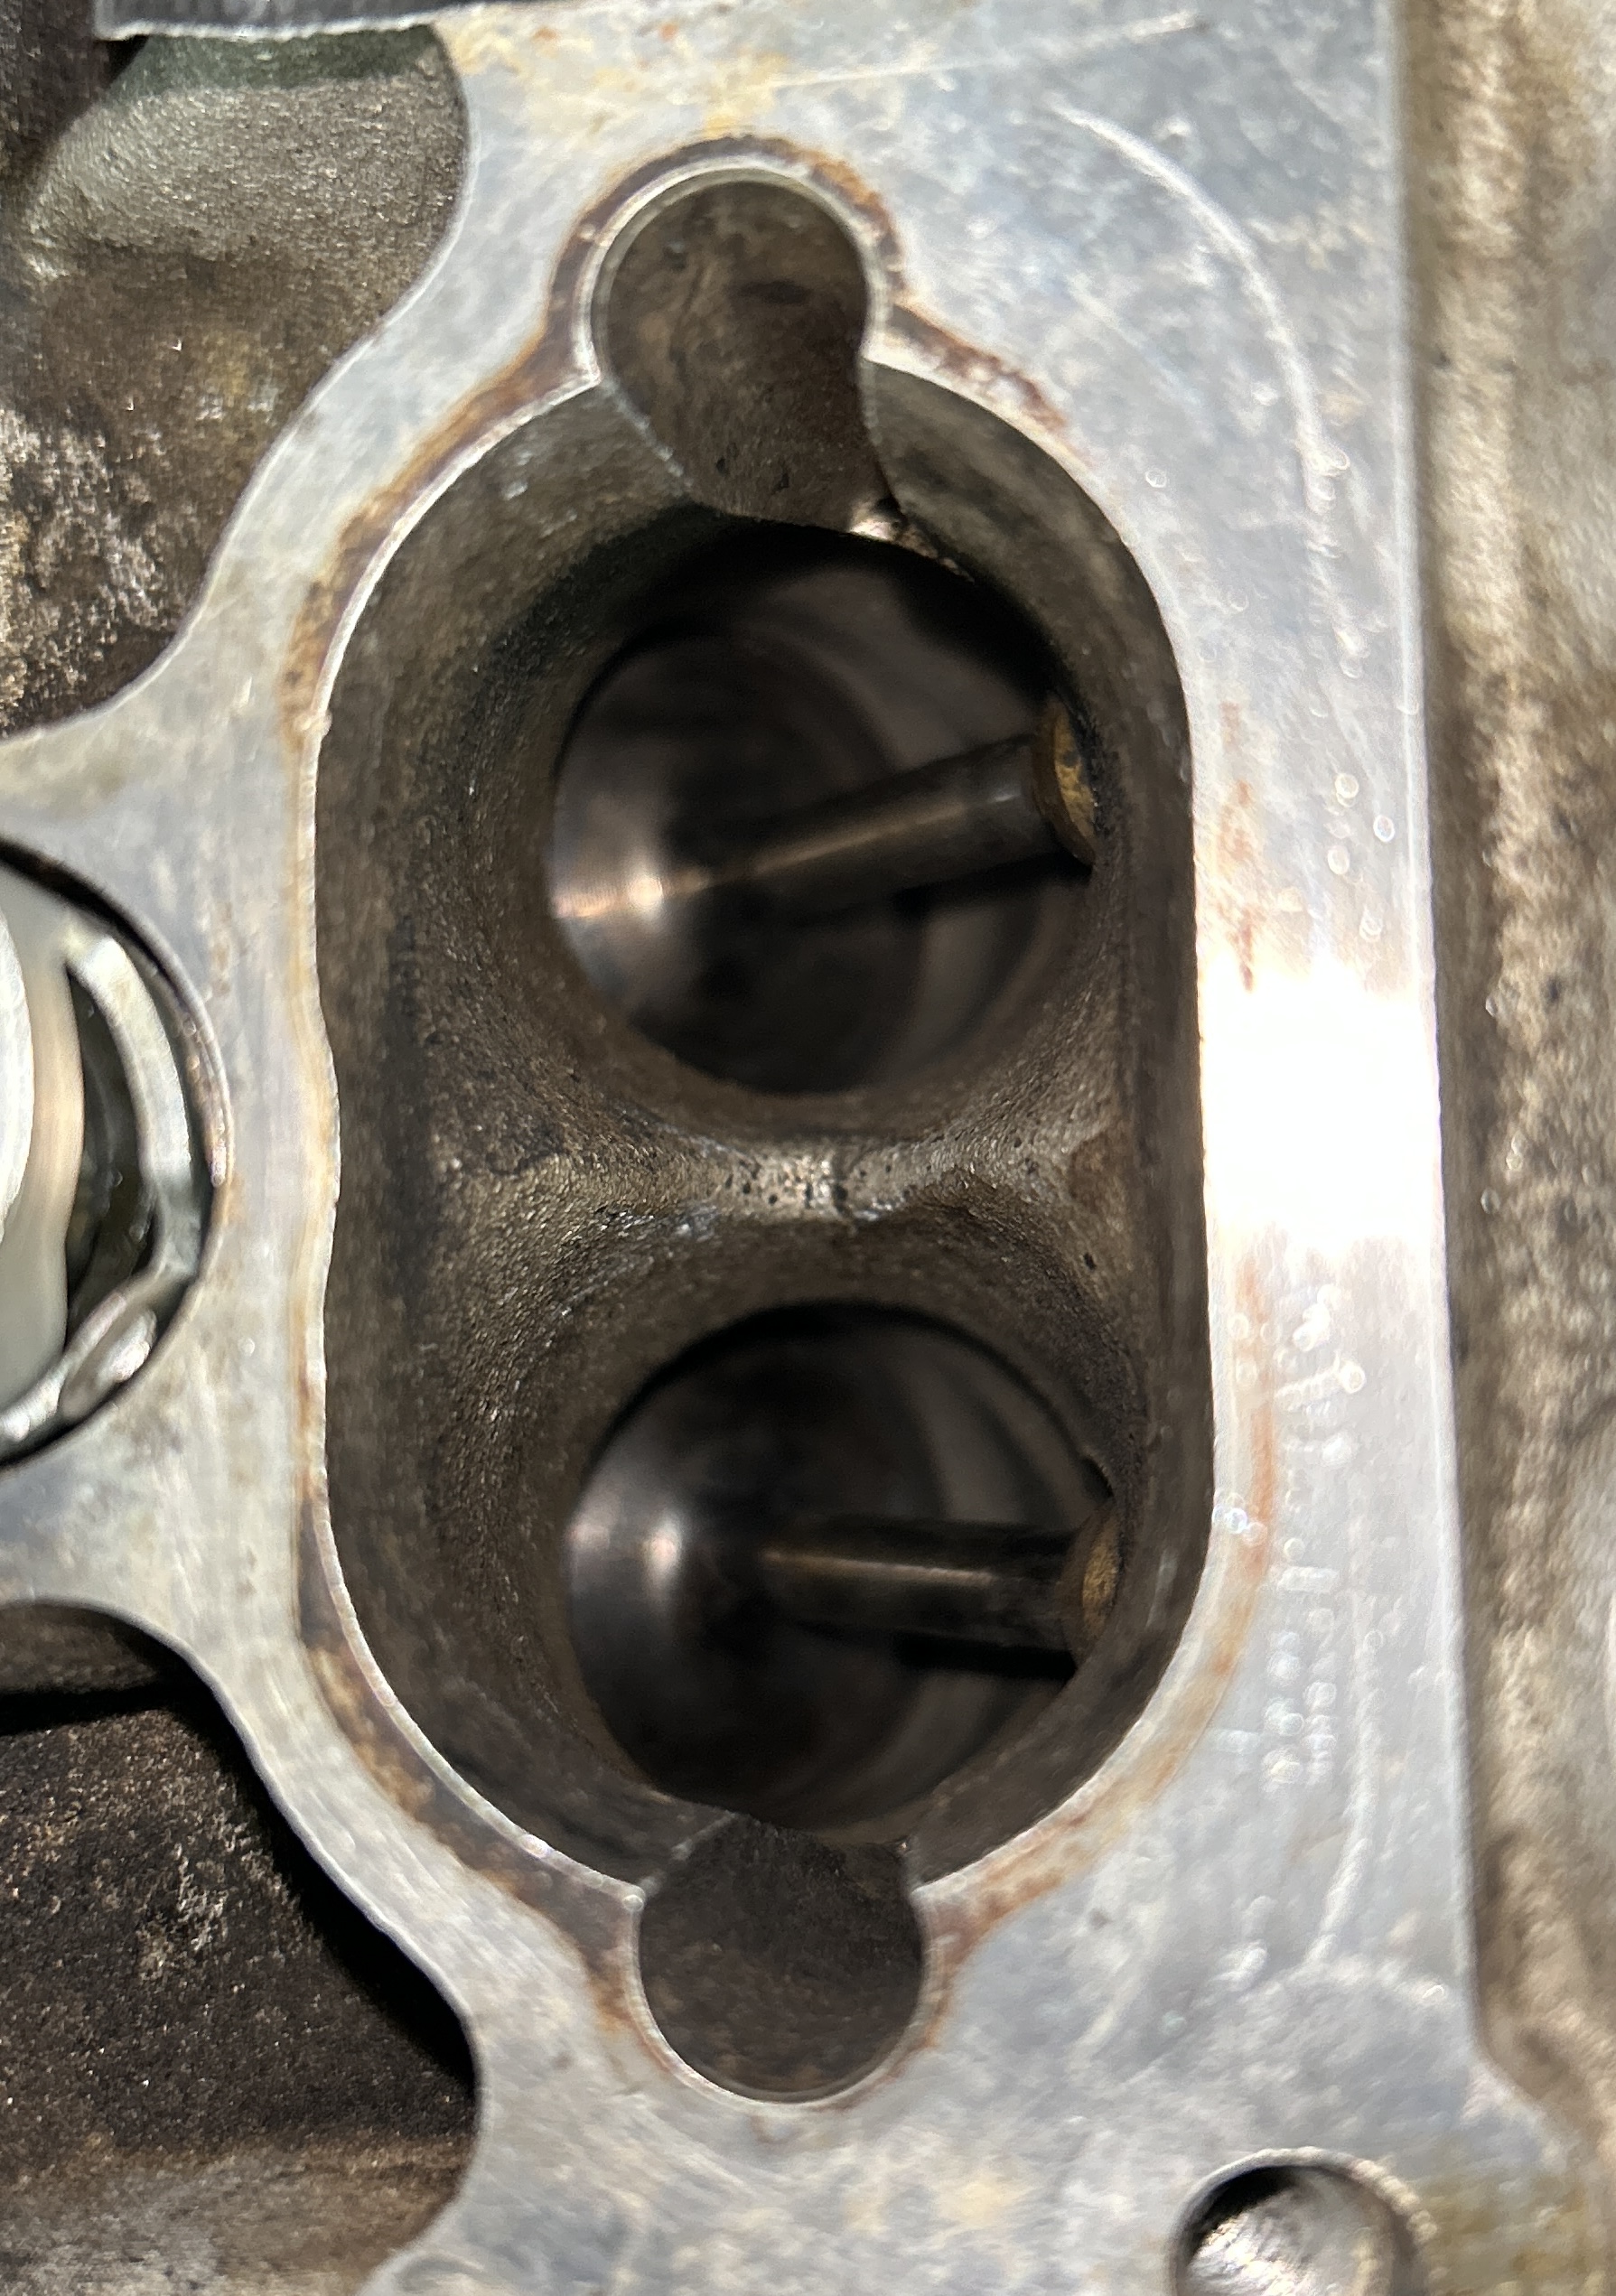
Got to the last cylinder and the valve was not completely sealed so I spent about 2 hours meticulously cleaning the valve seat and part of valve that touches the seat, while keeping the cylinder as clean as possible with vacuum and compressed air. I won’t be starting it until I get a endoscope down in the cylinder to see if there is any dirt. My endoscope died during this process of course. There was just the tiniest bit of hardened carbon causing an air leak. I would say if you have misfires after cleaning, then do a leak down test. I will be doing a leak down test on each cylinder before putting everything back together.
I ended up buying a 24mm oil filter cap socket at a local auto parts store for $10 which fits perfect on the alternator bolt to rotate the engine. I also used a set of “spoon” type scrapers which work great for cleaning off carbon. Just be super careful and don’t muscle it.
1 Like
I was wondering if there is a restart procedure after removing and cleaning injectors and cleaning intake valves? I was thinking about pressurizing the fuel lines to see if there are any leaks. Any tips or hints? Thank you!
I got the car buttoned up tonight. I charged the fuel system and heard a small leak at a fuel line fitting. Thankfully I could just barely reach it with a 17mm box end wrench. Once I got that tightened a bit more, the leak was gone. So I started the car and the EPS light came on for a second but cleared out quickly. No check engine light. It was running really smoothly but I still smelled gas. I found that the electric plug at the drivers side high pressure fuel pump had fuel dripping out of it. Has anyone had this happen? I’m guessing the seal at the electrical plug to the pump is failing? I cleaned it up, started the car again and it wasn’t leaking this time. The car seems to be running great, which I’m super excited about, but I’d like to fix the fuel leak. I did some searching on the forums and looks like I may not be the only one that has had this issue.
Well…uh…I had forgotten to connect the evap purge valve electrical connector and I may or may not have connected one of the MAFS. Doh! Lol. I’m guessing that is the reason for the leak and throwing the EPC code for a second. Must have been in closed loop. Ran perfectly in closed loop. Lol. Seems to be fine now and running smooth. I need to clear a few voltage related codes and hope that’s it.
Great to hear it’s all back up and running. A lot of work so it’s not uncommon if you’ve not taken off the intake several times to catch everything. It can take a day or two for the ECU and everything to settle.
The fuel leak is something I’d keep an eye on however. It’s common to have pesky leaks but you want to be careful and tend to them quickly. HpFp pumps have been known to leak past the seals and some have reported the leak just as you have. So keep an eye on that.
1 Like
Morning,
In my past experiences I was able to remove solenoid/sensor and reseal using new O-rings from one of my Caterpillar O-ring kits, also while I was at it I removed complete HpFp assy and ringed lower seal to head… simple and effective fix… Although in the past I have had to replace 1 solenoid/sensor due to leaking from center of cracked plastic housing… Good luck glad to hear you r progressing!!
1 Like
Thank you for those tips and encouragement. I appreciate it!
I took it out for a test drive around the neighborhood and it ran great and no more fuel leak, but I’ll be watching/smelling closely. Most importantly, no misfire shudder. The real test will be punching it at freeway speeds because that’s where the misfires really show up.
This forum is such a great resource. There’s no way I could have done that project without reading about how others did this. Thank you.