My S6 Full build from start till now

Thanks.

So latest update is about TCU, flashed yesterday and today easy driving so i dont have proper review due lazy driving, let’s wait to get it adapted.
But, noticed quicker and smooth shifting in D mode and normal driving, but on one quick acceleration it shift mucth quicker than before and its making good kick back in seat, never feel that before from my s6.

Also, i find out that ECU tune i did is version without cats, funny thing is i pass emissions test.

1 Like

Its a monster with Stage 2 ECU, once I found out that was for cat delete I went back to stage 1 so the cats wouldn’t clog faster.

TCU tune takes some getting used to, I asked about it and was told it accelerates more like an R8 now. Shifts are much firmer under heavy acceleration and it takes a lot less pedal to get up to speed now.

1 Like

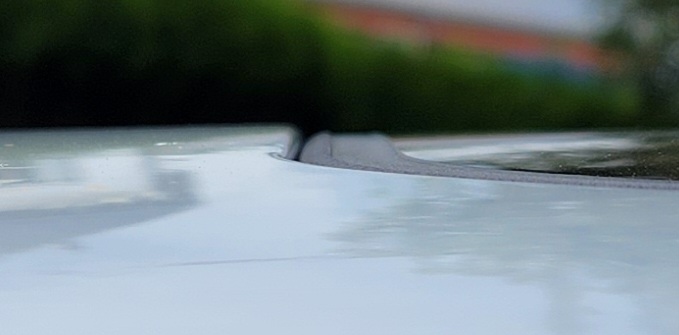
Replacing sunroof seal:
Decide to replace it due age, there was no damages or loss of hardness.

Tilt up sunroof. Remove side skirts, just pull them out, but be careful to not broke rubber

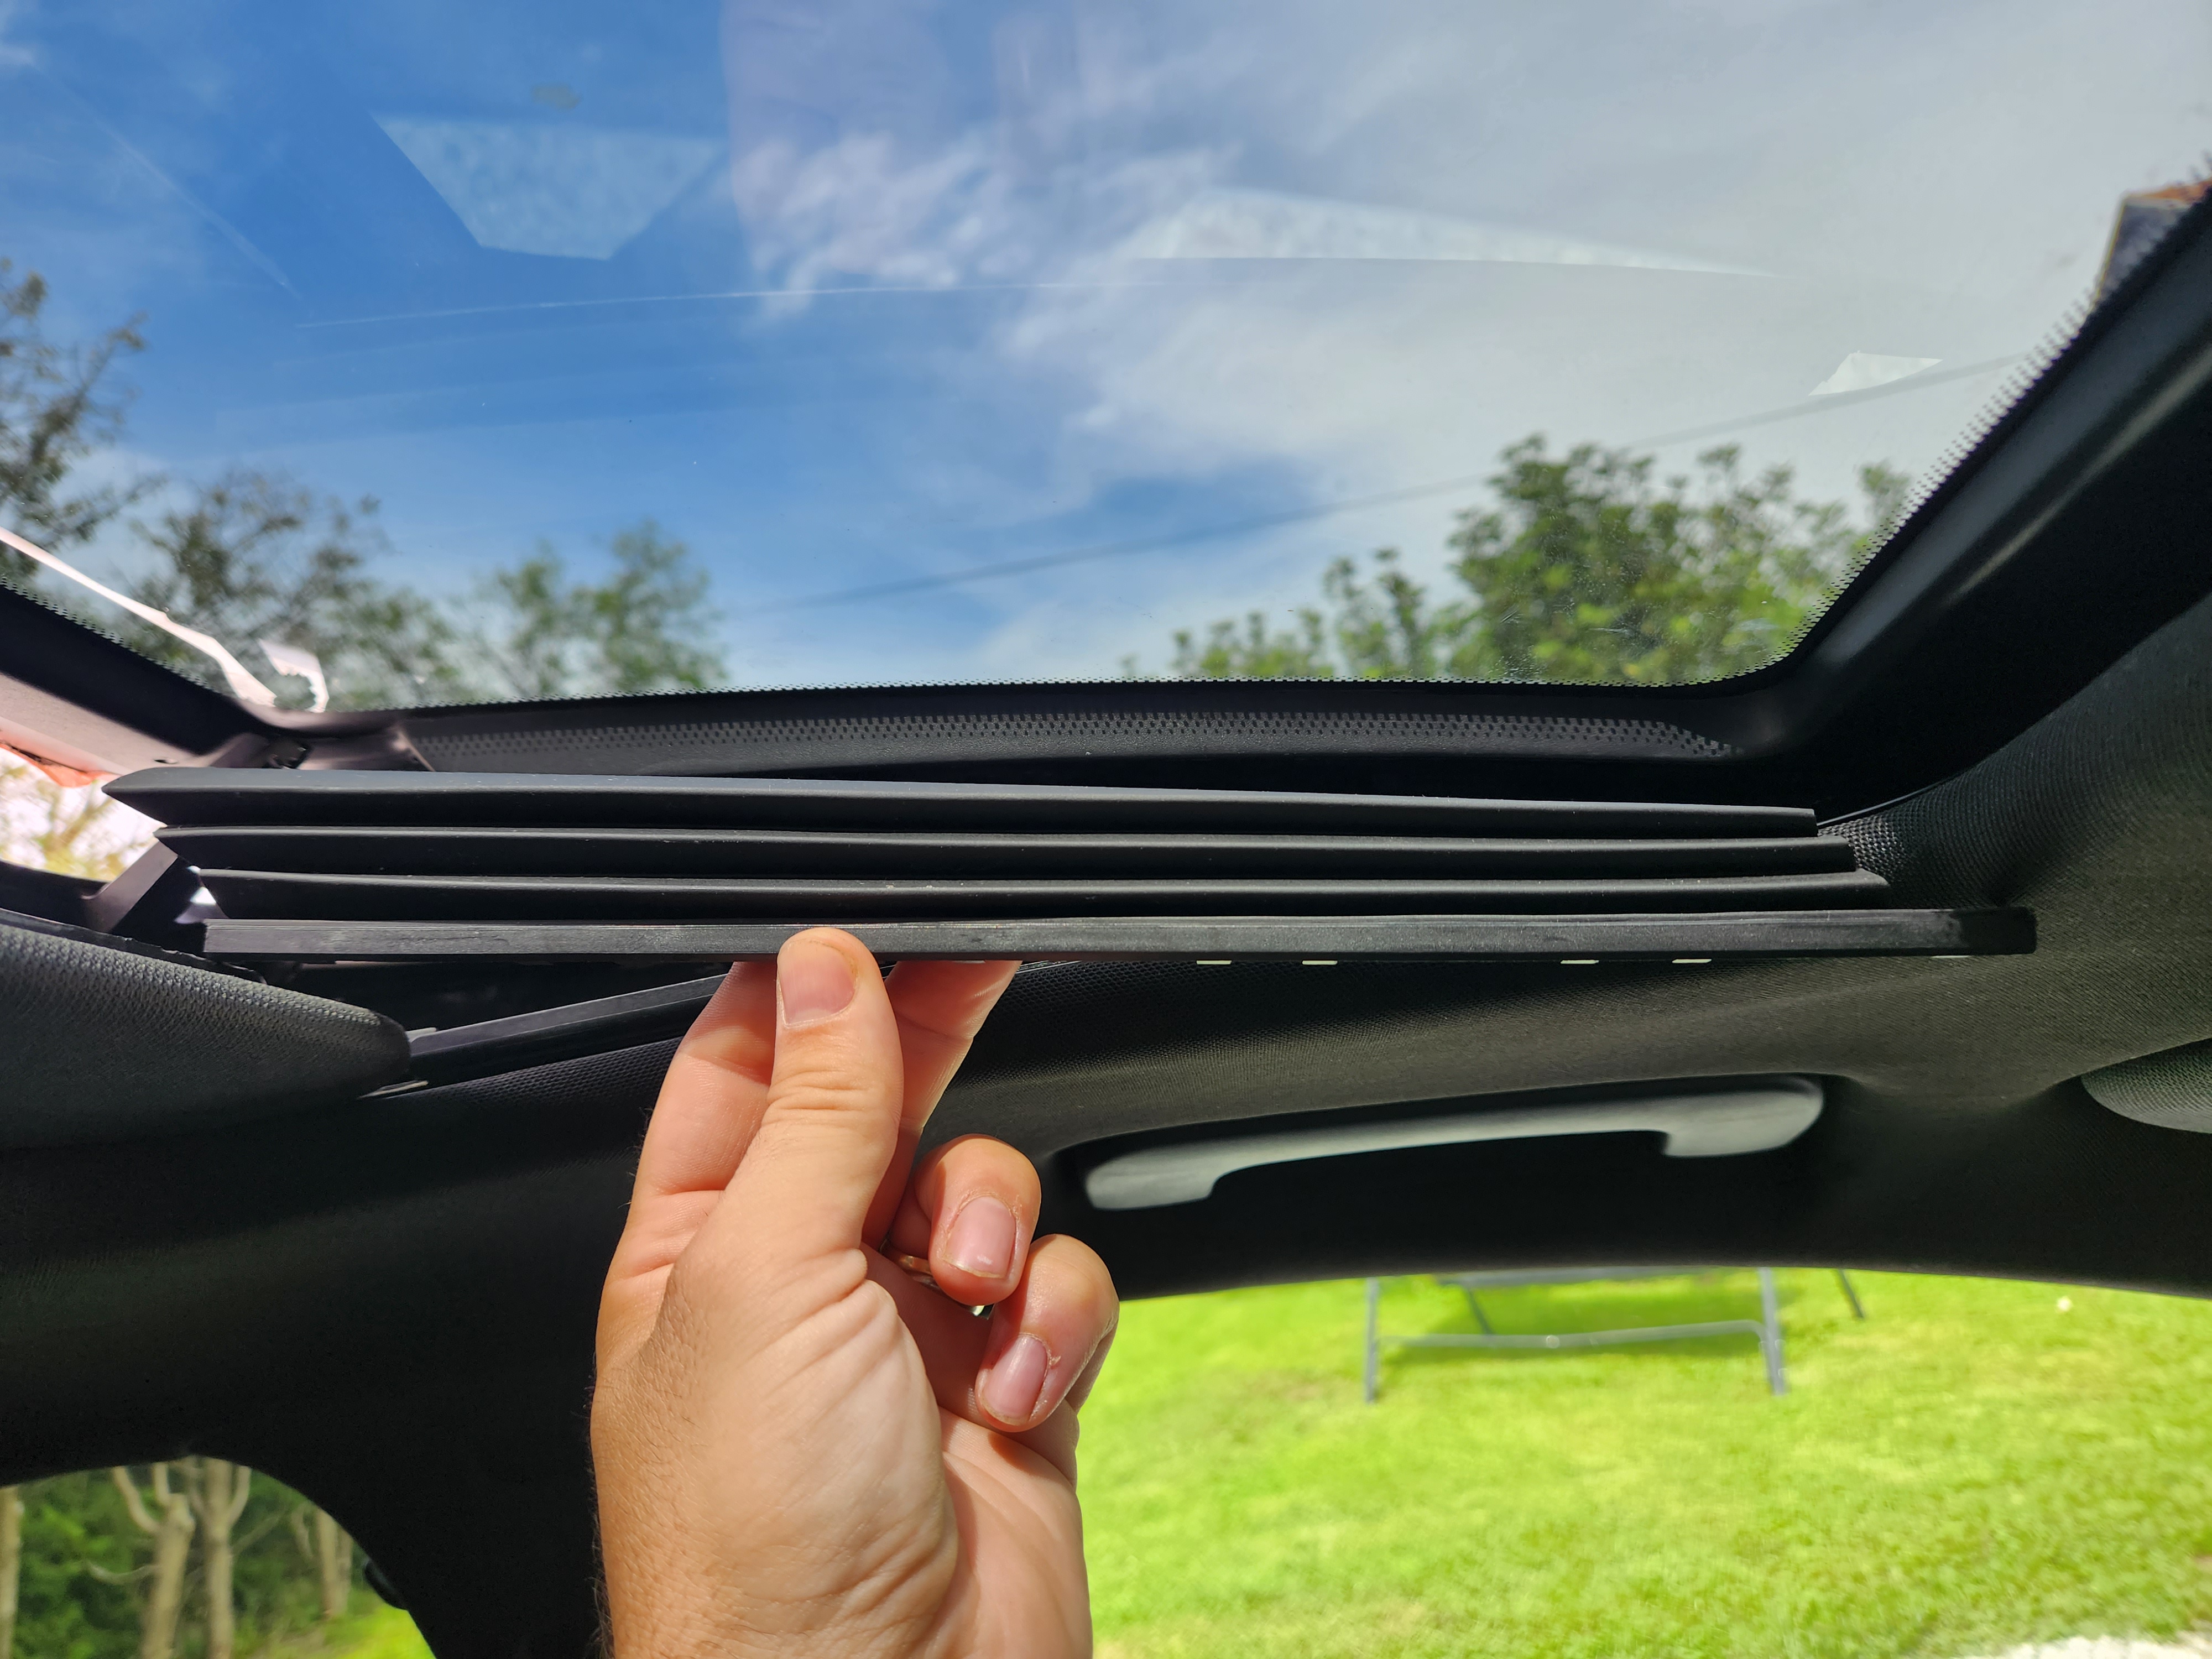
Unscrew 6x torx 25 bolts, 3 on each side, sunroof will drop but its ok

Push up glass and pick up from top, to remove seal its best from middle, just pull out and go arround

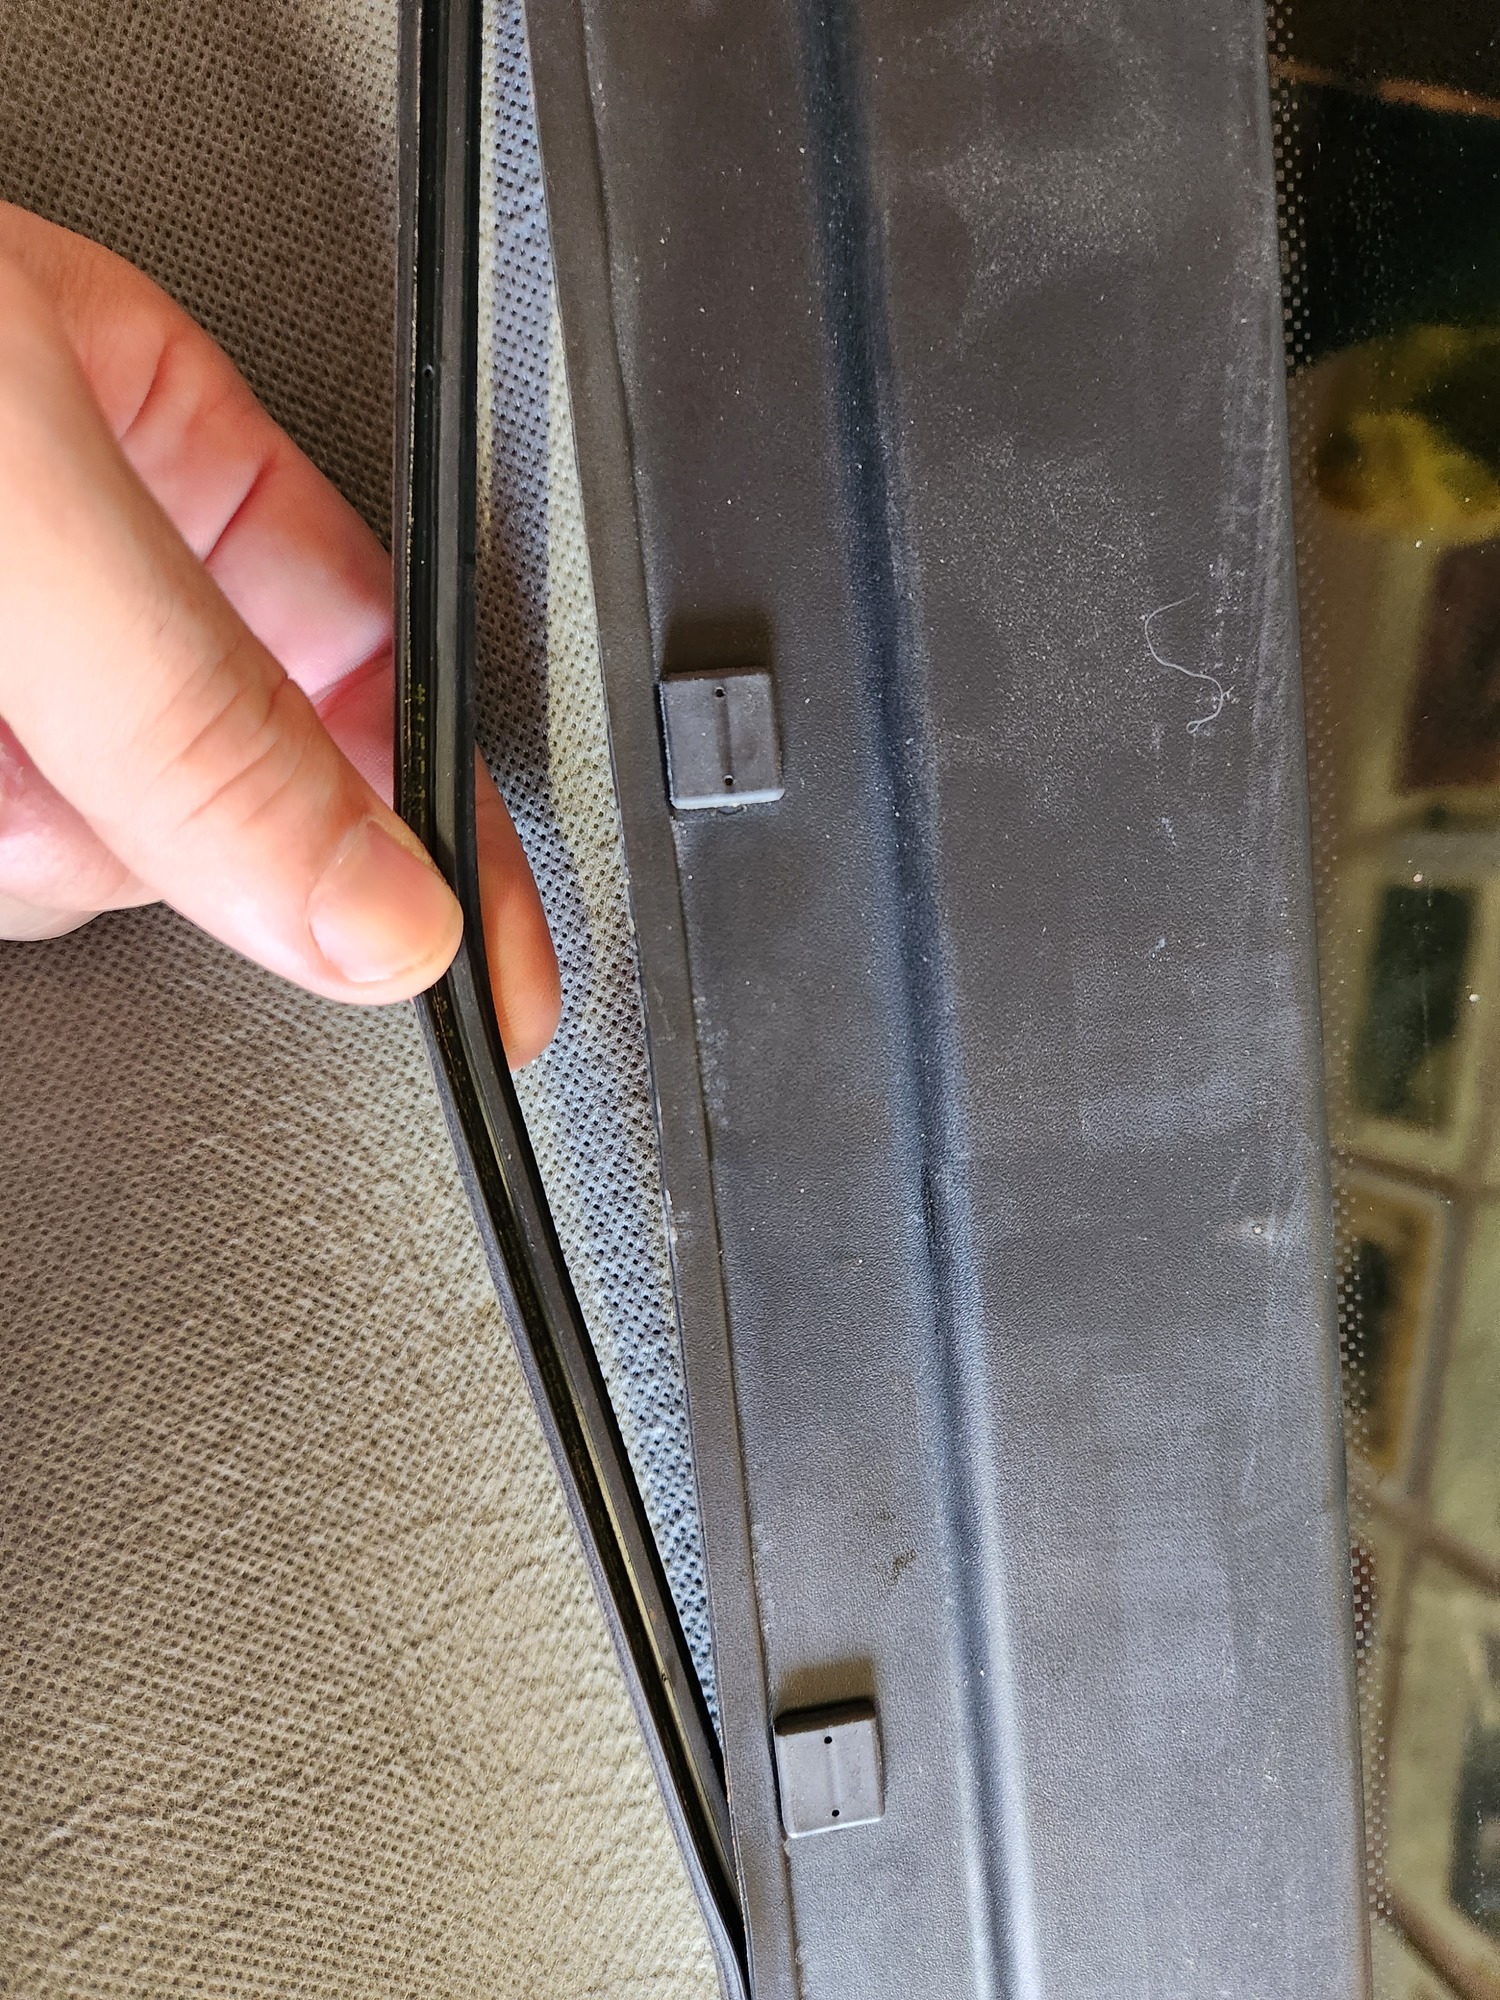
Once seal is removed, toke WD40 and any type of rag, clean all surface arround from derbs

Install new seal, there is UP and DOWN side, not shure if this effects wind deflection but top side edge is smooth and bottom have one grove, keep smooth side up

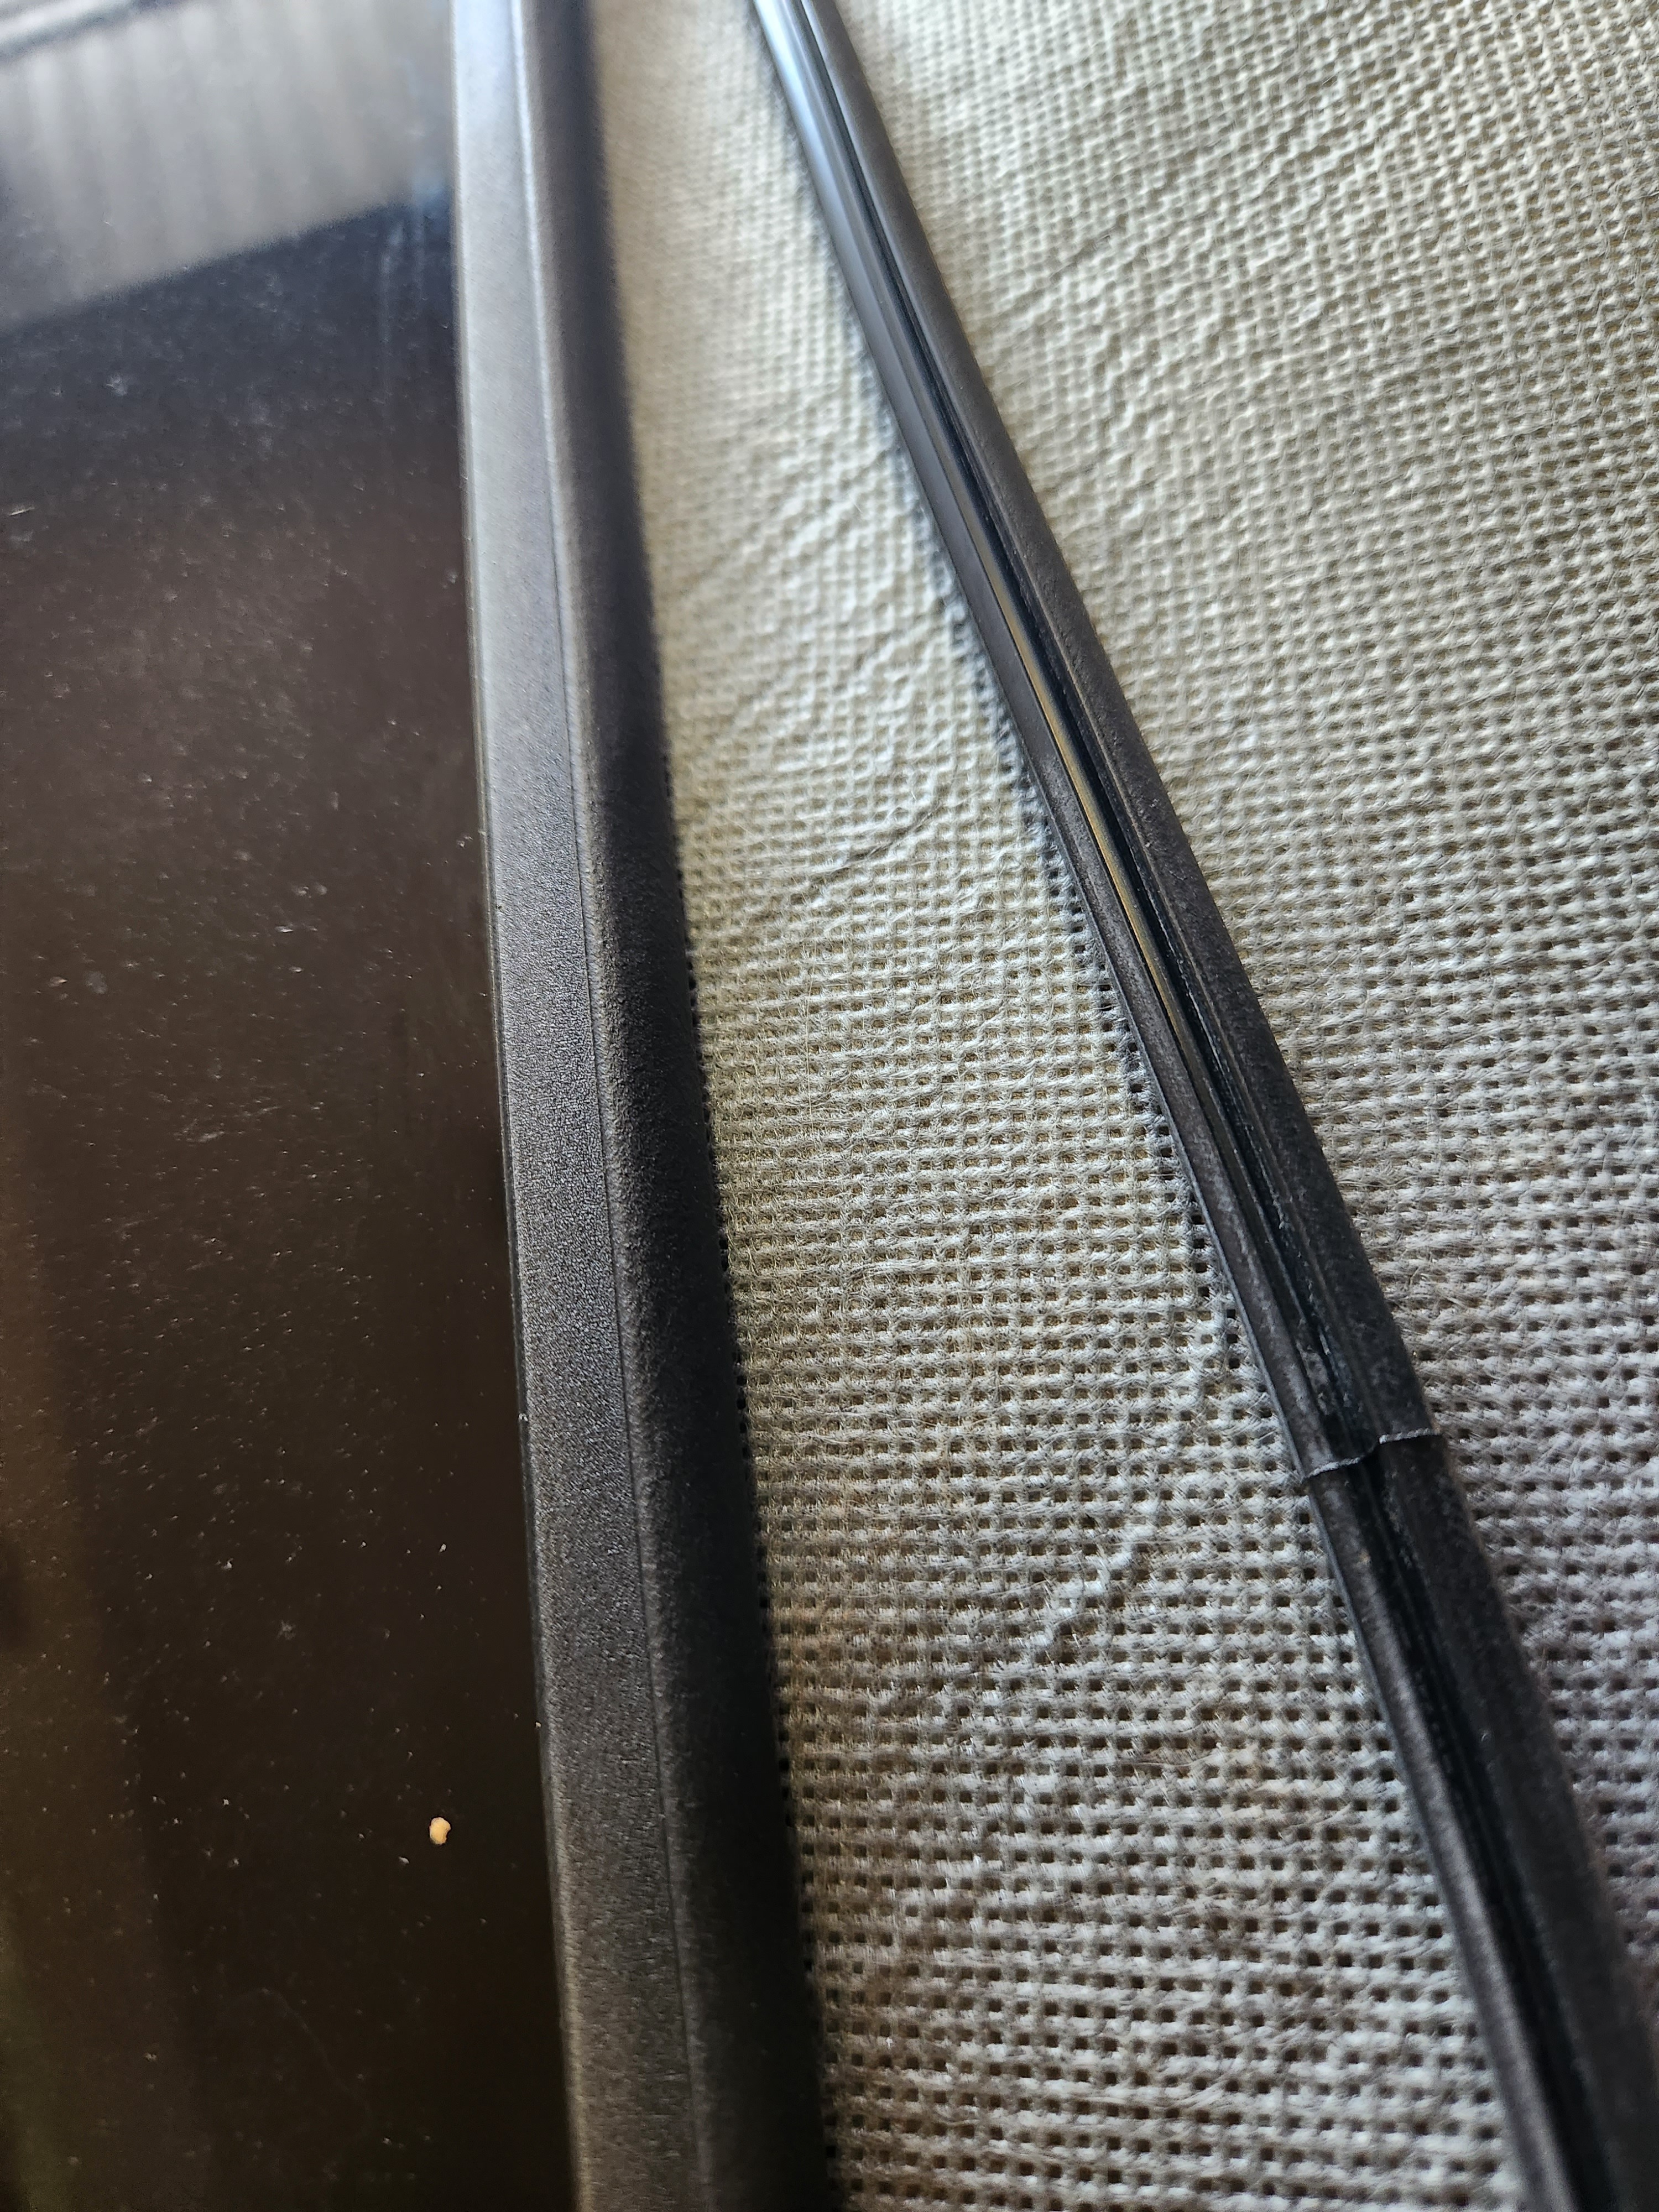
Before installing glass, clean up sunroof frame from derbs so new seal will sealed arrond on paint. Use WD40.
Same for sliding mechanism, now its good opportunity to do some cleaning and lubricate, WD40 good again.

After installing sunroof glass, slightly tide up all 6 bolts but keep them lose enough so glass can be adjusted by hands, after that close sunroof and adjust leveling.
Front side uf glass should be max 1mm below frame, rear side max 1mm above frame.

Front
20230810_170831

Rear
20230810_170819

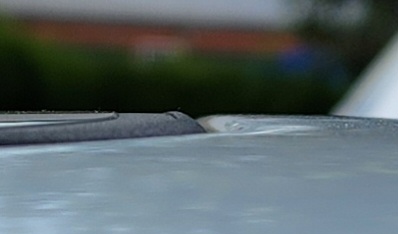
Once set up is done, DO NOT OPEN sunroof, tide up all 6 bolts up to 4.5Nm, or best practice hand-tide.
Do function test, if all work fine install side skirts.

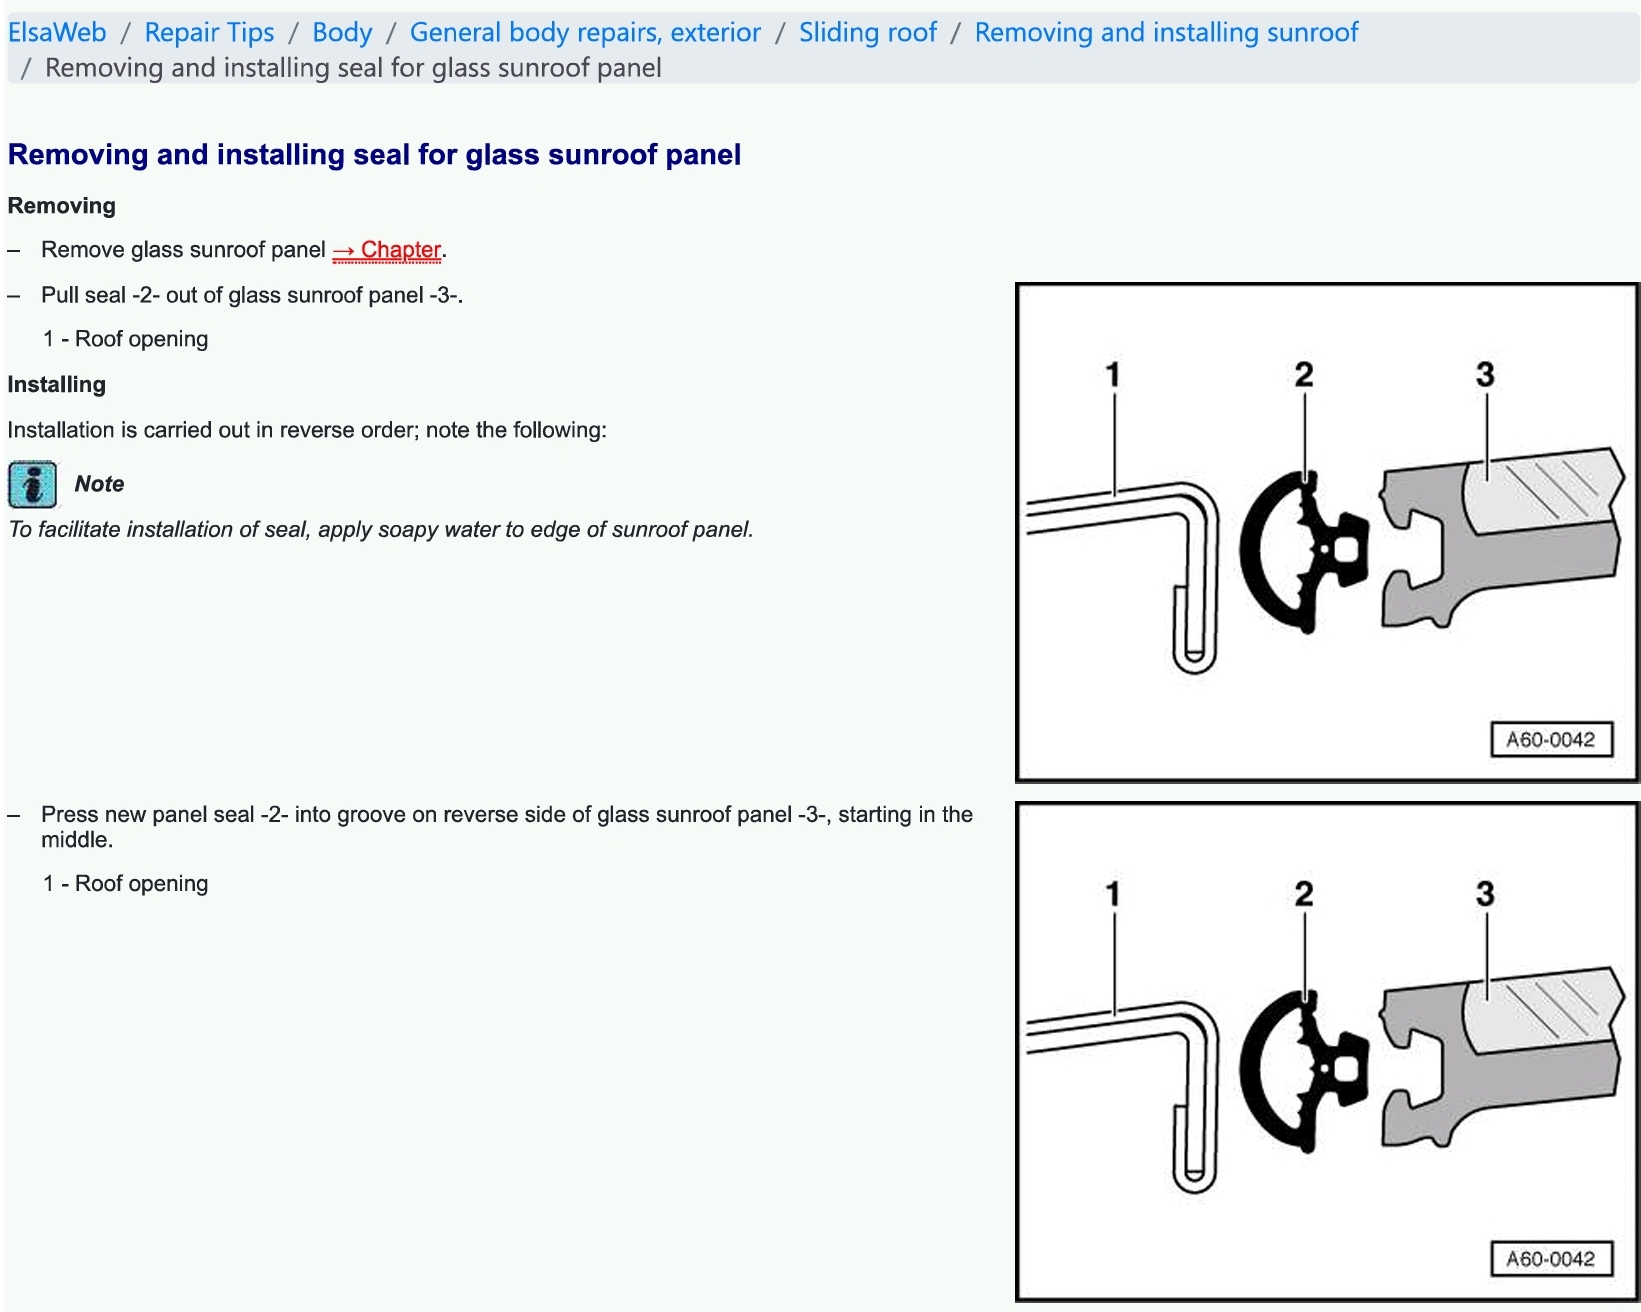
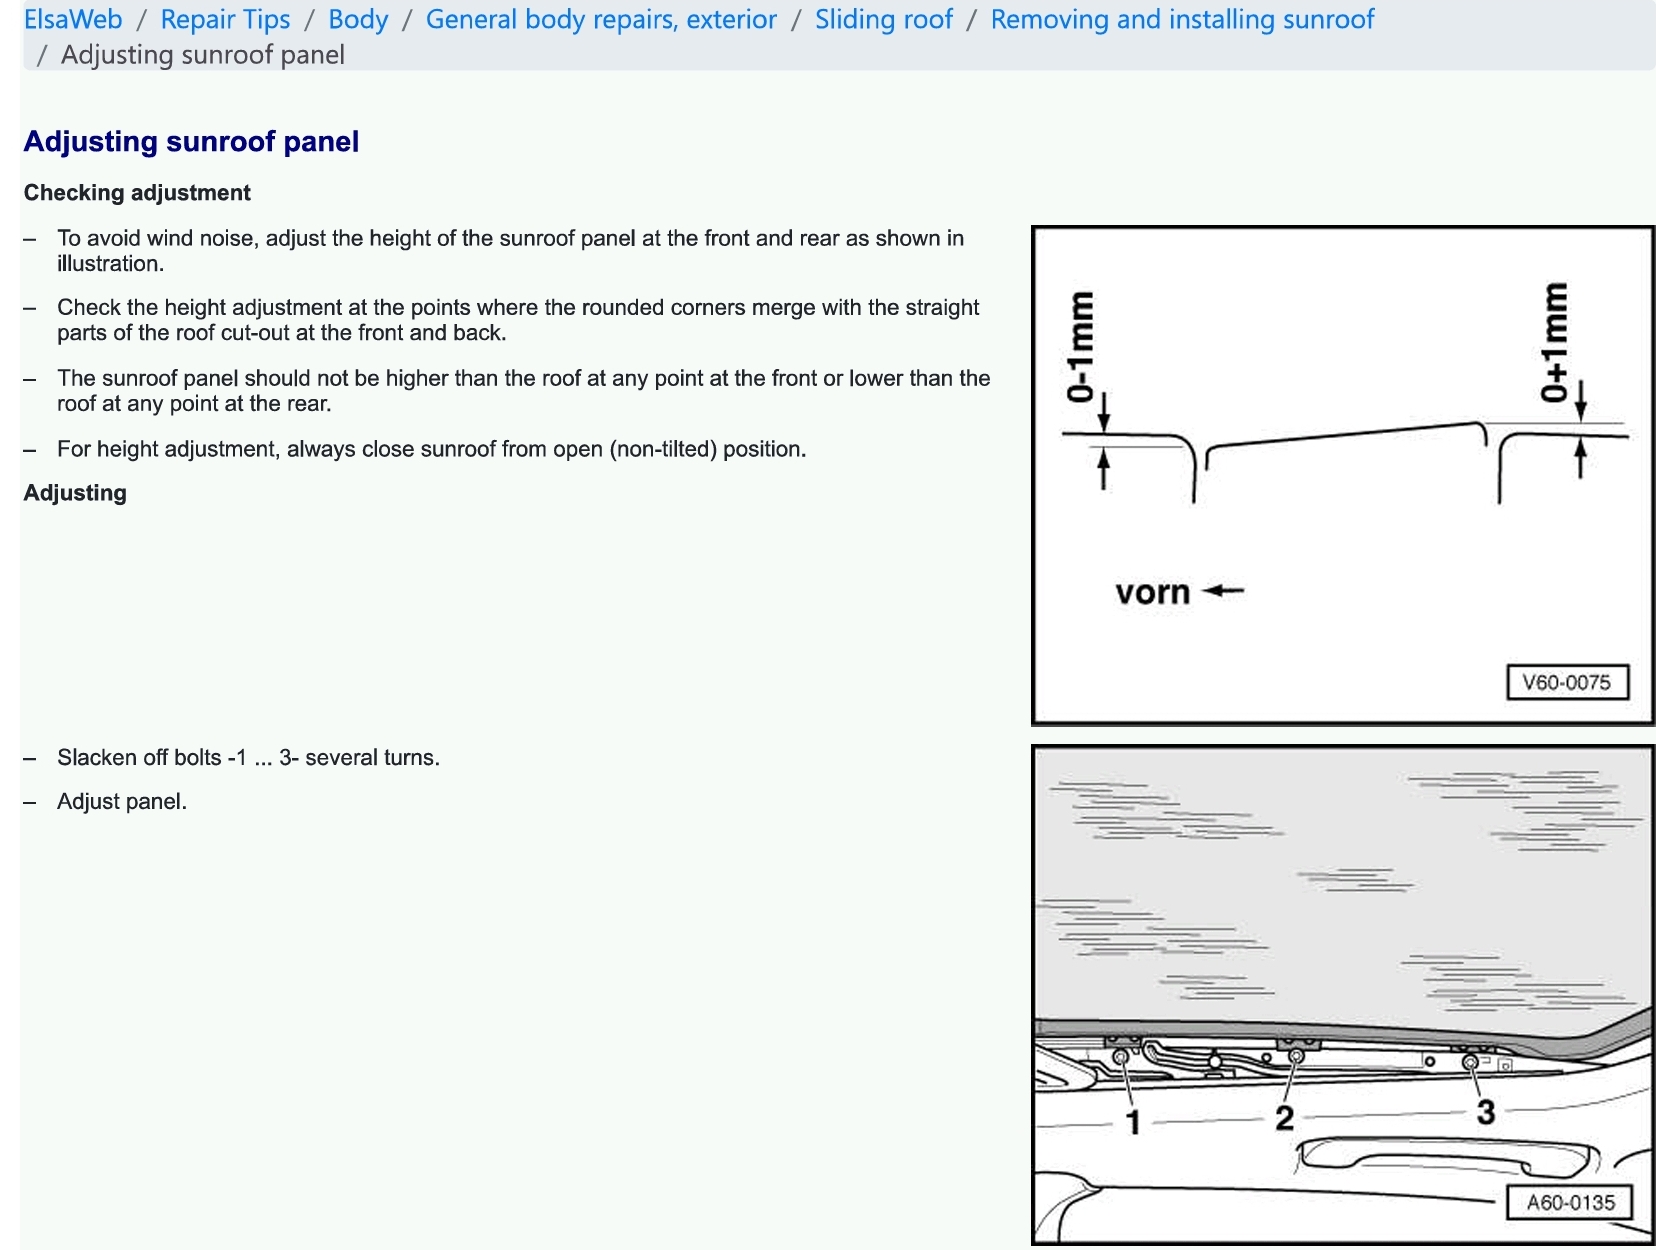
Some documents for reference from Elsa
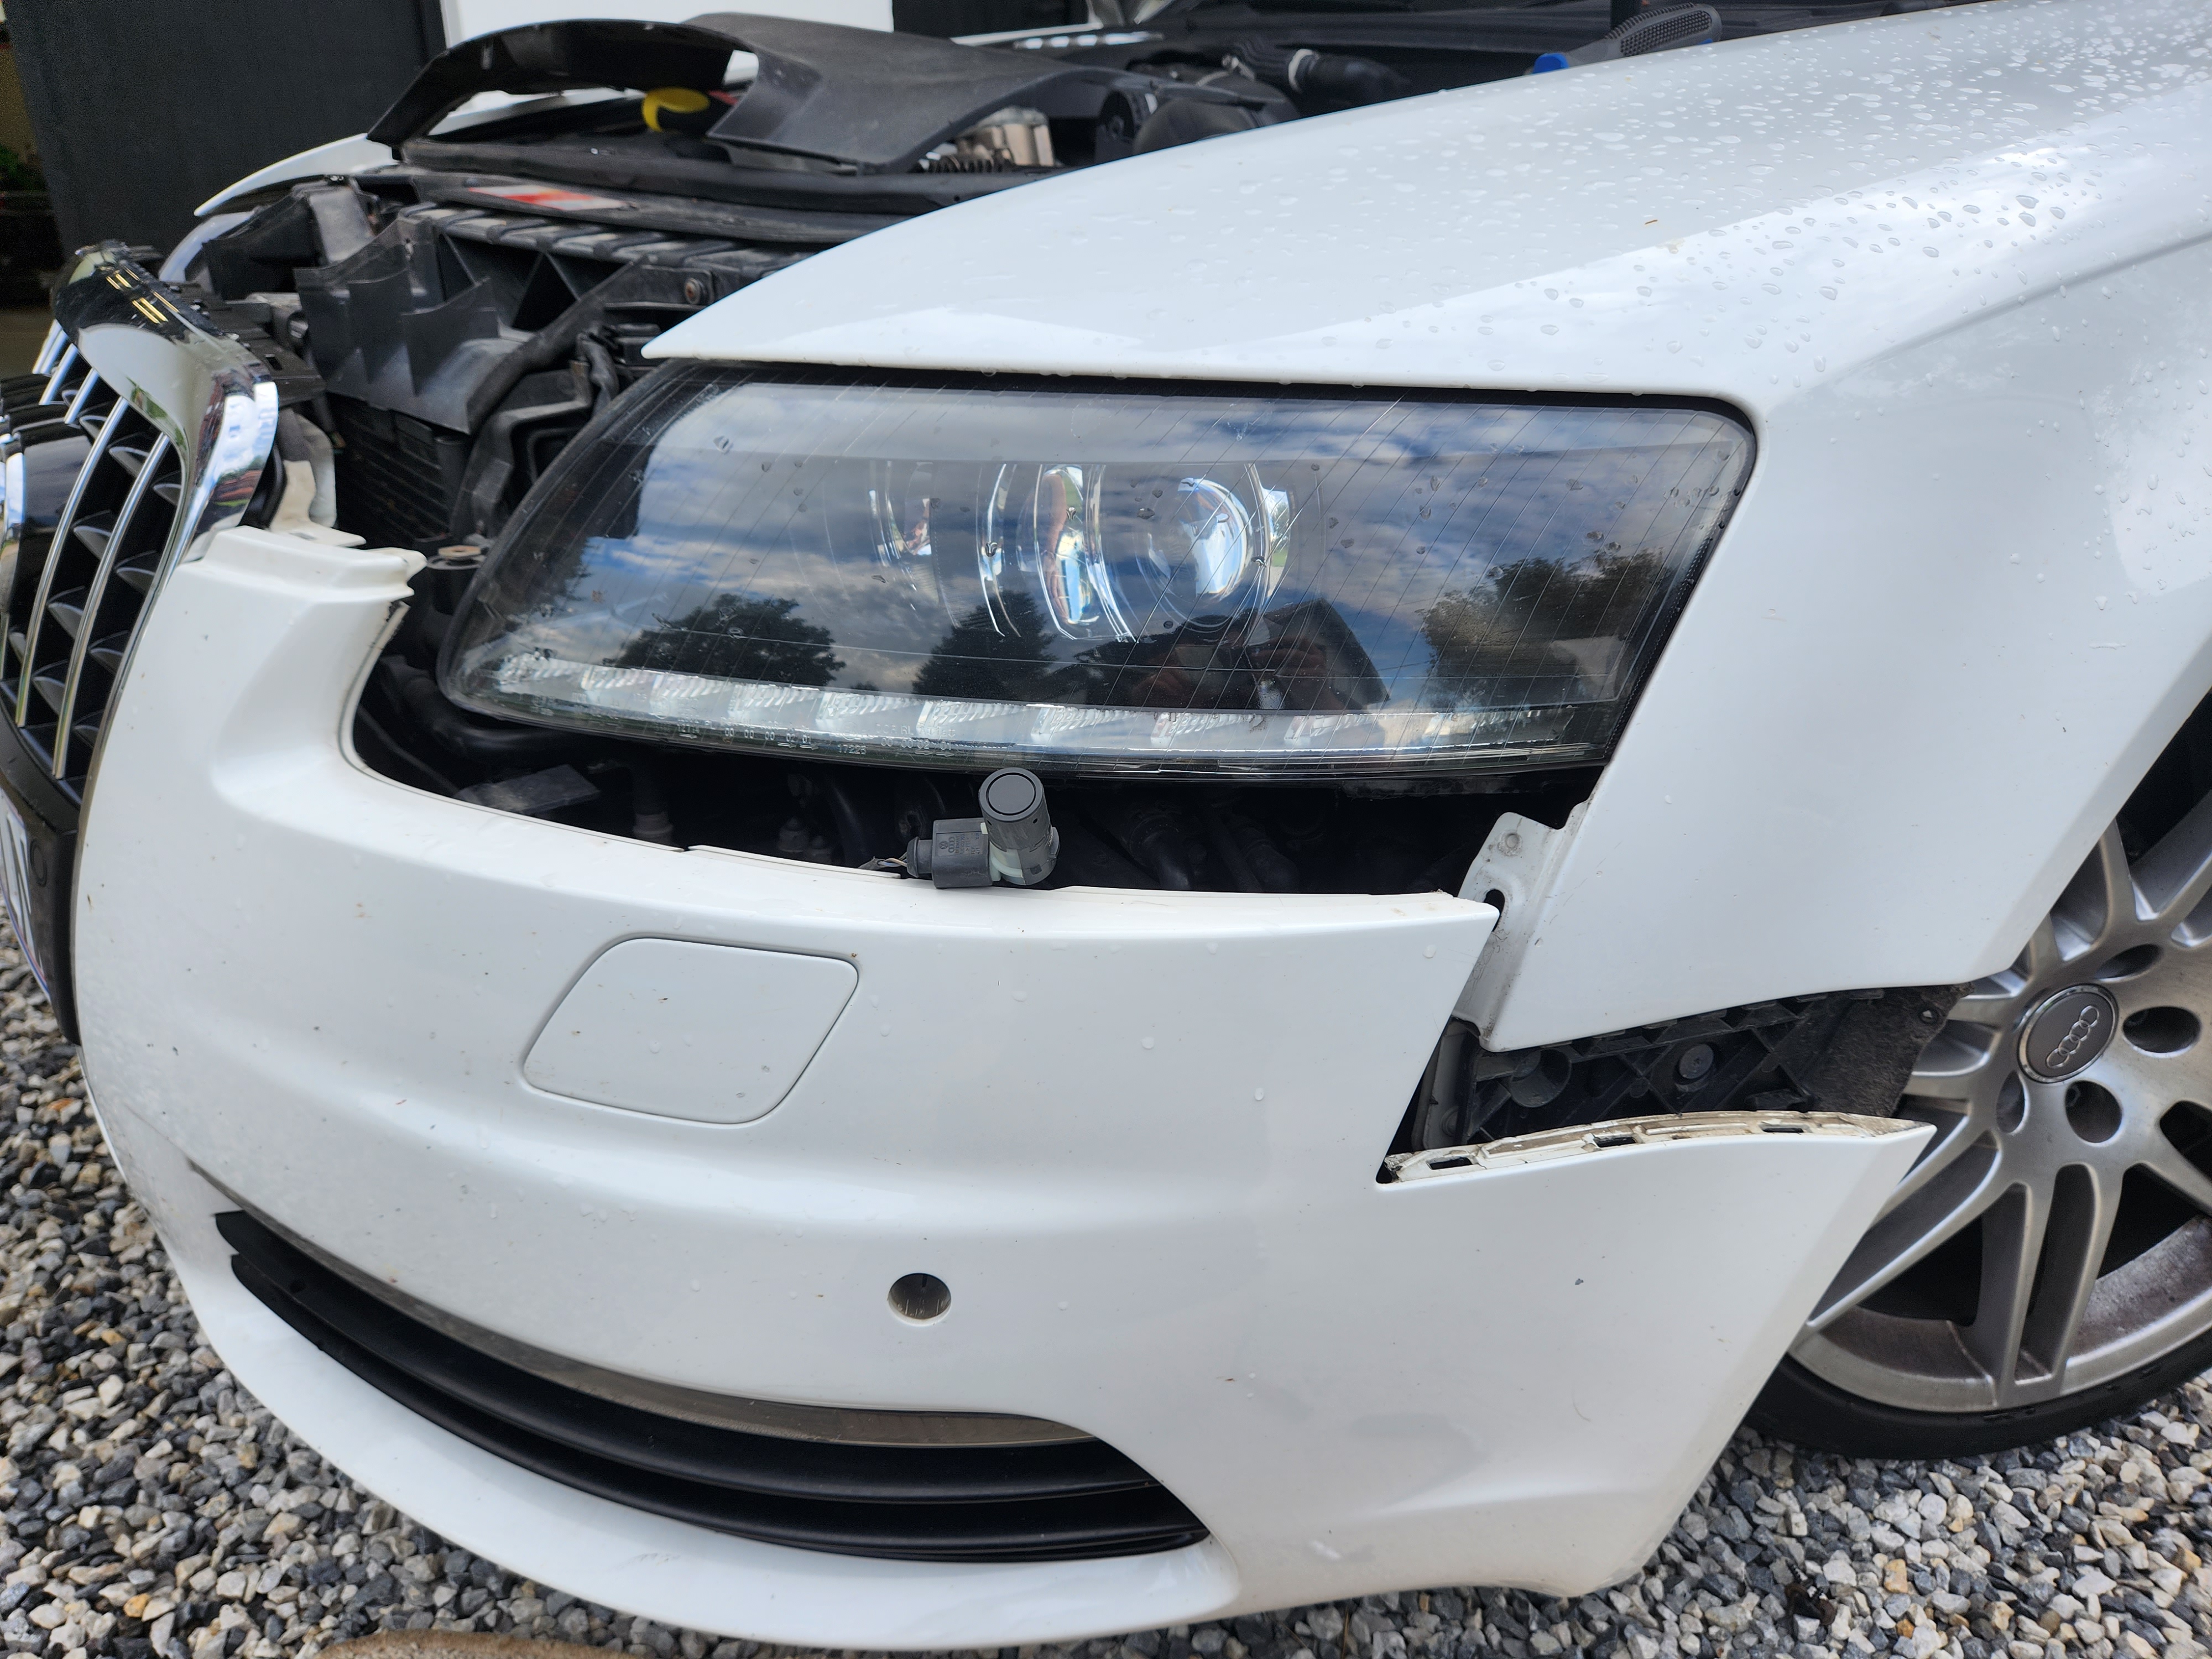
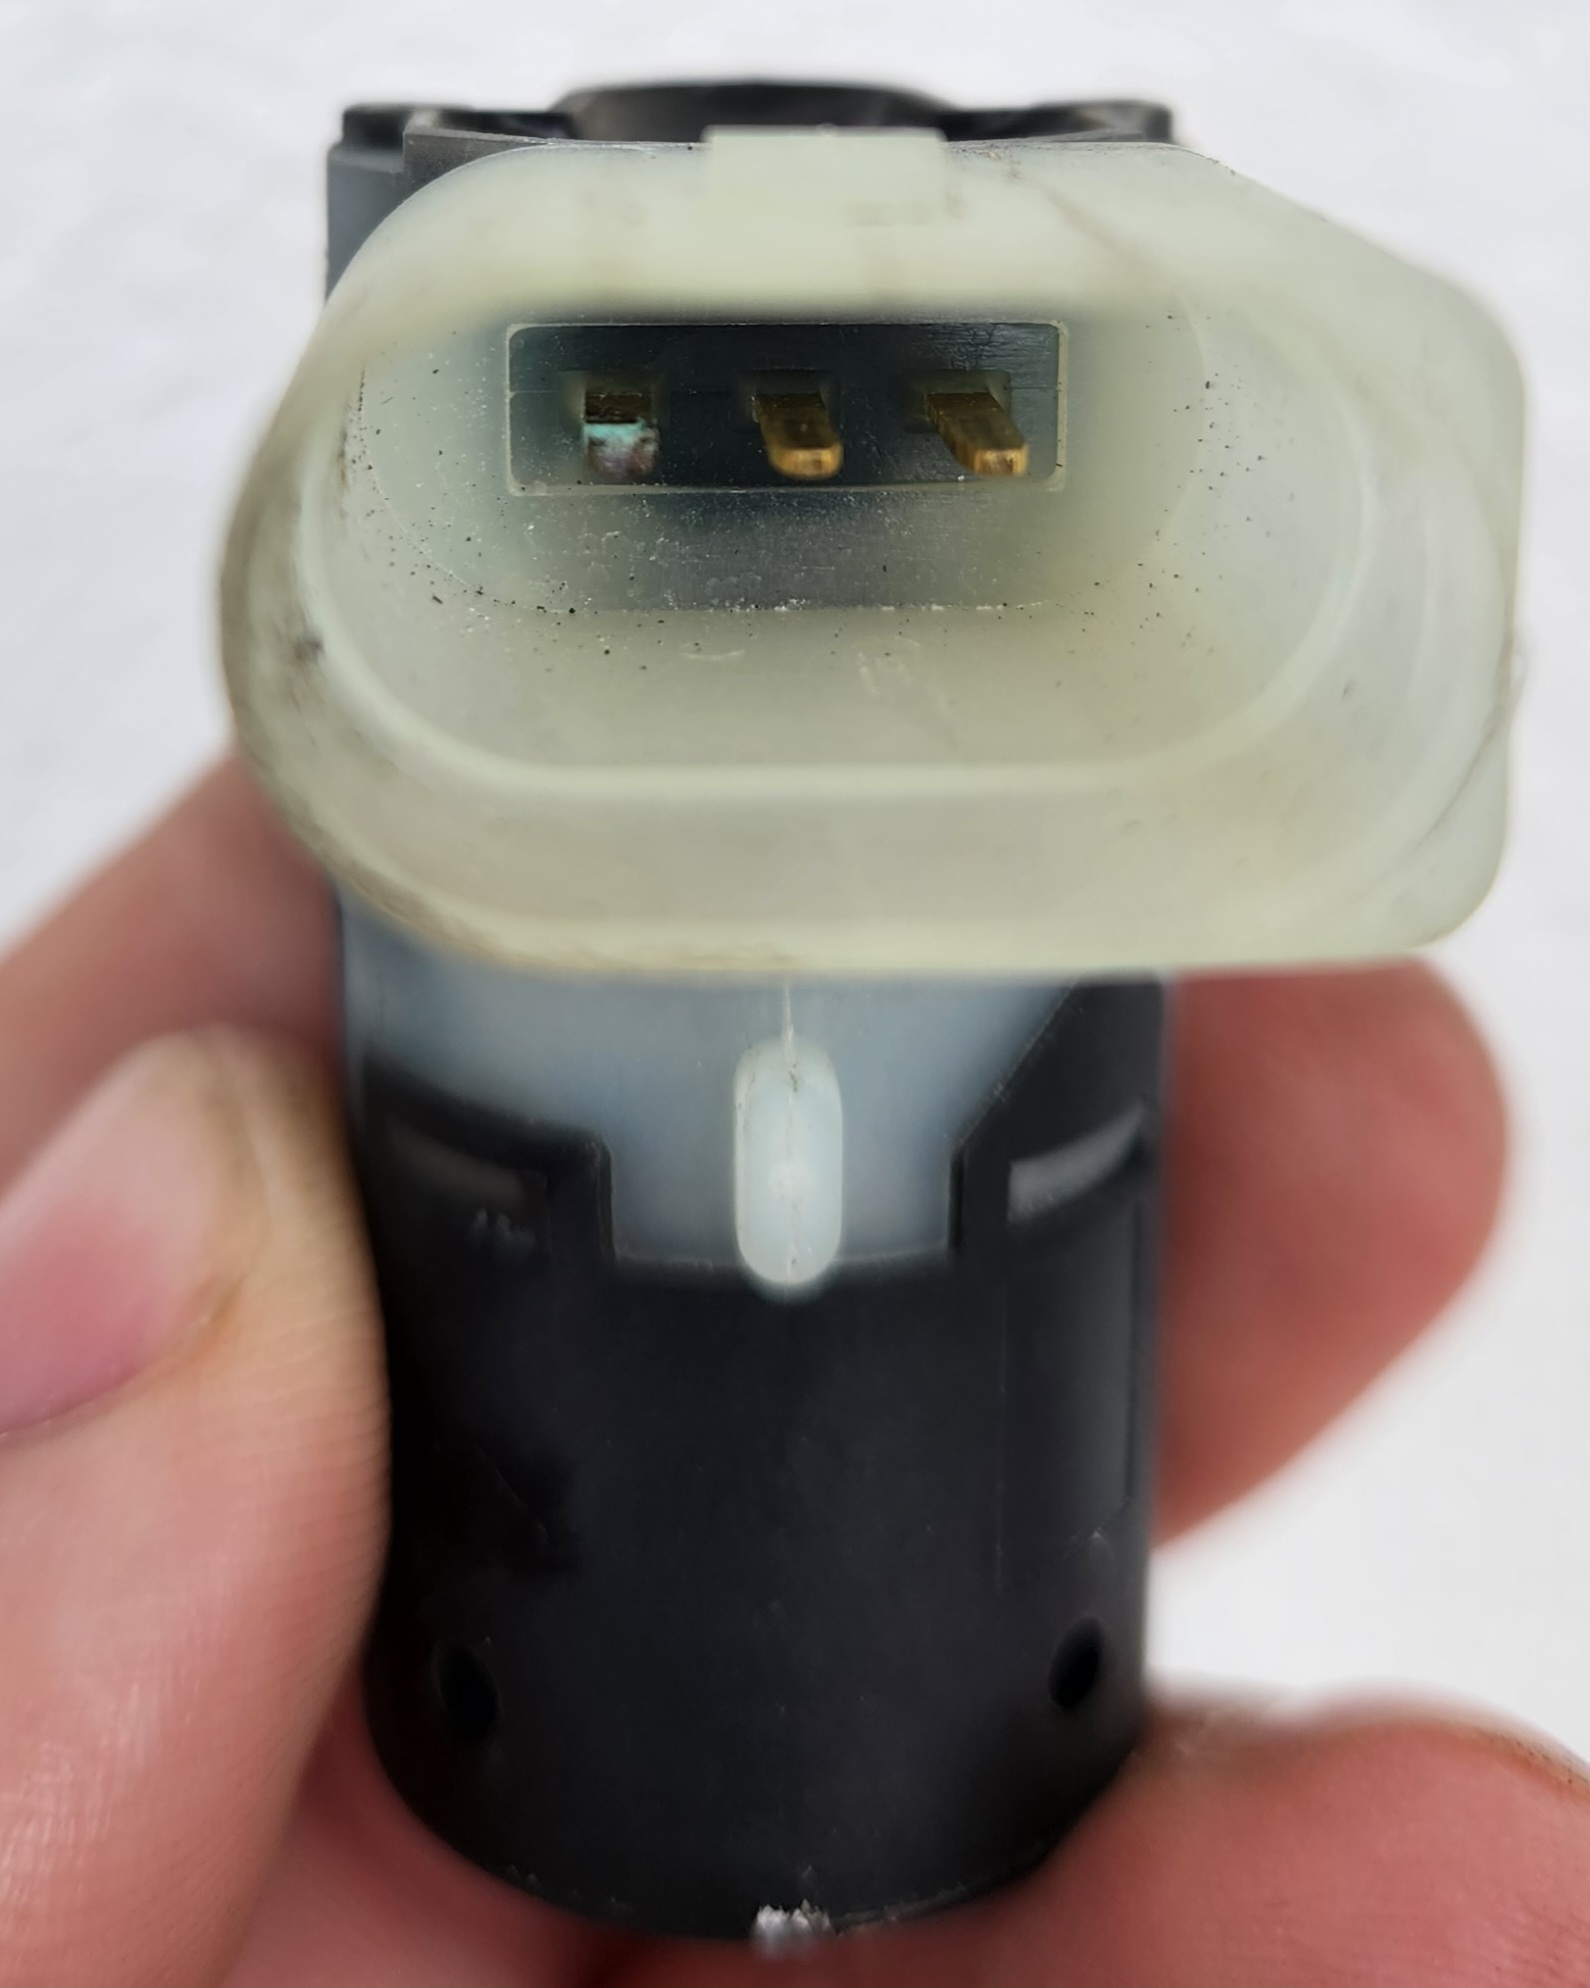
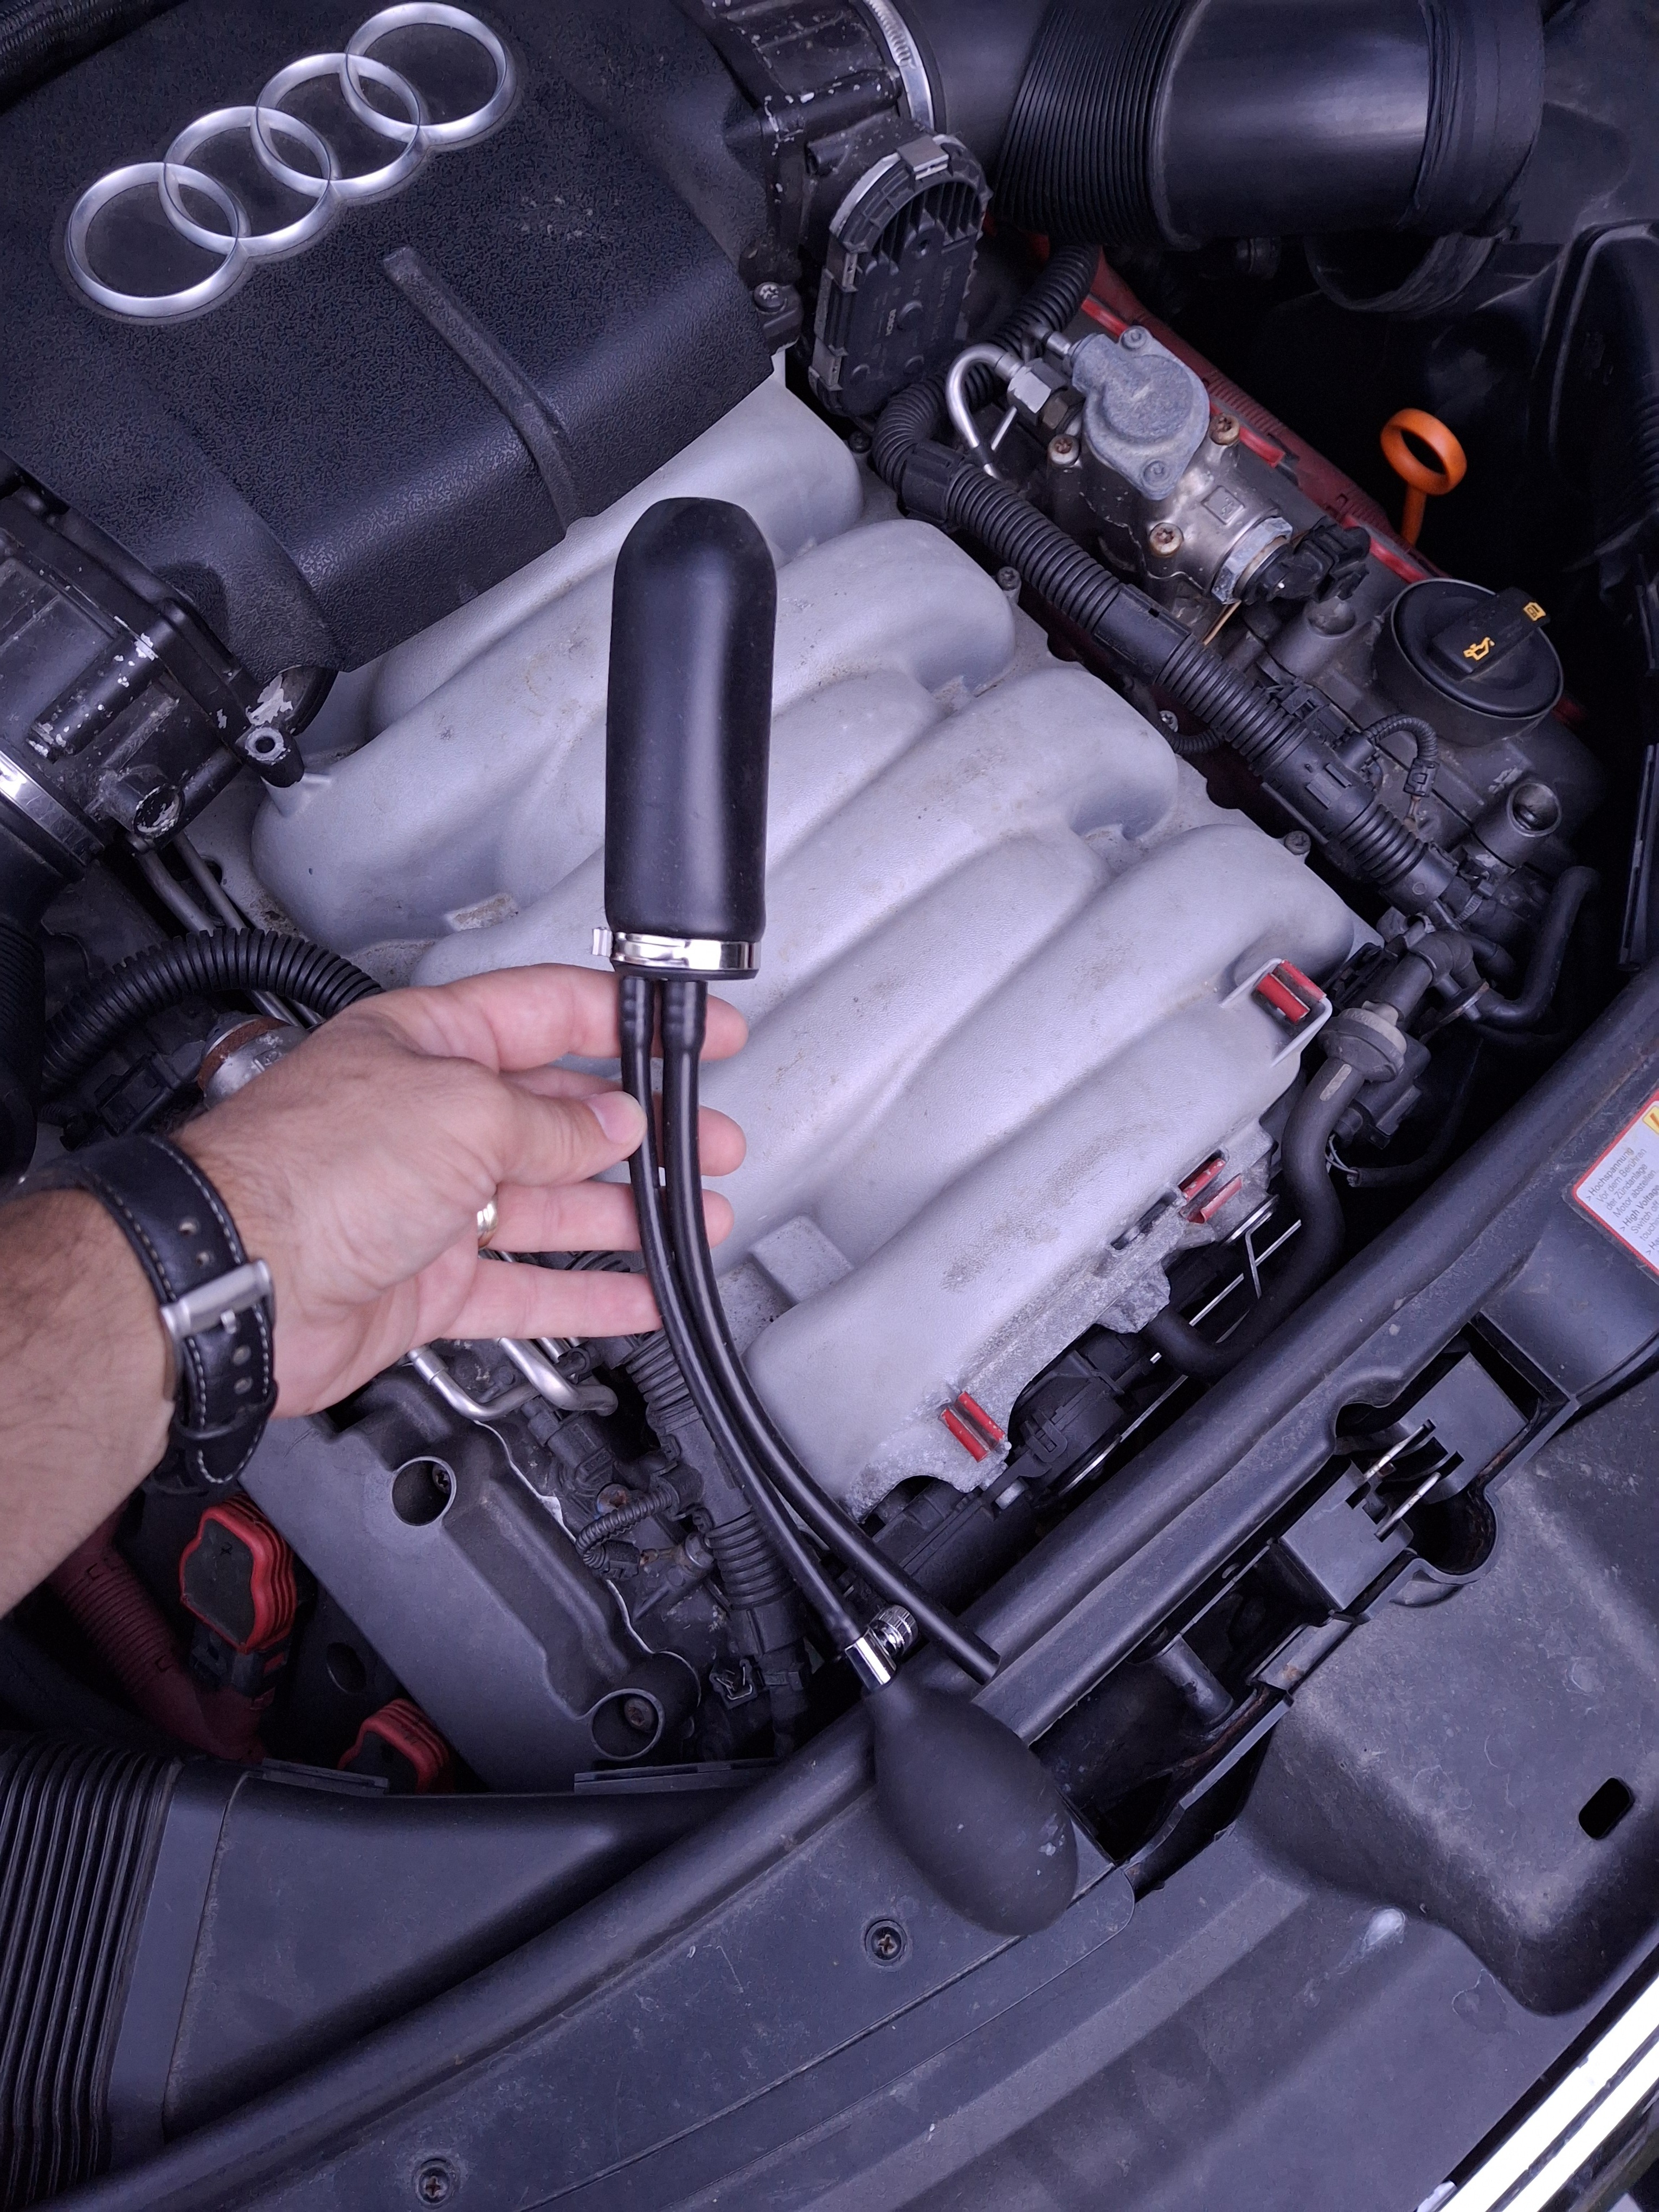
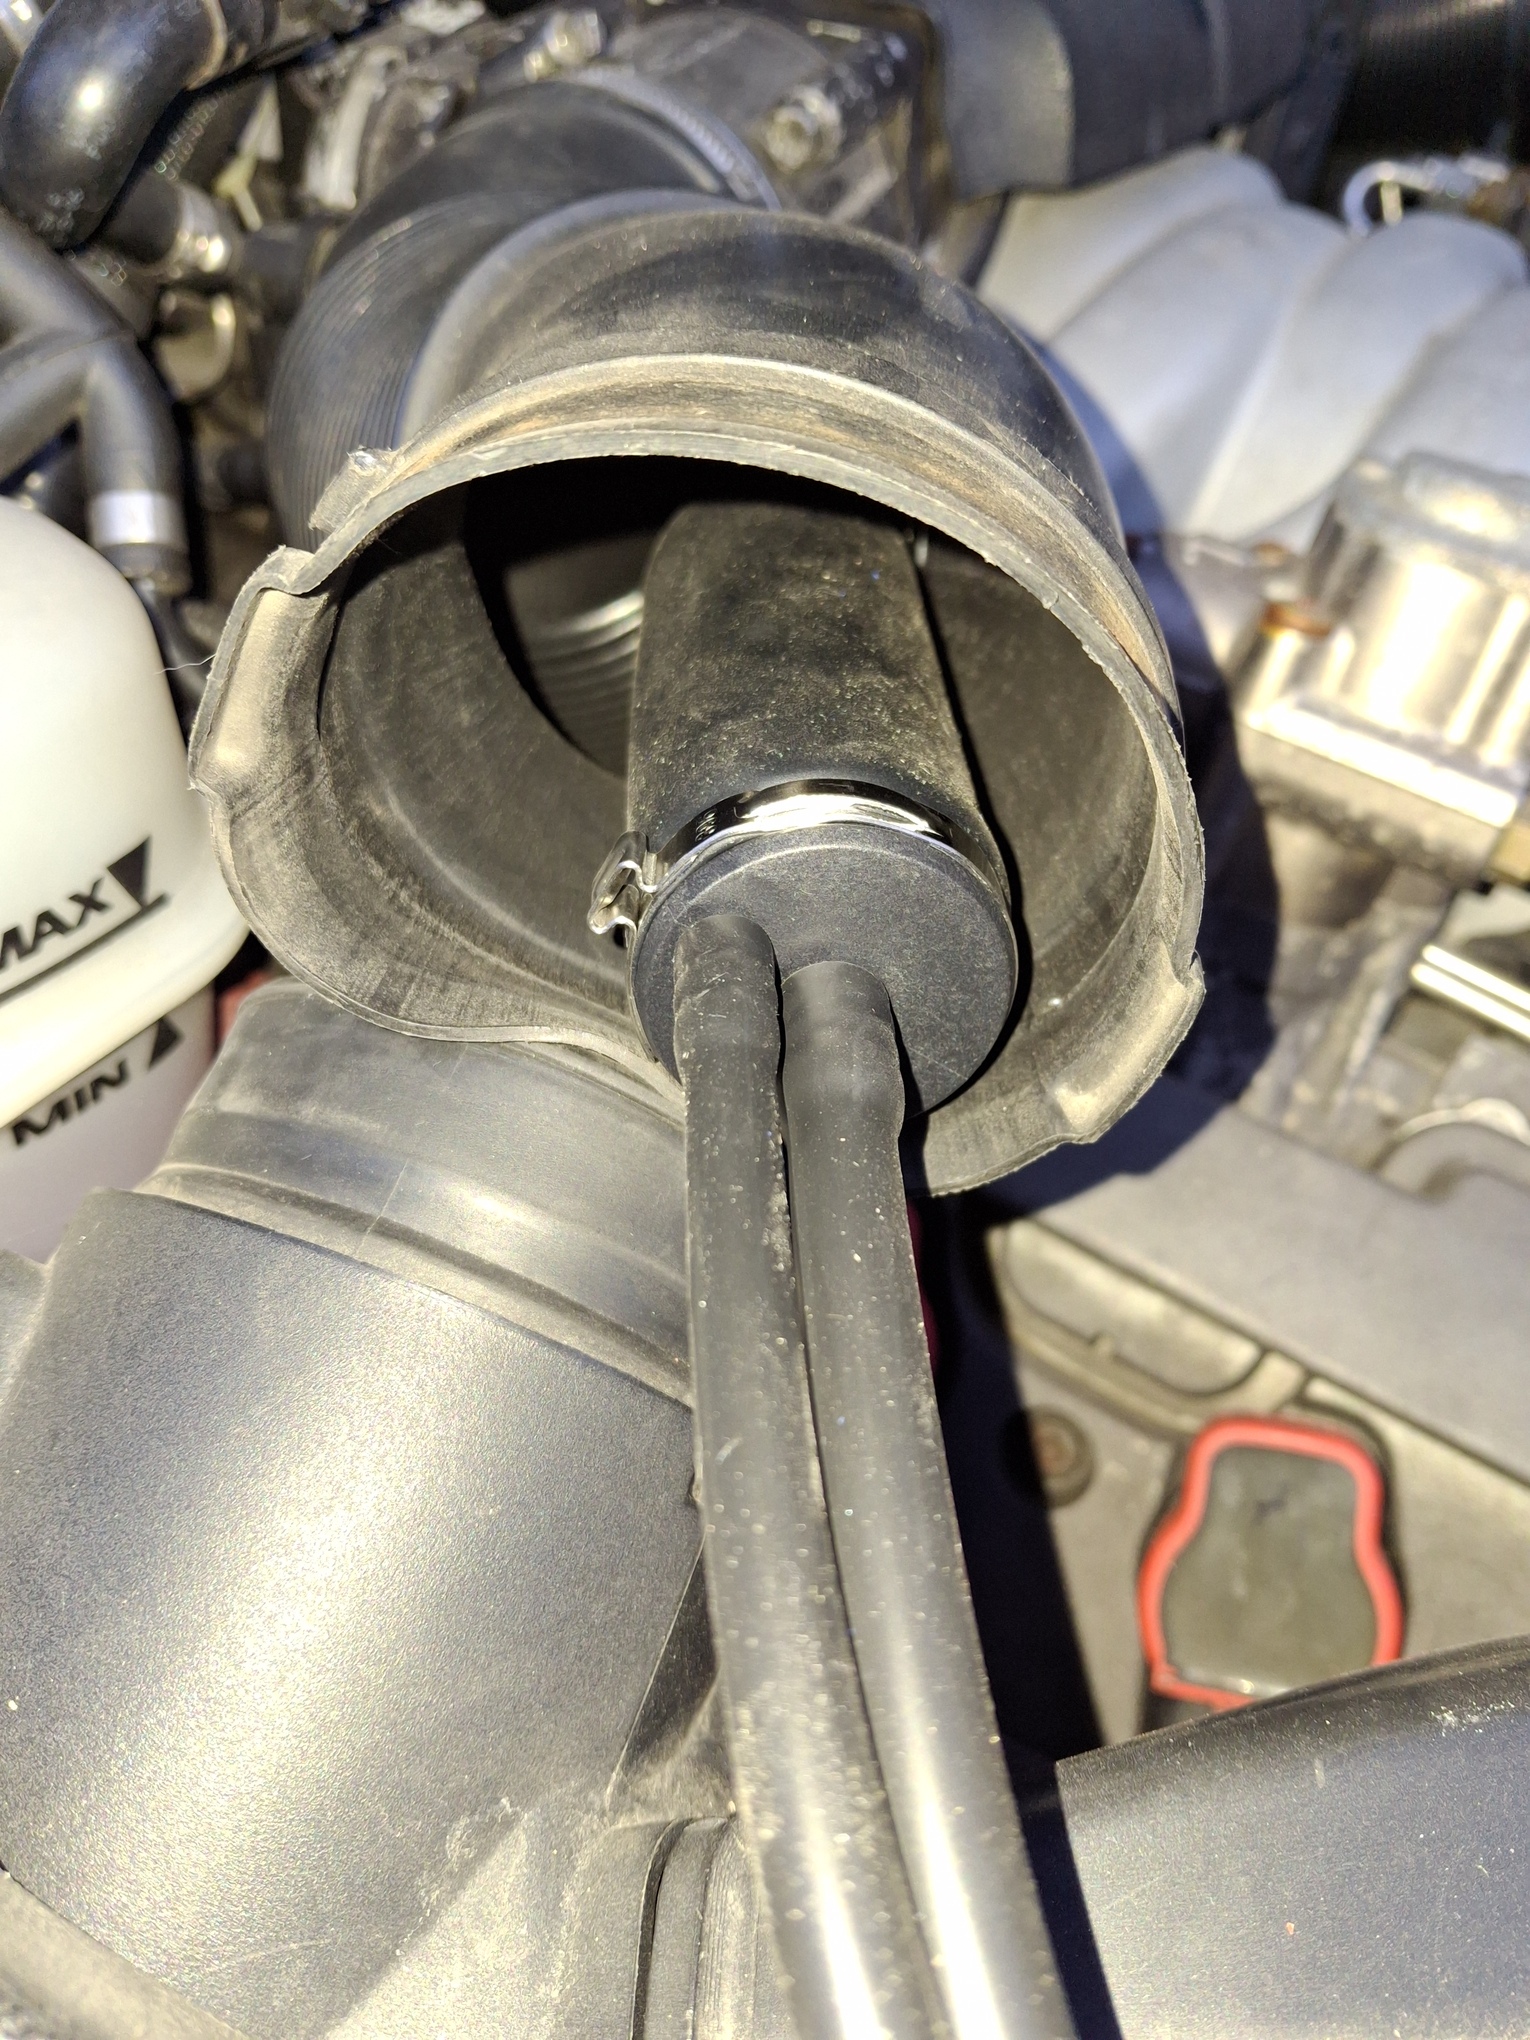
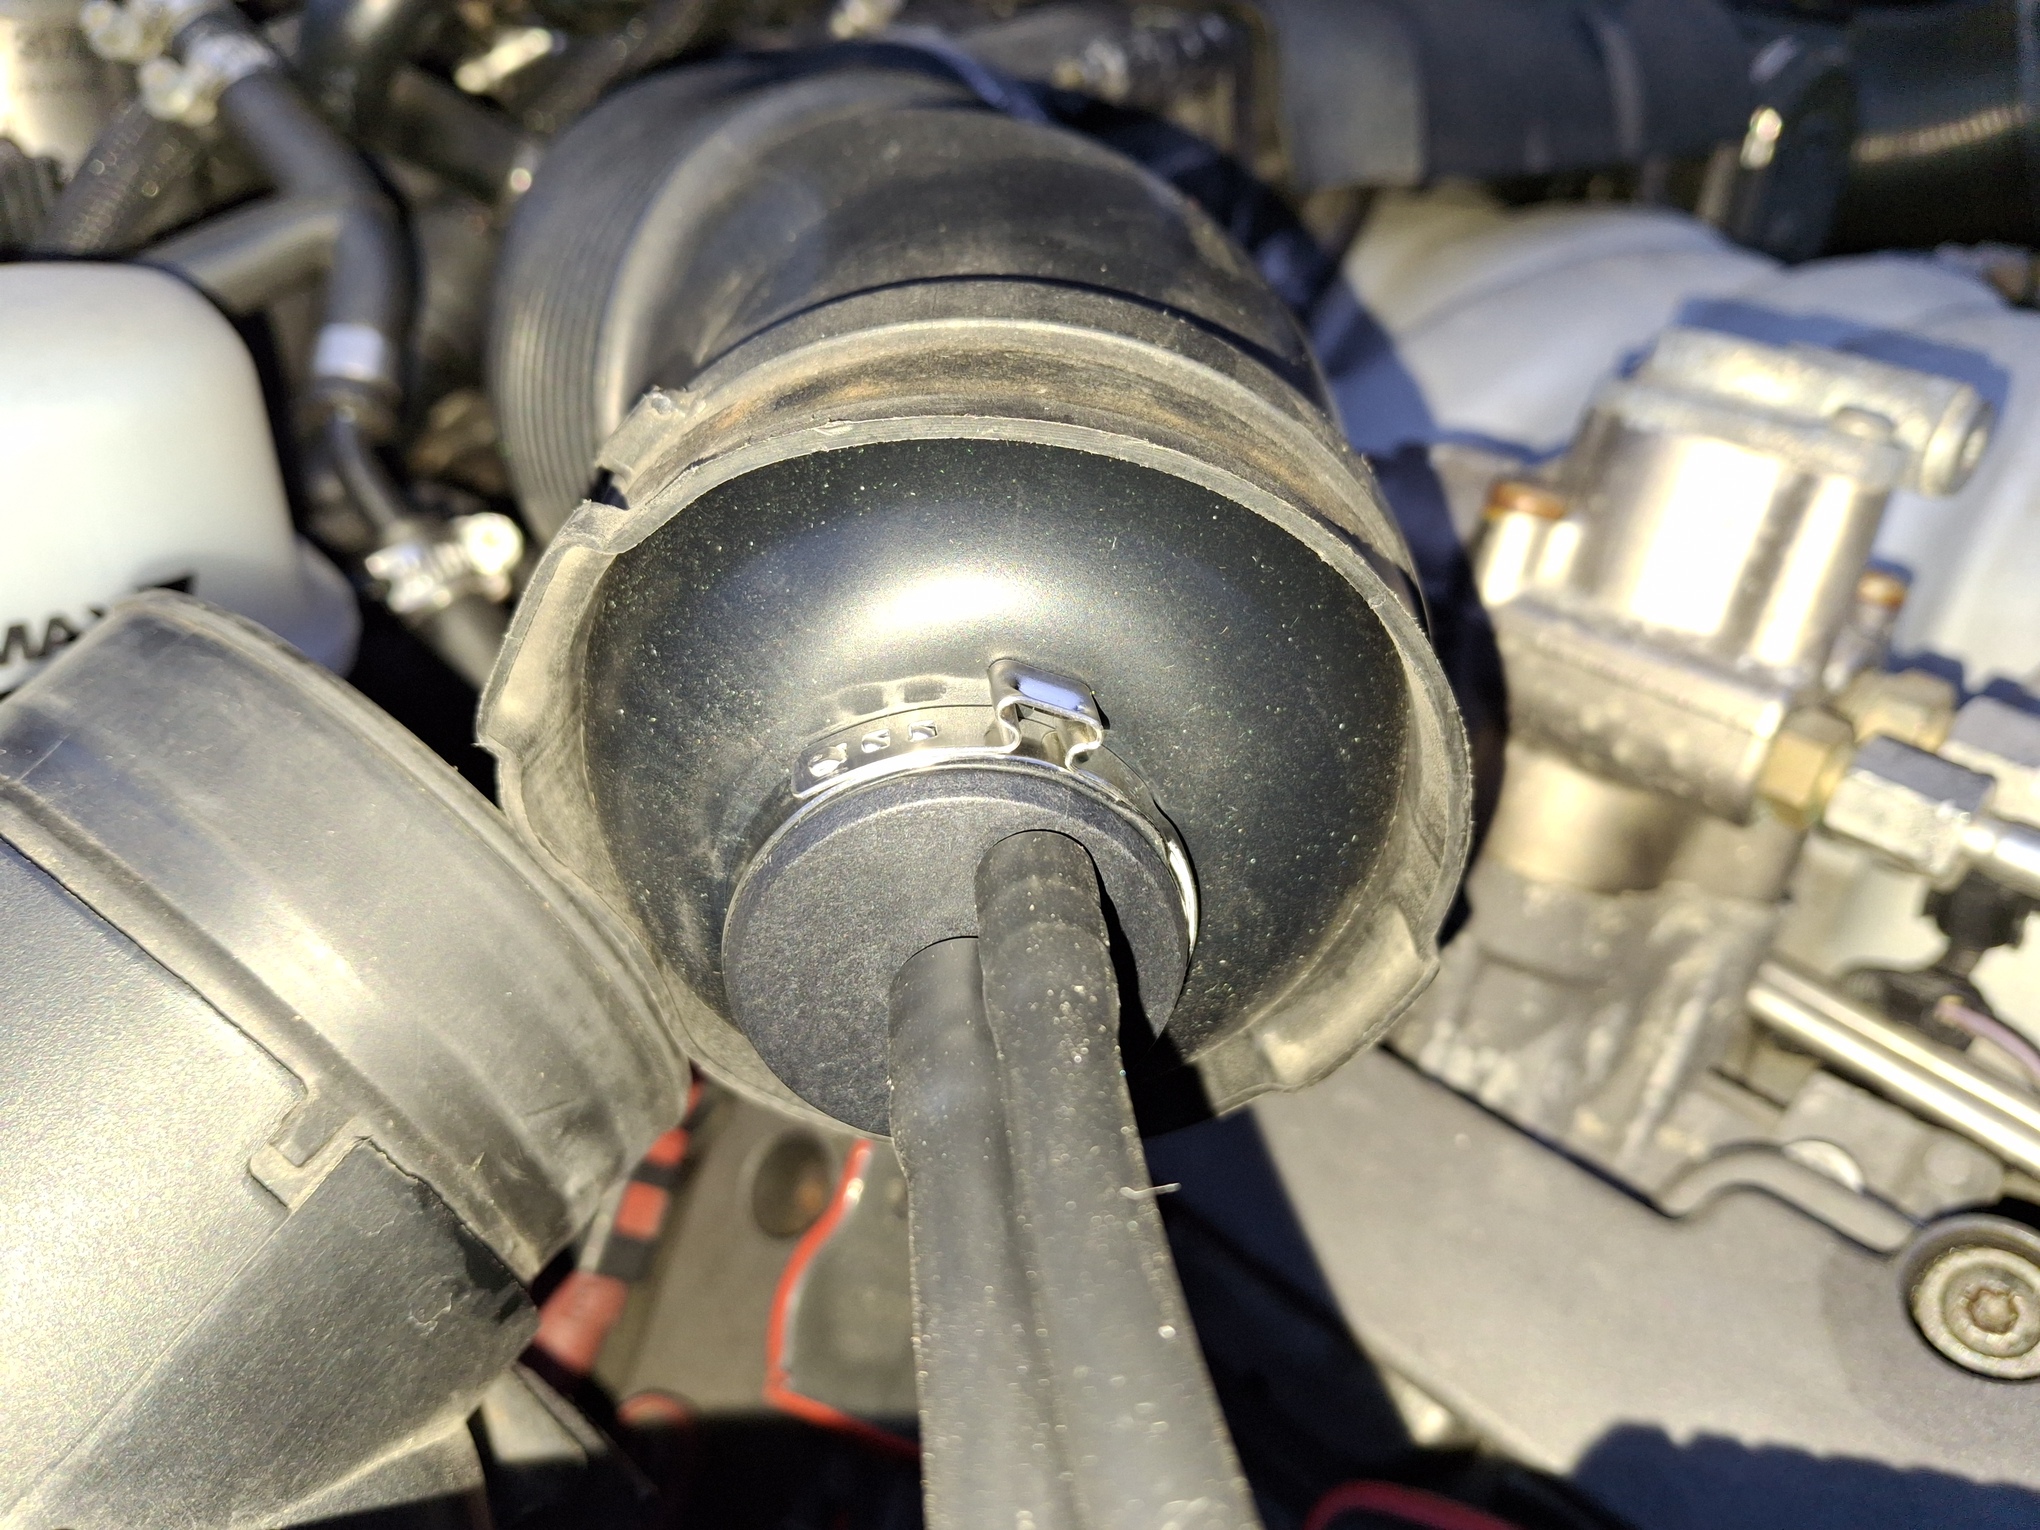
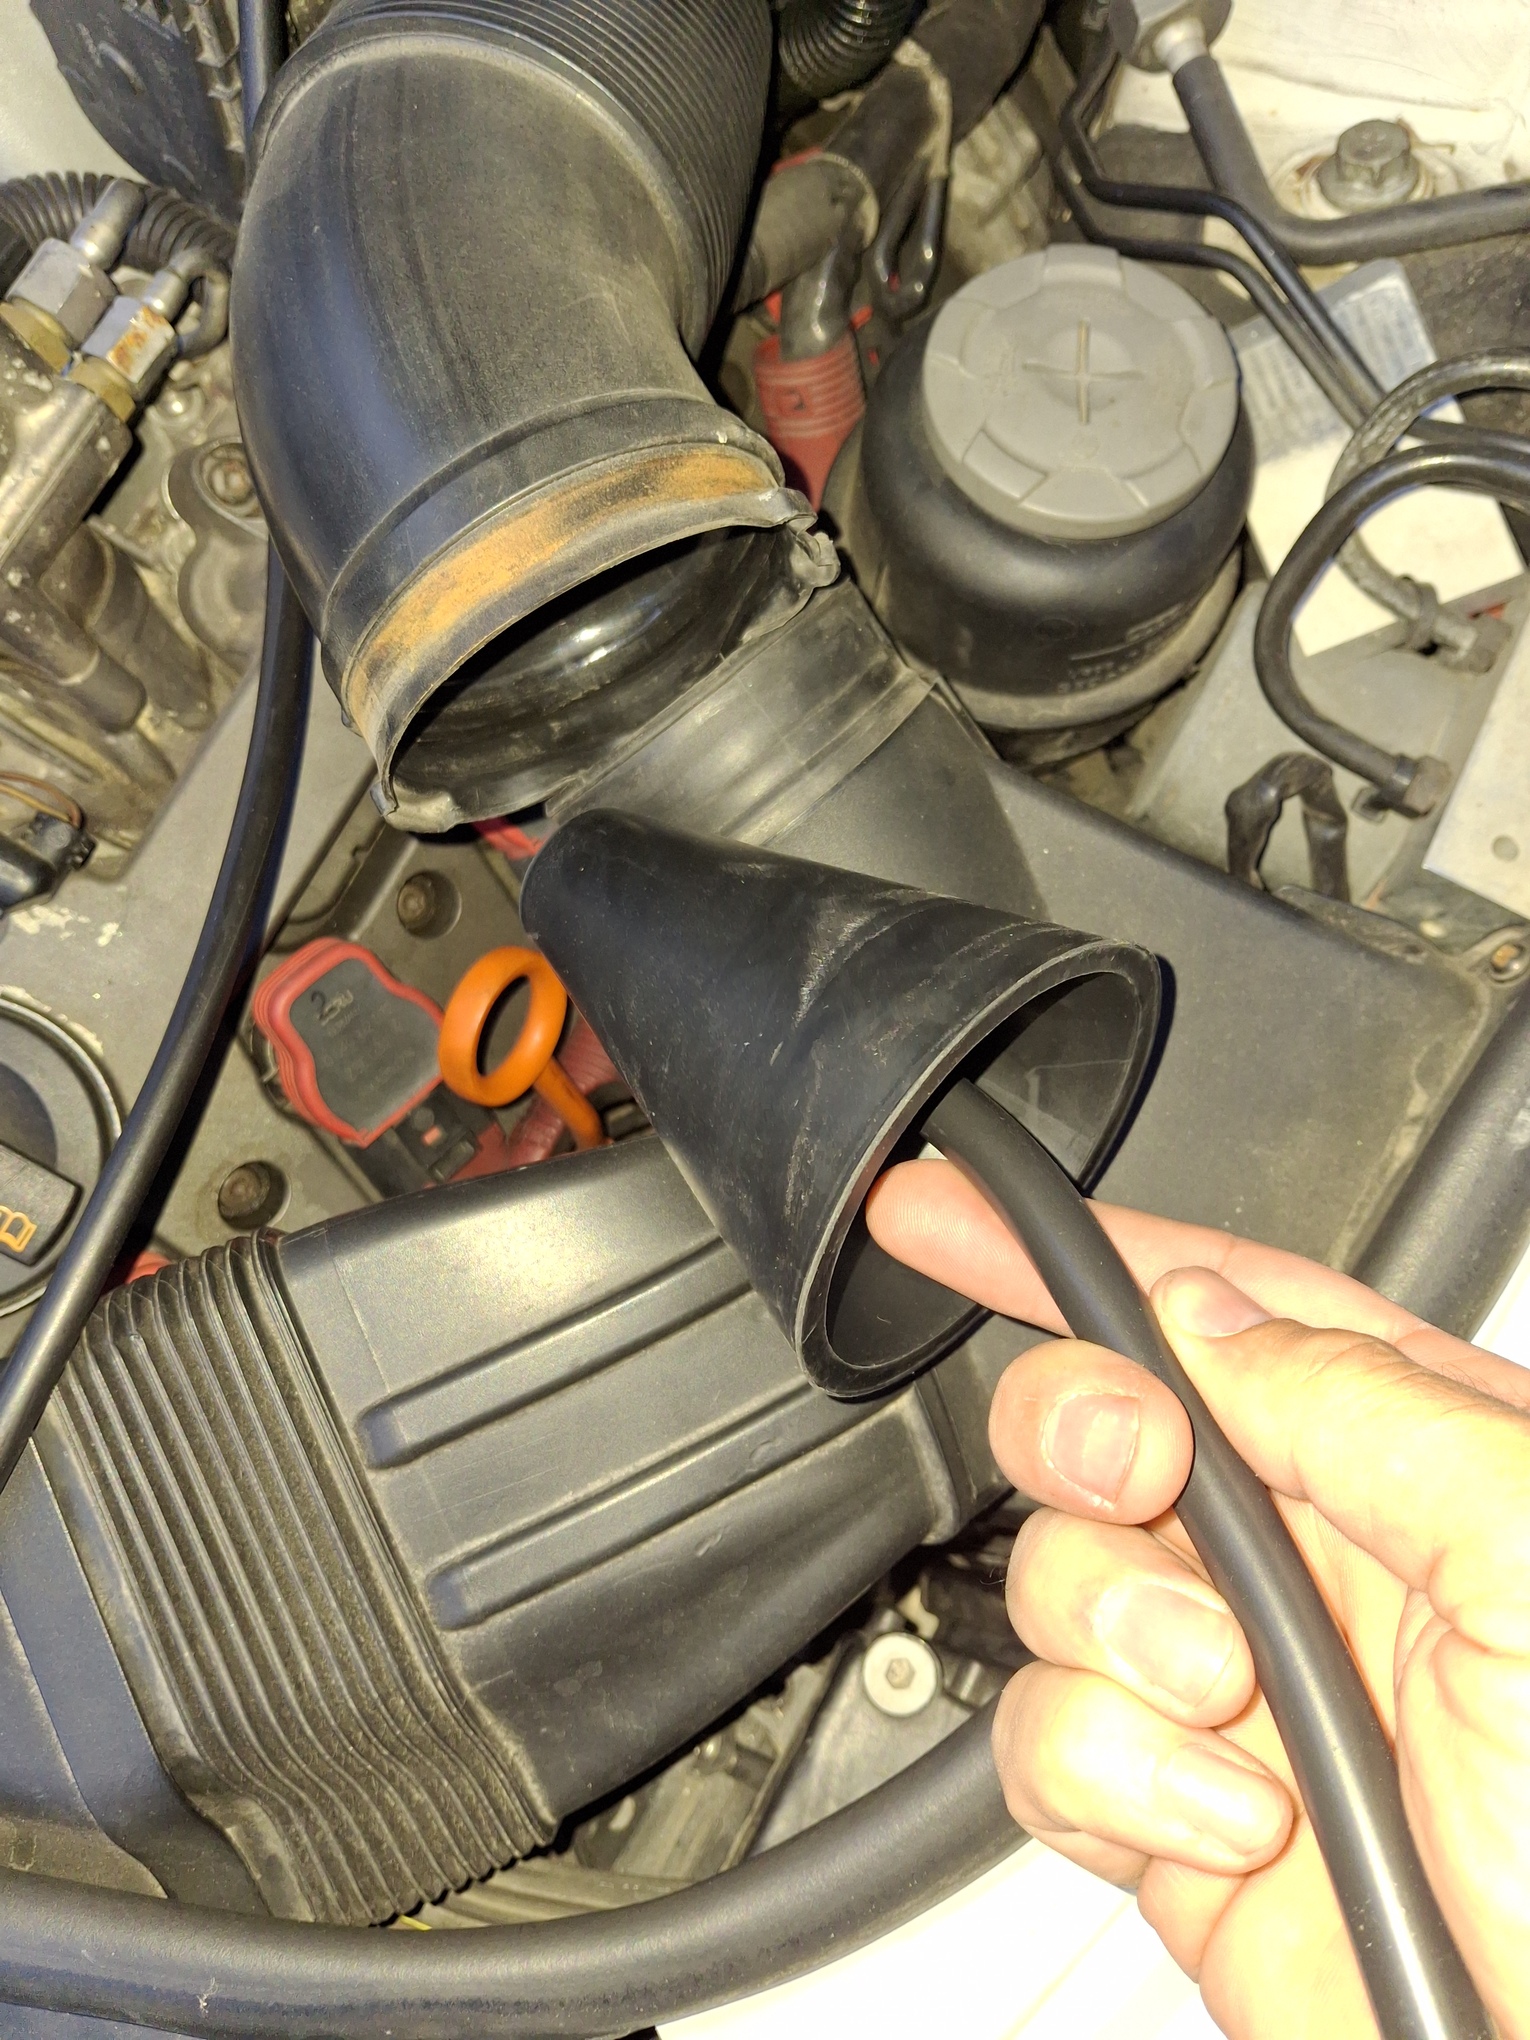
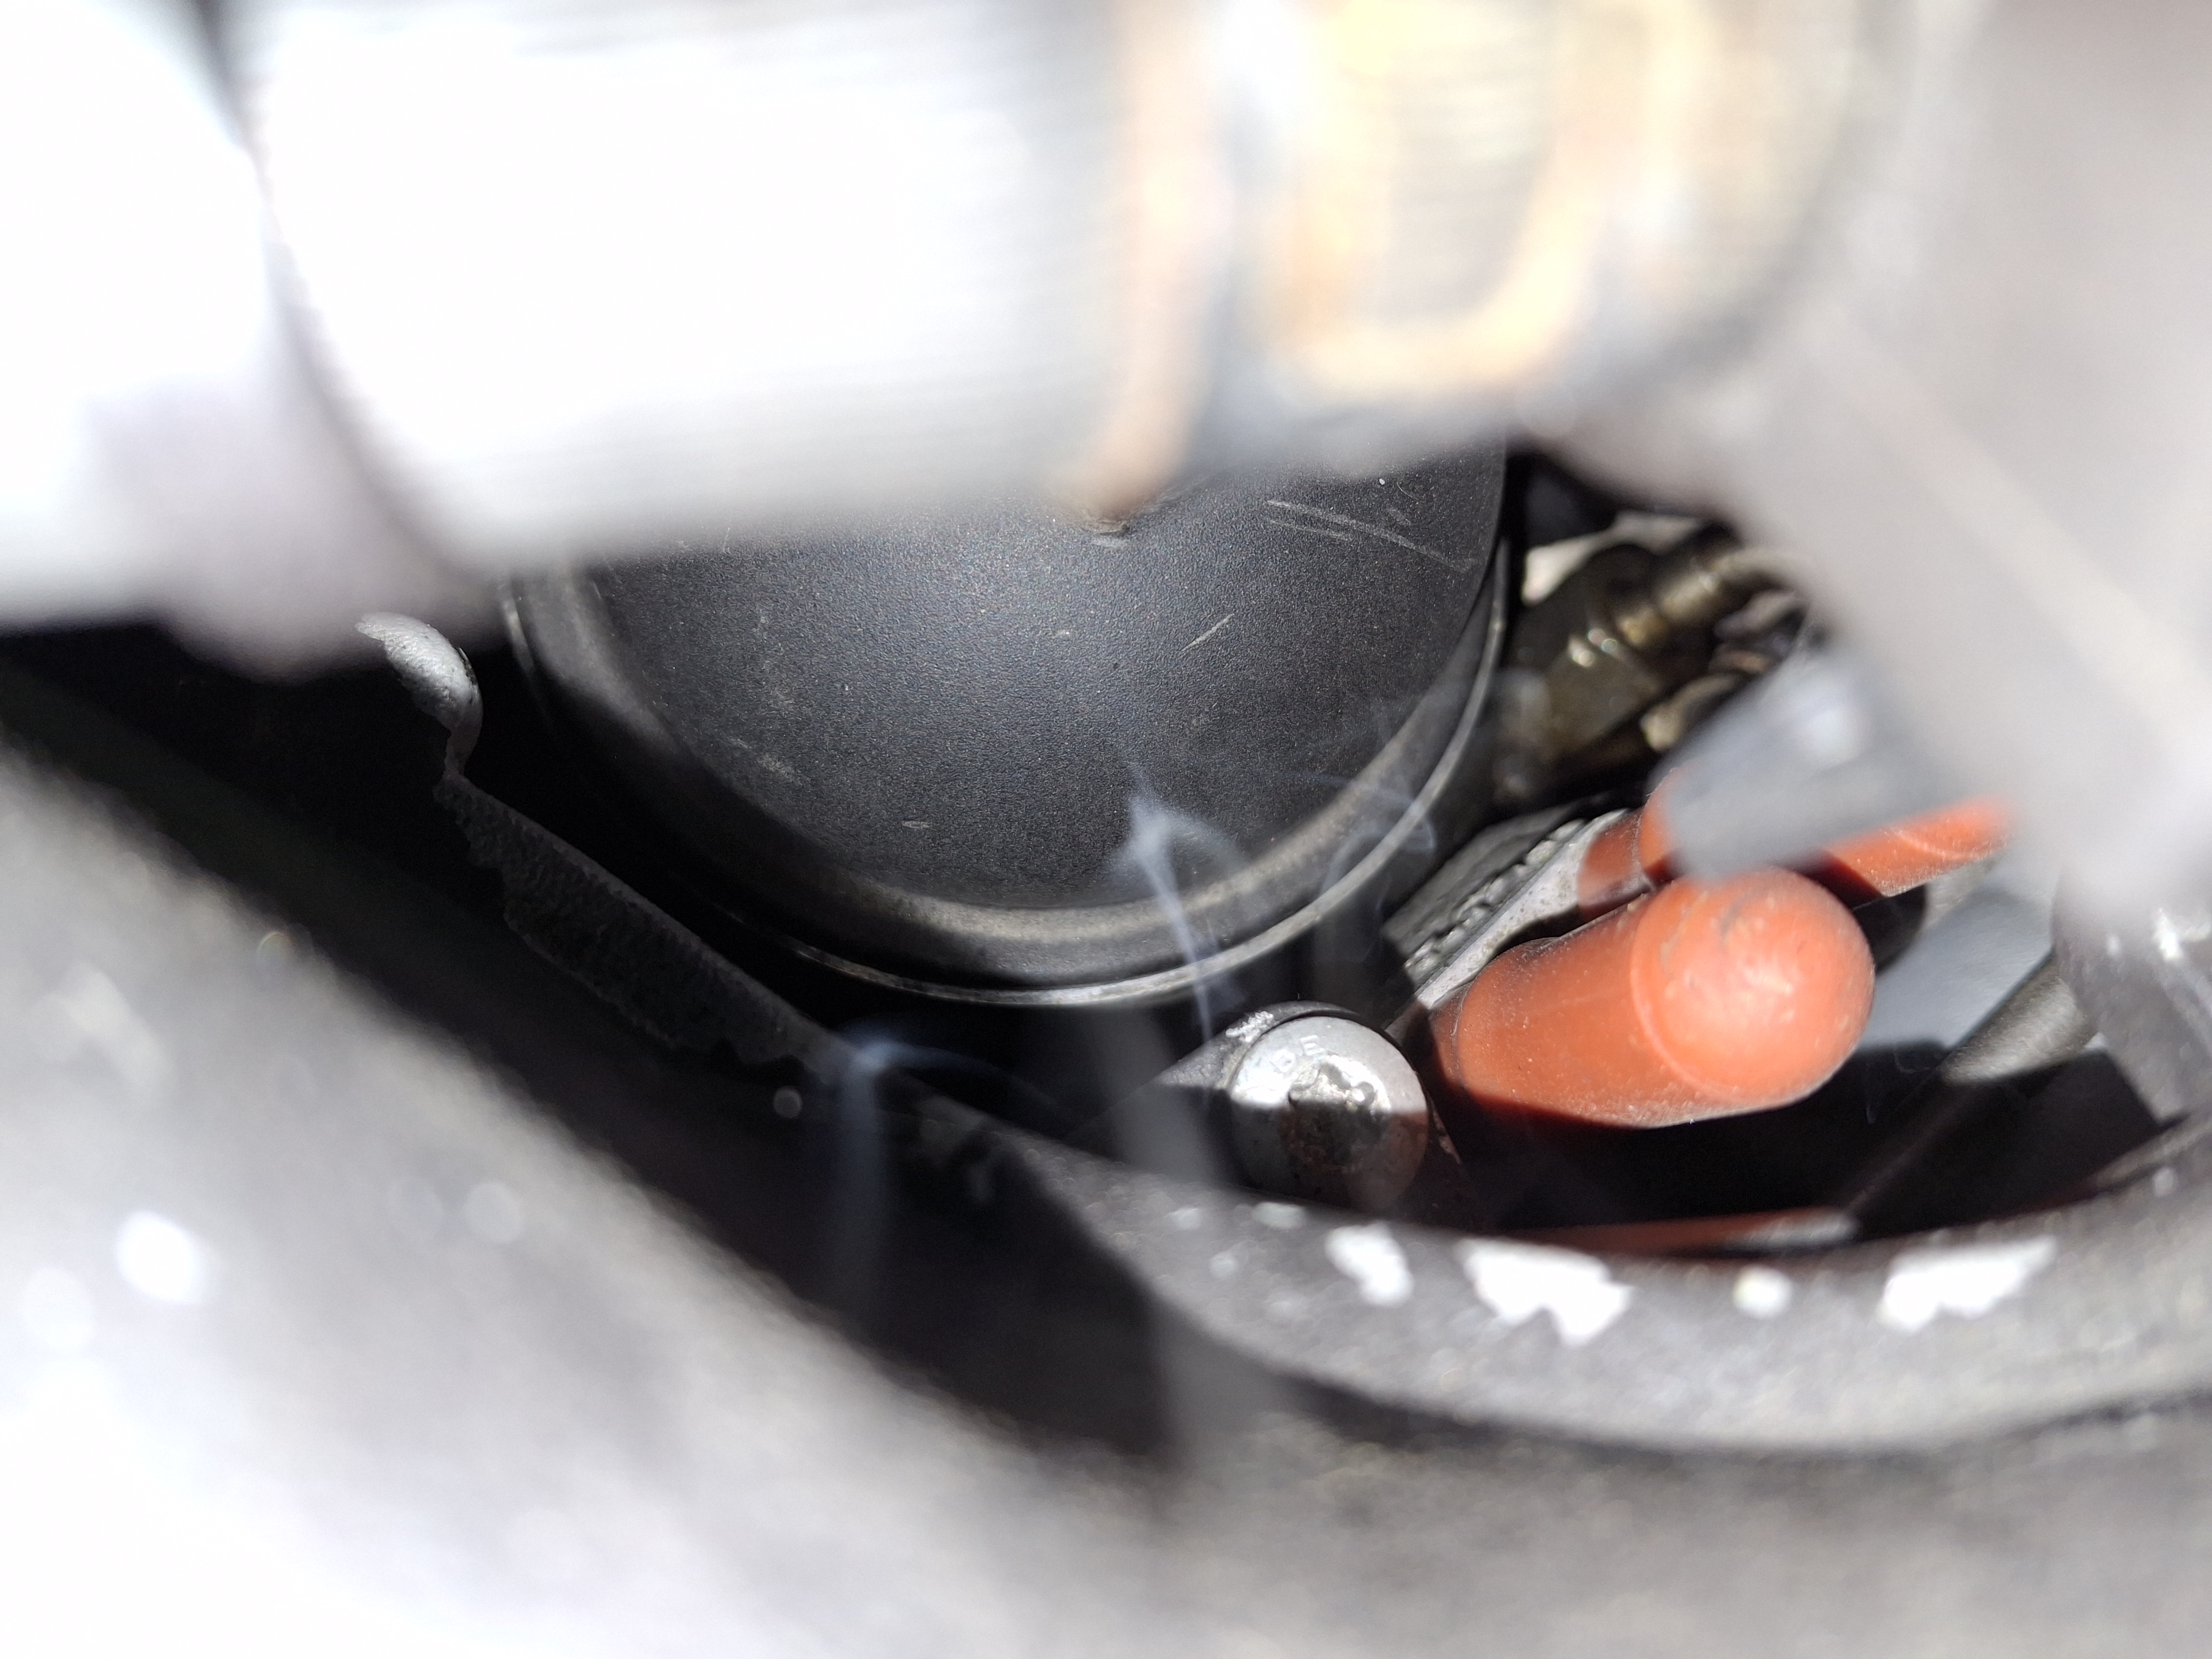
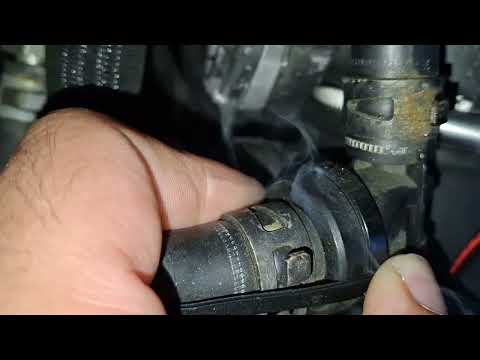
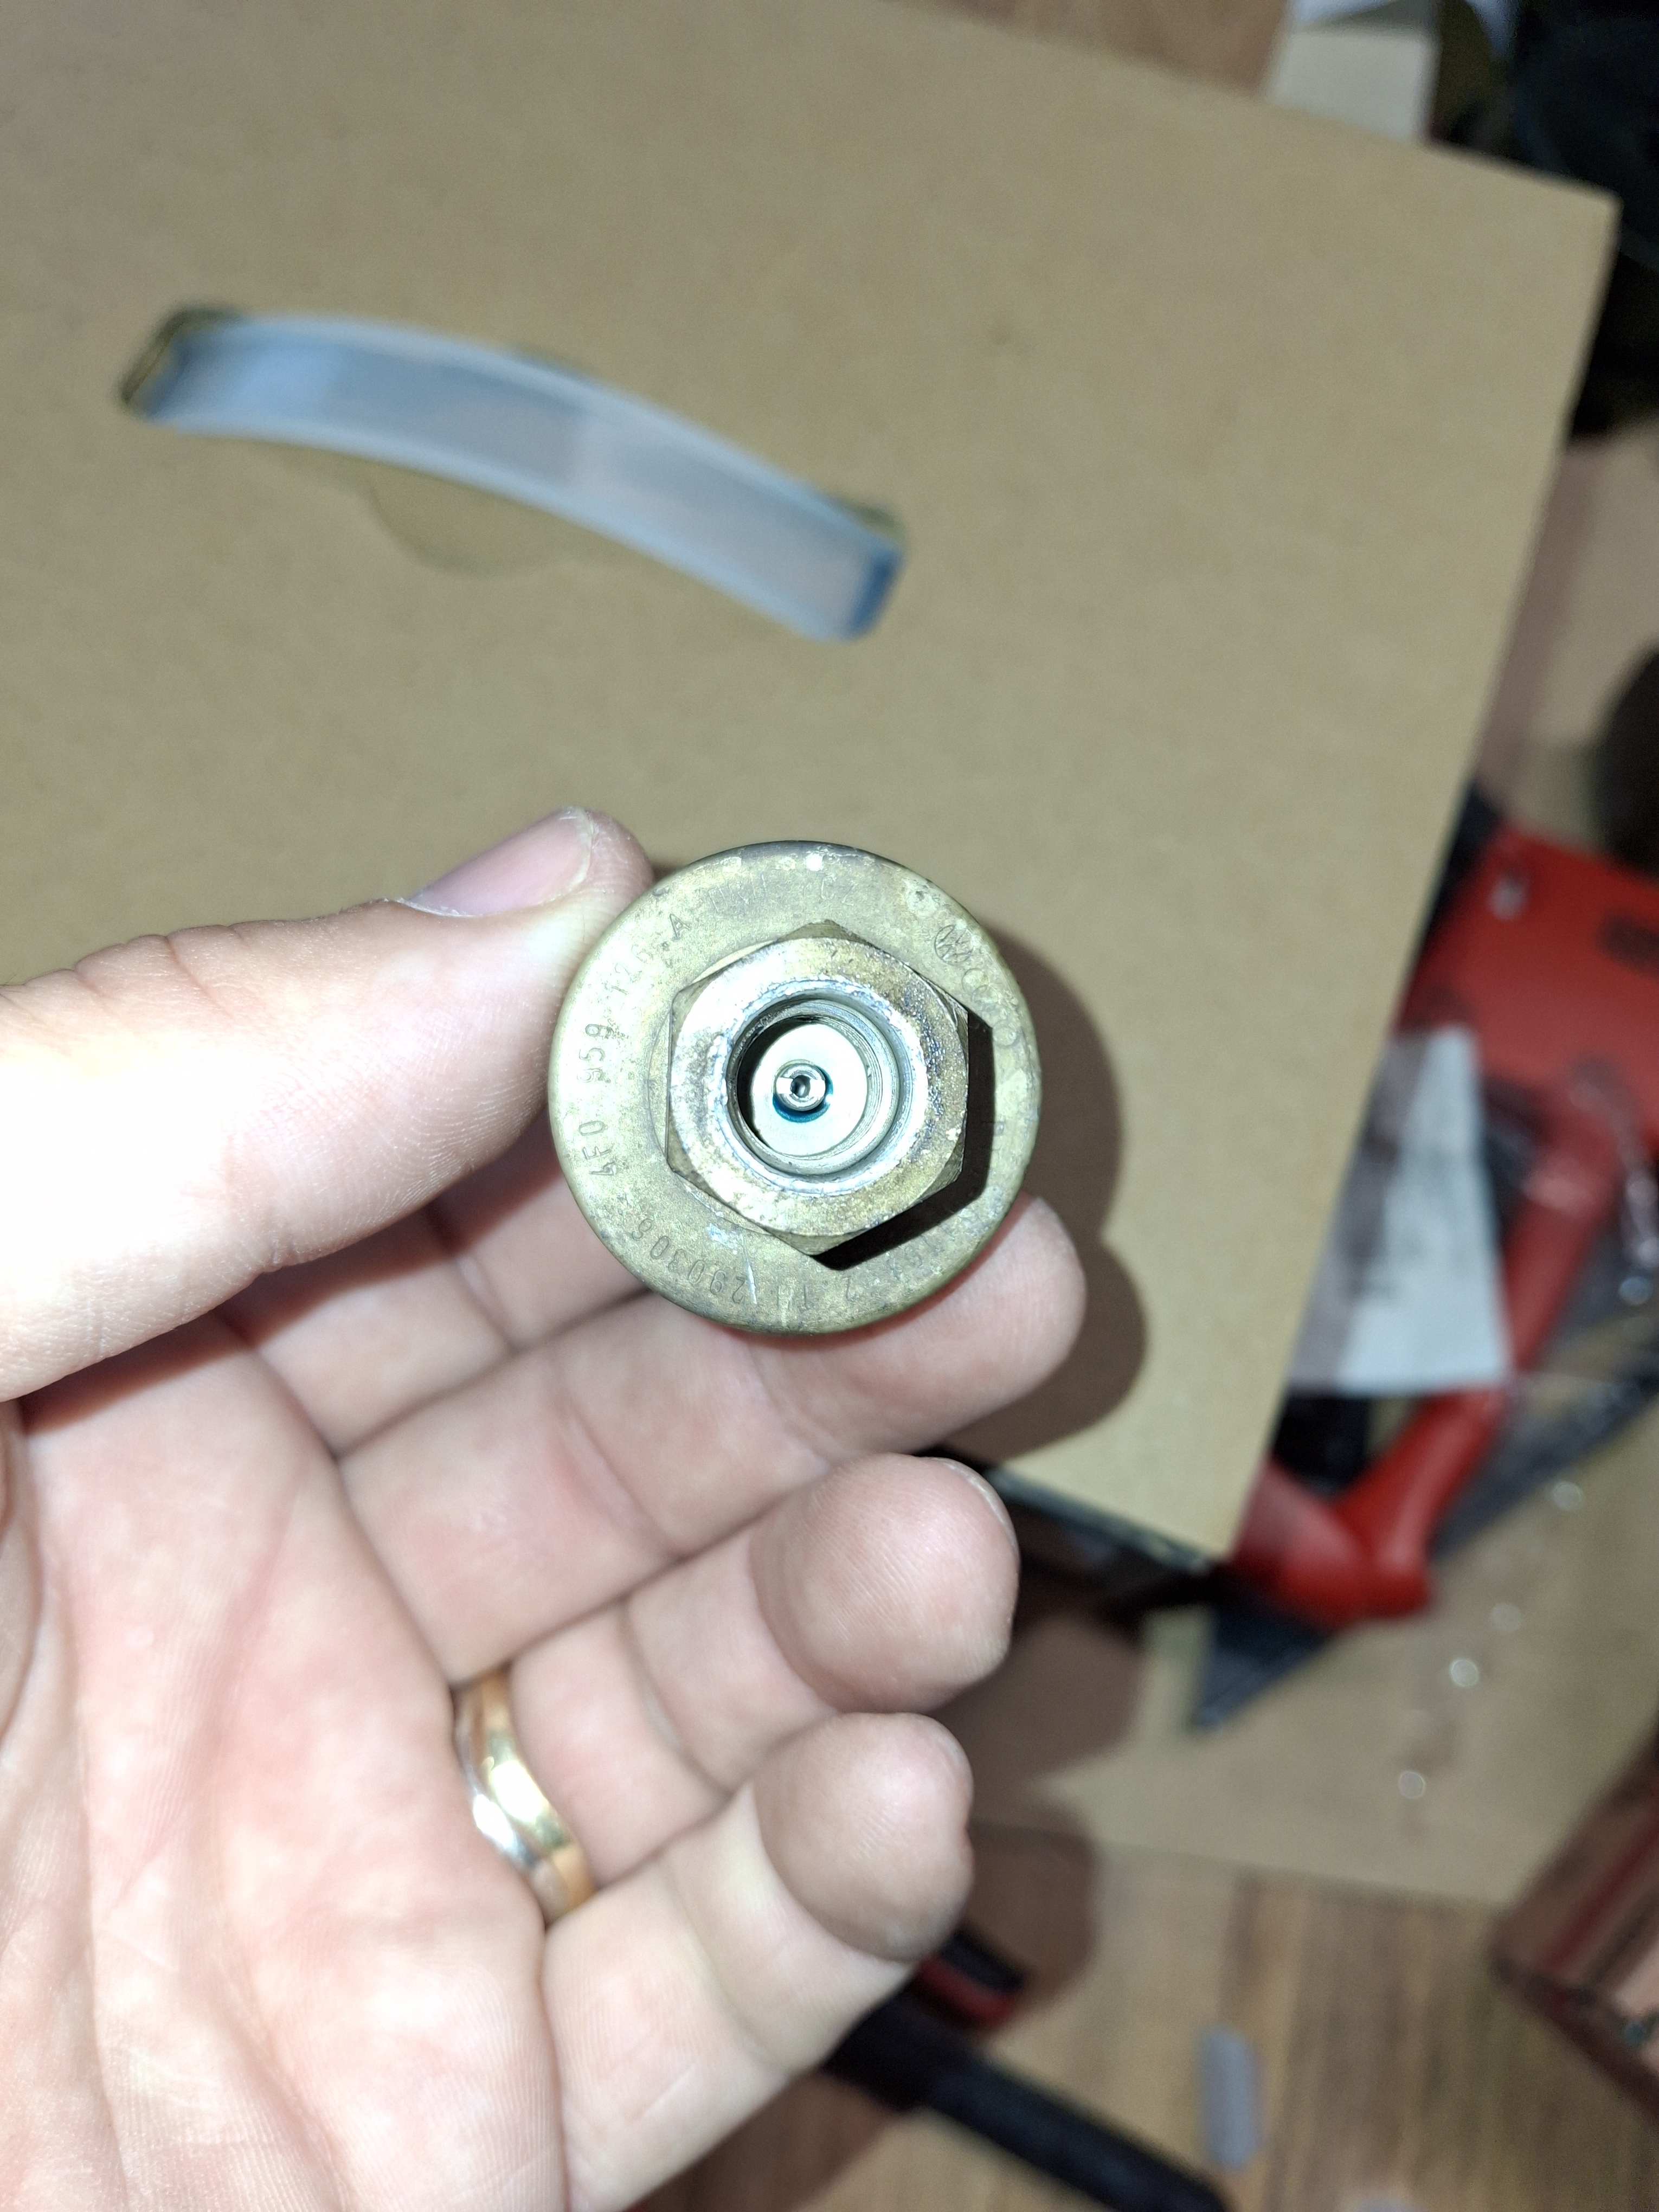
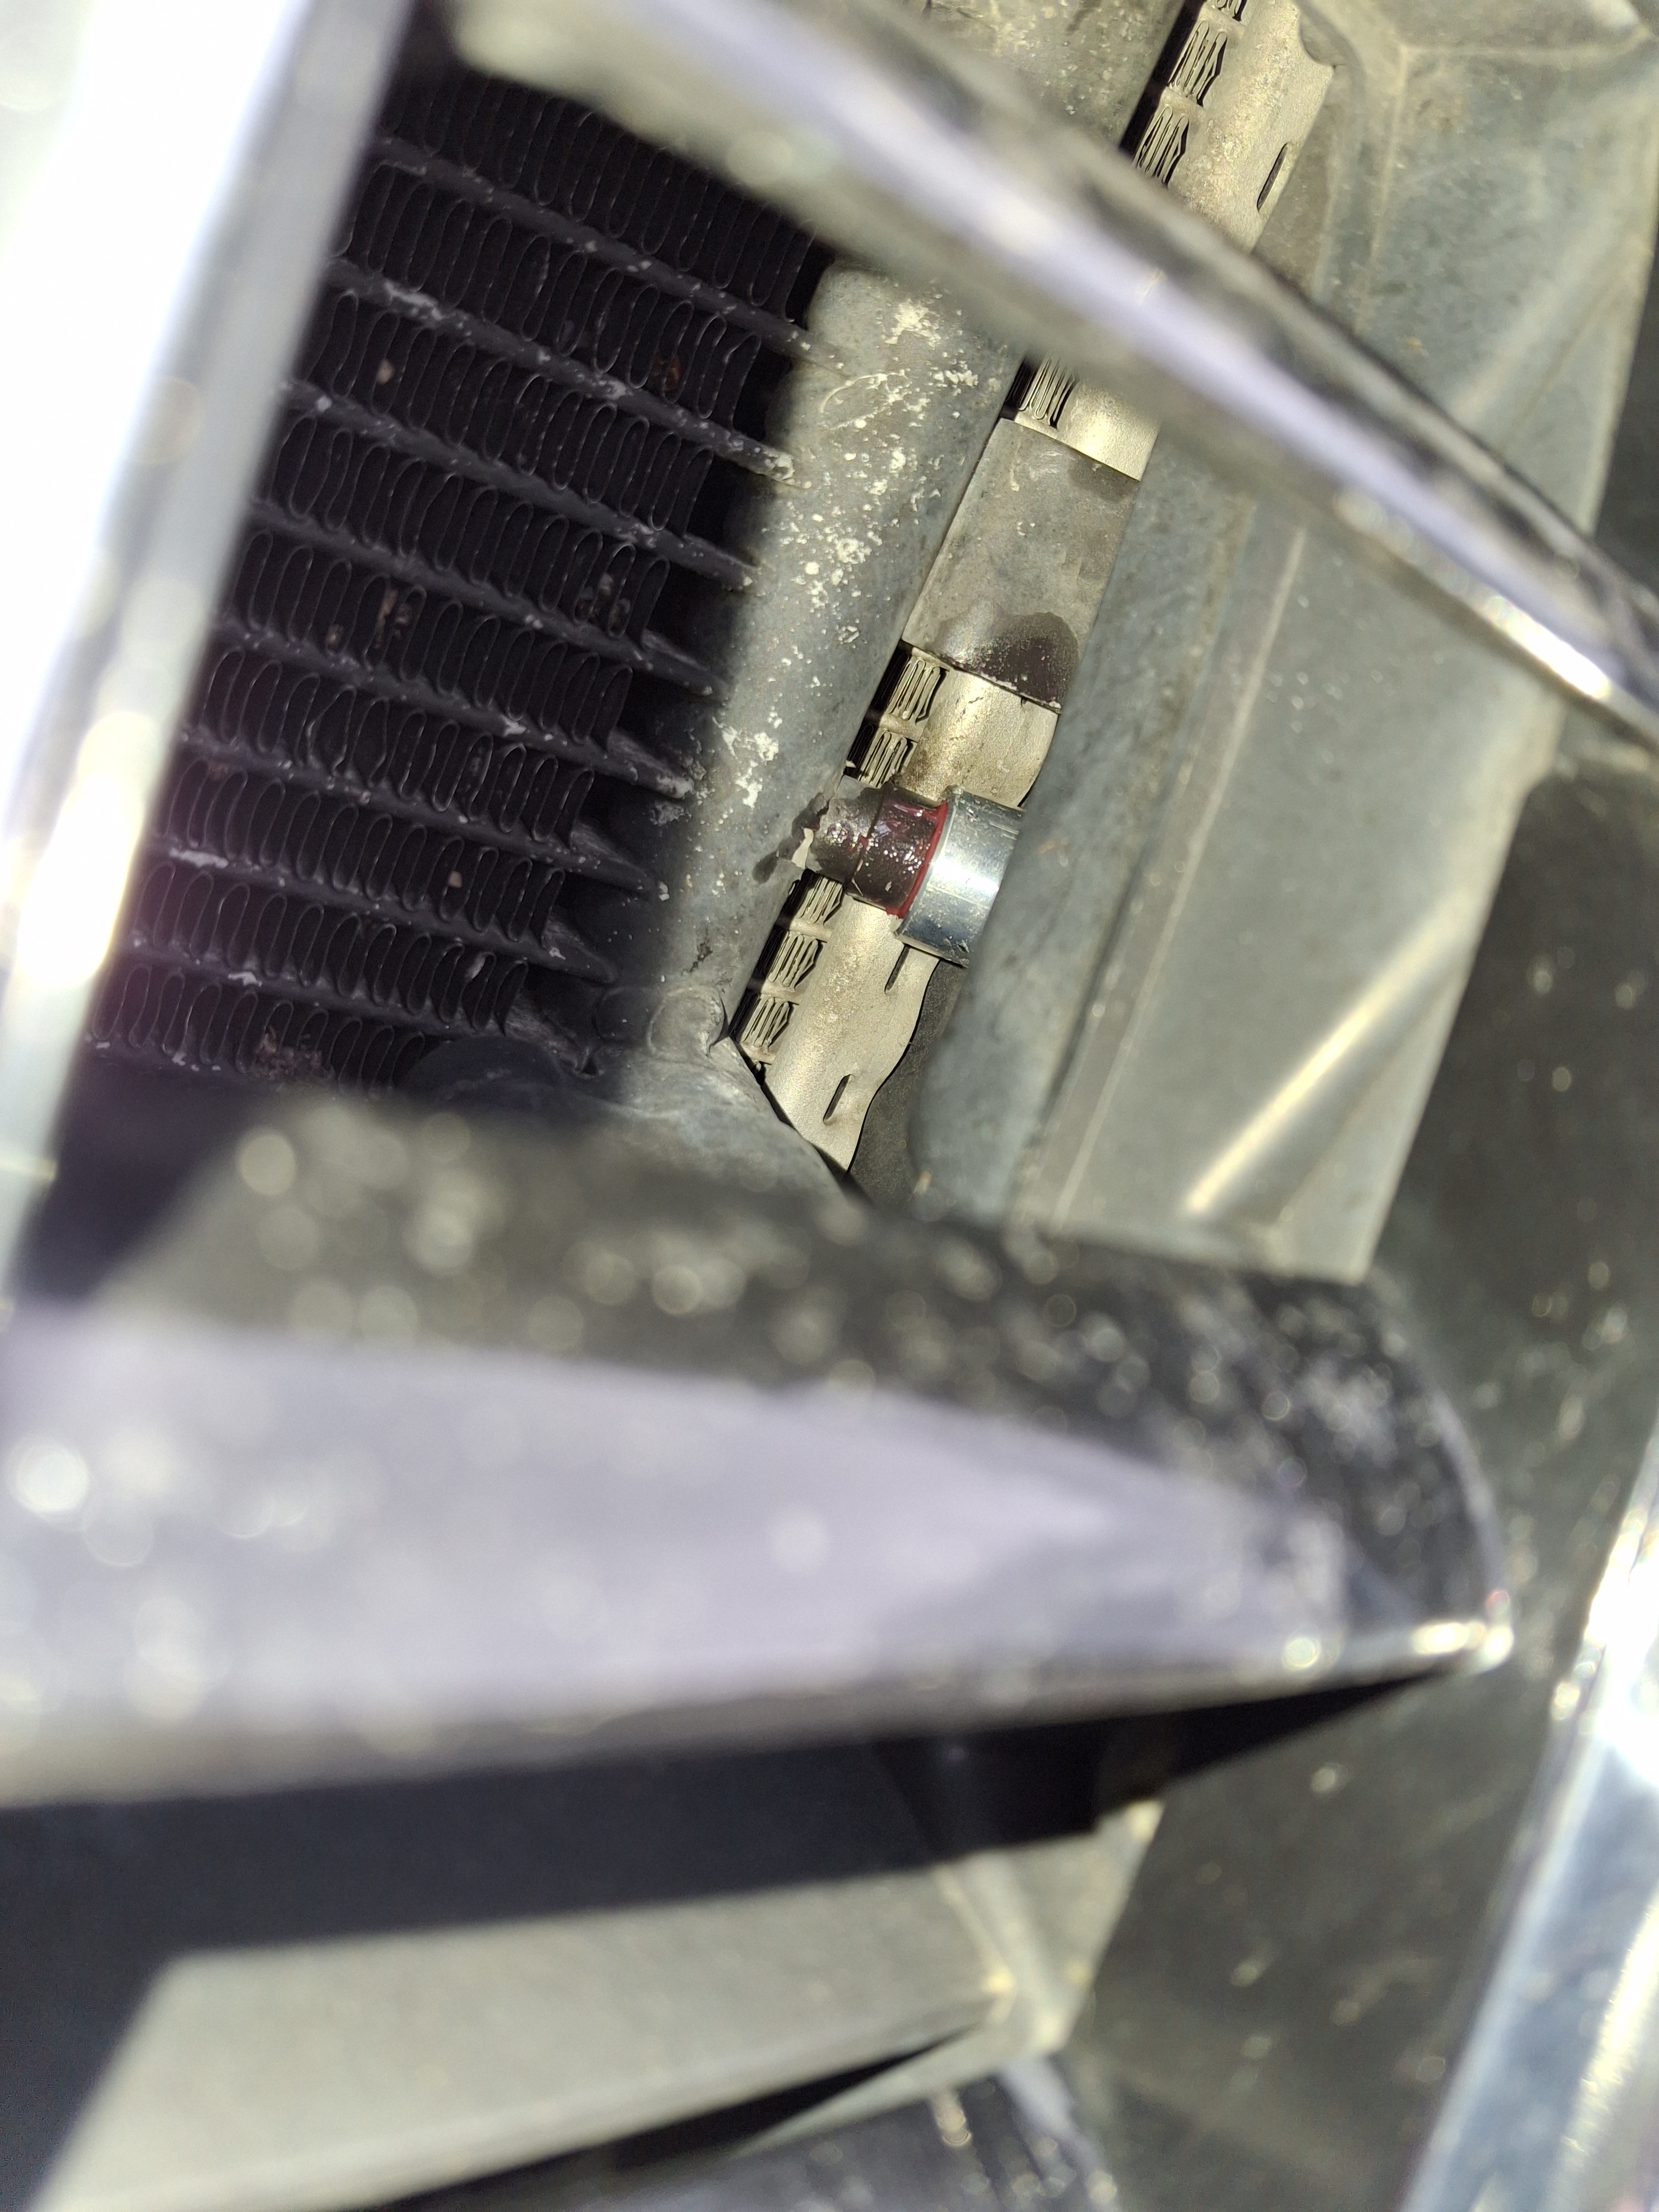
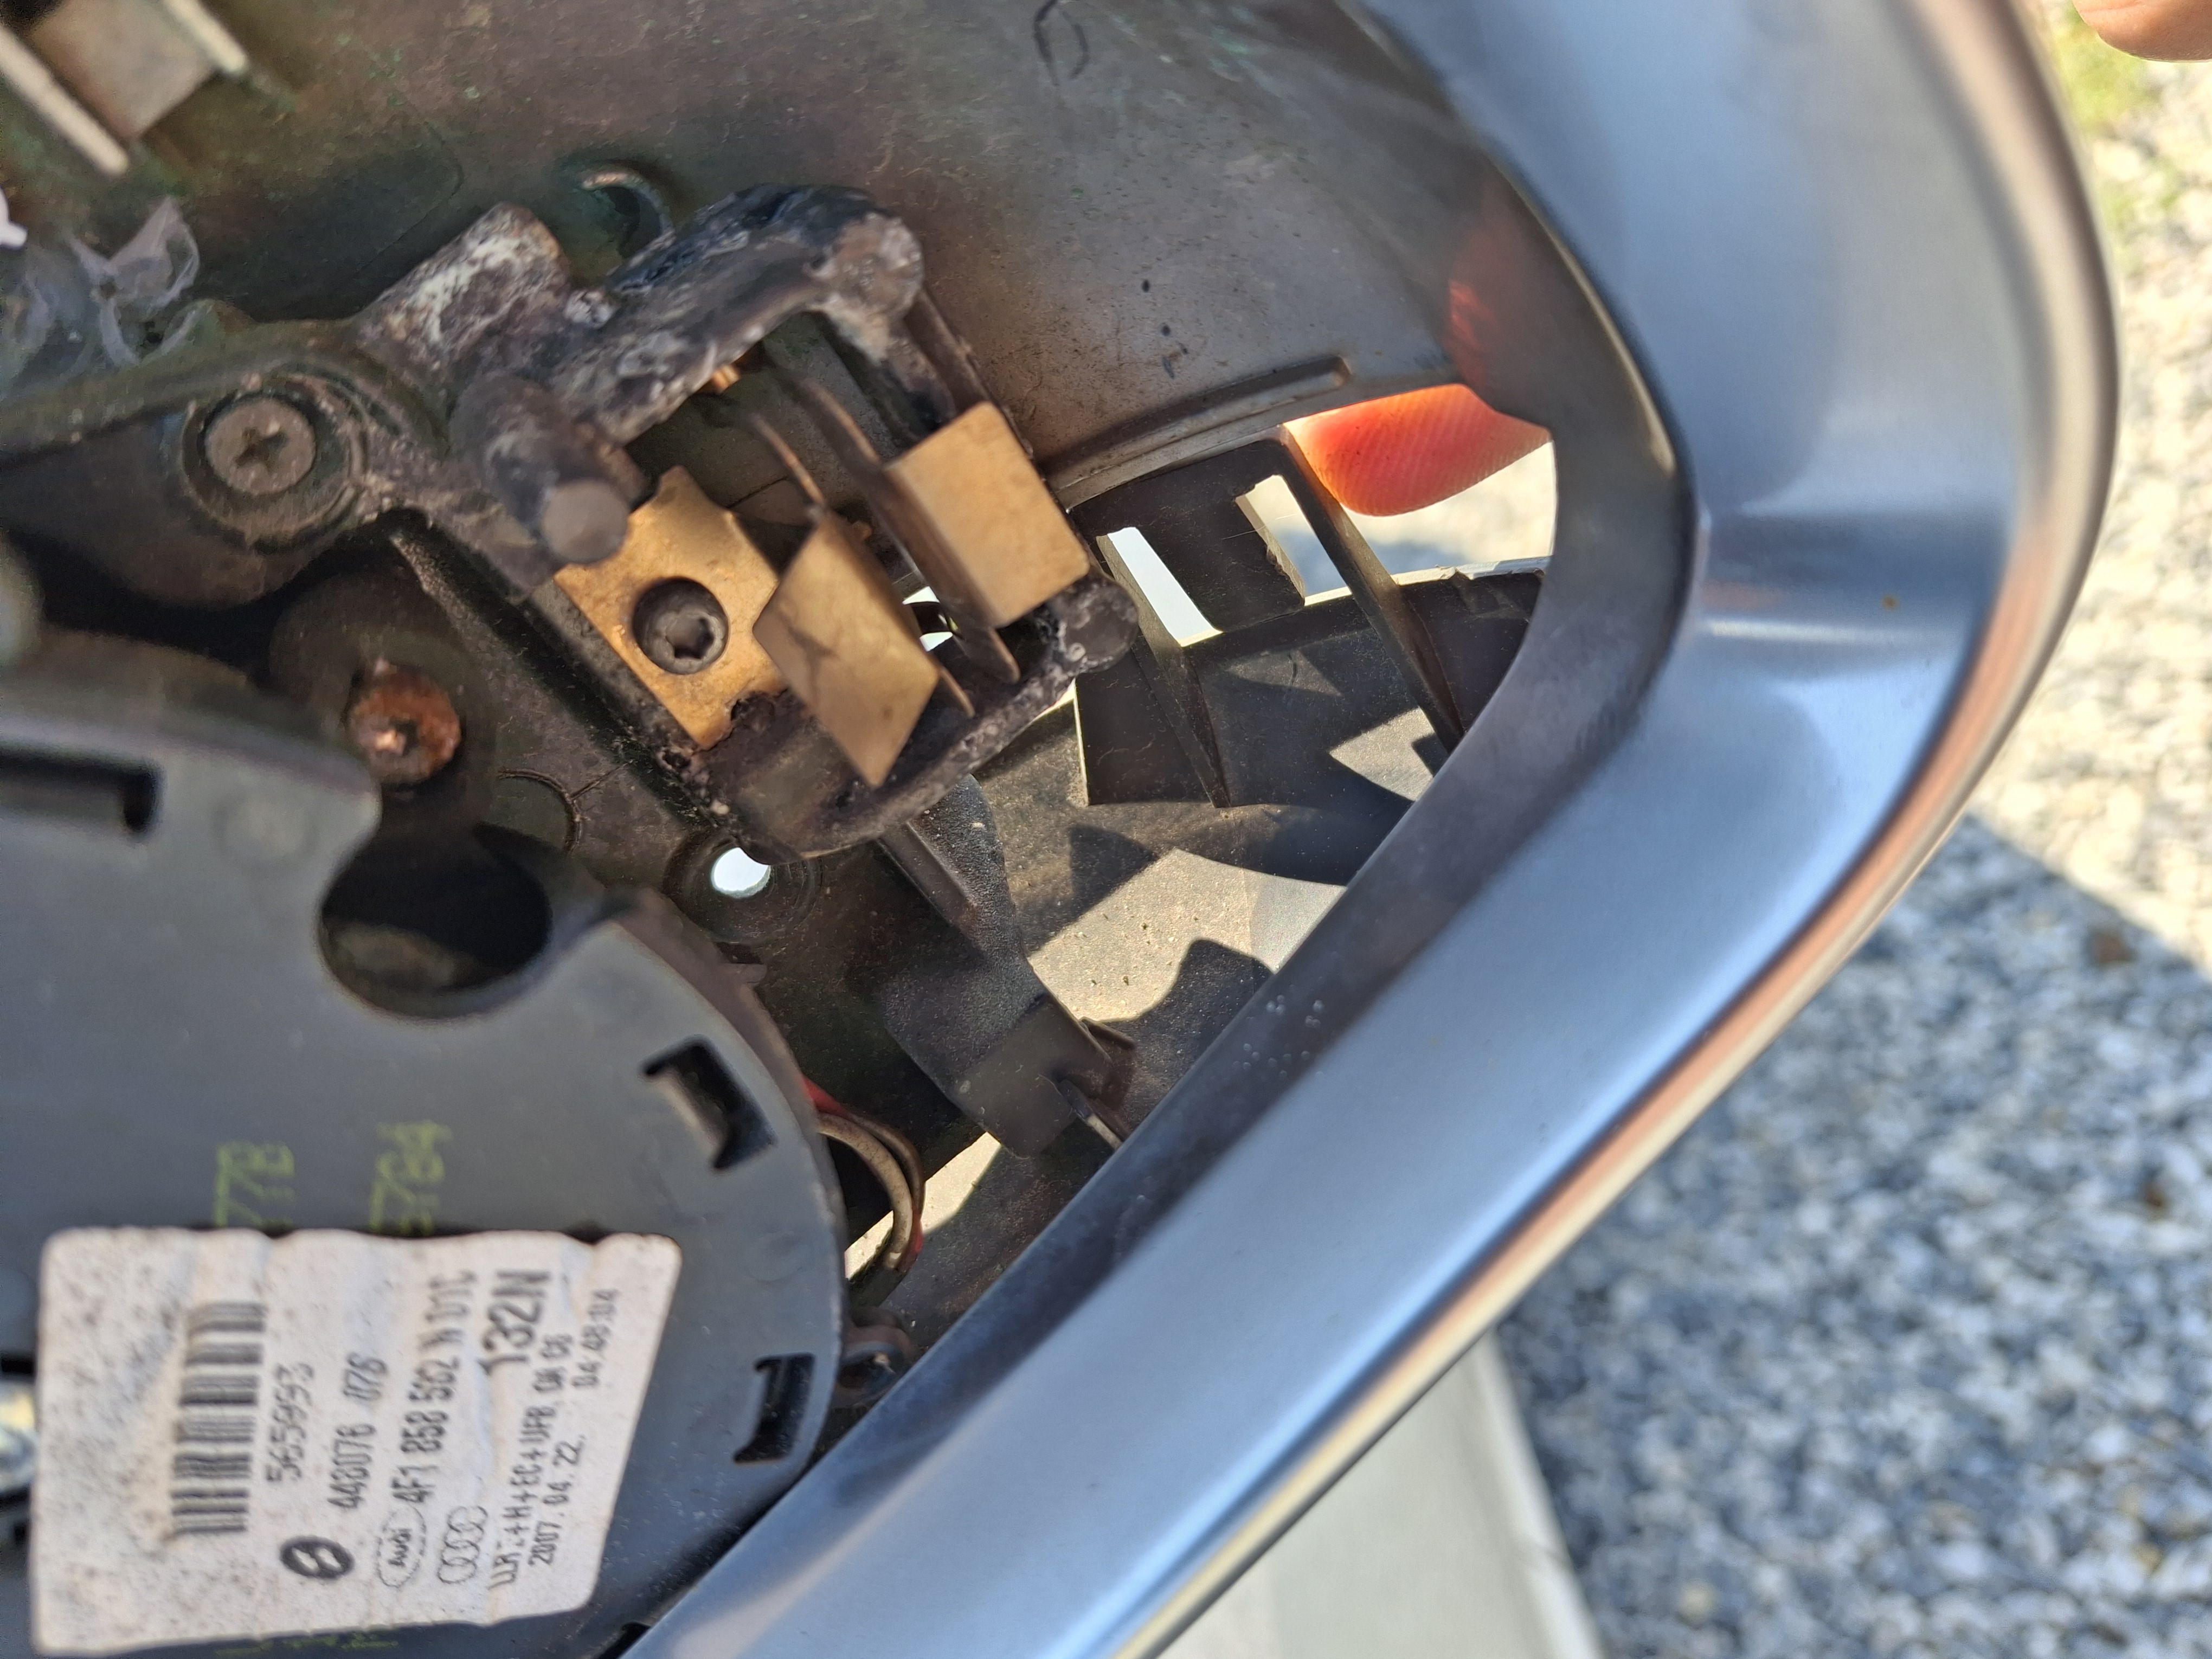
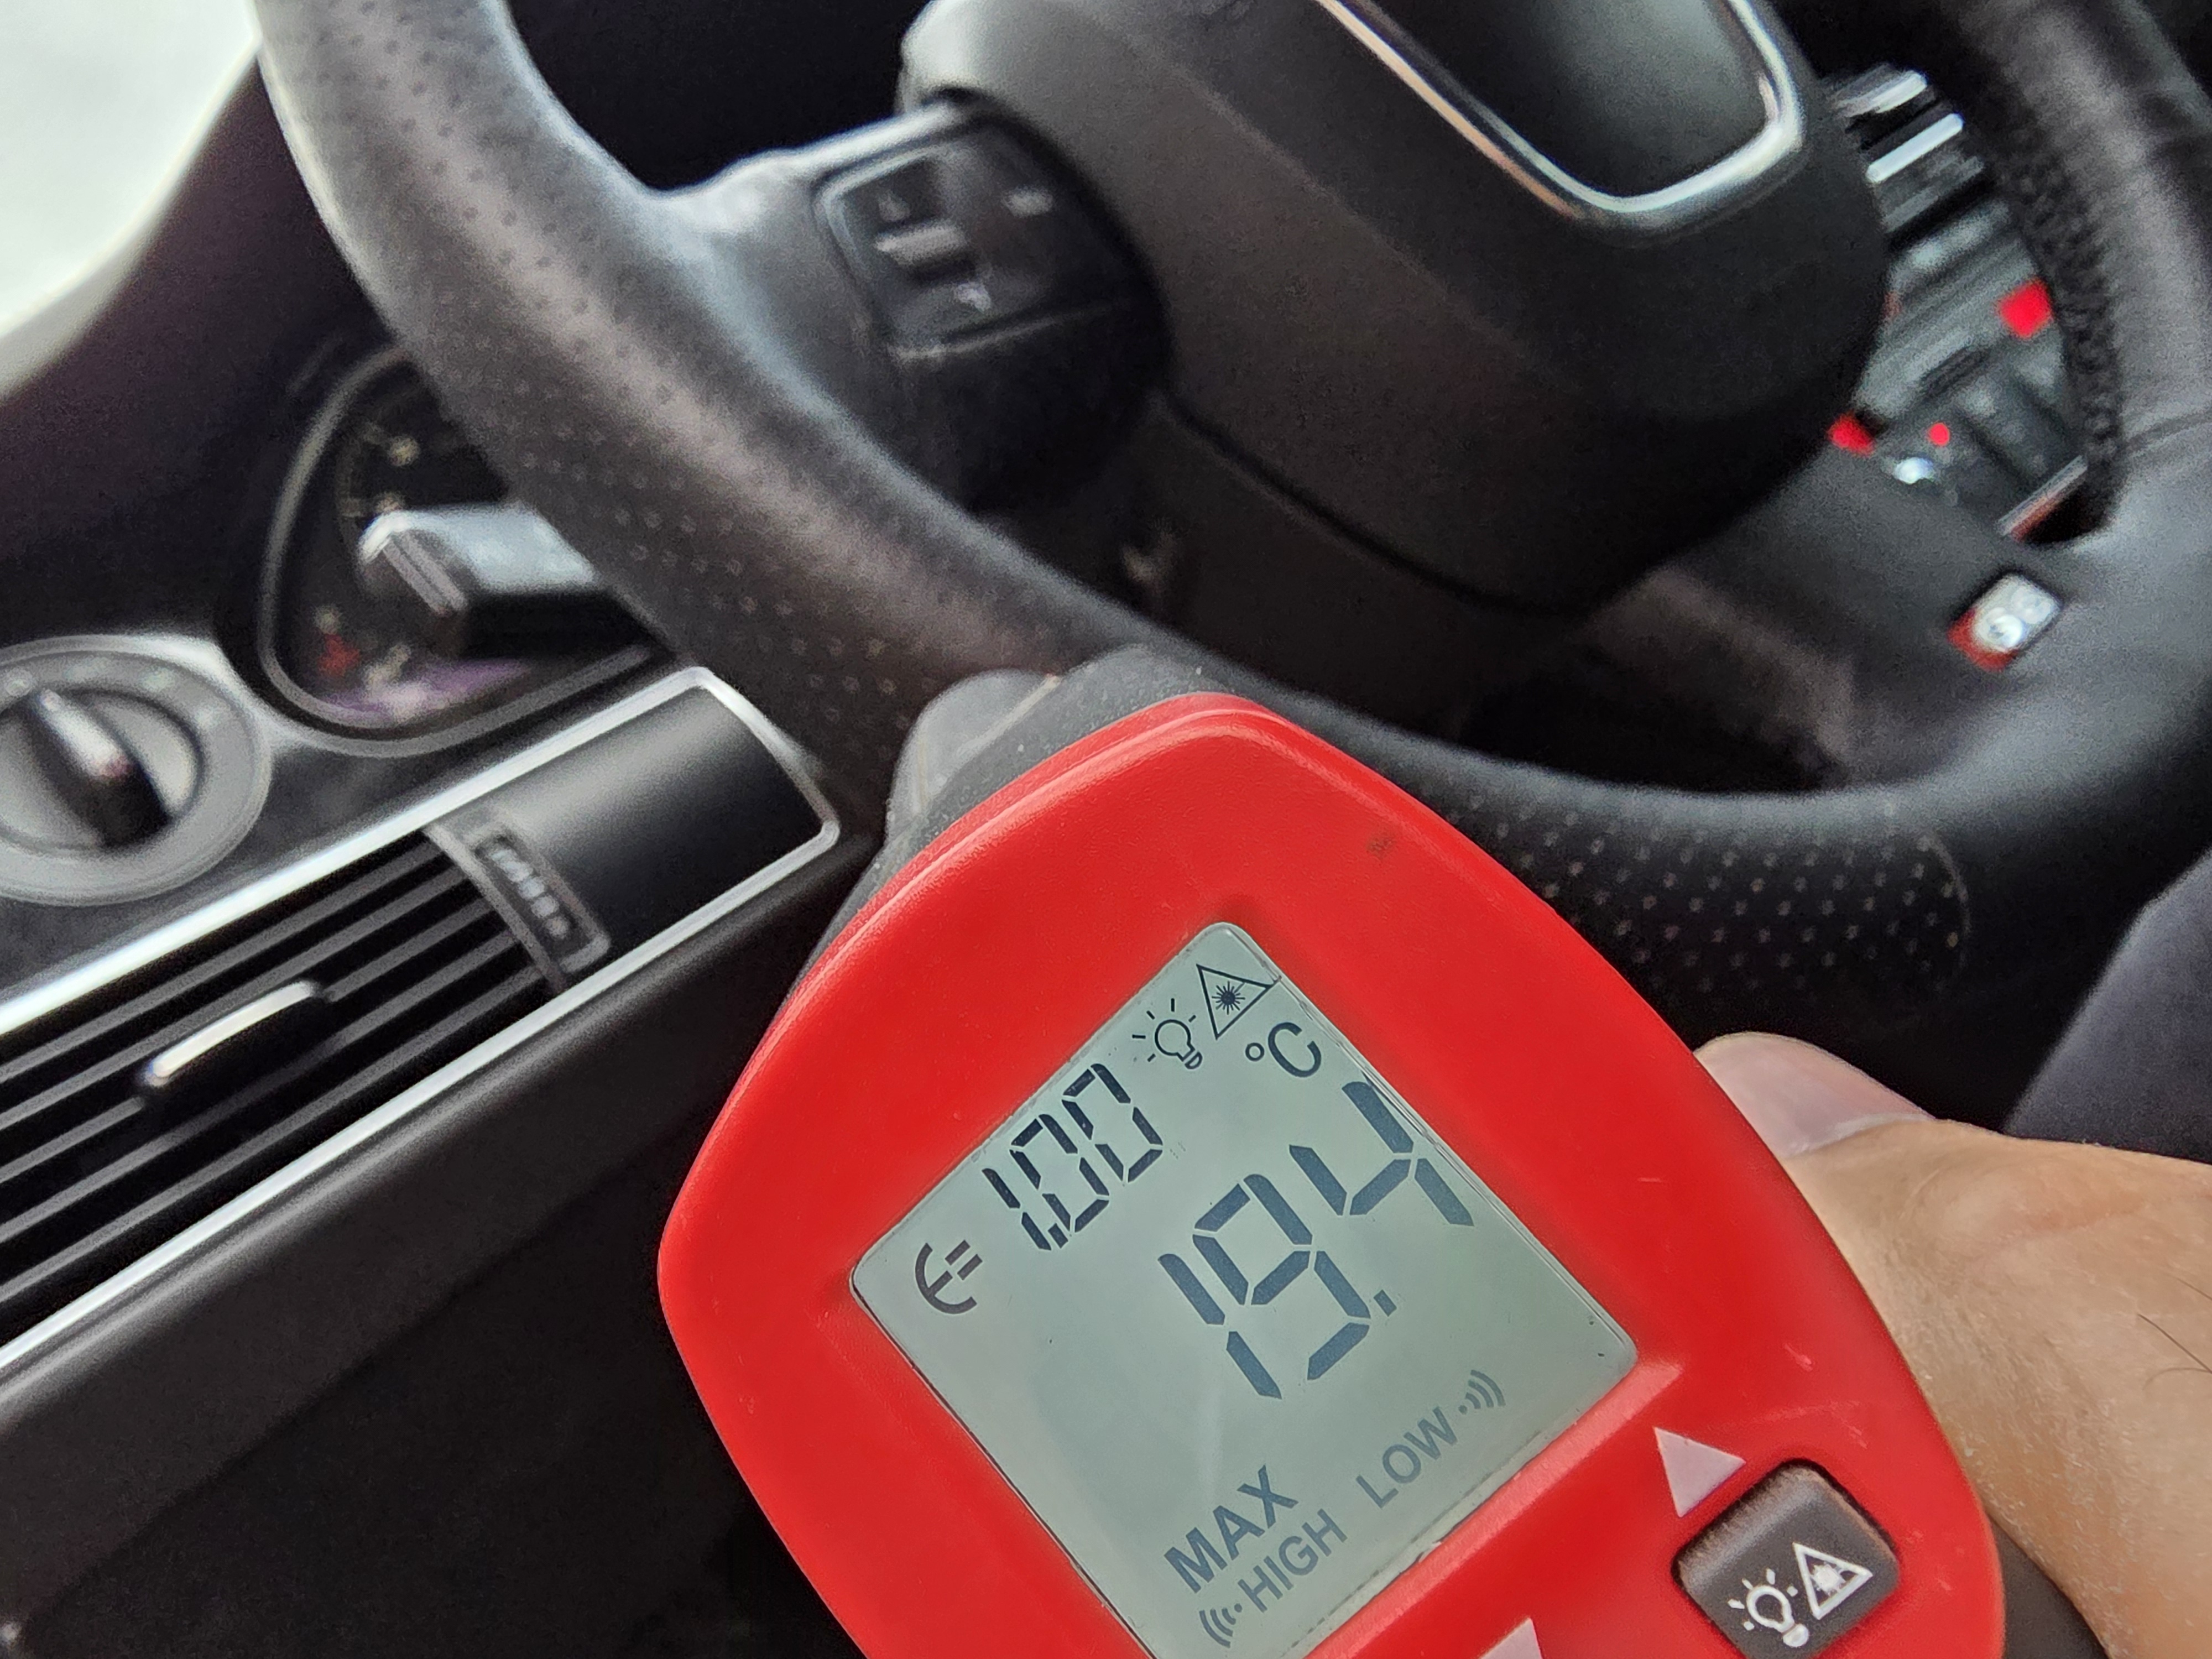
Parking sensors:
System not working and error - short to ground (full system), no info which sensor. Pull one by one and find Front Left with one pin coroded. Clean up pin and reconected and system is back to life


1 Like

Great addition and quick walk though

HPFP Regulator - disassembled


2 Likes

And today i was on way to do yearly inspection of car.
Once i was on highway, traction control off, S-mode and kick down.
Now im not shure but i presume it was 3th gear and engine get up to 7000 and pulled over that, at that moment i was little suspicious why didnt shift, but sometimes it get over 7000.
At that point i release pedal and then kick again when it was over 7000.
Engine rev up to arround 7800rpm. At that point it shift up and PRNDS ligjt up on dash.
Gerbox not shifting up or down, switching from S to D no diference. Shift to N and car its in Neutral, engine work OK. Shift back to D and no changing, car its engaged in gear and it slow down or pull normally but no shifting.

Lucky i have Carista and it show Transmission Error - P0219 - Engine Overspeed Condition
Durring drive pushed reset and everything come back to normal.
Shifts all gears no problem, car pass test, emissions test ok for pass

This can happen from time to time when the motor is moving fast enough that the TCU processor isn’t able to calculate the shifting sequence and it misses it’s window. Usually I just back out of the throttle slightly and the shift takes place. Or you can key cycle after the event if needed and it should reset everything. You might still get a soft code but the bigger issue should be cleared.

2 Likes

Regarding my post on another topic, about mmi:

This was easy fix, after playing with sound seting i find that left door only makes this sound, on futher investigation mid tone speaker was faulty.

To fix its not even 5 min, need some flattool to pull mesh front of speaker, stick longer finger between and locate speakeer suspension surround rung, pinch hole with finger and stick some small plastic bag between or anything to keep it from making scratching noise. :grimacing:

Whem summer comes, then the speaker will be replaced

1 Like

Not so long ago in January car had error of Engine Overspeed. After reset everything was ok. Continue driving car daily until mid of February when car left me on road.
Stopped on red light and then when continue driving, strech gear and instead of shifting from first gear to secon it make bang.
PRNDS light come on, reset everything and car its not engaging gears. Moving shifter through all gears and it’s show on display, no errors, engine revs but not pull.
Car was towed to mechanic shop and here is result in video below.
Everything electronically was ok, clutch plates ok.

1 Like

That’s crazy. Don’t think I’ve heard of that happening before. Until the I saw the video I assumed it was your mechatronic unit that failed. Good luck.

Car is going smooth, shifting like nothing happened…

Today received special tool and diagnostic is not so bright


p


https://youtu.be/ilSUiiqVSTE?feature=shared

Oh no is that the manifold or valve covers?

As observed for now, it leaks on throttle, between IM and Y plenum and on left side intake hose where are 3 vacuum connections

Another fault fixed.
AC system full with gas, pressure is good, but compressor is not turning on

Bad sensor

Position of new sensor, it can be replaced without removing bumper, but it will toke time as small space to stick in hands, and one spanner was cut in half to fit small space

Temp in car before at 1:57pm

Temp in car at 2:47pm

Side mirror LED, for long time didn’t work and finaly find one set on ebay.
4FD949134

Step 1- remove mirror, just gently pull out, it’s going easy. When mirror it’s out, disconnect 2x wiring for heating

Step 2- removing mirror cover, pull bottom part of cover away and unclip one clip inside, then pull cover up

Step 3- Unscrew 2x Phillips screws underneath

Step 4- disconnect LED connector

Step 5- remove torx and swap LED

Step 6- reverse steps to assembly everything back.

Only remarks for this, maybe LED can be replaced only by removing bottom plastic, to avoid removing mirror :man_shrugging:

Headlight DS2 projectors swapped with Bi-Led. All modules for Xenon are removed and + & - connected direct to wires from connector. No error on dash and works fine. Next step is to glued clear cover and hopefully tommorow they going on car

LED projector i buy
SANVI 3.0 Bi LED Lenses for Headlights Ice Lense Auto LED Projector Headlight Hella G5 3R Projector
110W Car Light Retrofift
LED 3" projector


D2S projector


Also need adapter frame for LED Projector
SANVI AFS Frame Headlight Bracket Transition Adaptors for Audi A6/A8 2005-2011/BMW E53 7/5series/Golf Cross Car Light Upgrade

There is some offset compare to D2S, distance from frame to Lense. D2S projector is mounted behind AFS Frame, but LED need to be mounted front of AFS frame to fit plastic cover that’s going on Lense. With adapter frame that is fixed.
And AFS frame need to be grind off little bit on 4 points to allow LED projector get full turn left/right, because now it’s stick out and close to frame, not big deal, frame is still strong after grinding.

Some small adjustments needed to be done as griding of to fit everything

Completed D2S Xenon system is removed from Headlight box, negative and positive wire was unplugged from connector that is going to balast and wires from LED connected to them. For high beam 2 wires connected to connector that’s originaly for D2S H-Beam
(edit: balast are still on both headlights to keep hole closed, but nothing connected)

To adjust Headlight, there is no need for VCDS and enter to adjustments mode, complete frame that is getting adjust for left/right, up/down is independent from motor for height or afs.
When Headlight are adjusted by hex-screw’s it’s moving complete Headlight inside and it doesn’t effect positions of acturators.

H1 fog light upgraded with Osram Fog Breaker


Headlight glass was glued with this glue, after it was placed in Grove, it’s good to heat it up with hair dryer ar heat gun, but if heat gun is used be careful to not melt Headlight housing. Once glue get soft and sticky, place glass and squeeze it all arround and let it dry, for extra seal apply some kind of rubber sealing glue all arround

The result is hughe improvement of visibility.
No aditional coding done, everything in settings are still same as for Xenon light, and no any errors on dash or in system.


2 Likes

Another great update just complete.
From Ebay I get RS6 tacho dials
Up to 210 or 220km/hits same position and after it’s diferent, but doesn’t matter.
It’s easy swap. To remove needle, just pull them out, but after they placed back, it’s good to connector tacho to car without front glass, because then all needles move on zero position and if it’s not on correct position it’s easy to adjust them, after they are adjusted, place front glass on, and everything else

Audi A6 C6 Replacement dials converted from MPH to Km/h BLACK Dial Conversion

Yesterday replaced right inner CV Joint. Symptoms was vibrations on acceleration and they depends how fast acceleration are. Slowly pick up speed, small vibration, if kick down and stretch gears, car shakes like wheels are loosen…

Do you think this projector would work on the car?

I just found this on AliExpress:
$221.48 | SANVI 2PCS Bi LED Projector Lense for Car Headlights Auto Driving Light for Hella 3R G5 Upgrade Car Styling 6000K 160W 46700Lux
https://a.aliexpress.com/_mMOZDPz