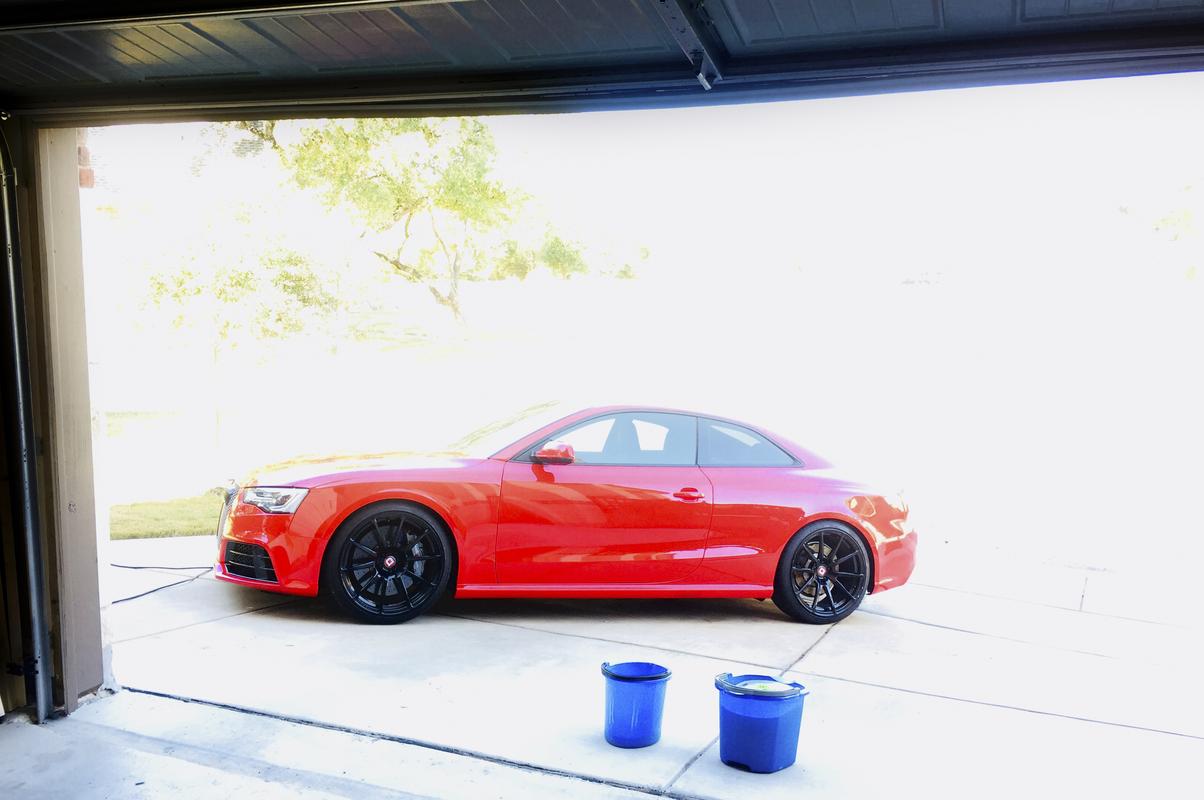
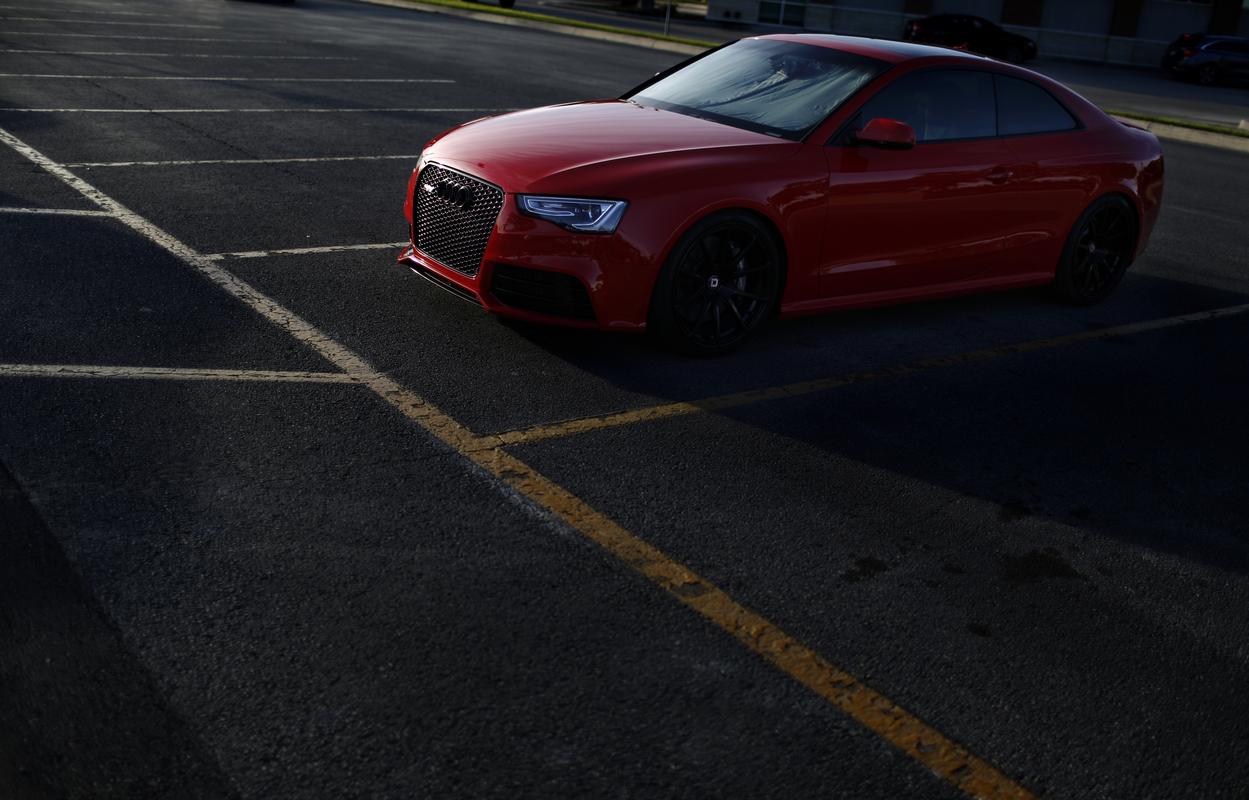
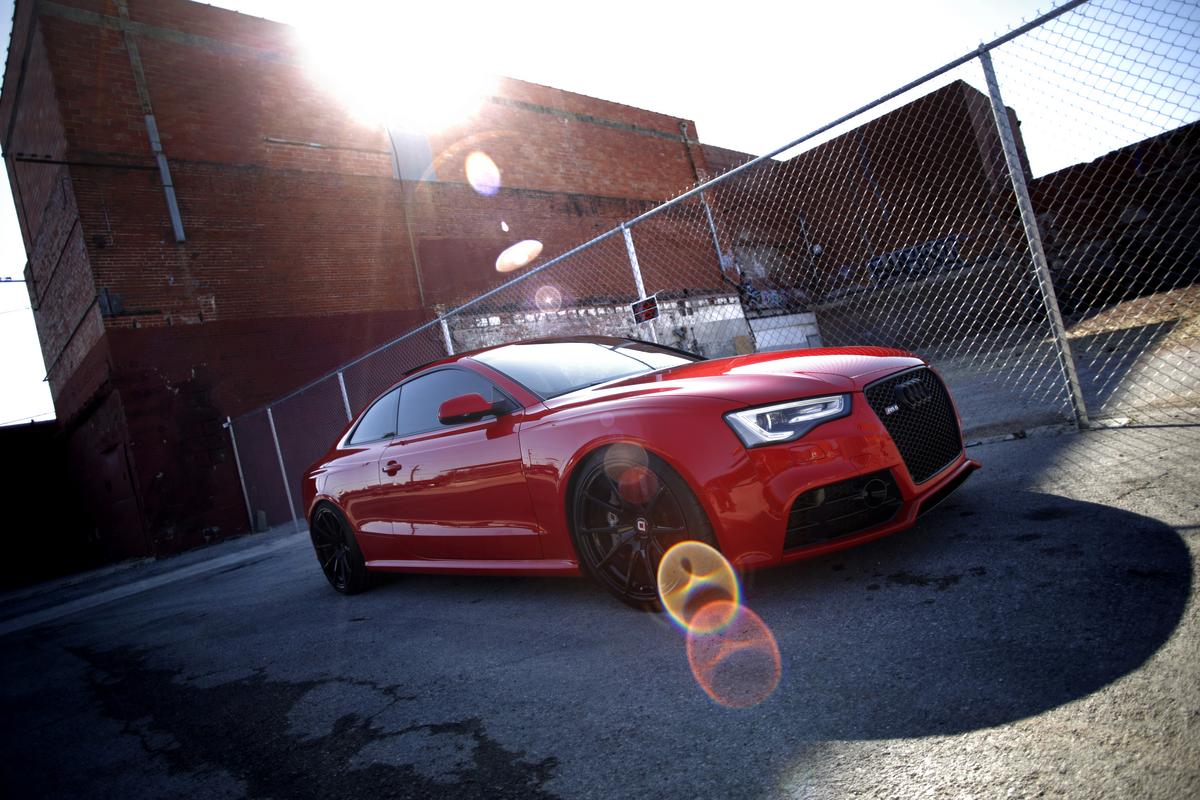
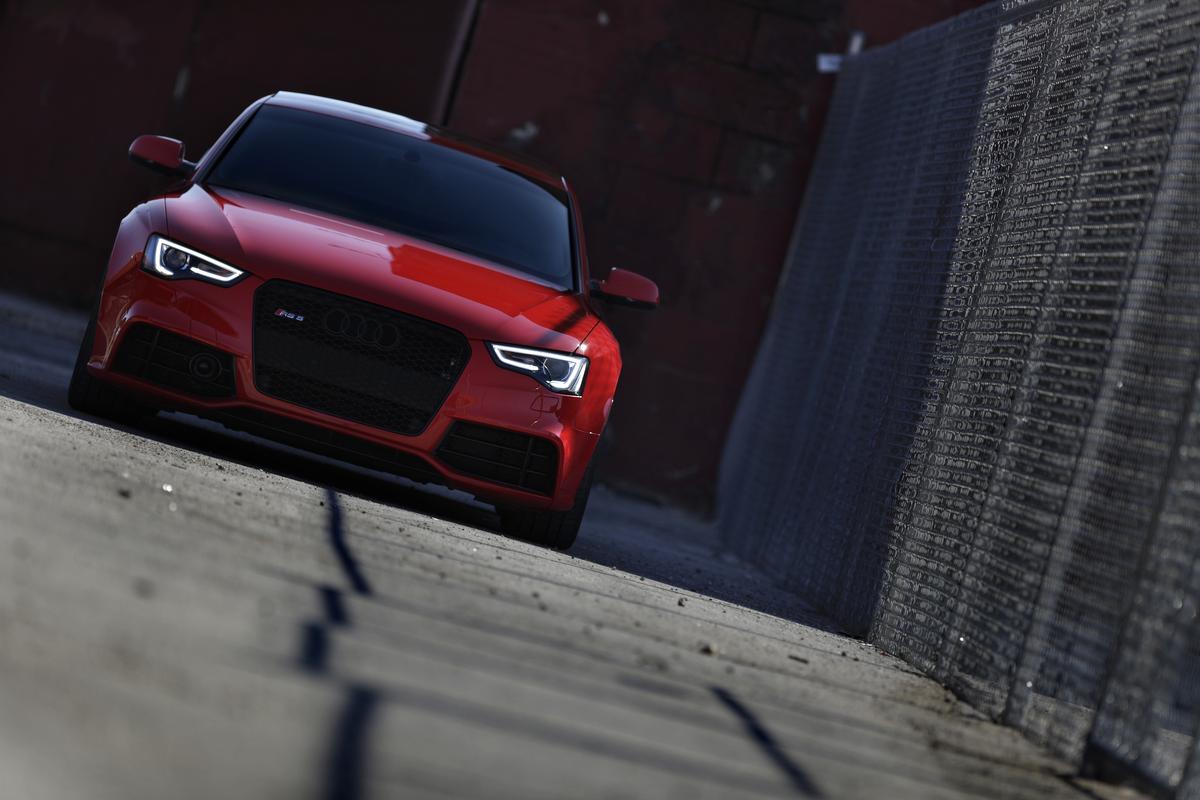
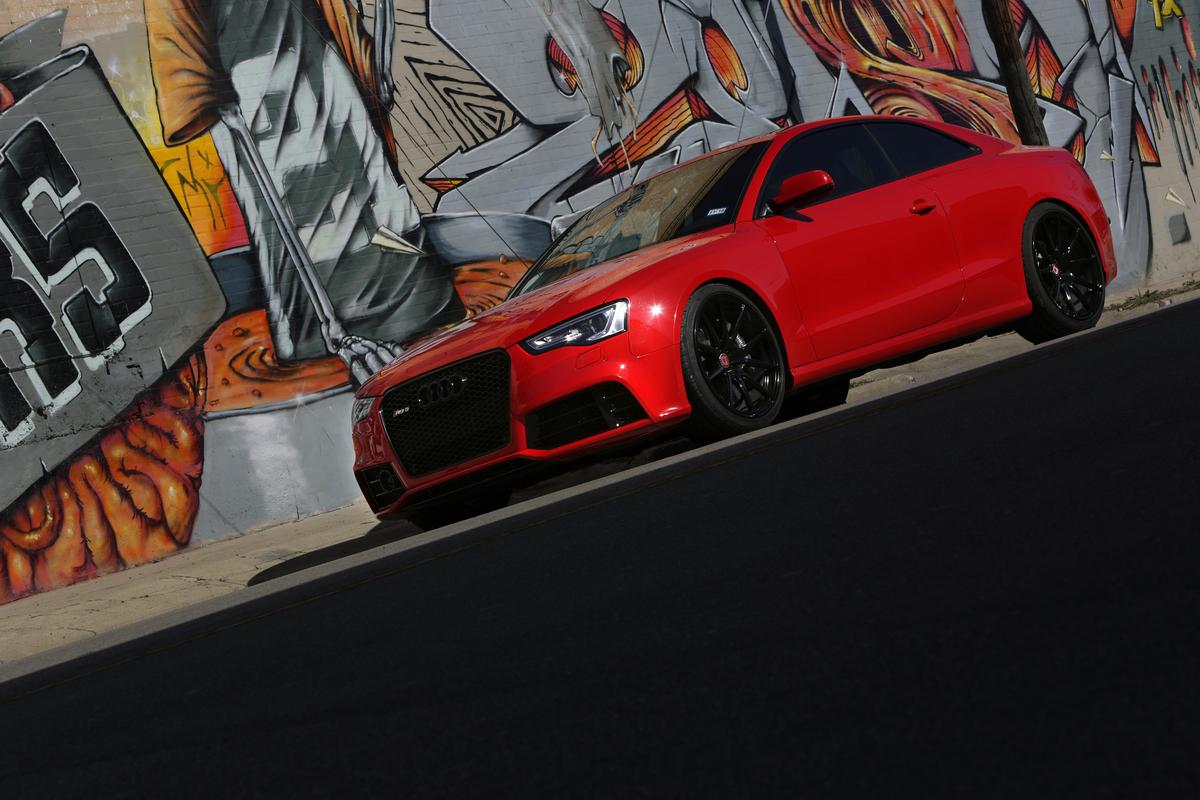
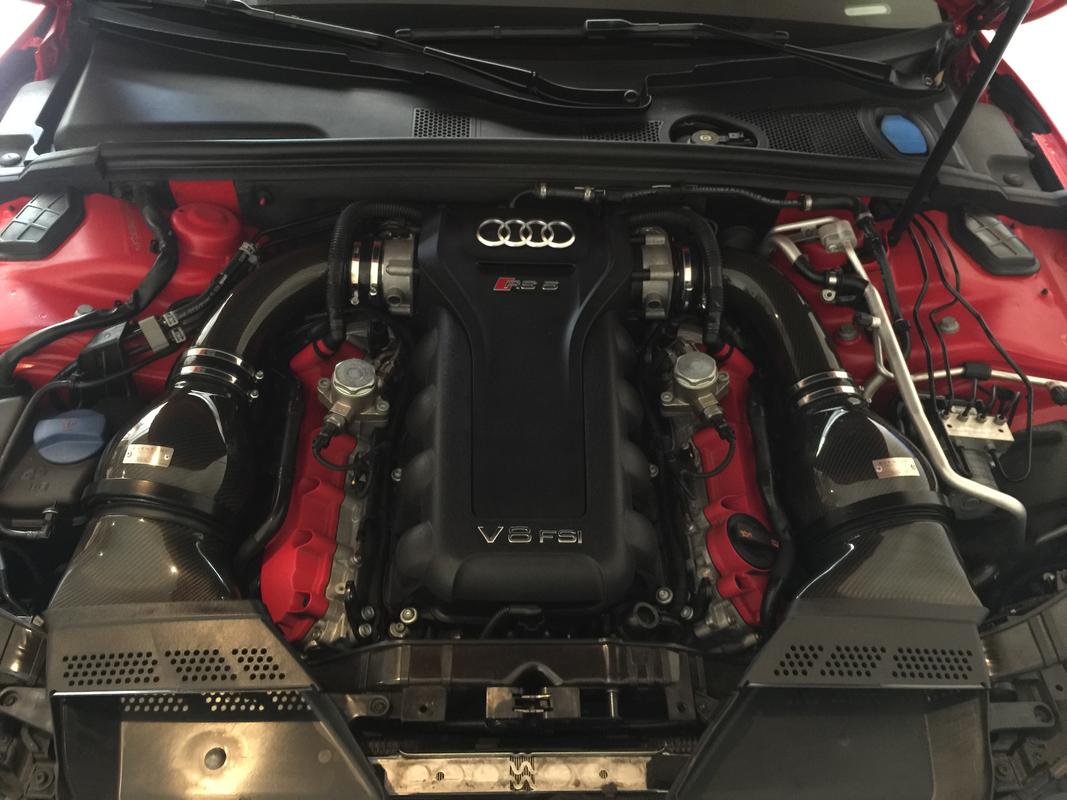
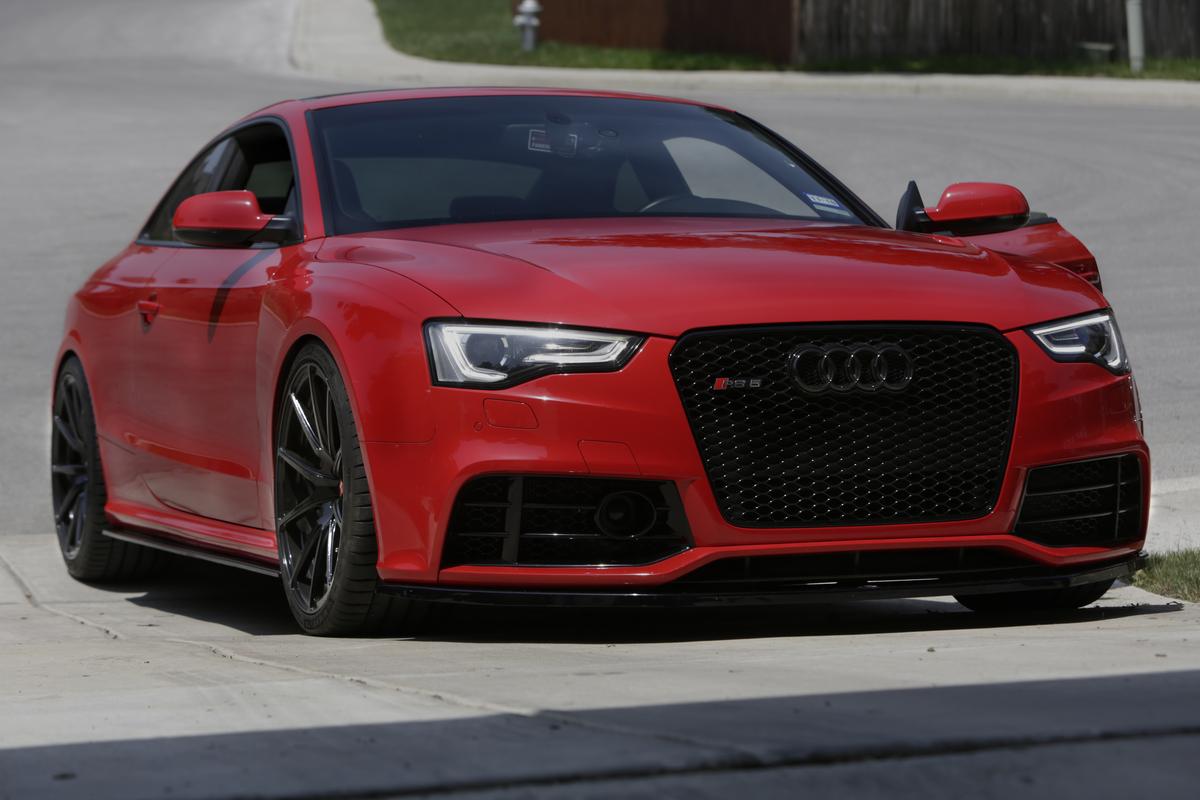
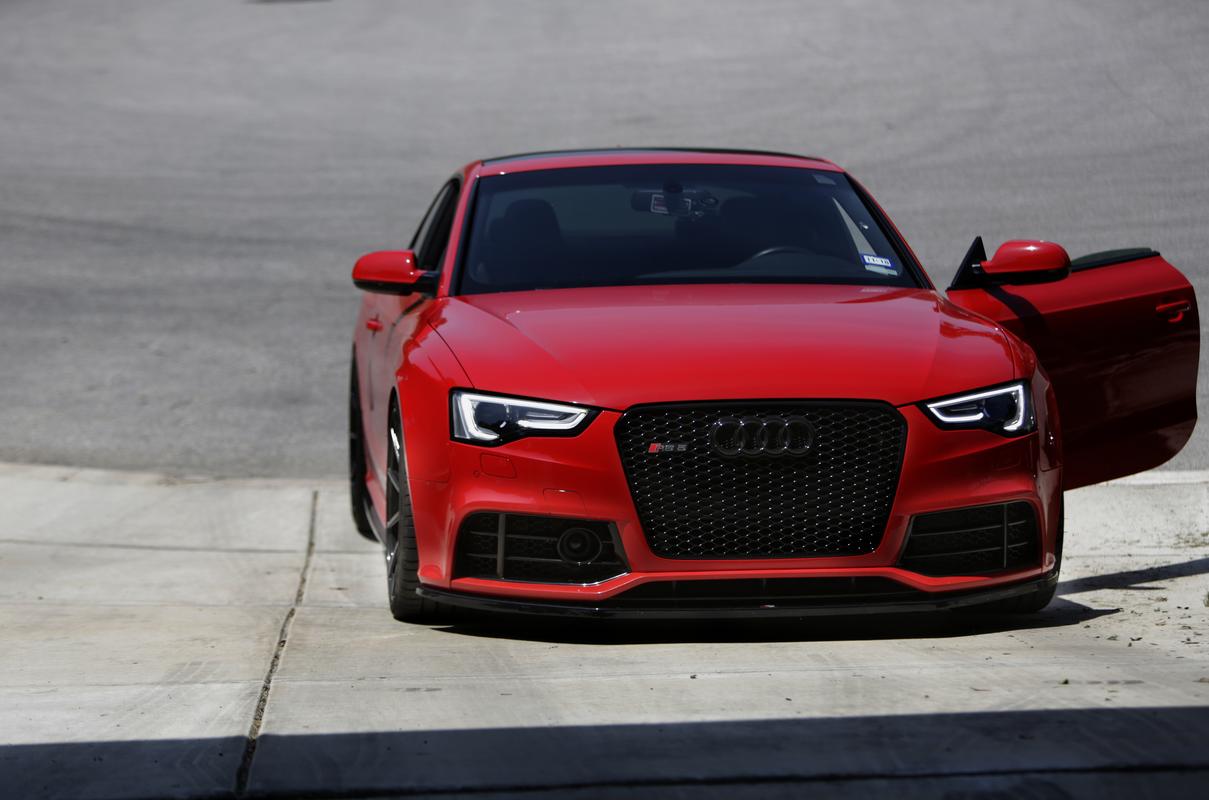
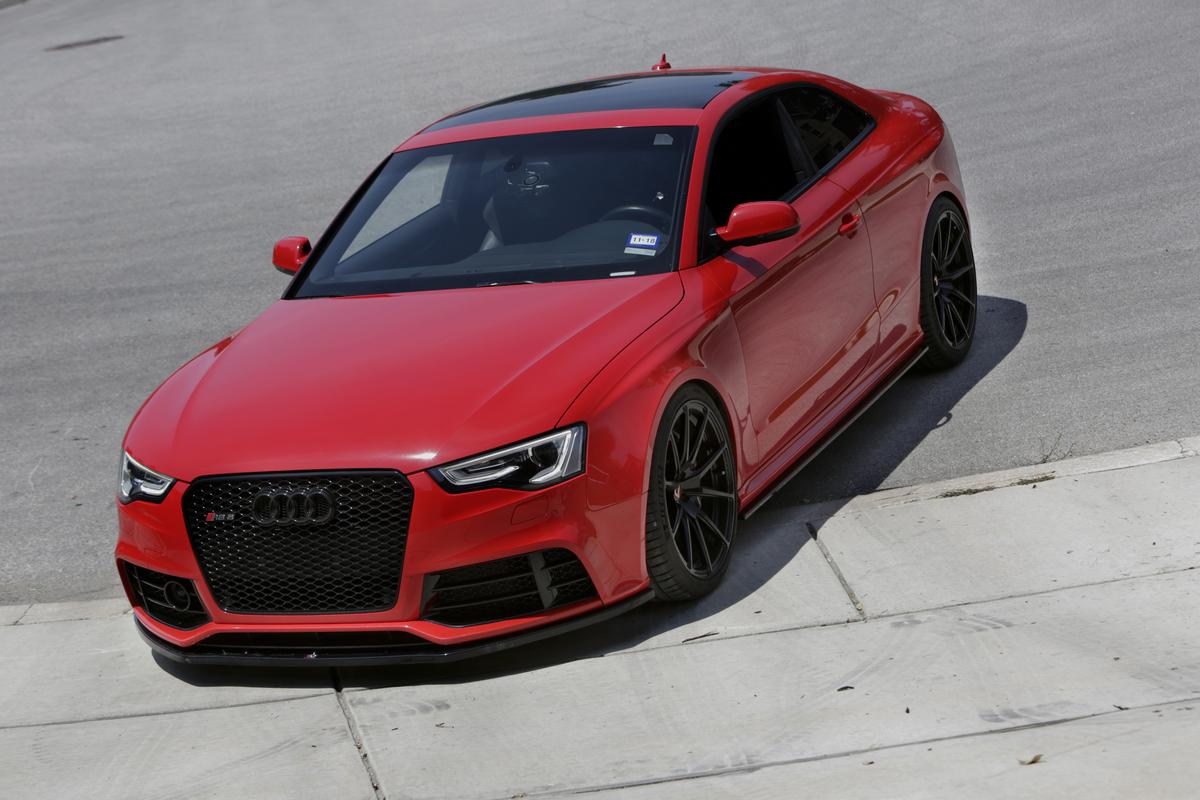
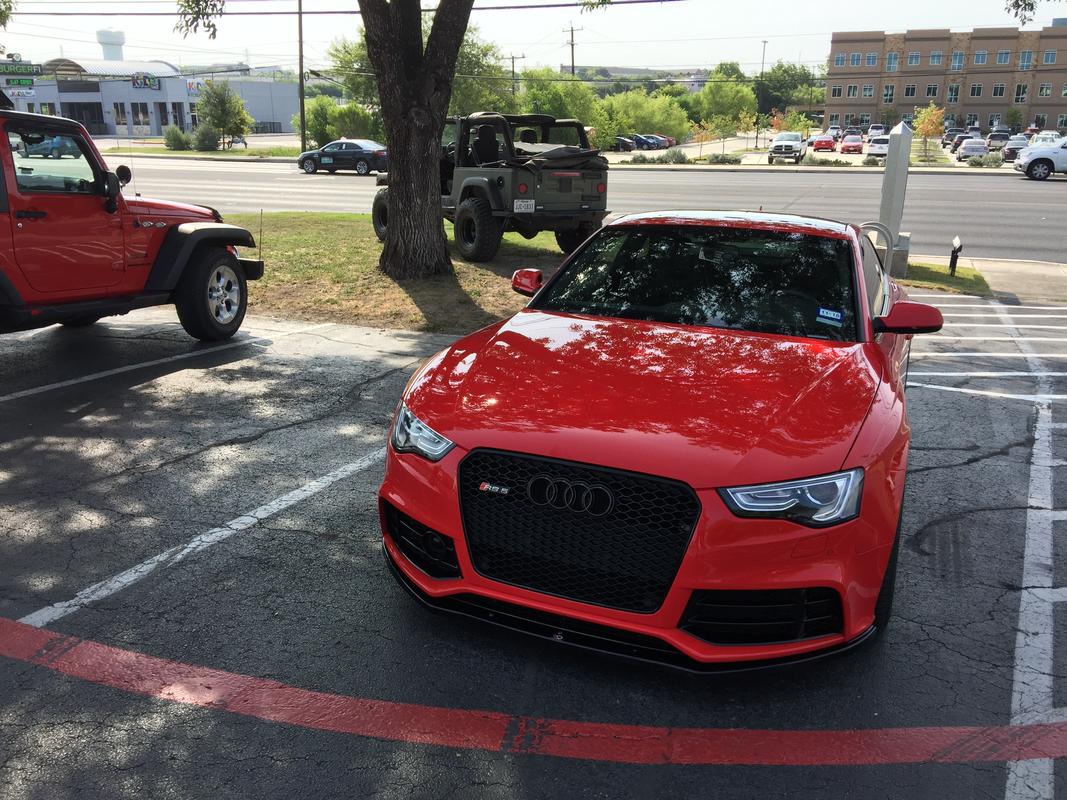
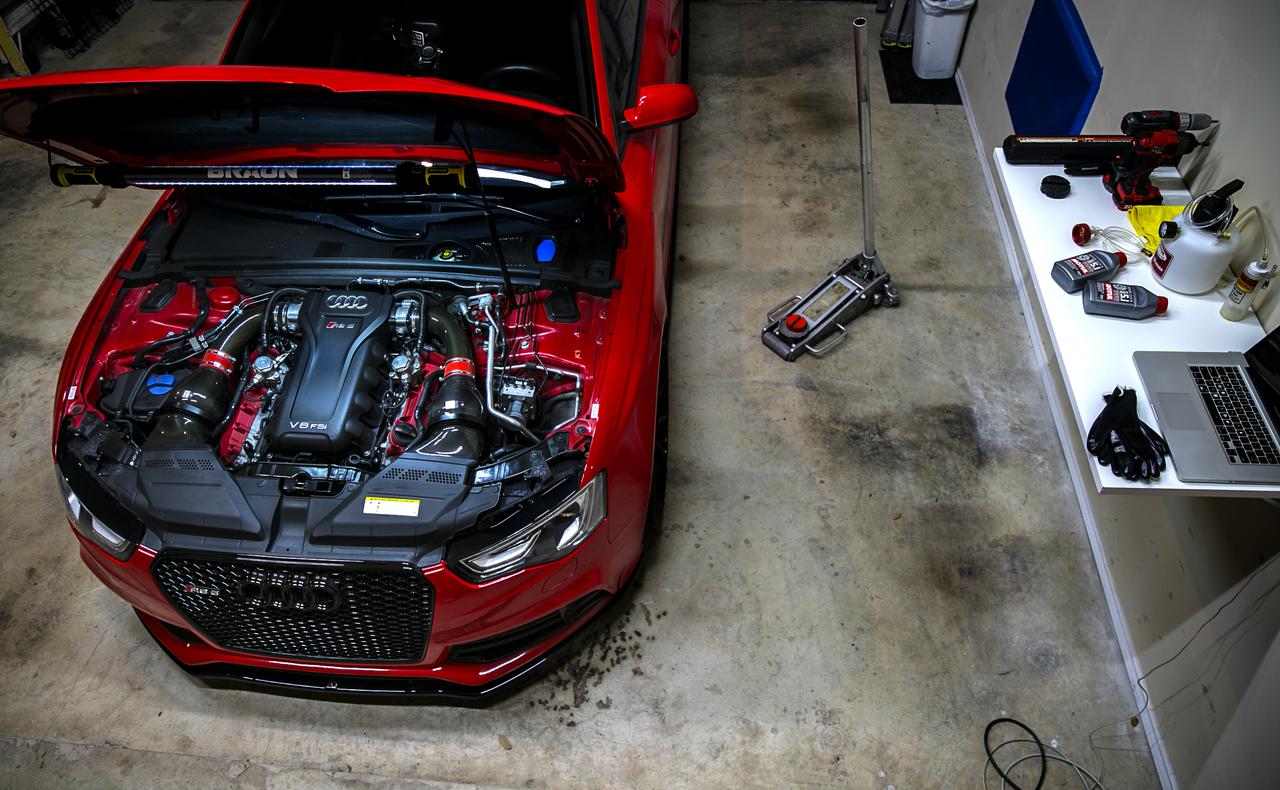
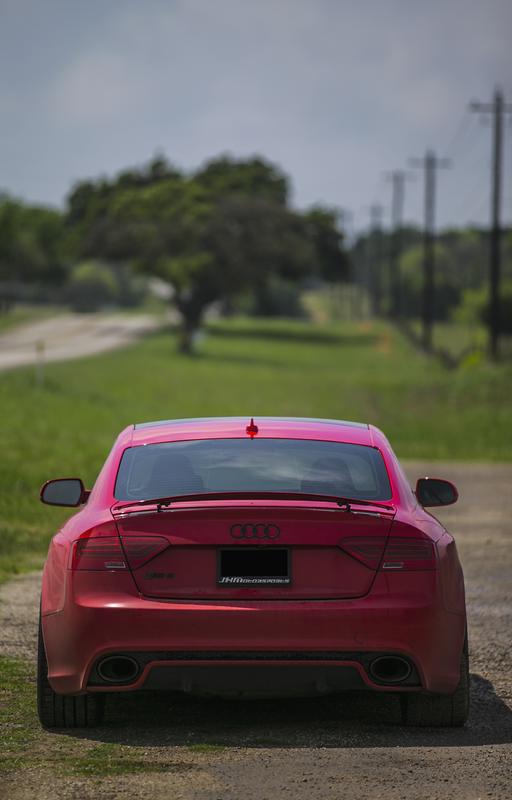
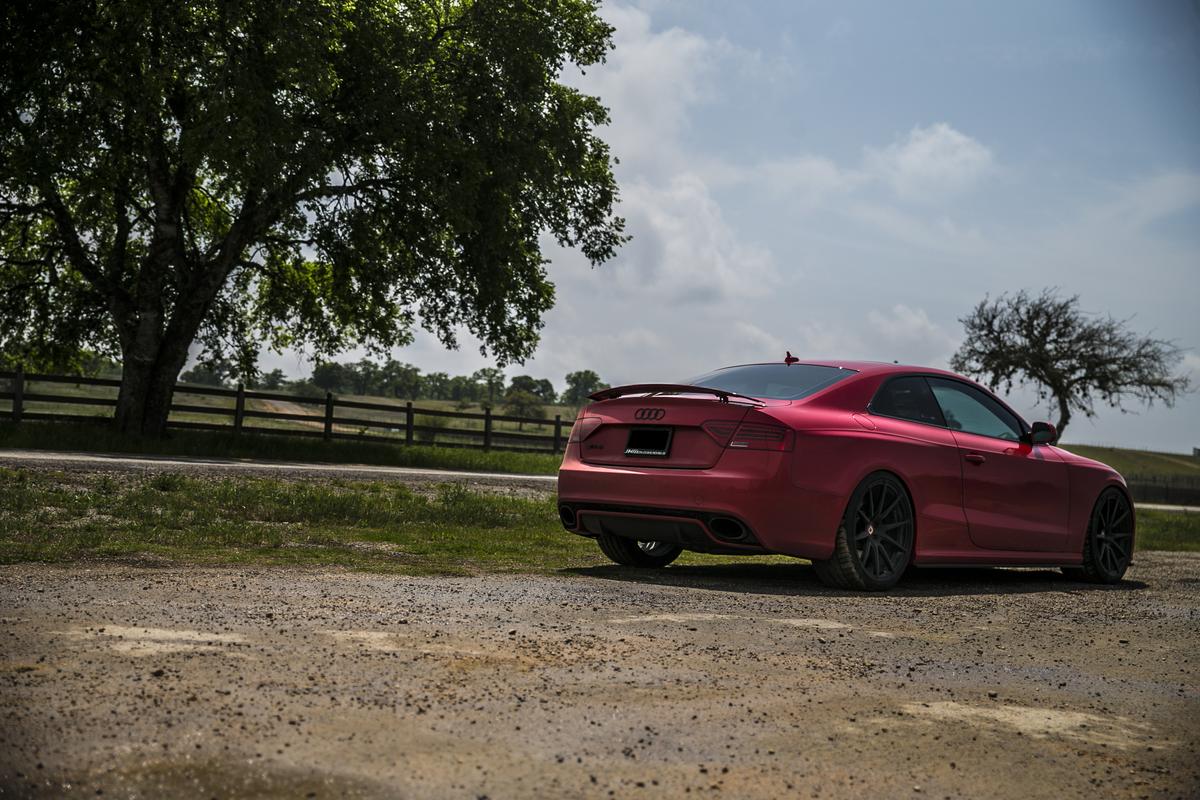
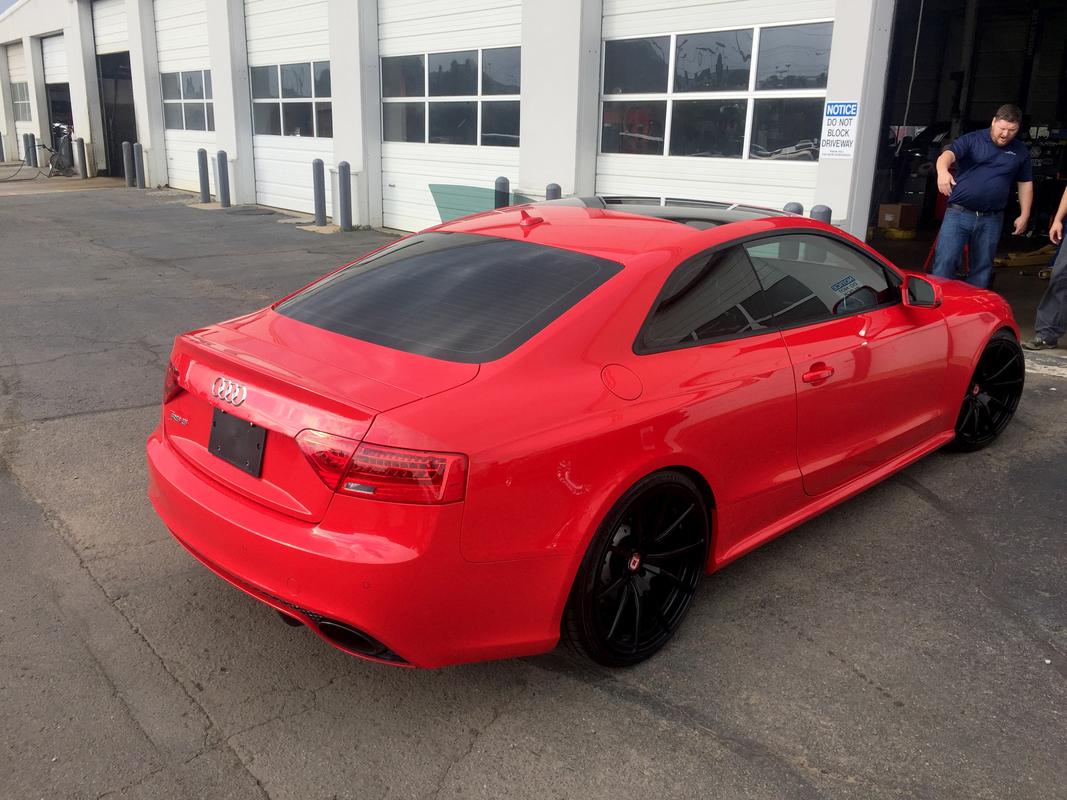
Hi, I’m Ape! If you haven’t seen a Schmee! video on youtube, google it. Anyway, wanted to introduce myself and explain my journey into the Audi universe. I own a 2013 Audi RS5 in Misano Red. Best car I’ve ever owned. I know a lot of you know me either personally or through the internet so the below is literally a step back in time. I’ve expanded quite a bit over the last few years and even went so far as to form a company to product transmission cooler kits, and other products. Here, I don’t have to hide that fact like I do on other sites. I’m a very enthusiastic enthusiast.
YouTube channel-https://www.youtube.com/channel/UCrV2vkaiDKvTyDC2RoI113g/videos?view_as=subscriber
Instagram redmist5
Edit: This is now my official build thread. I’ll keep the top up to date with modifications for future reference.
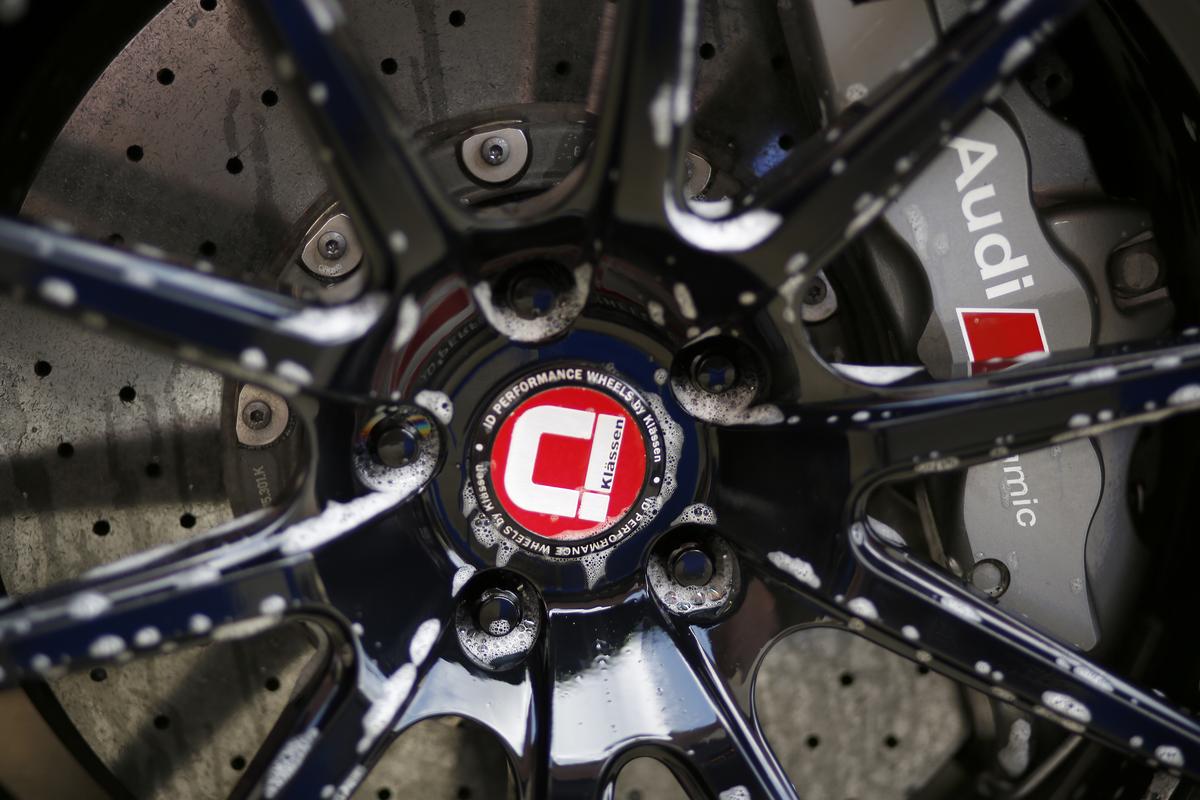
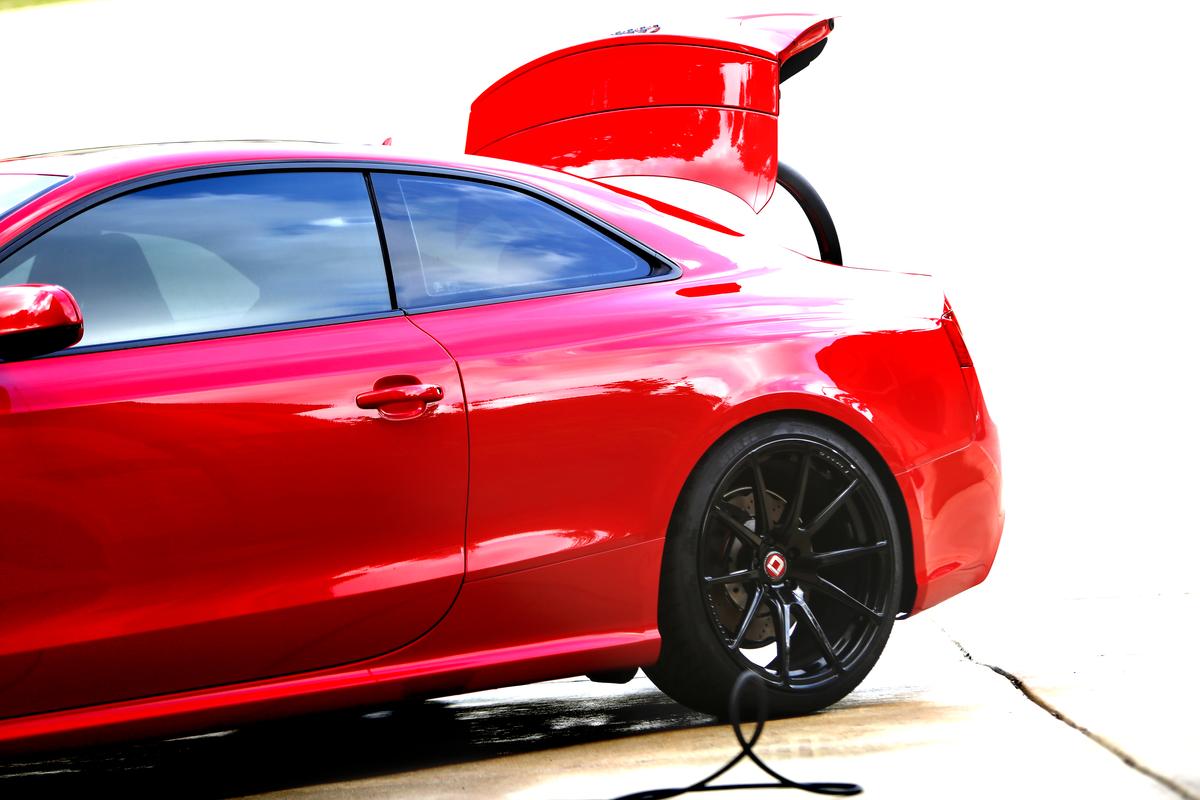
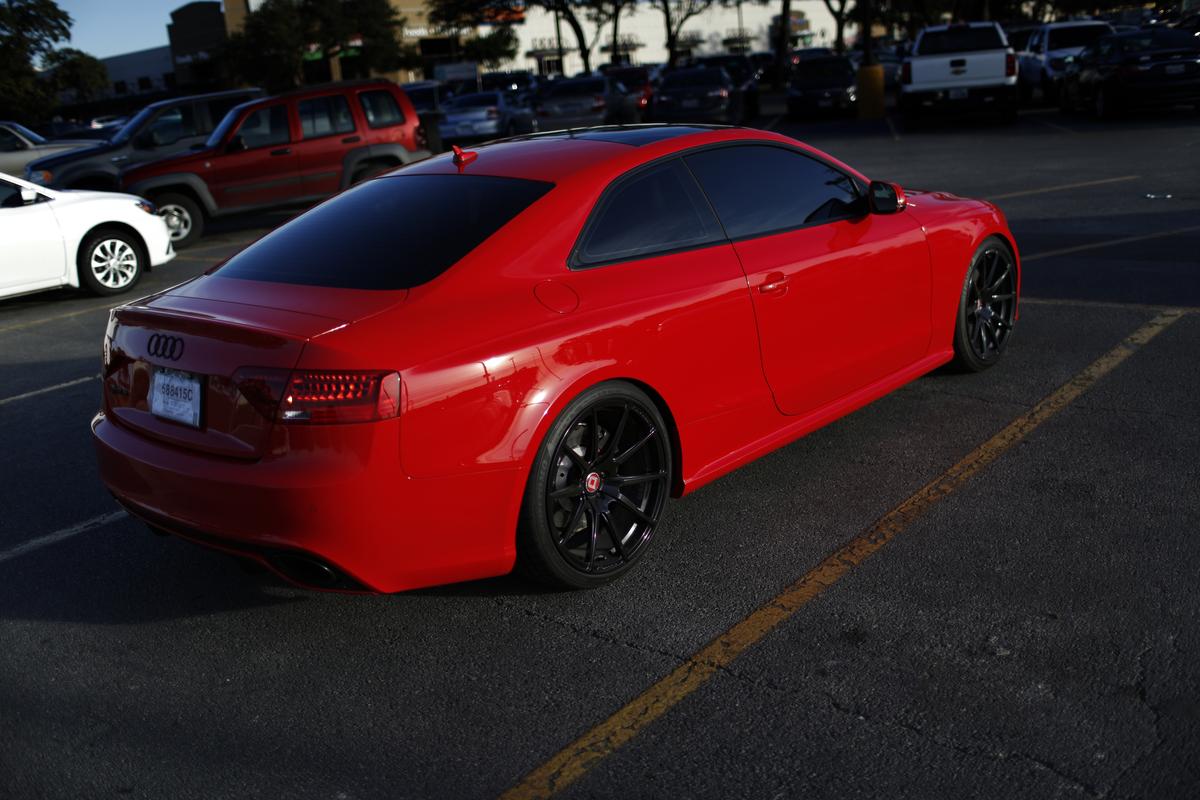
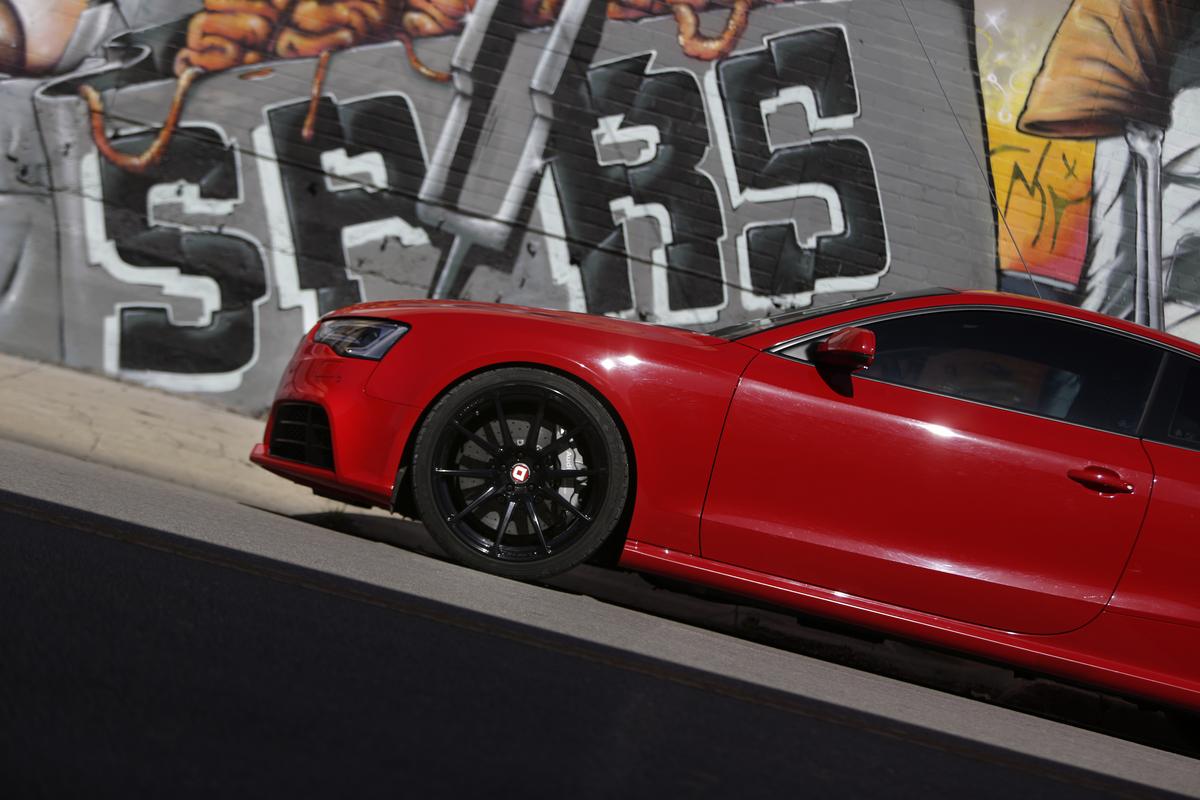
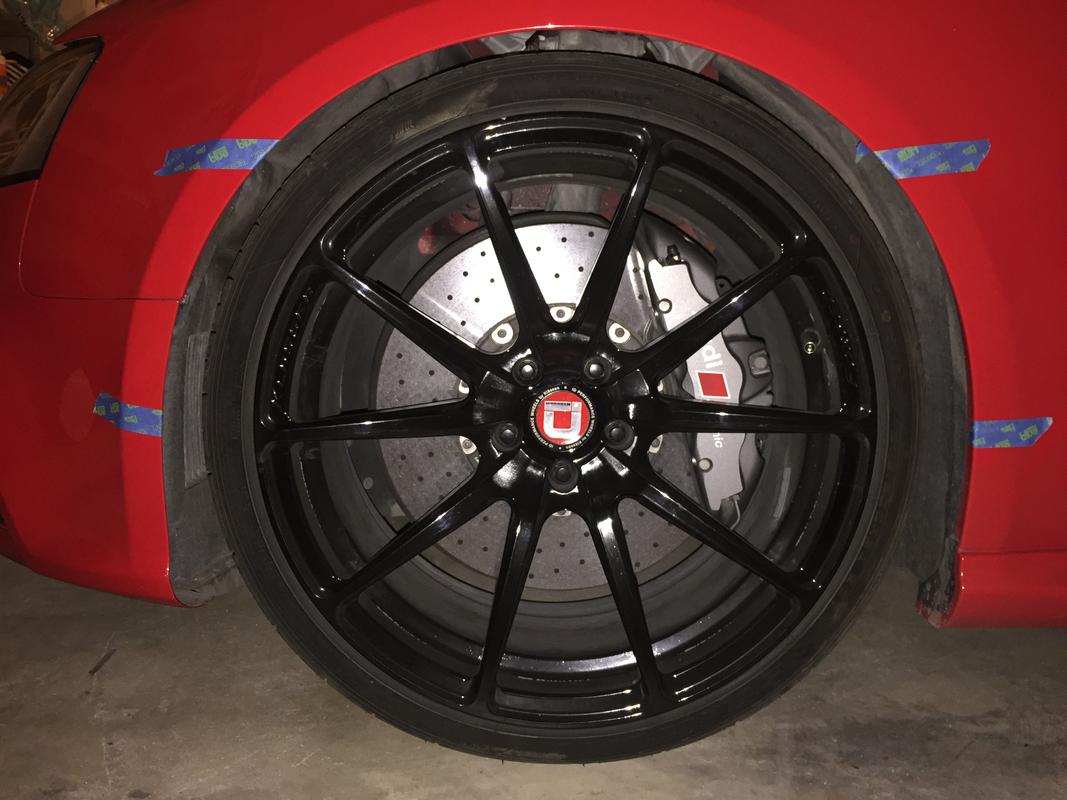
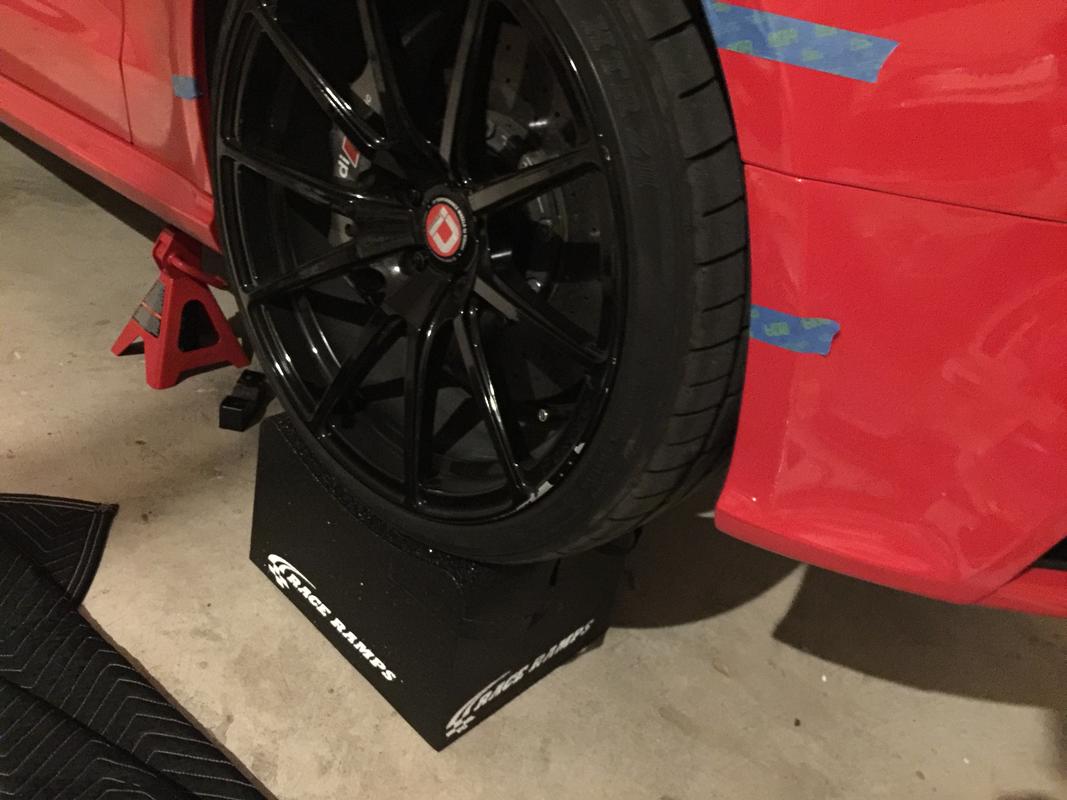
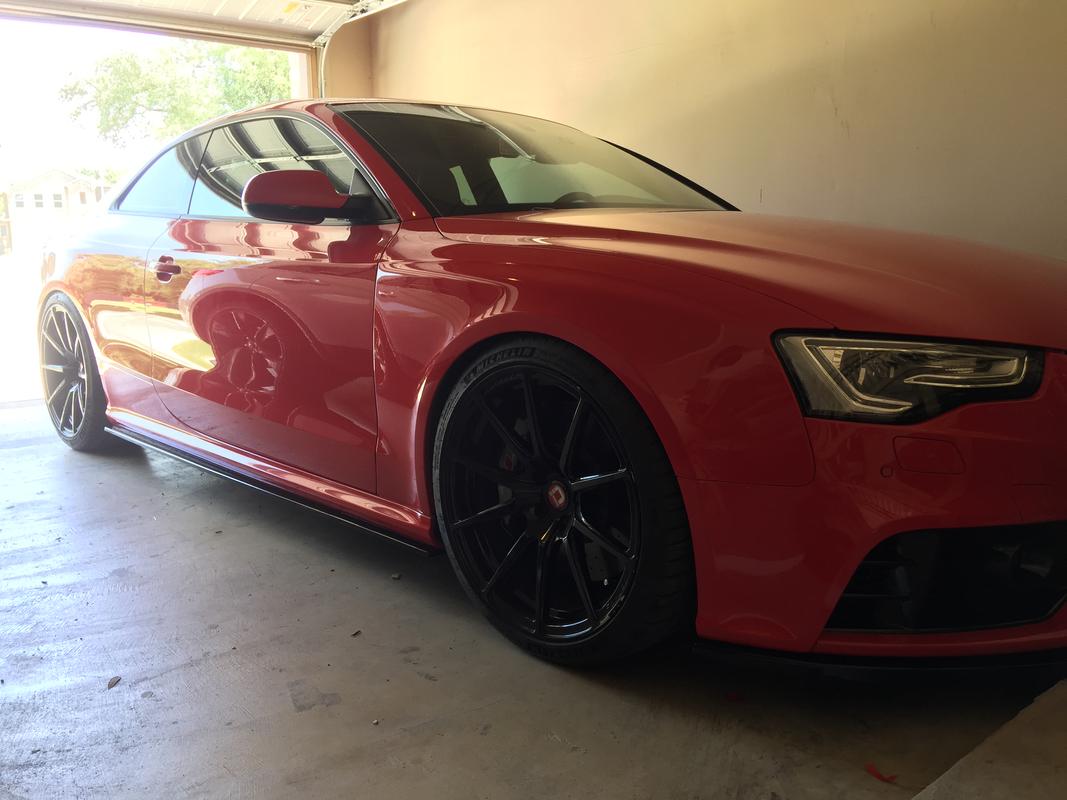
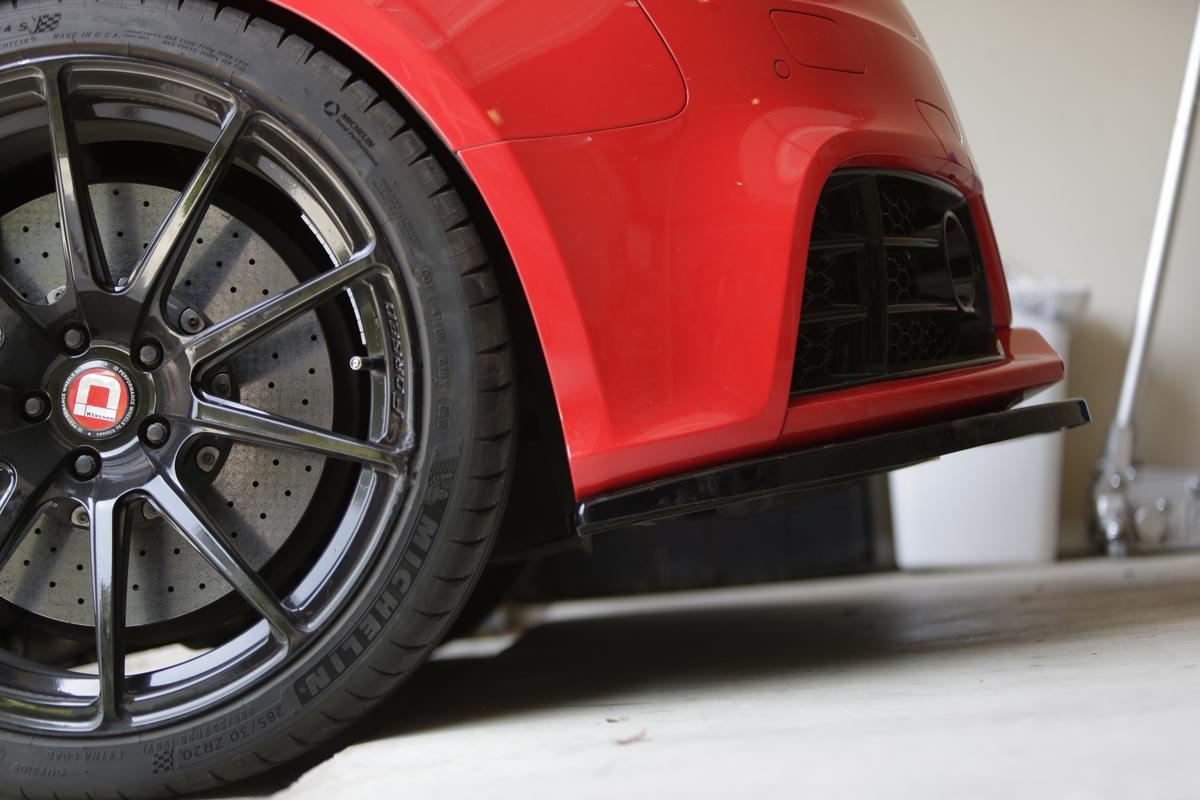
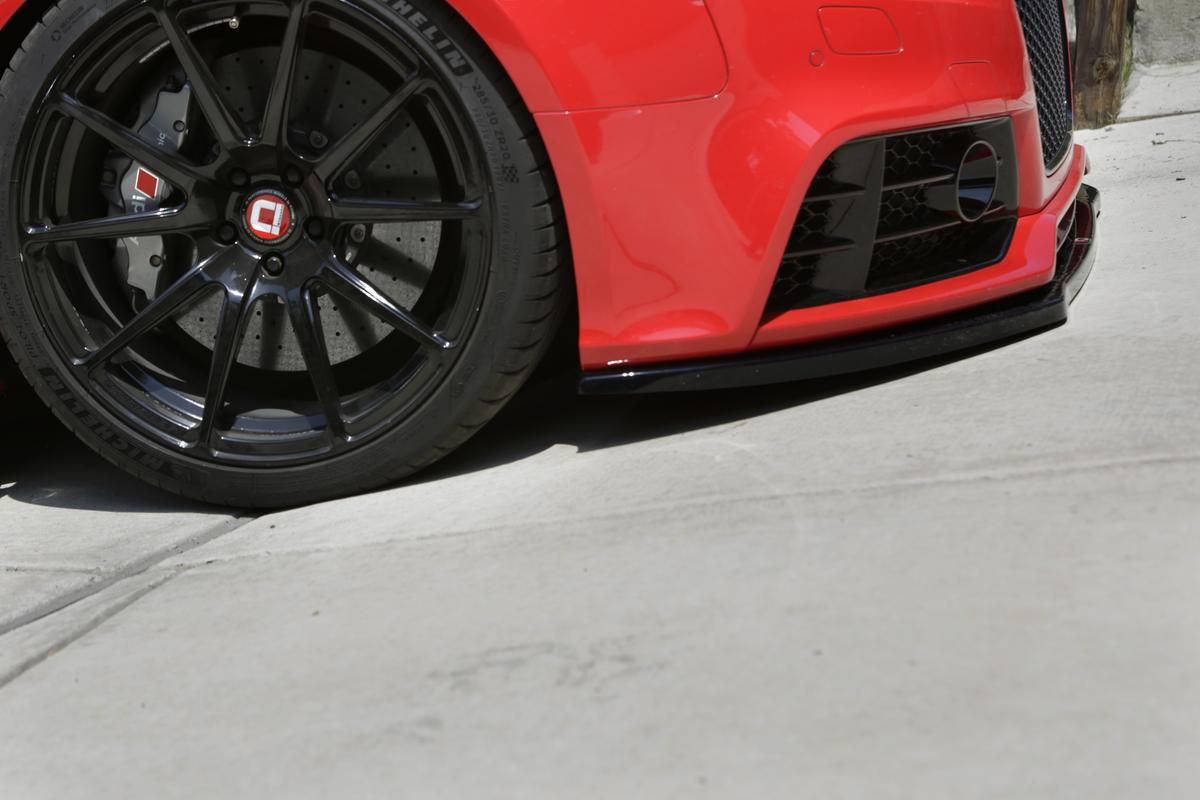
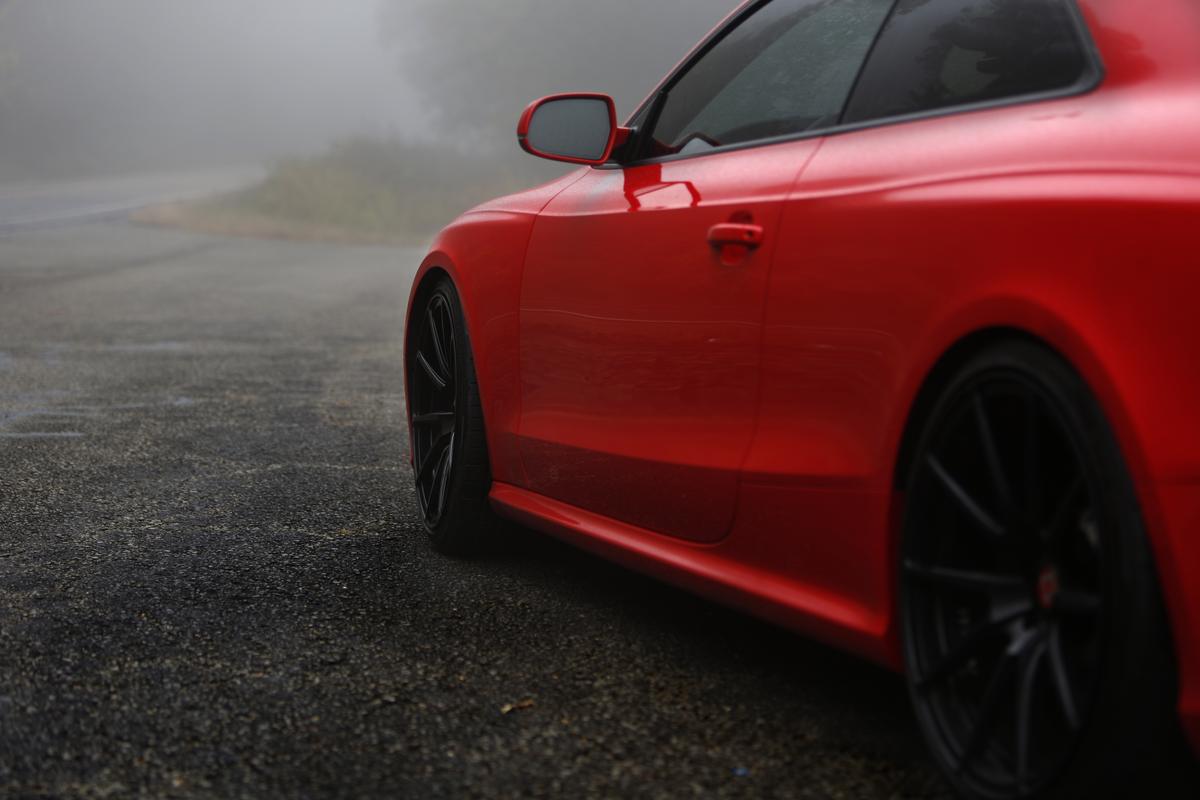
Klassen ID M10 Wheels in High Gloss Black Powder Coat 20x10, et25
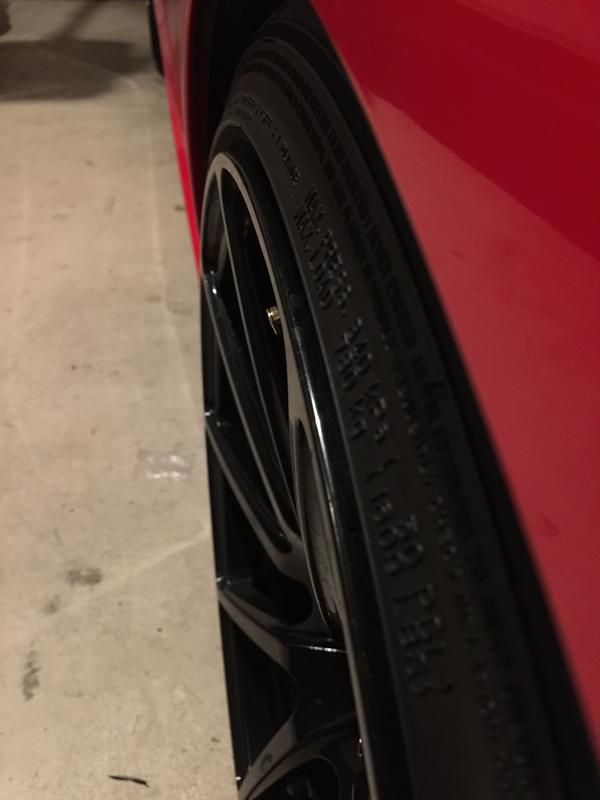
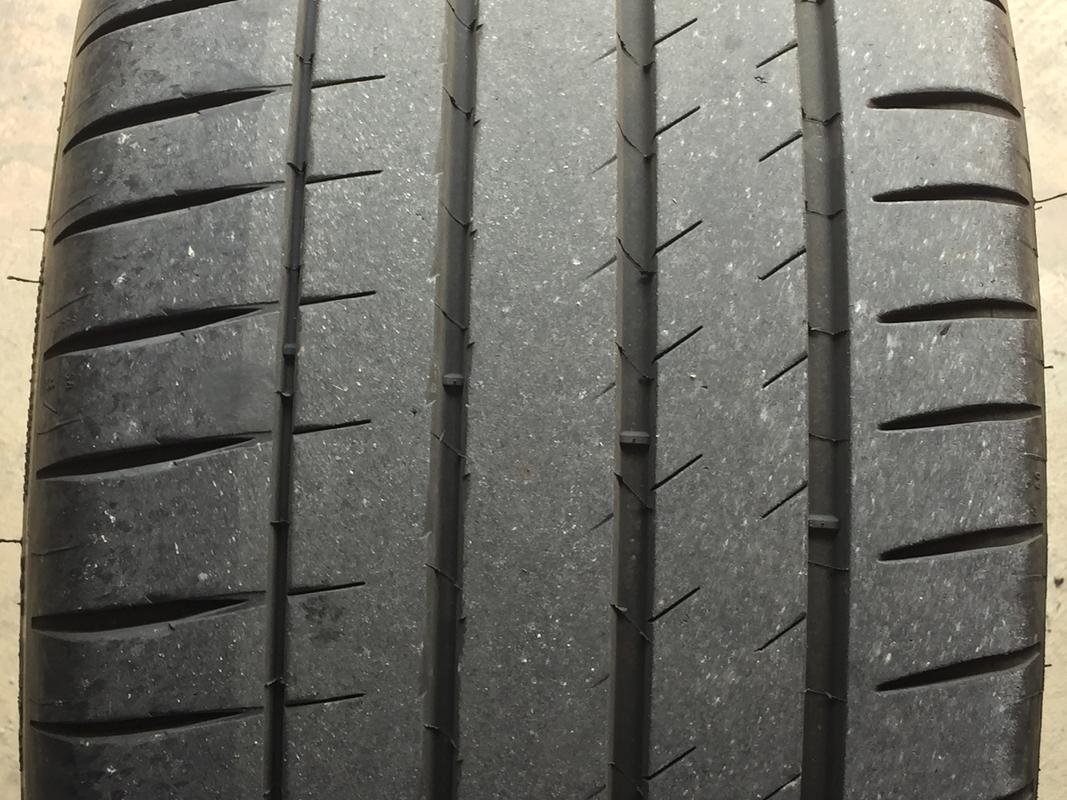
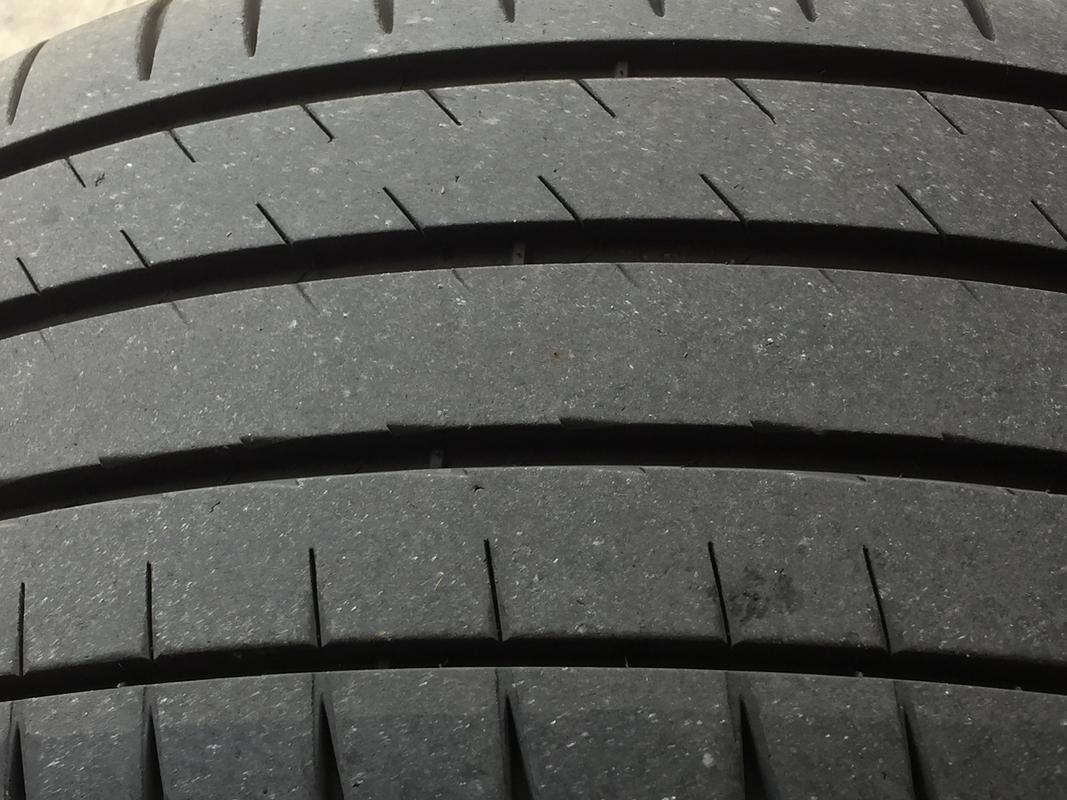
285/30/20 Michelin PS4S tires
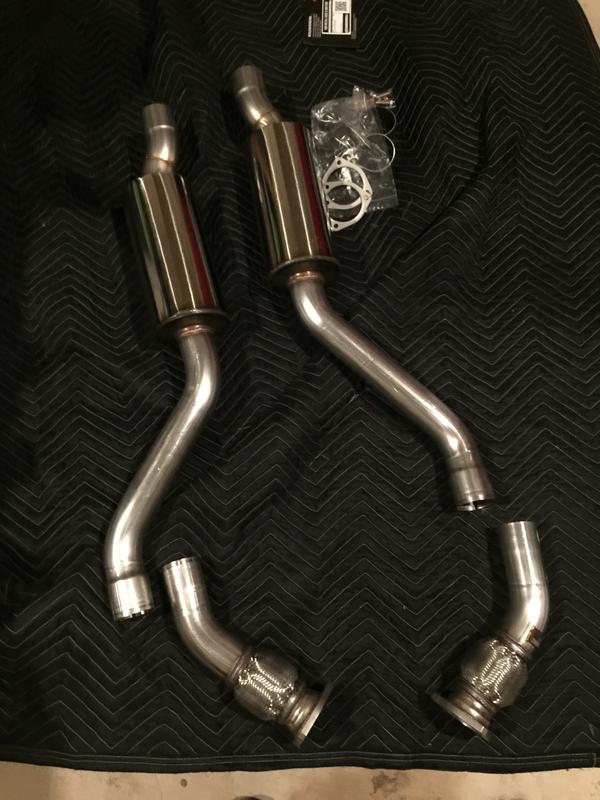
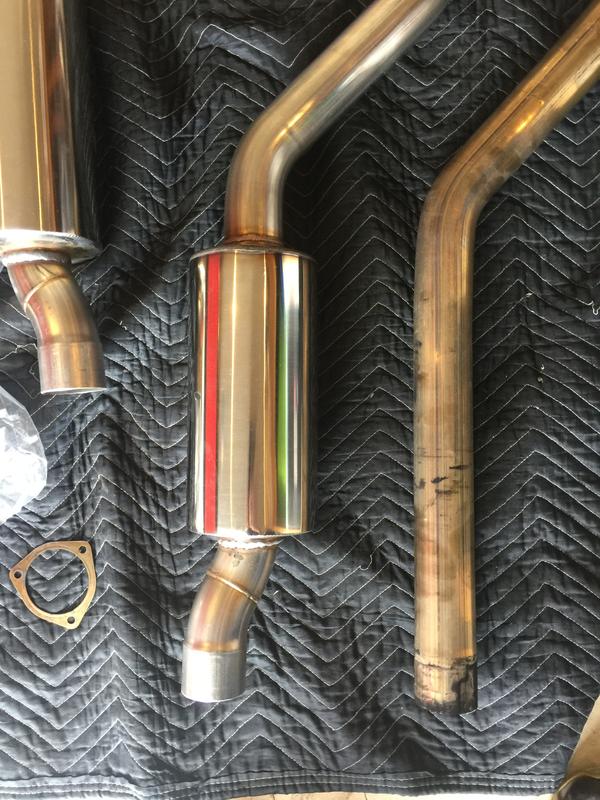
AWE Tuning Track Extreme Exhaust (now with resonated AWE downpipes)
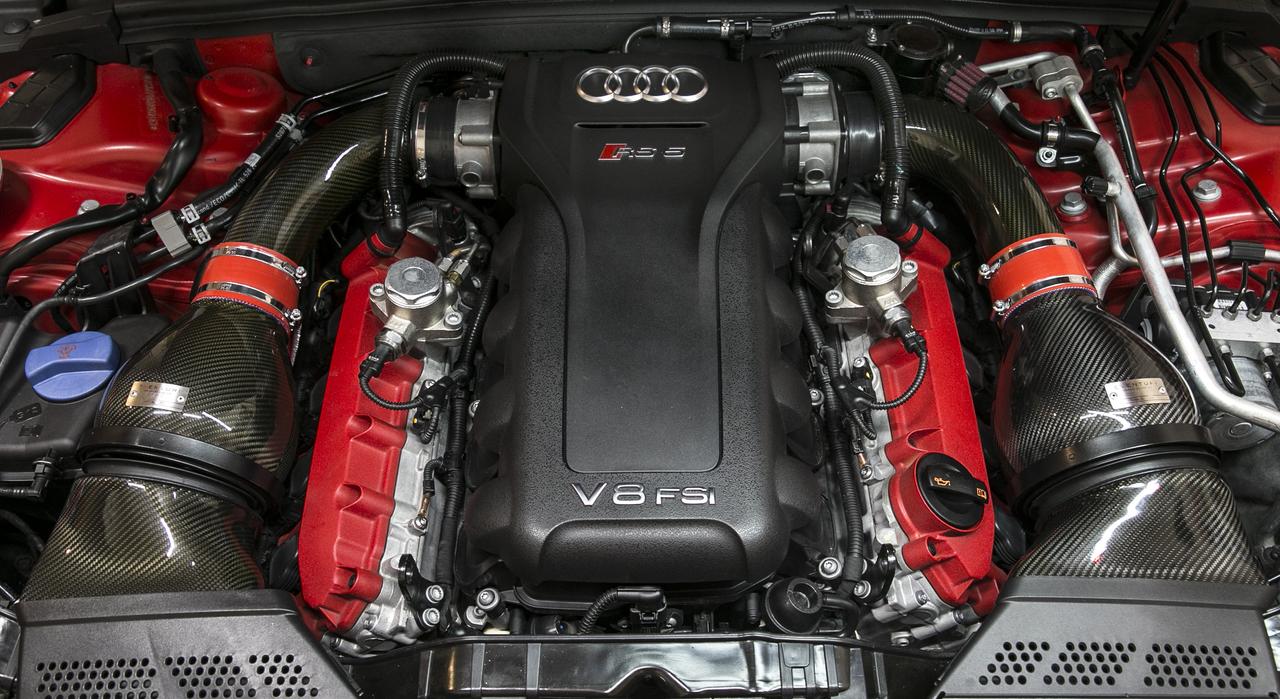
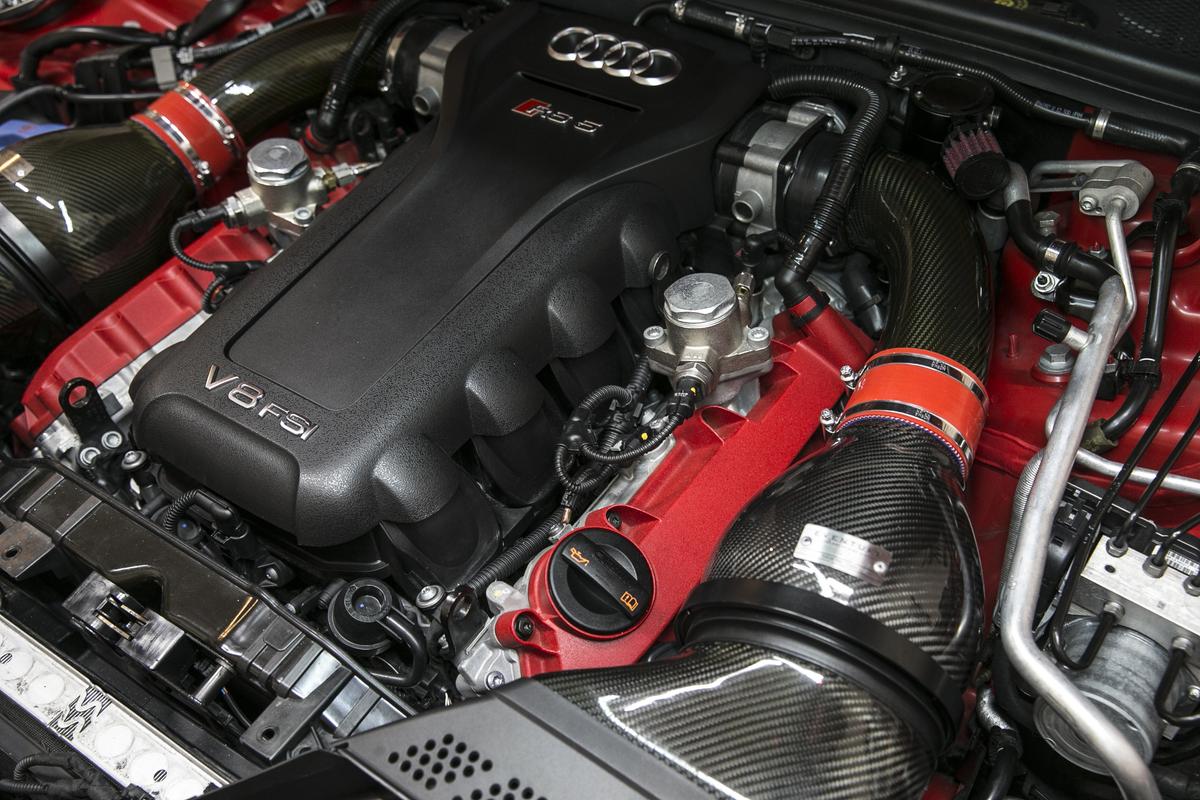
Eventuri Intake with the Version II Filters
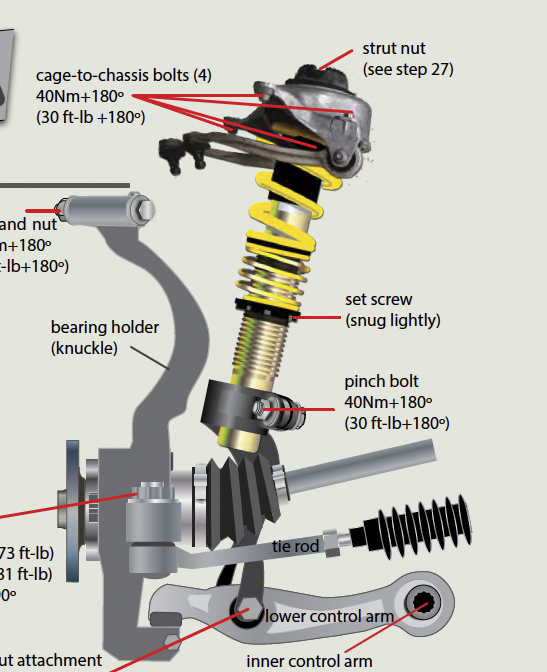
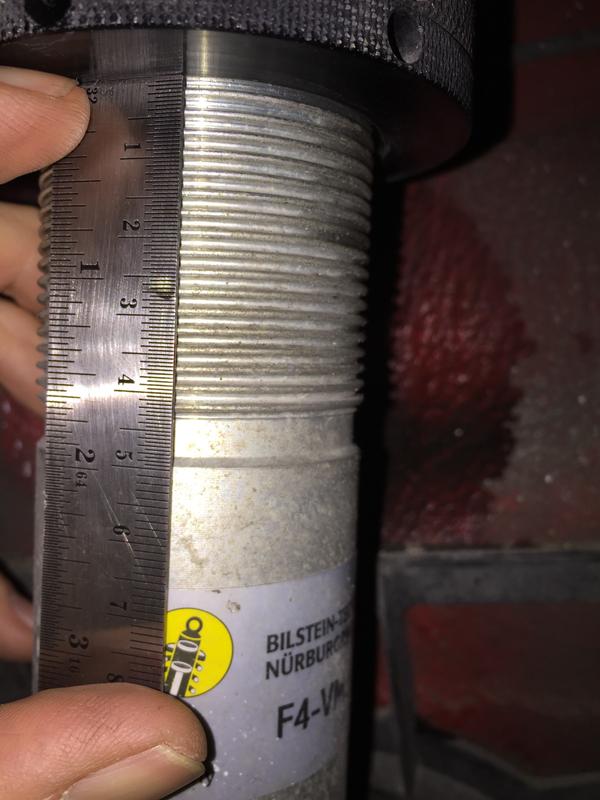
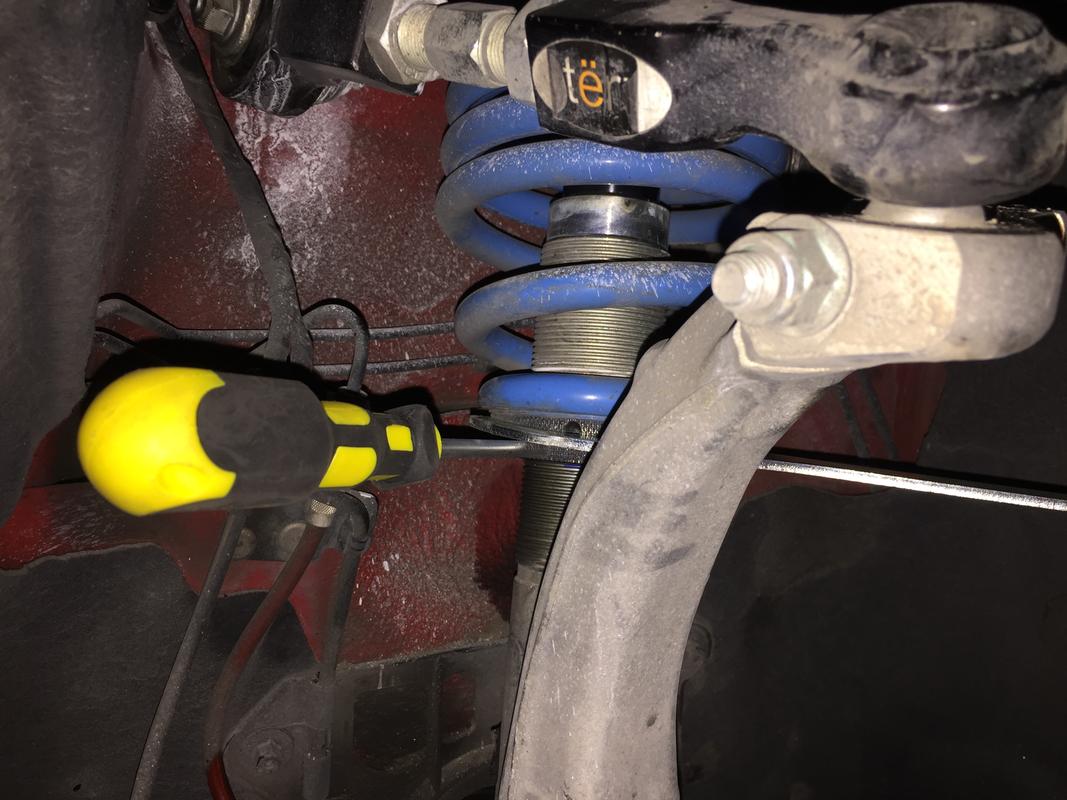
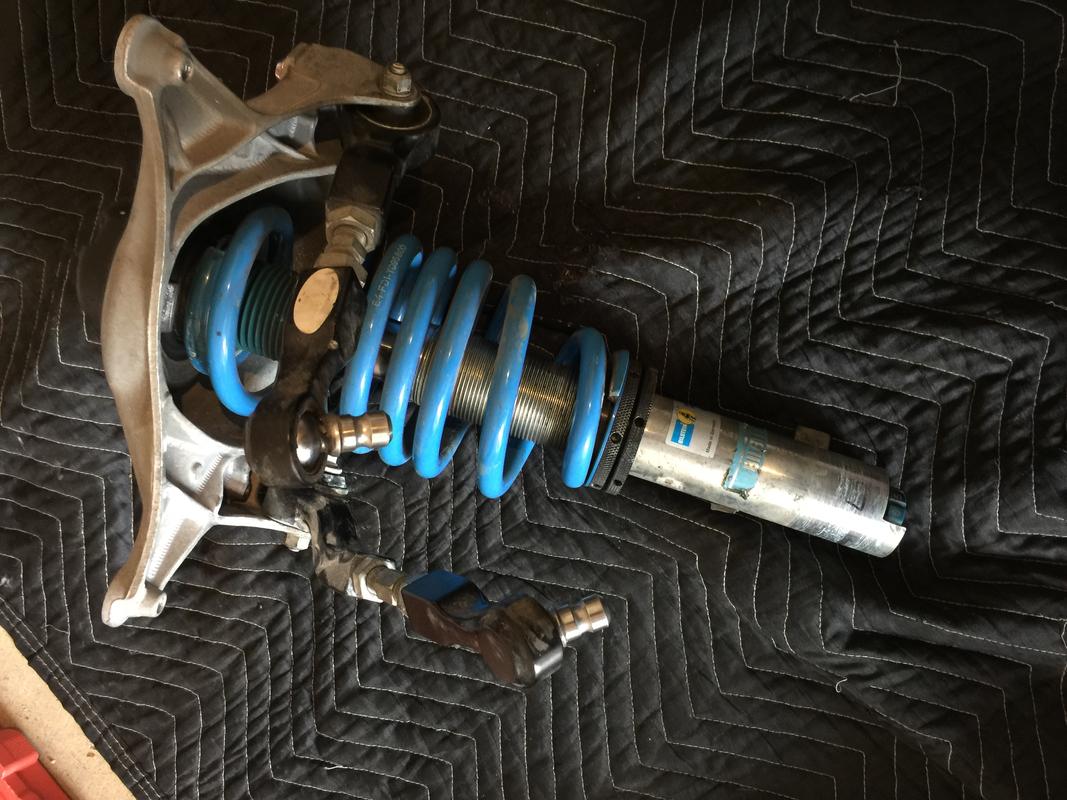
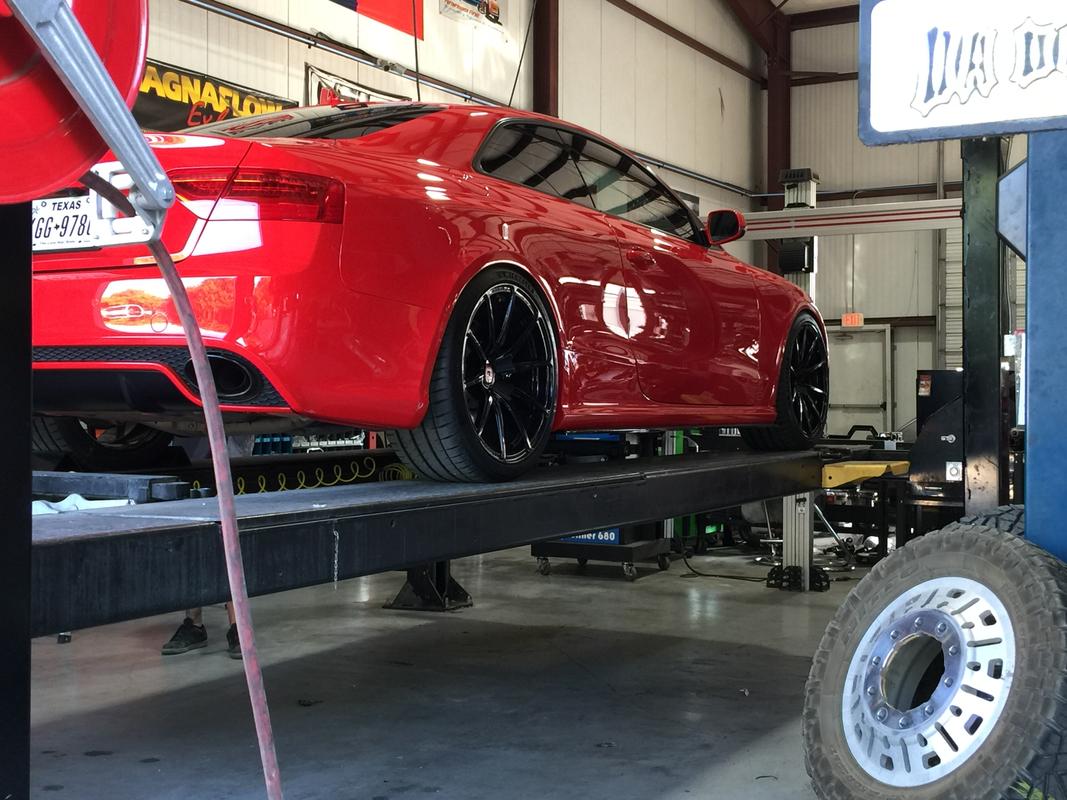
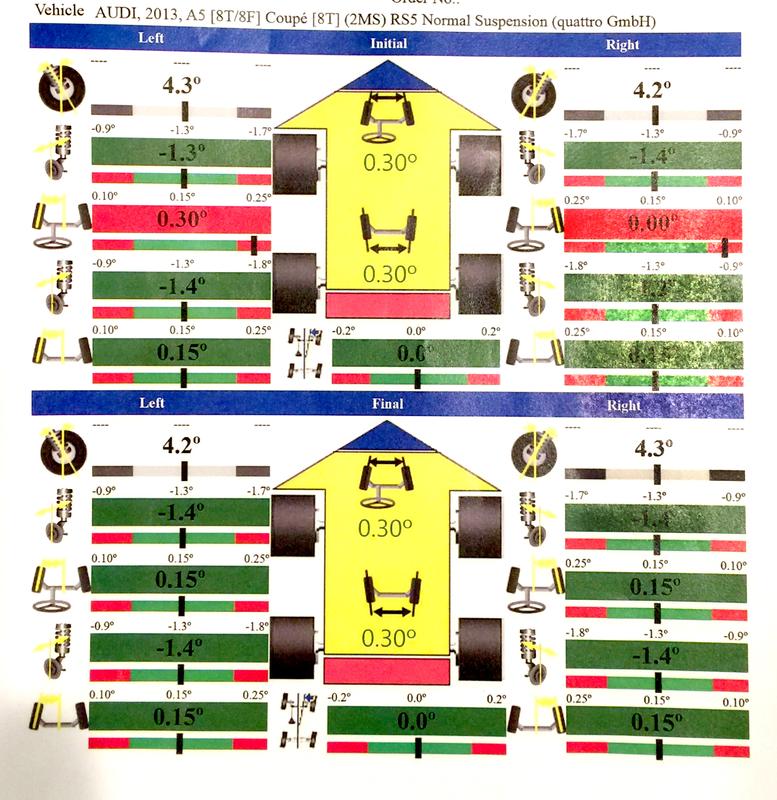
Bilstein PSS10 Coil Over Suspension
H&R Front and Rear Sway Bars
CR-15 Front Reinforcement Bar
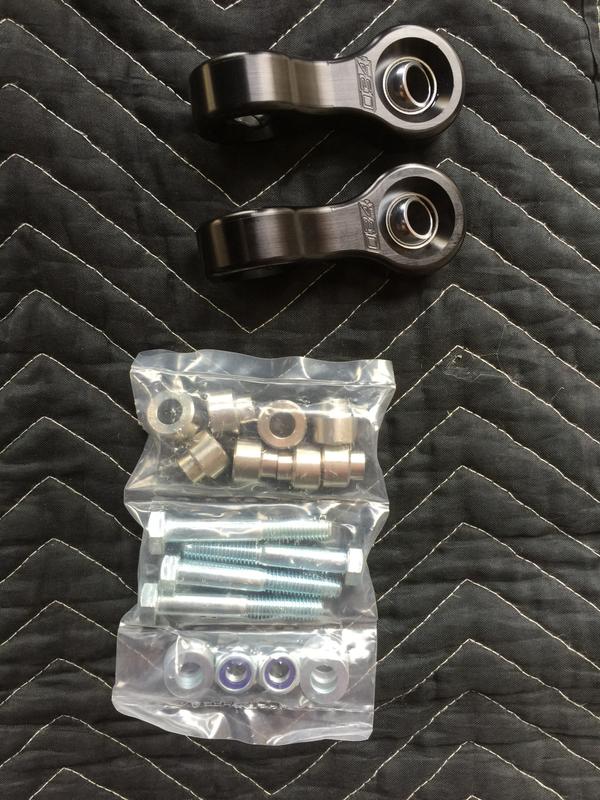
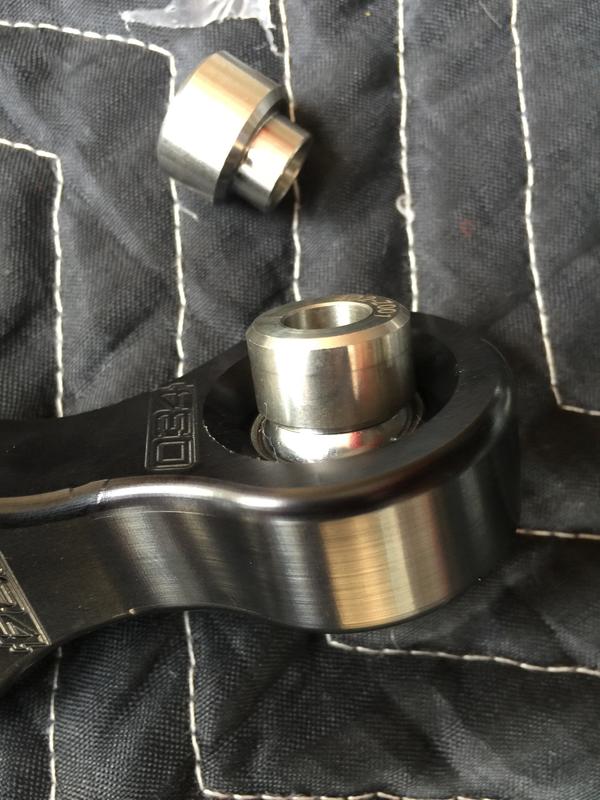
STERN Upper Control Arms
034 Motorsports subframe bushings
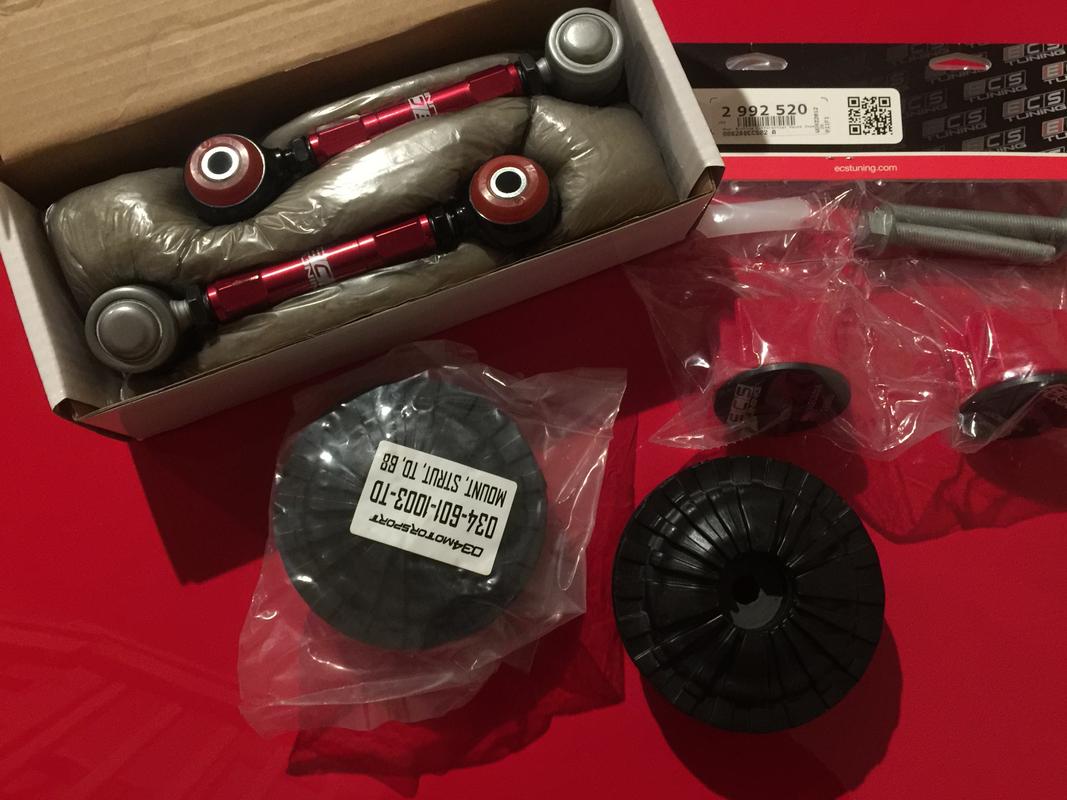
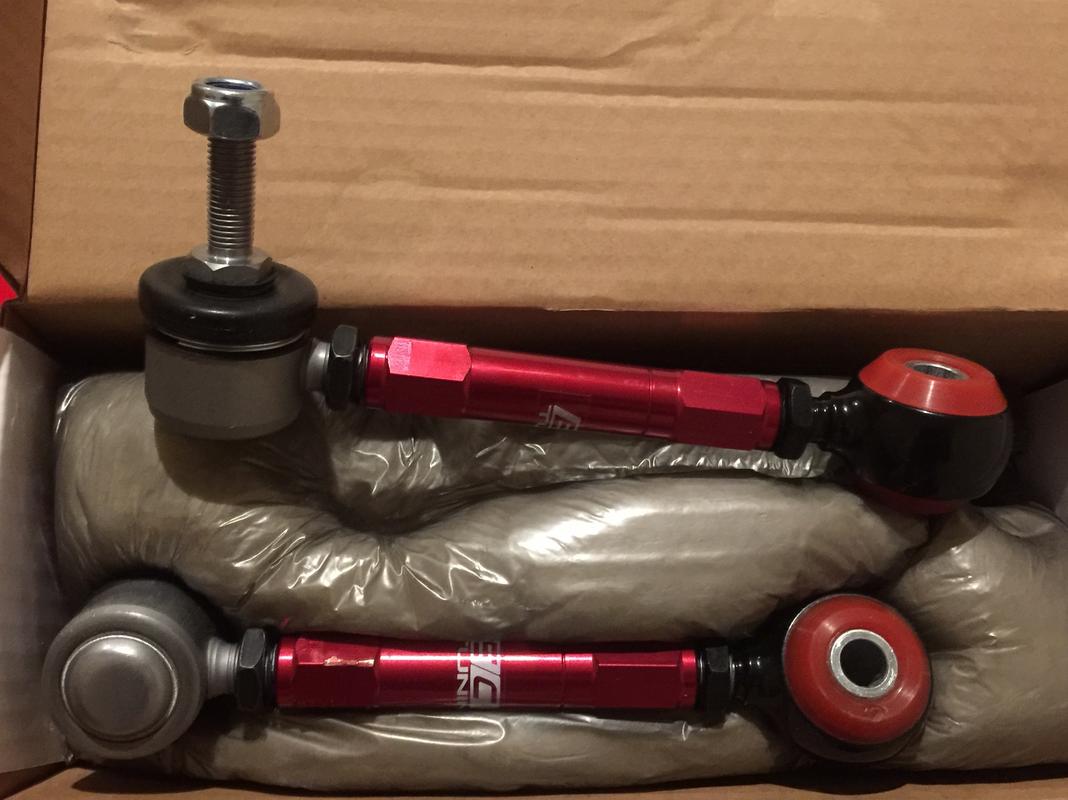
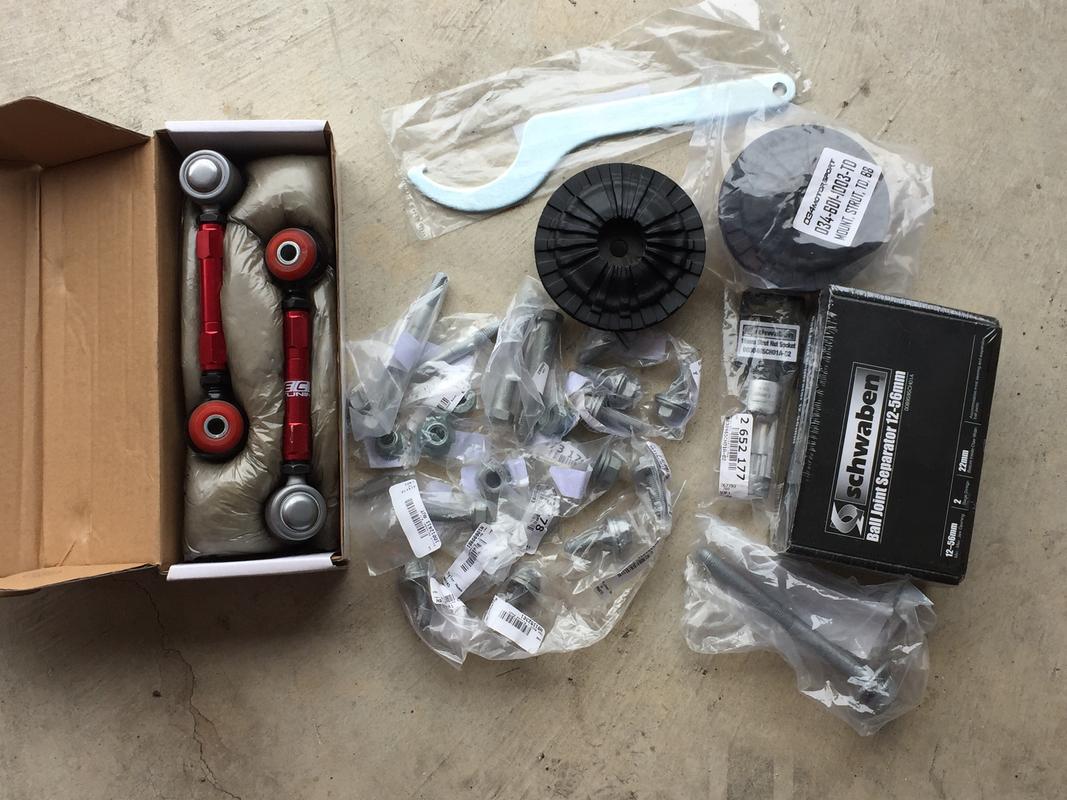
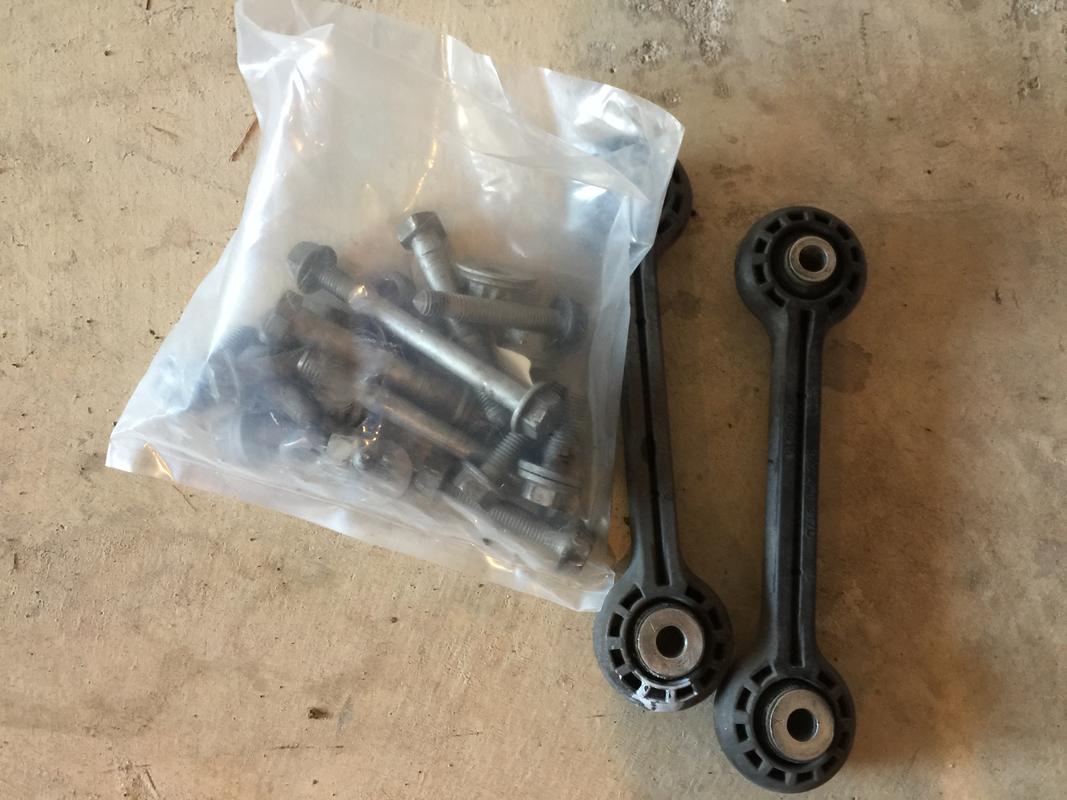
ECS Tuning Front Adjustable Sway Bar Links
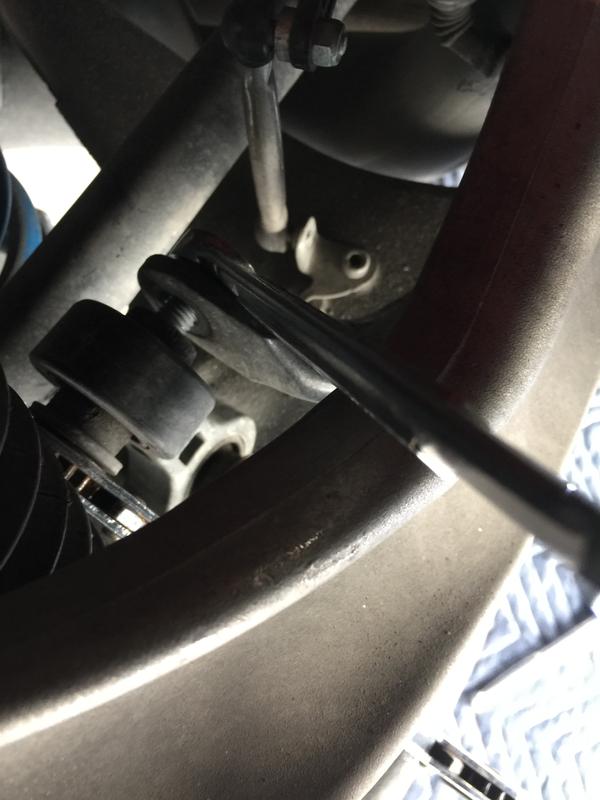
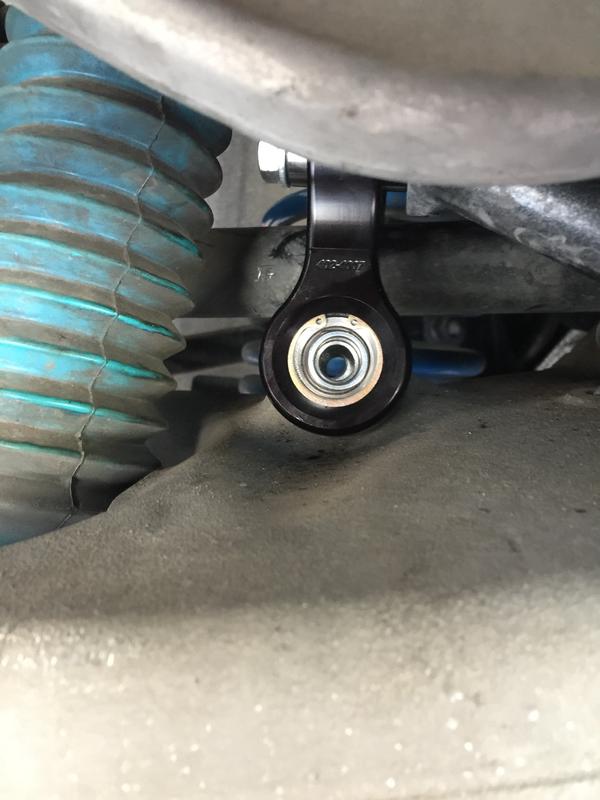
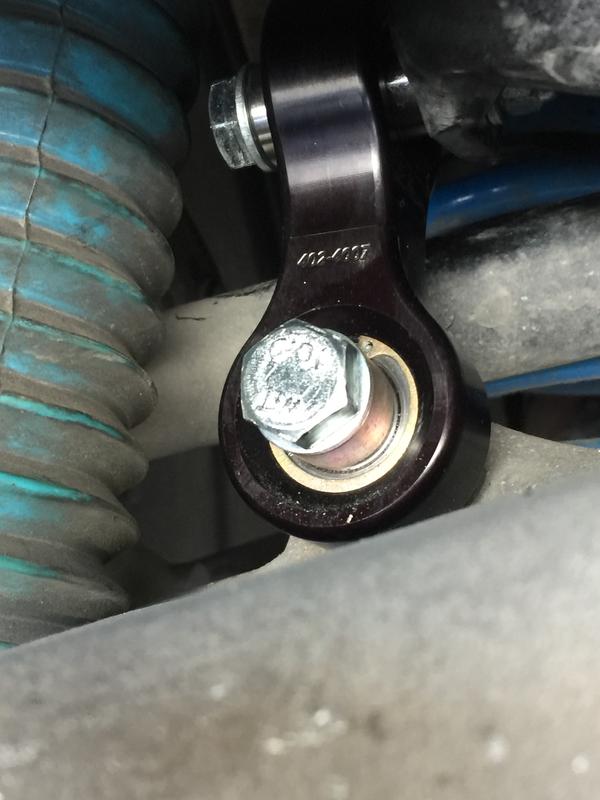
034 Motorsports rear sway bar end links
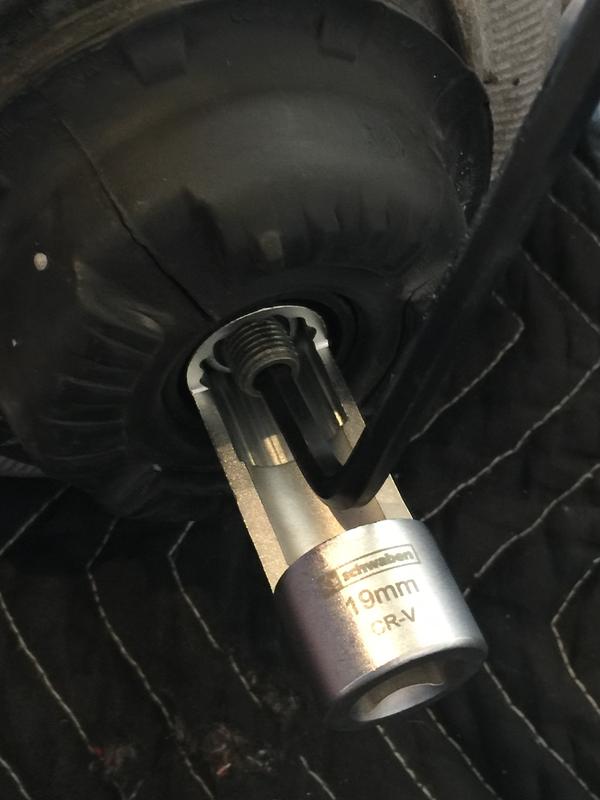
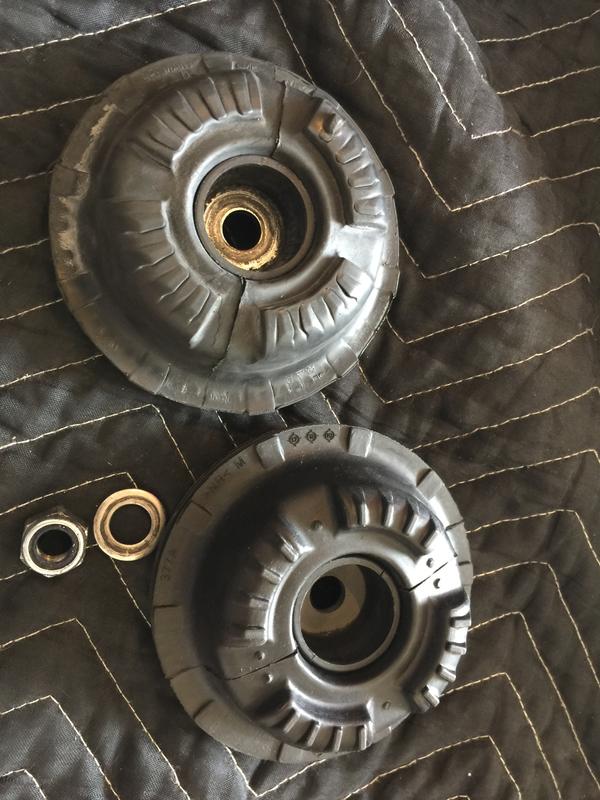
034 Motorsports Upper Shock Mounts
Whiteline Upper Control Arm Bushings
EBC RED Rear Disc Brake Pads
ECS Tuning Stainless Steel Brake Lines
Apikol Rear Diff Front Bushing
ECS Rear Diff Rear Bushings (2)
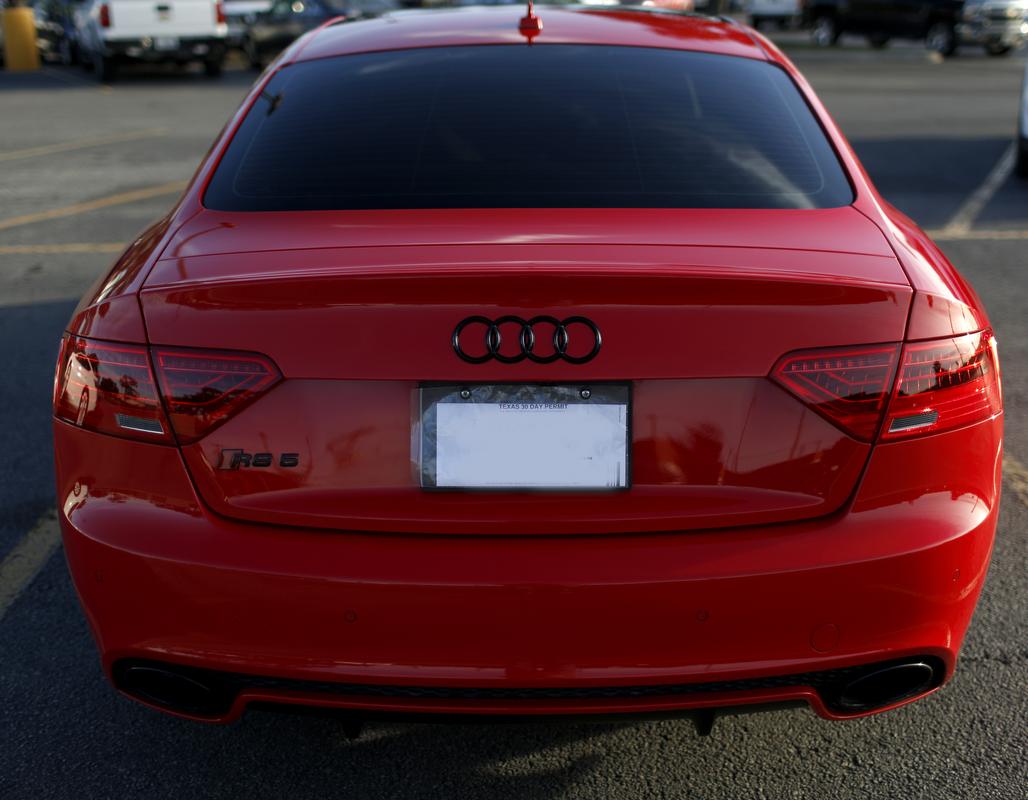
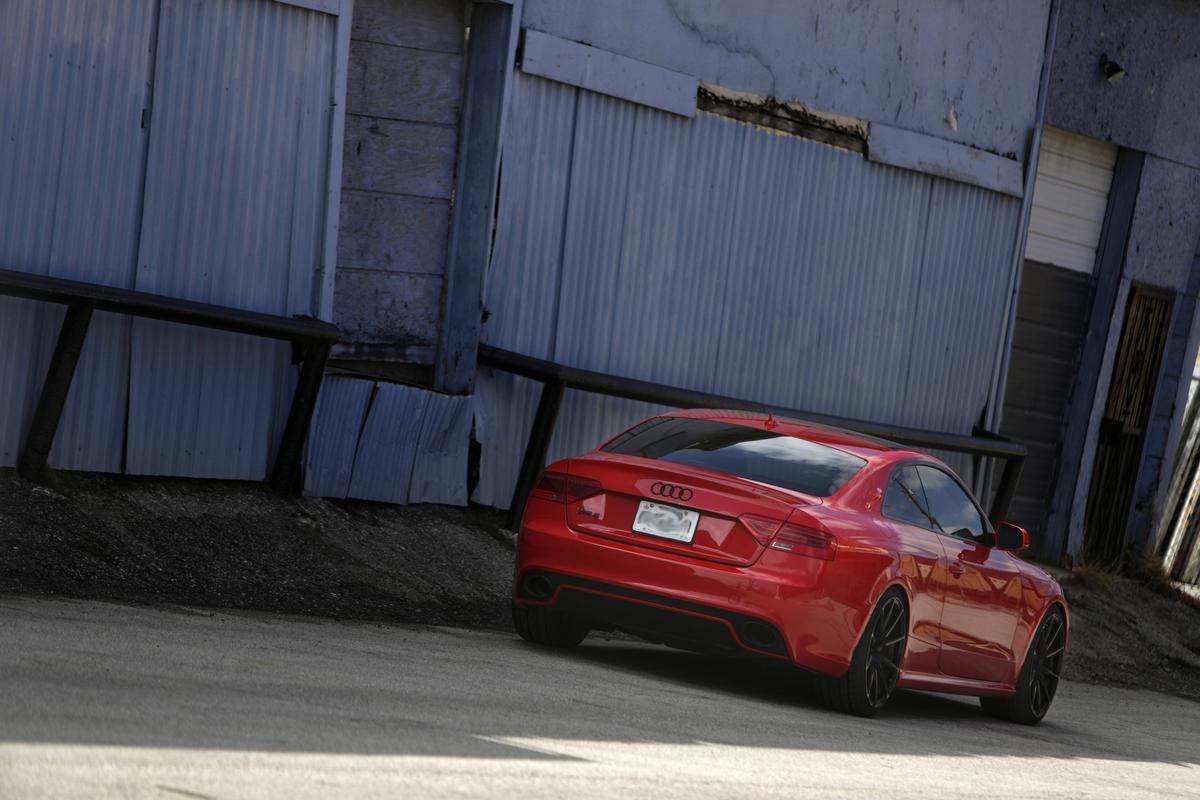
Euro Tail Lights
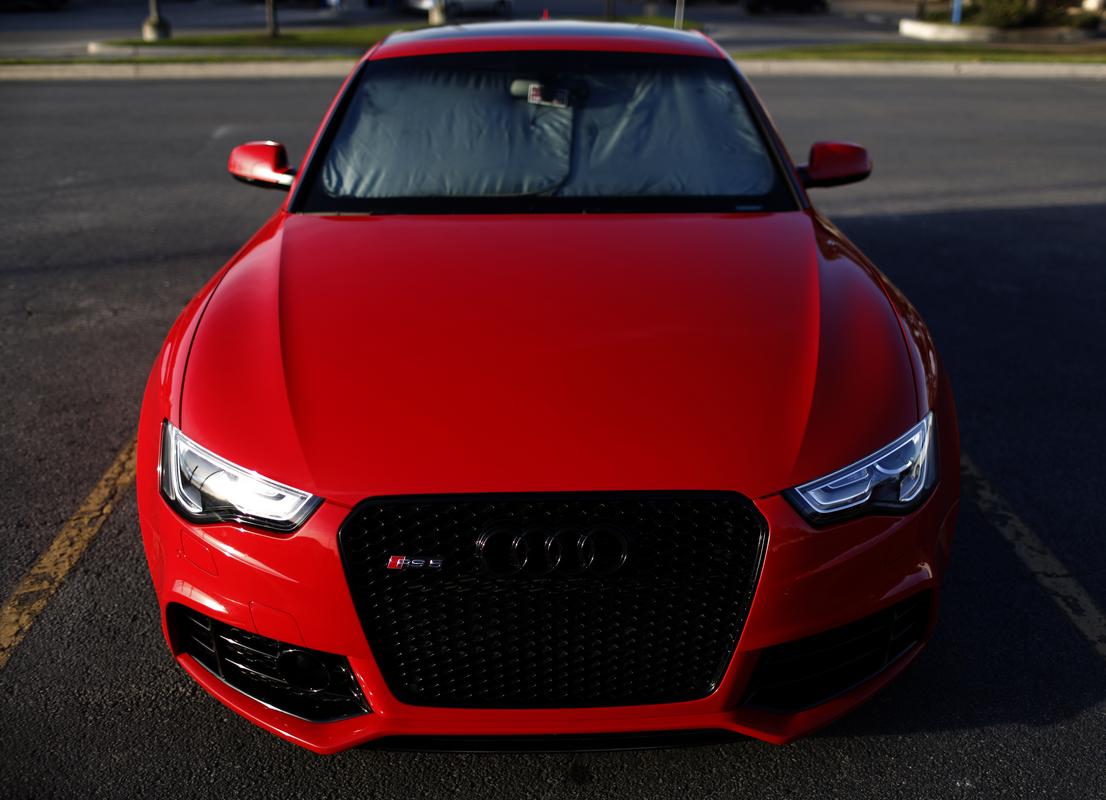
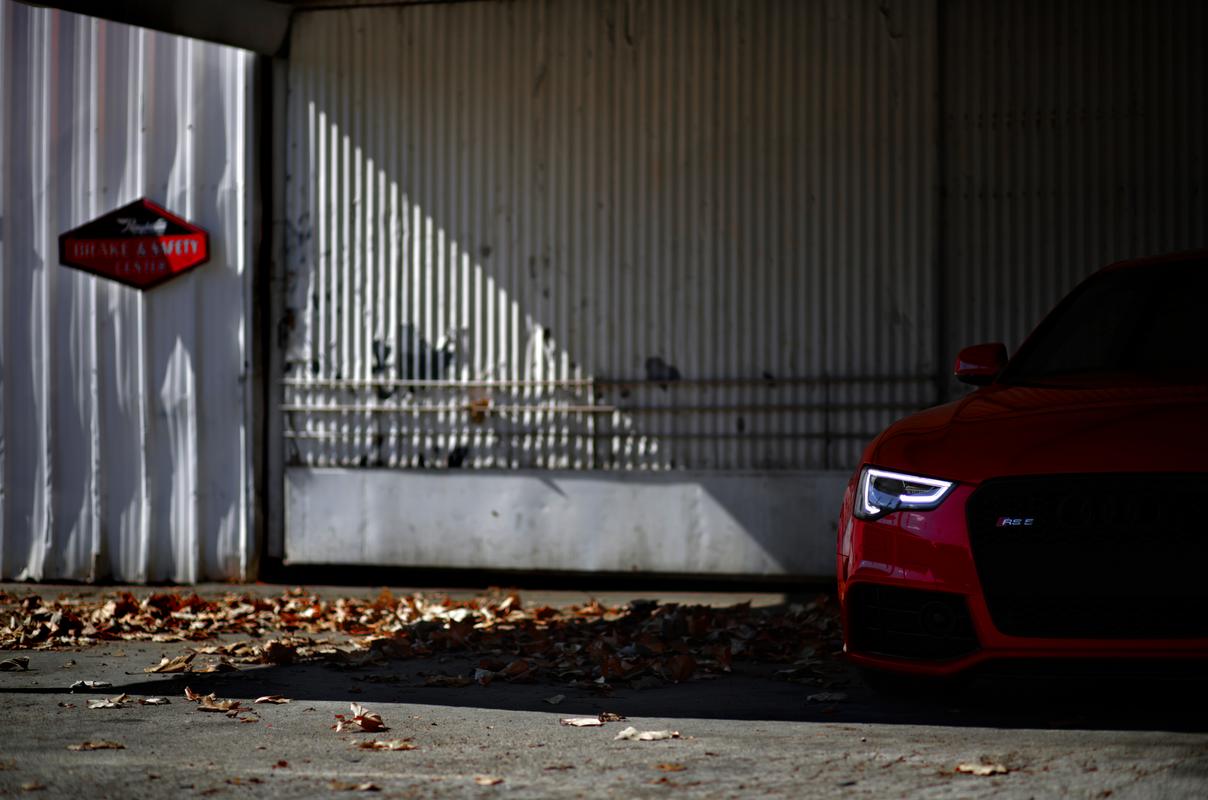
Euro Head Lights
Black Lip Spoiler
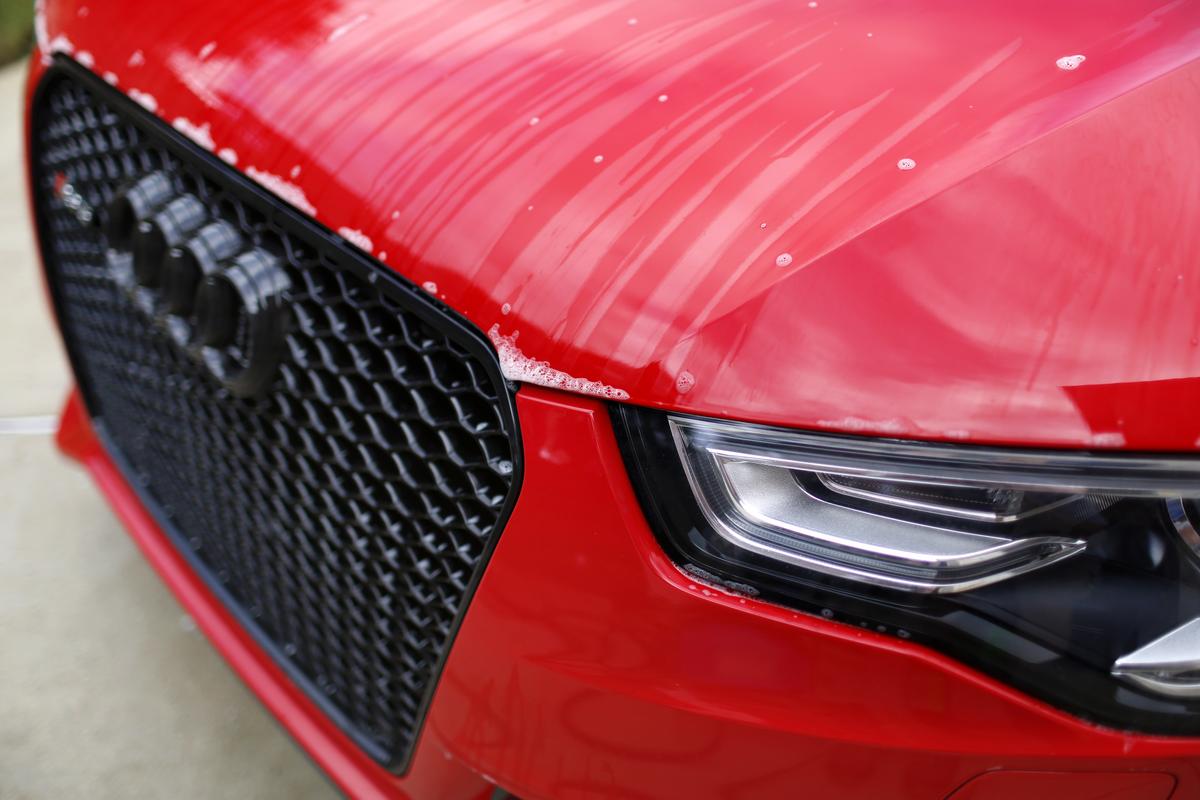
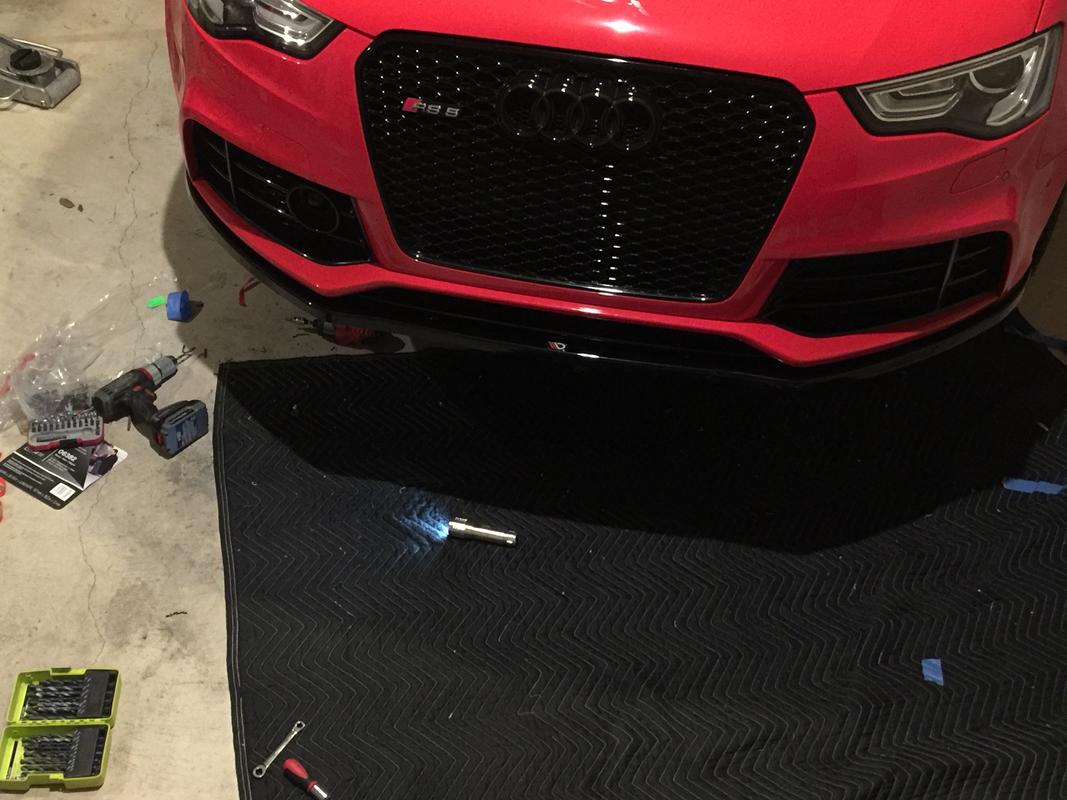
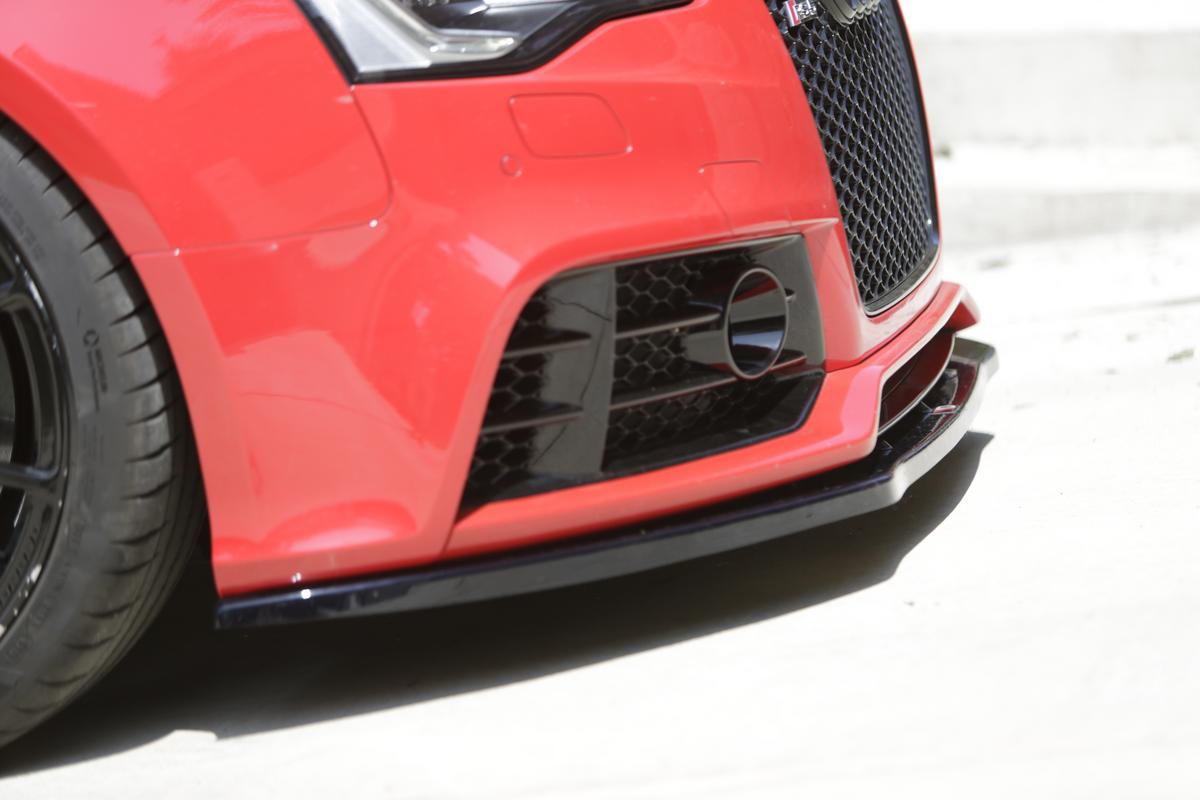
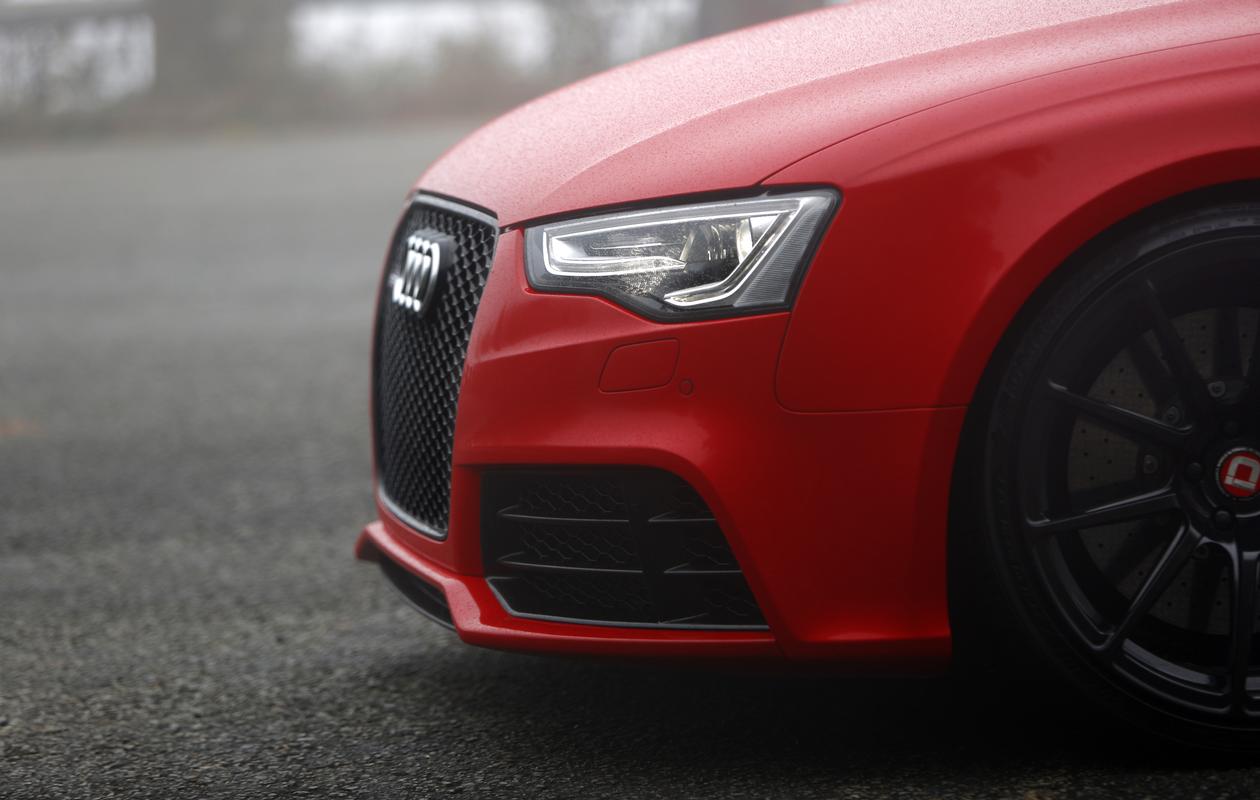
Maxton Design Front splitter
Maxton Design Side Skirts
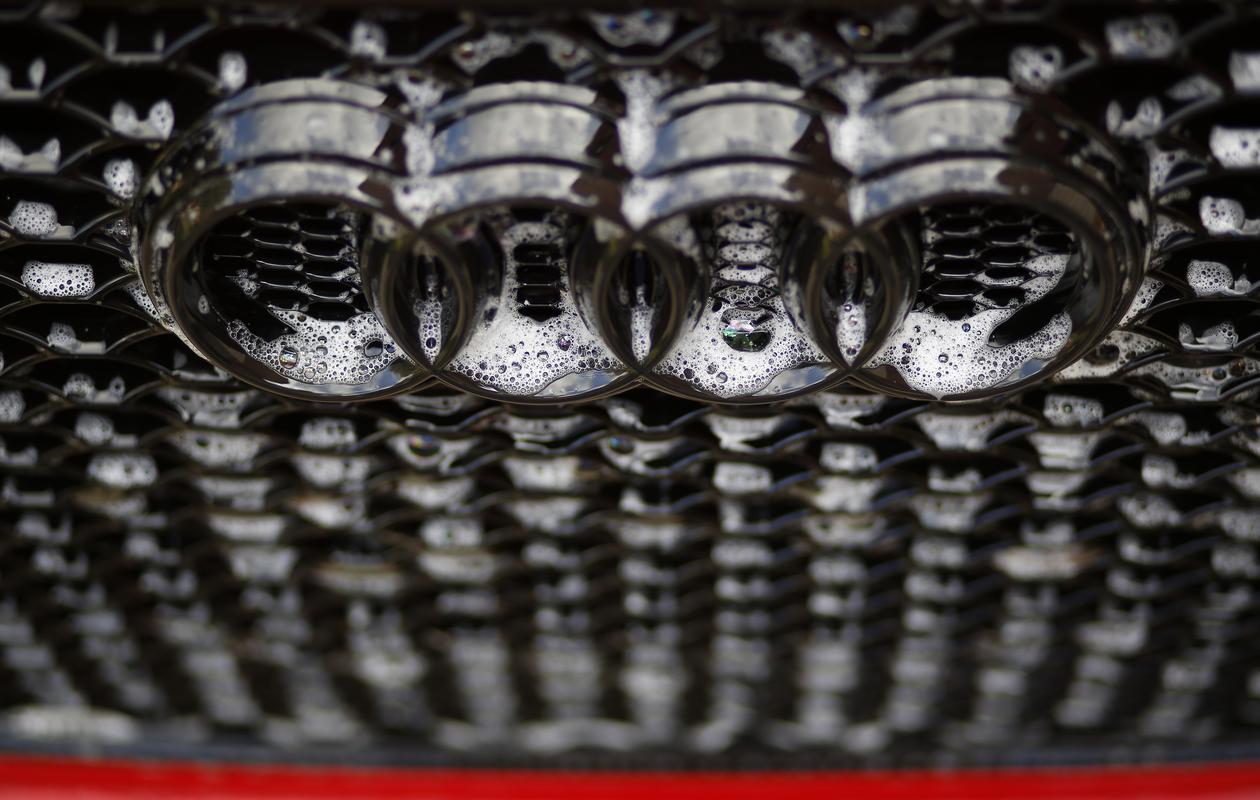
Black Rings Front and Rear
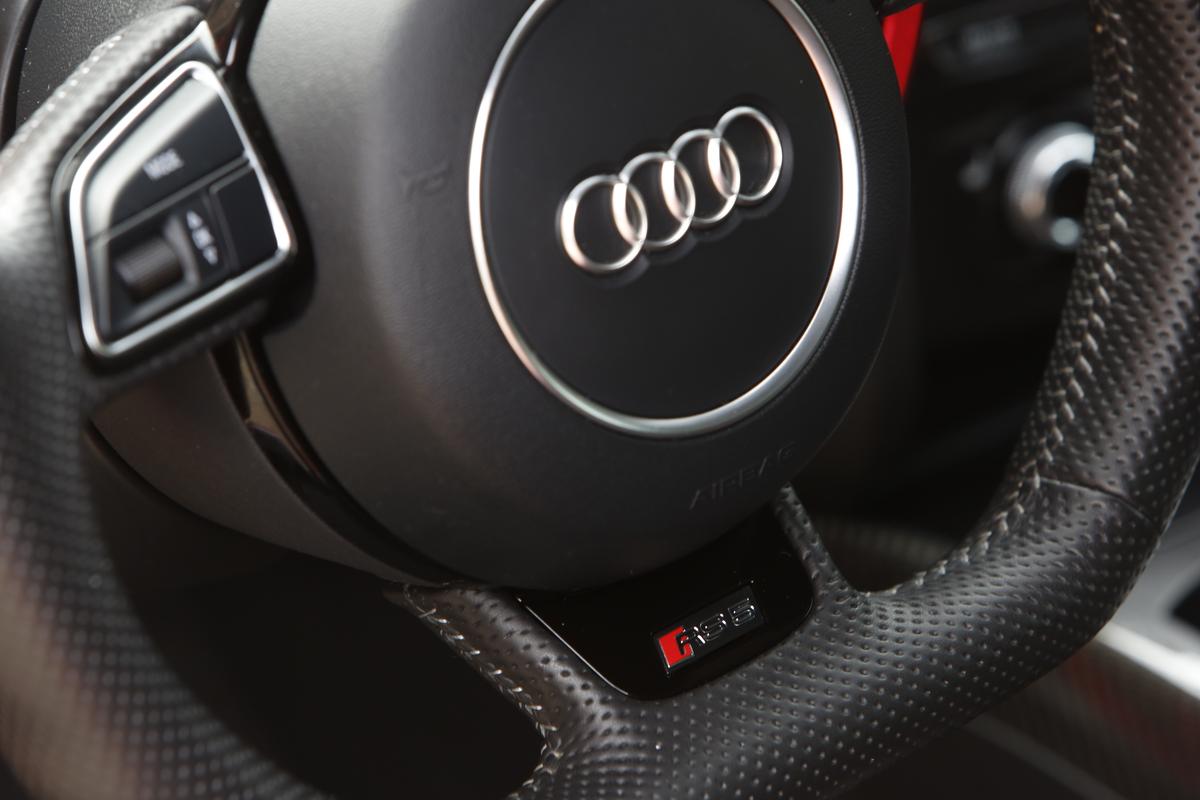
Black RS5 Logo, Rear
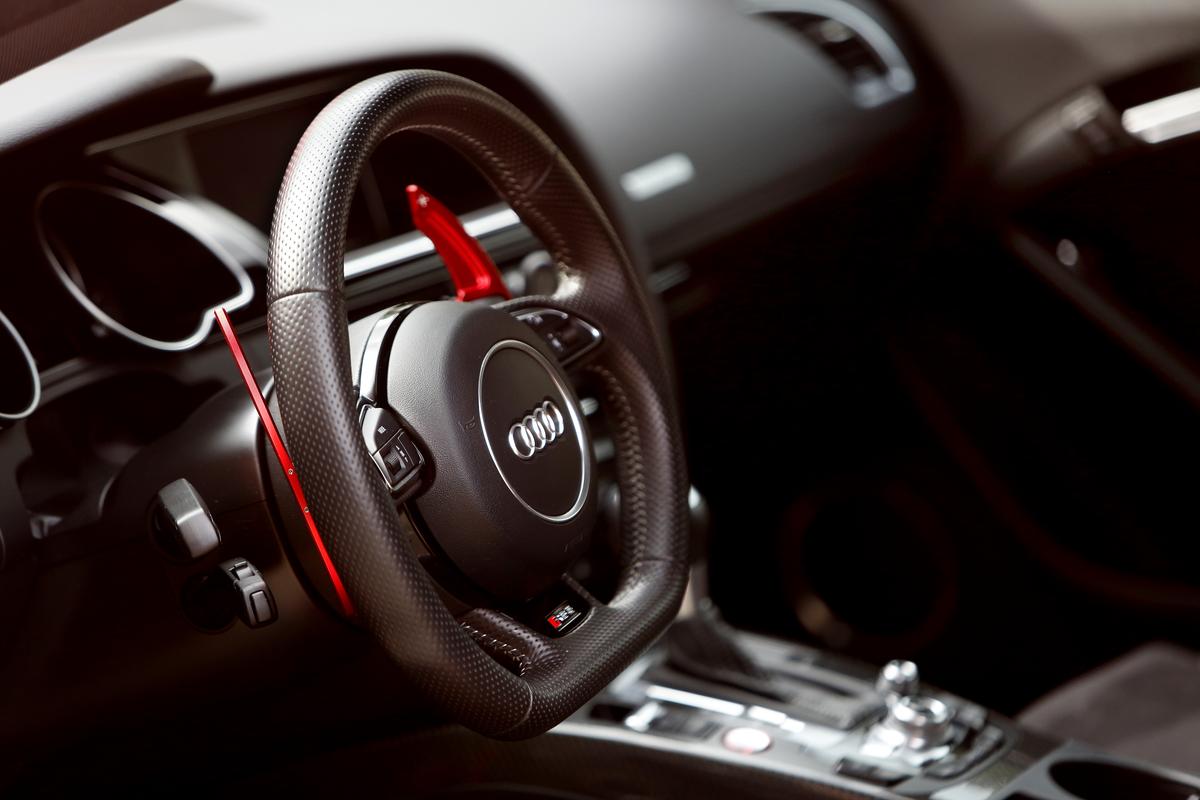
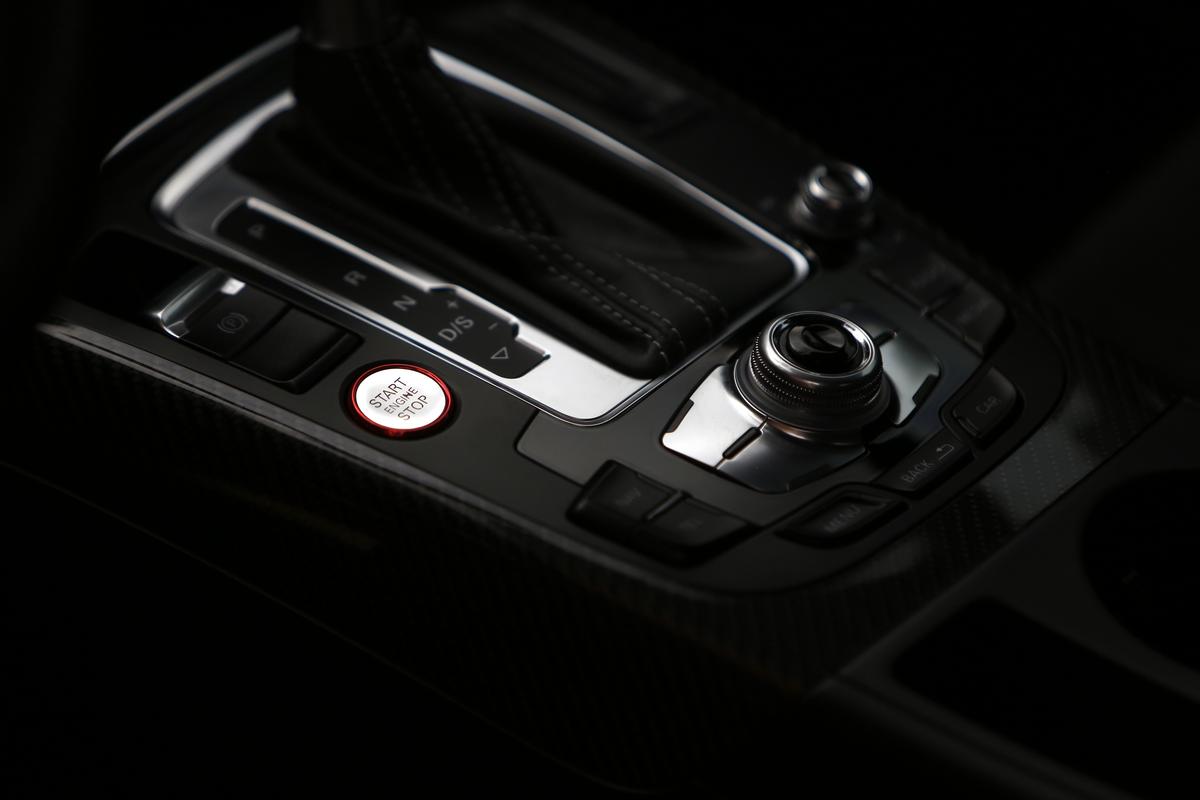
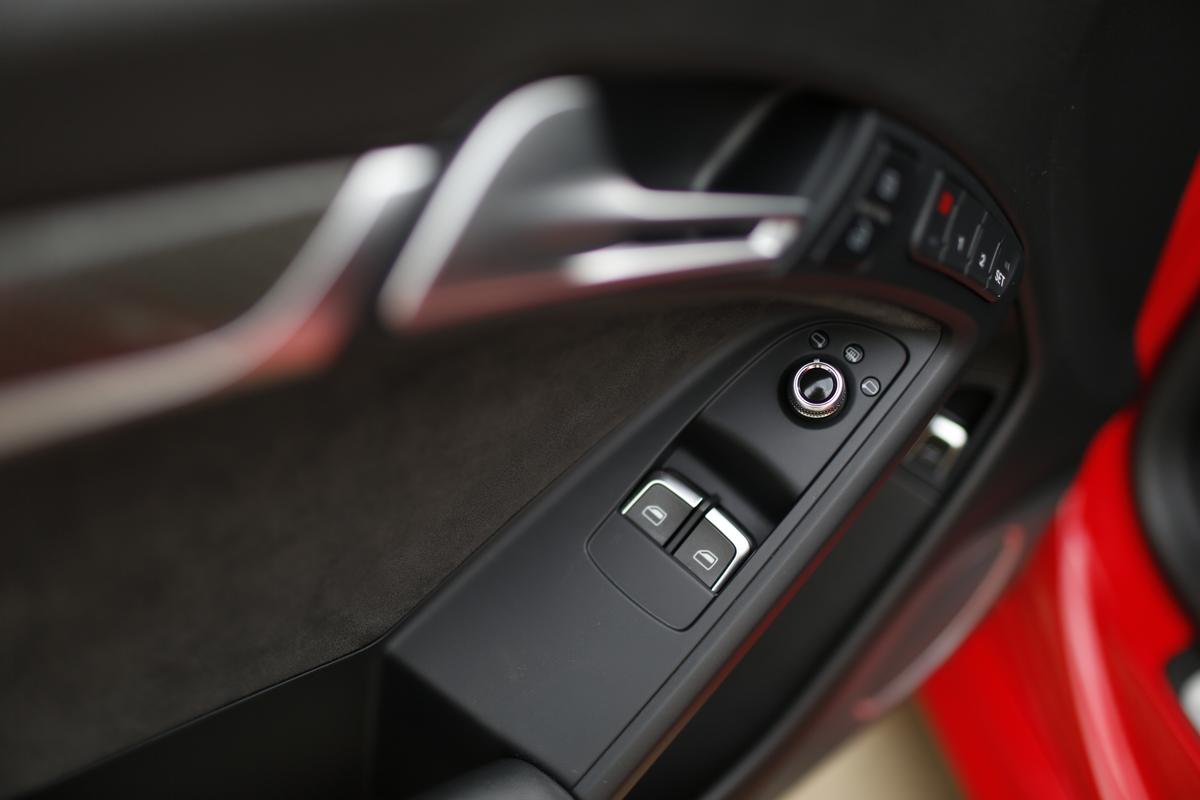
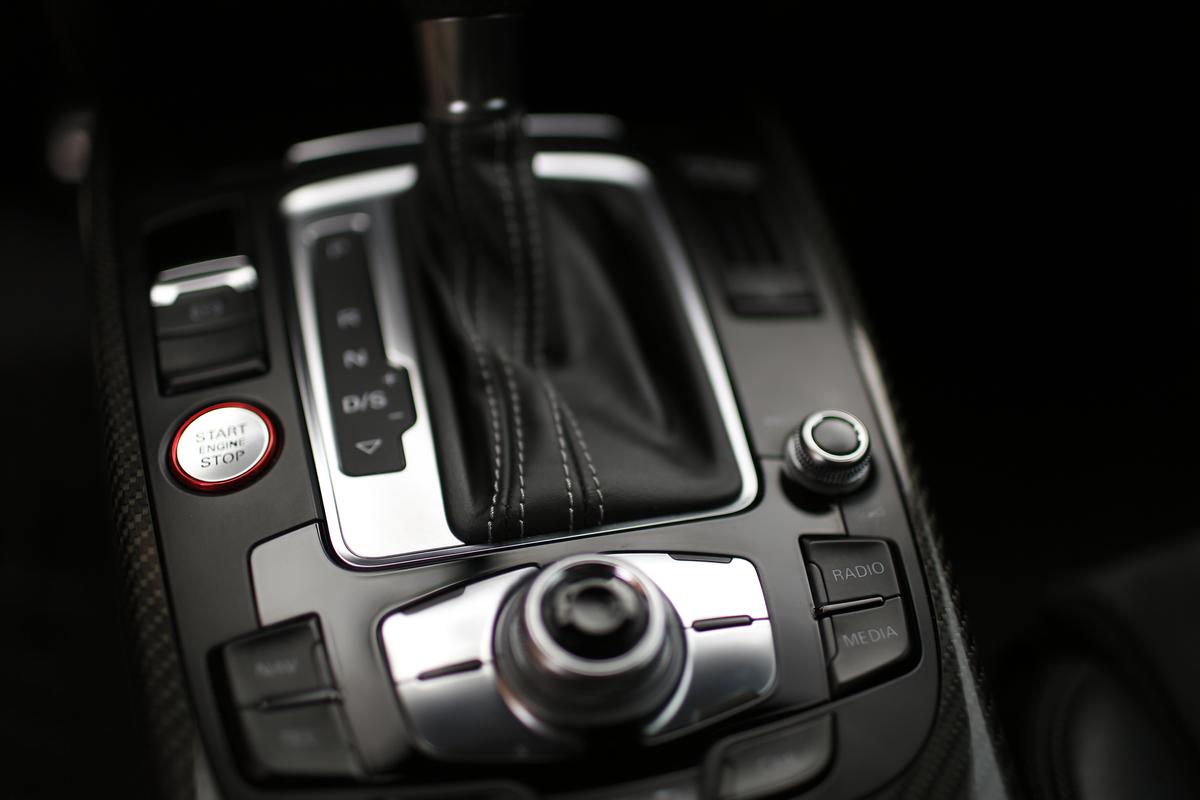
Red Trim Start Button
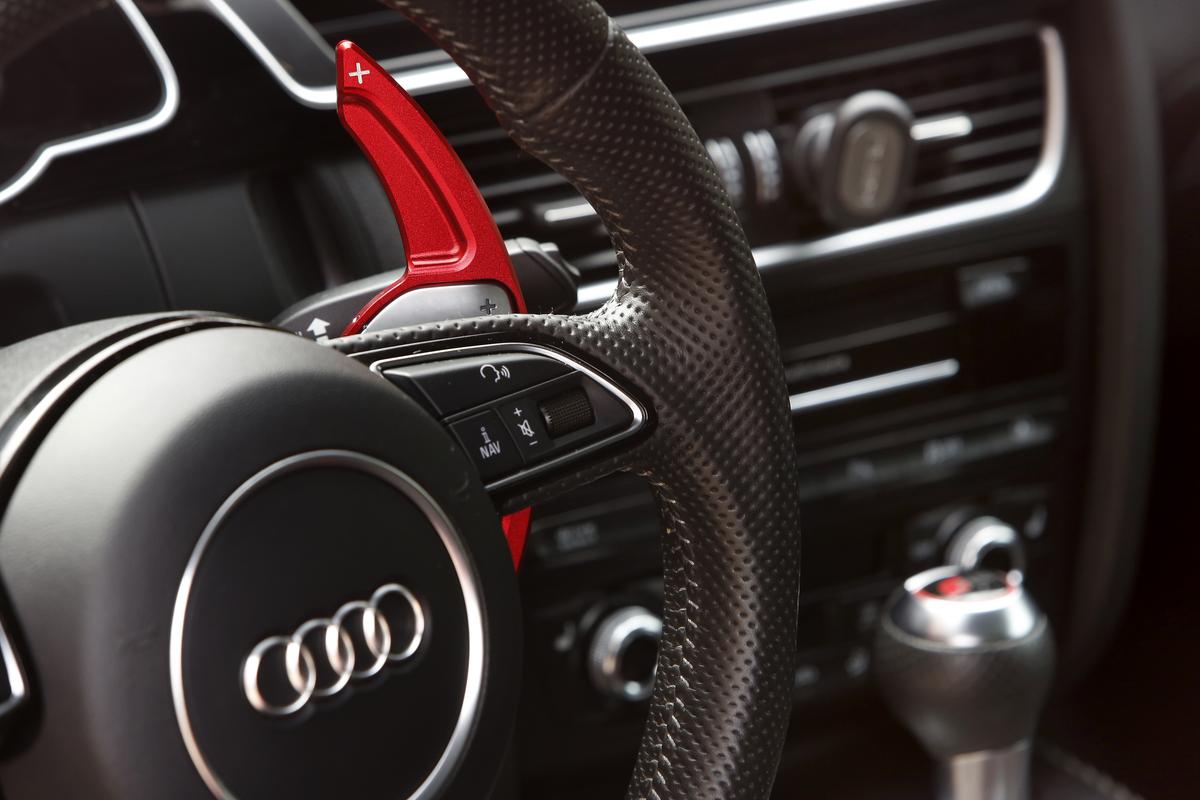
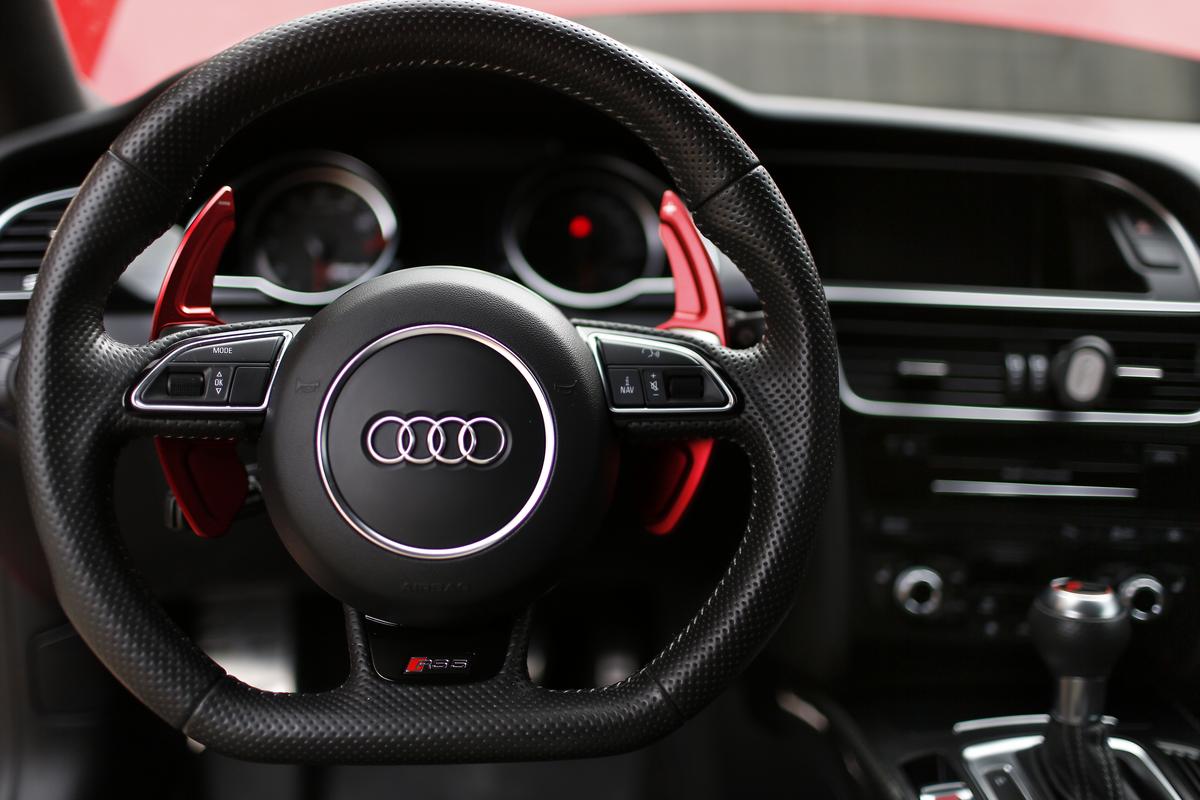
Pinalloy Red Shift Paddles
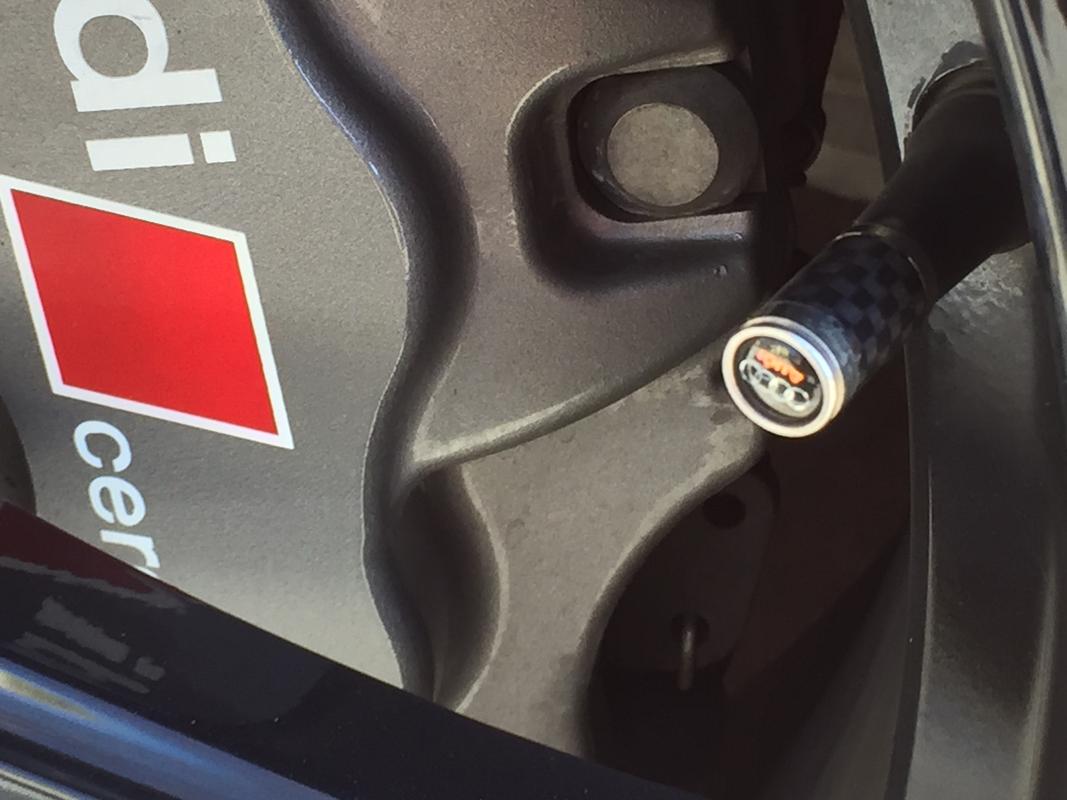
Pinalloy Carbon Fiber Valve Stem Caps w/Audi Logo
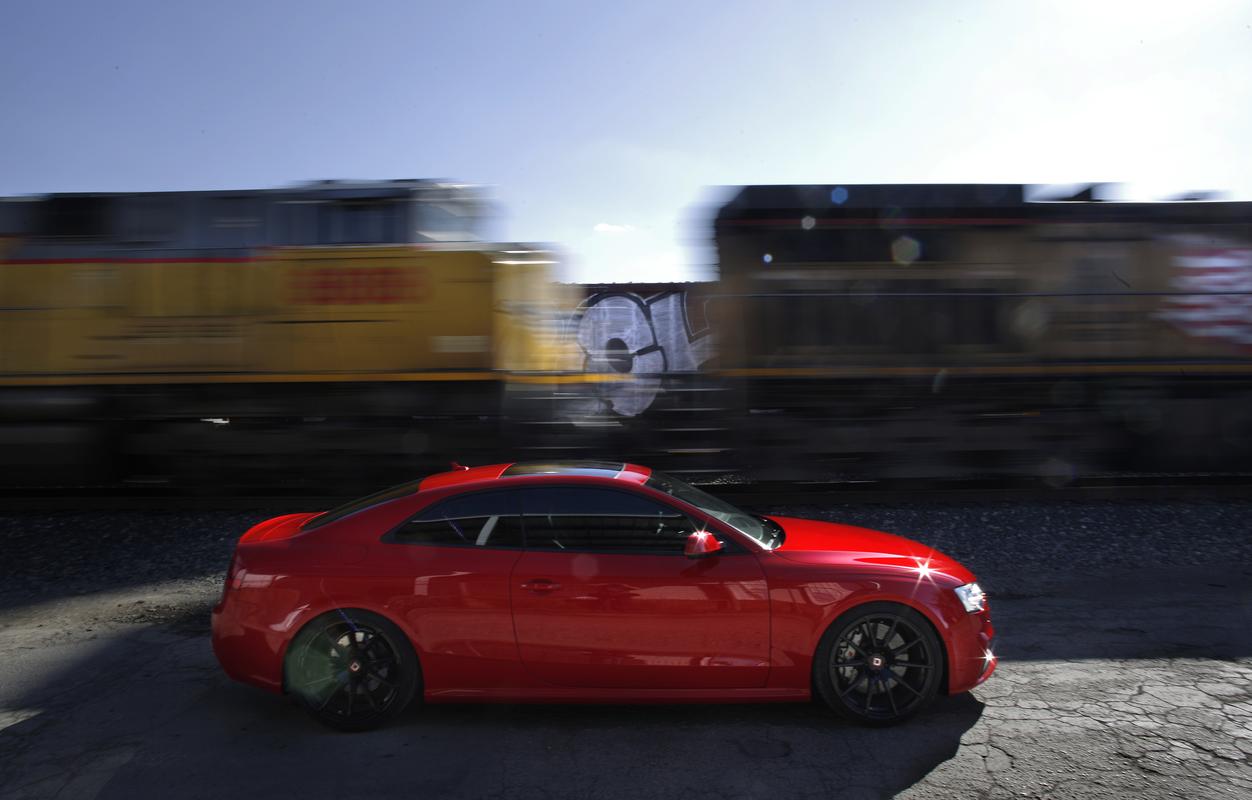
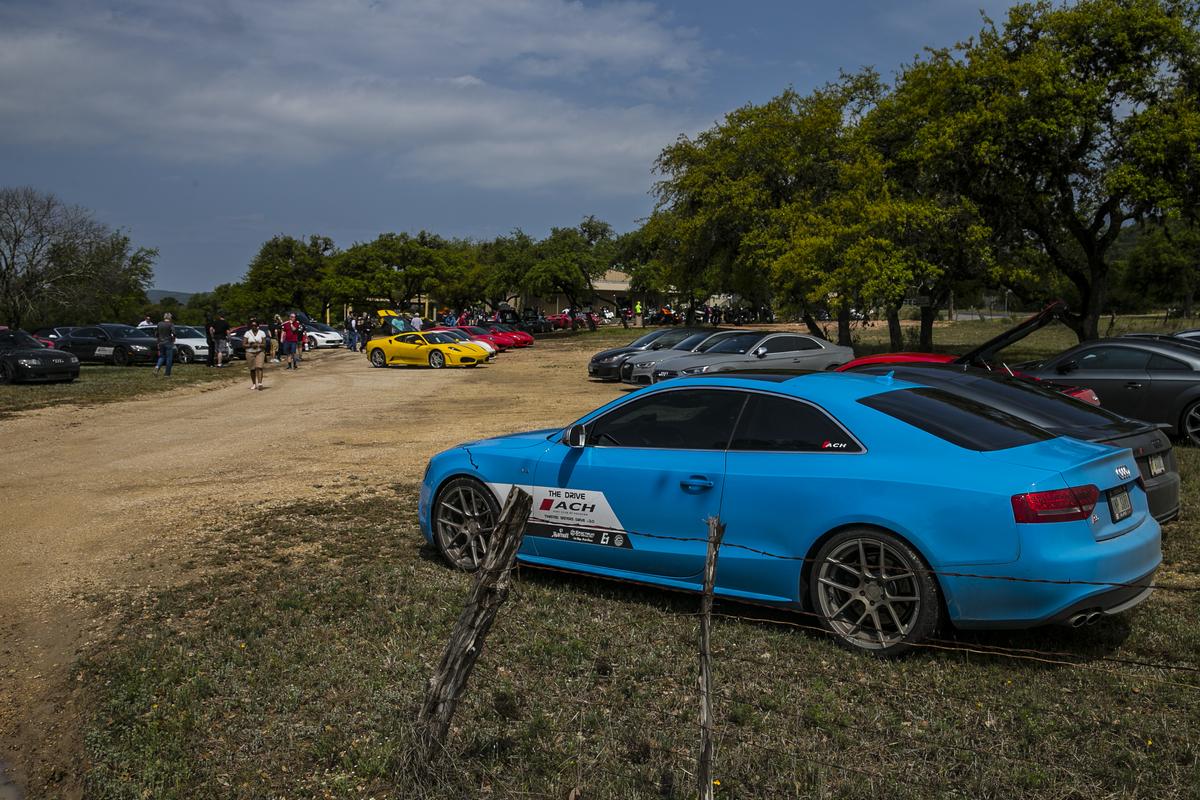
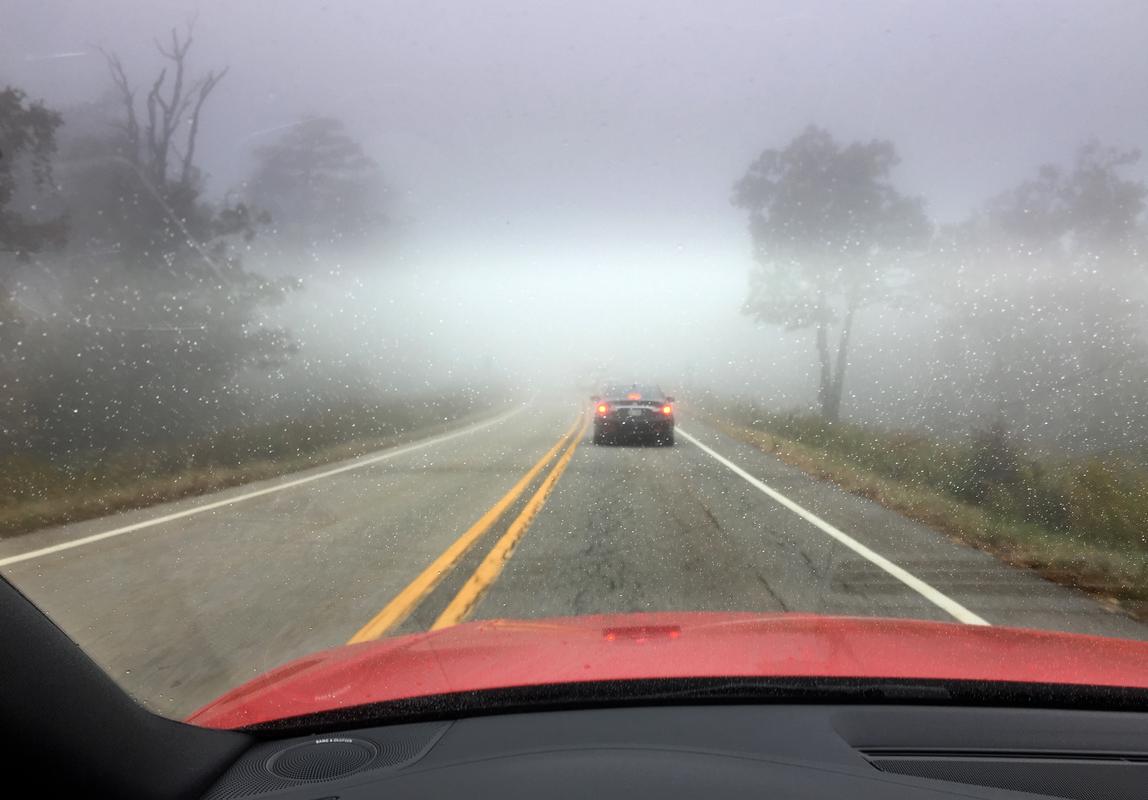
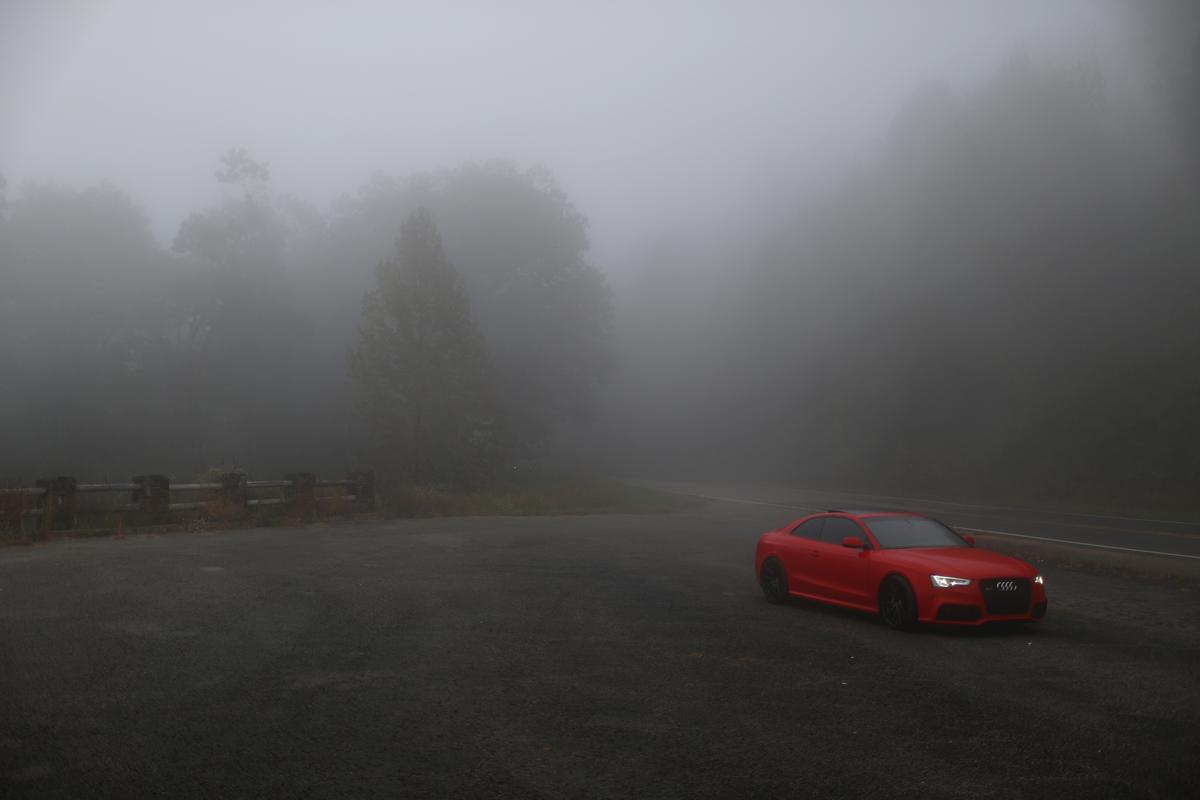
The first sip of coffee from my spill-proof cup came two and a half hours later than expected. As I ascended up the mountain pass, the road hid, swooned, up and around crests, undulating back and forth without warning. Dense fog meant visibility was at a premium and with flashers blinking, I attacked a damp, unfamiliar road with abandon and 450 horsepower. The blunt nose of the Red Mist tore through the damp atmosphere, the sound of the exhaust bouncing and ripping through the surrounding forests with a mixture of upper harmonic screams and low, thundering pulses as it swallowed mile after mile of asphalt. A dull stretch of straight road appeared just as the mist and adrenaline waned. I took that first sip and knew all was right in the world. I’d made the right choice.
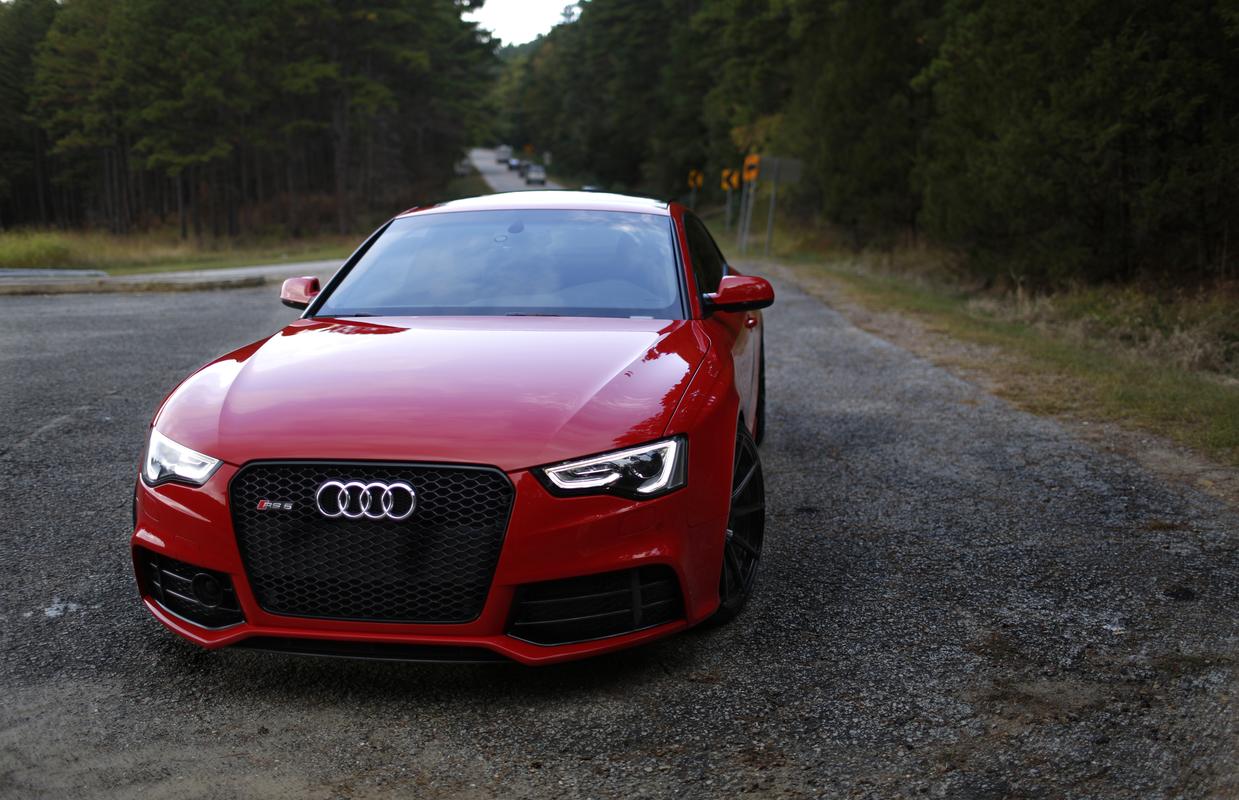
I remembered my very first sighting in the wild as the RS5 tore away from traffic, it’s exhaust wailing in the night air. I’d decided right then and there that the RS5 would be, somehow, some way, mine. Not terminally rich where nothing satisfies, I knew despite all the articles and armchair philophs, the RS5 was for me. Time, and depreciation, made it possible.
Let’s back up. My journey began on a Friday afternoon flight out of Texas to chase a car I’d never laid eyes on in person. In fact I’d chased this very car through two different states and when it once again, appeared for sale, I pounced.
Like all airline flights, the trip out was arduous, longer than needed and topped off with bad food. At least I had a good beer. I landed in Little Rock and crossed my hotel room’s threshold a bit after 11pm.
Shit. It’s late. I need to be up early to grab breakfast before the driver picks me up at 7:30am. It’s a two-hour journey the the small town of Clarksville.
I’m restless. For the past 24 hours, my mind had been engaged in active sabotage as it ran over every little last possible thing that could go wrong. The plane could crash. The driver could crash. I could get delayed on my layover. After getting bumped out of my seat, I could get forcibly dragged off my flight by law enforcement. The car could break down on the way back. Worst, it wasn’t as described and a whole lot rougher than I was expecting and I’d have to walk. Donald Trump could decide to attack North Korea. Sad.
I forced myself into sleep, somehow, but woke in a cold sweat at 4:30am, my usual time for sleep intermission. My mind ran over the trip home, 12 hours to be exact; the scenic route. I dozed off and woke to my phone’s alarm. Painful.
My driver arrived early and I wasn’t packed or fed. I made it down to the $3.95 breakfast buffet and wolfed down what could have possibly been three eggs, two slices of bacon and a glass of OJ in a minute-fifty flat.
I settle at the front counter and walk out to greet my driver. He’s an elderly gentleman who seems happy to see me despite the fact he’s just driven two hours and was probably out of bed at 4:30am. Unlike me, he couldn’t drift off for another two hours.
The first two curves leave doubts we’ll make it there in one piece. The highway on-ramp was particularly scary as we drifted over the white like and he jerked to keep the Ford Escape on course. The tires loaded up and started to roll over on their sidewalls. I clenched multiple orifices. Fortunately, I thought, the highway is pretty straight from here on out and loosened my grip on the passenger’s seat grab handle as the road straightened out.
I convince him to stop at Starbucks in Russellville. Surprisingly, he knows where it is. It’s the only one for 50 miles and I want to fill up my no-spill cup with something drinkable laced with caffeine and sugar. We’re 22 minutes out at this point and I’m nervous as all hell. I can’t get there soon enough and I’m hoping the dealership is right off the highway and not 15 minutes inland on a slow, tortuous 25mph road designed to infuriate. Murphy’s law, right?
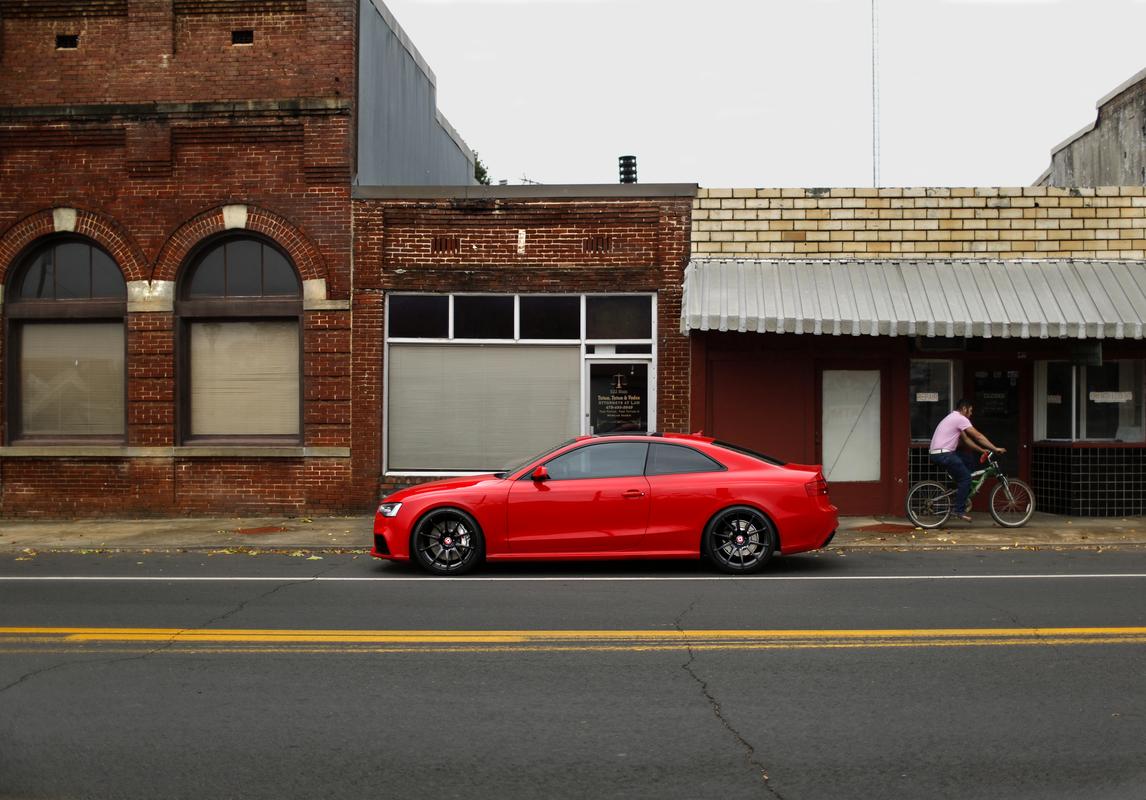
Jackpot! We’re in middle America and there’s a Chevy dealer on the right of the highway, and a Ford dealer, where my RS5 is, on the left. Josh, my salesman, has it sitting right out front. It’s so red, I easily see it from 300 yards away out of the corner of my eye. I dare not look to long. I don’t want to appear desperate.
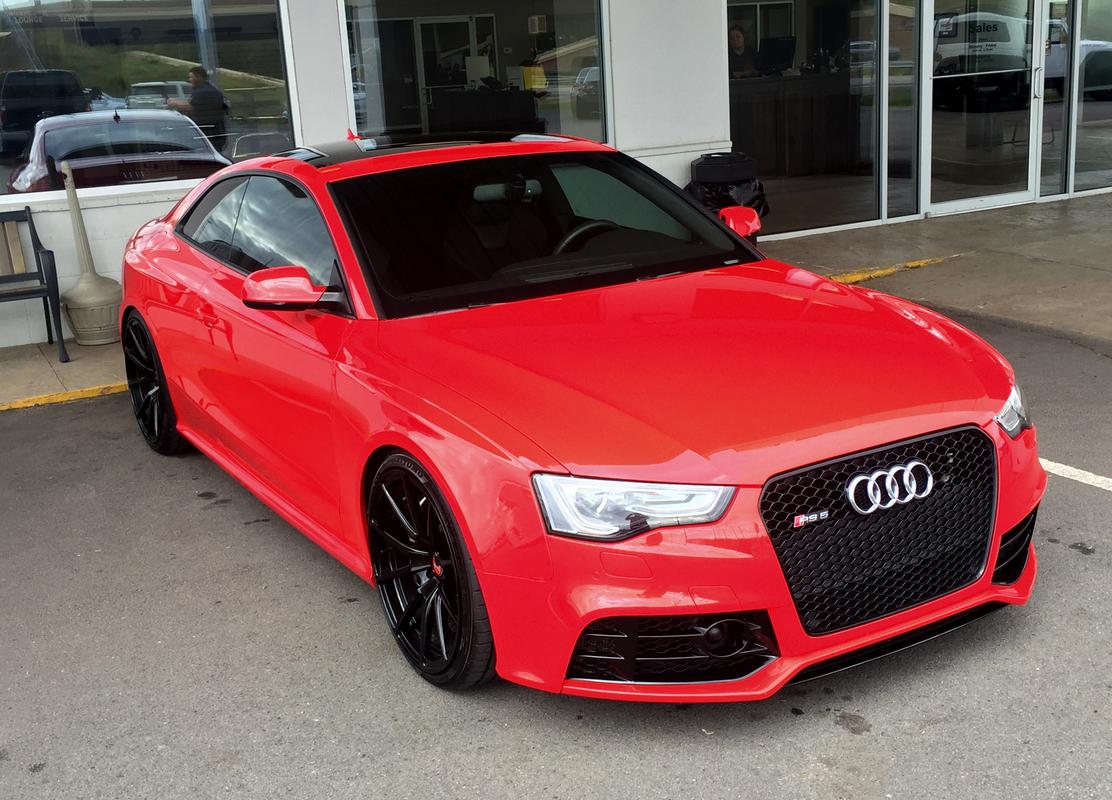
We pull up and I jump out. Holy hell is that thing red. It glows. I’m smitten. I’m hooked. It’s not the first Misano
Red I’ve seen or driven. It is, however, the first that’ll be mine.
Josh comes out with a big smile and a bigger handshake. I’m a decade his senior but we’ve been talking and texting non-stop for two weeks. This has been a long time coming.
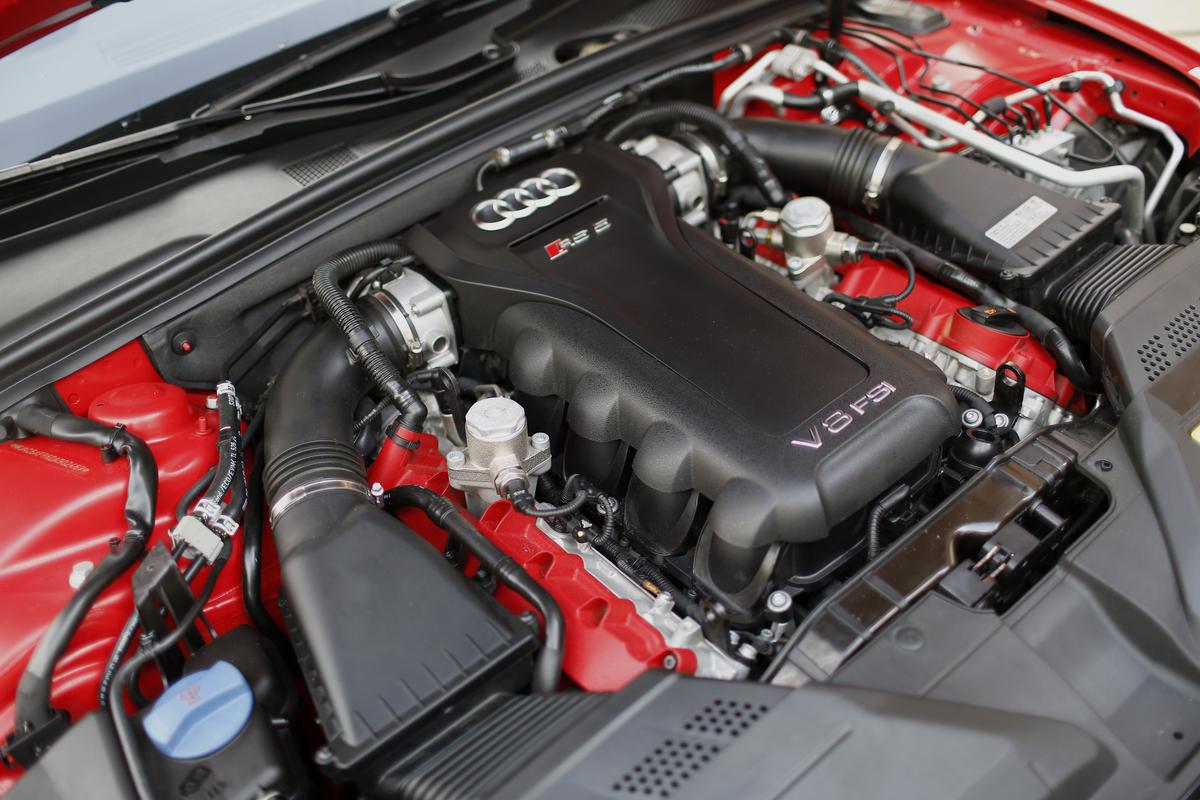
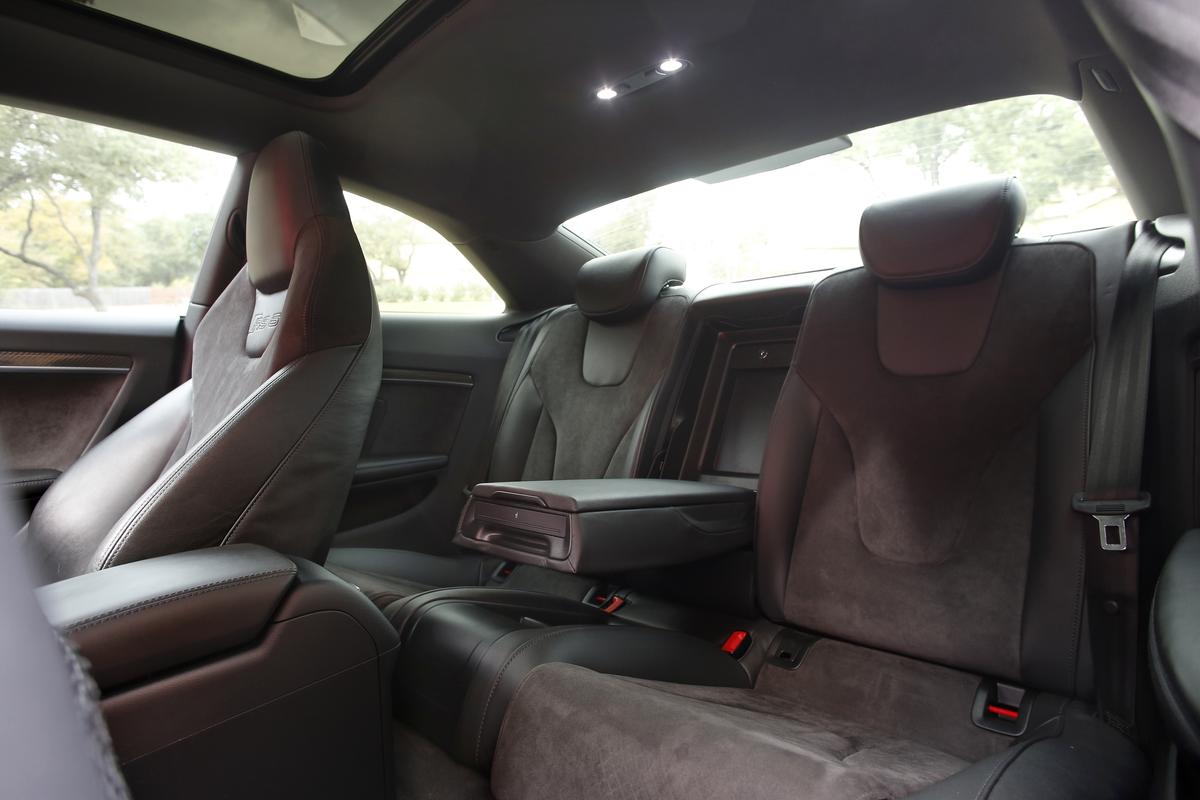
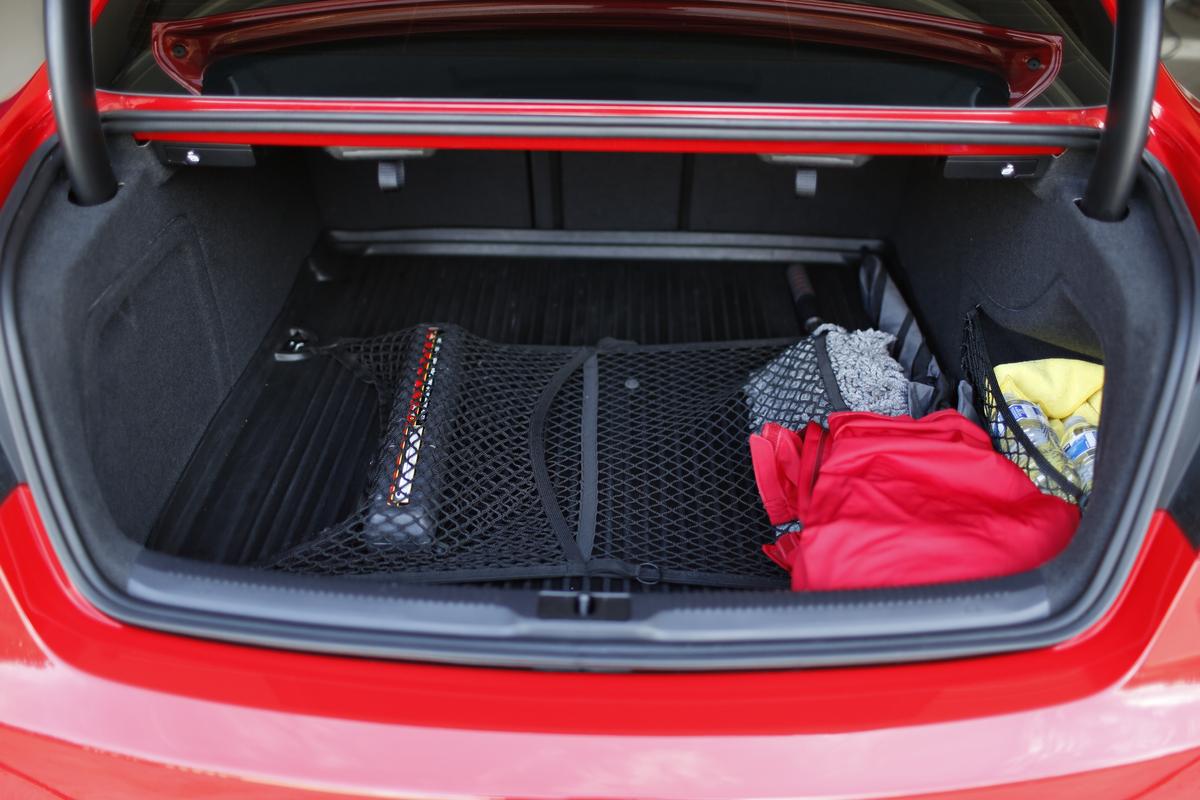
Test drive. He asks if I want to put my luggage in the trunk. I say “Ok” and he pops the trunk and I set everything inside. I haven’t even taken it for a test drive or looked it over I thought. It ain’t mine yet. I pop all the doors and hood and check for damage repair. I look in every corner of the interior, the wheels, the nether regions of the engine bay. Everything as far as I can tell, looks good. “Let’s go,” I say nervously as I jump into the driver’s seat and he into the passenger’s seat. The car has definitely been detailed and I’m ok with that.
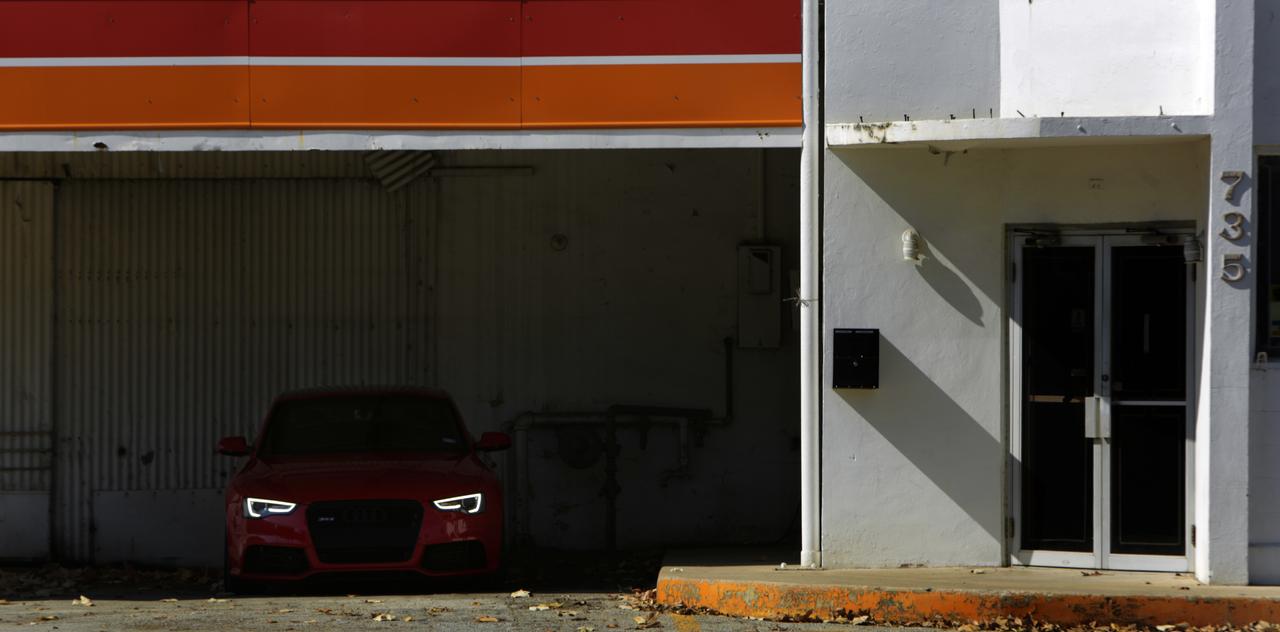
Backed up against the front entrance, I hit the magic button and the engine fires quickly. It sounds like the growl of a T-Rex. If there’s anything you need to understand at this point in time it’s that the car is very red, very loud and seems very angry. I can see the building’s large panes of glass vibrating as the exhaust pulses hit it. I don’t blip the throttle.
Pulling away, I’m steered to a winding road which dead ends into a scenic park. The route is lined with homes. This car is LOUD. I take it easy. I’m five over as I go over a blind crest and approach a T junction. There’s a cop in an SUV sitting there watching. This car is red. This car is red. I quickly snip it into 7th and it’s reasonably quiet. The cop pulls out and heads the other way. I really don’t need a ticket on the test drive. Josh turns his head and does a 180 to see if he’s following. This alarms me.
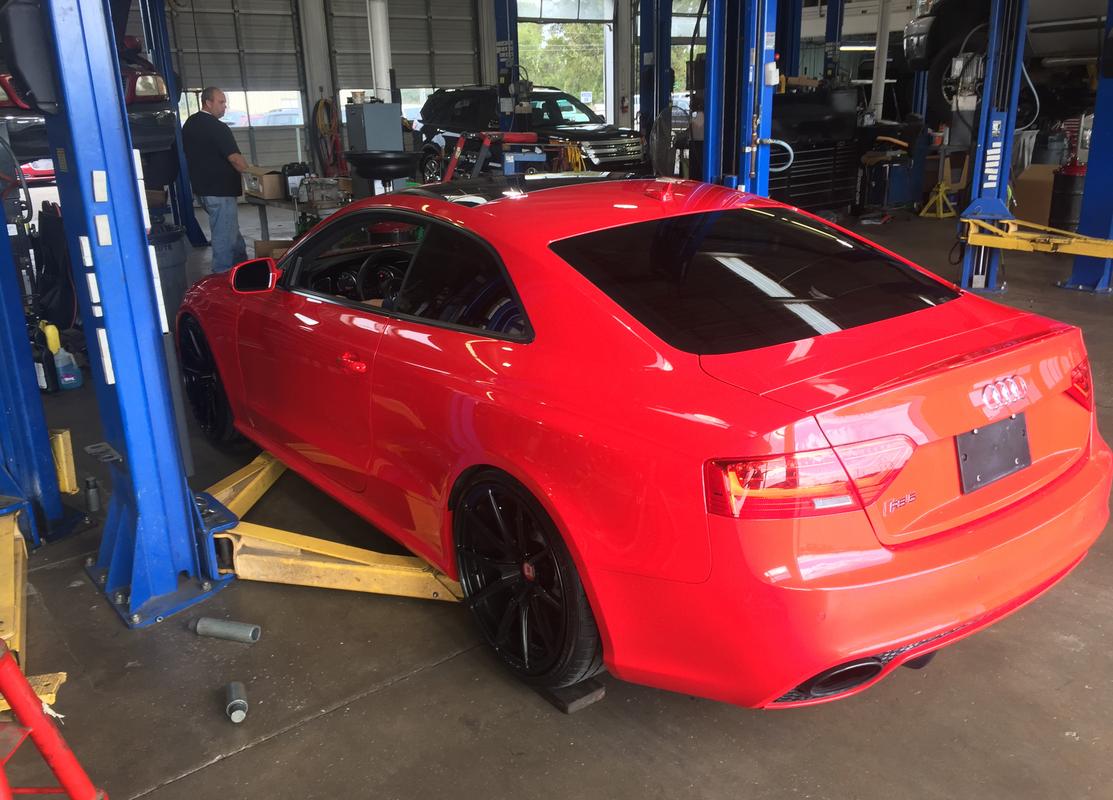
I make it back to the dealership and hand over more hard-earned cash. The deal has been made. I do convince him to put the car up on a lift. I want to dial the Bilsteins down a bit for the trip home. The lift wasn’t an easy proposition as the car is lower than stock and the side skirts are deep. The mechanic gets it up after rolling the car onto some 2x4’s. Up in the air it goes. I quickly go to work and dial the shocks full hard before dialing them back five clicks all-around. I’m thinking about tackling all the roads I’ve Google mapped and sent to my phone.
With the paperwork and two keys in hand, I tell Josh I’m going to sit here for a bit and configure everything to my liking. I get my phone synched, launch my preferred route and get the radar detector plugged in. I’m ready. Shit. They didn’t fill the tank.
I pull into the Shell station and lovingly pump in 93 premium at $2.58 a gallon. I remember they gave me a free ride from the airport. Still, would have been nice. It’s 10:30am and rain is expected late-night. I believe I’ll make it home before the rain hits. There are patches of swiftly moving clouds and beams of sunshine. I pinch myself as I click the gas cap into place. Dialing in some classic Rush, I take a left and head for a short stint on the highway to the next exit. I take it slow and manage to see yet another cop before I exit onto one of those must-drive roads.
The suspension is taunt, the engine is warm and ready and there’s not much traffic, if any, as I head through the first set of curves. Three miles in, there’s a trail head and a place to park. Yep, gotta take pics. I snap a few and two young women appear out of the woods and walk back to their SUV. They stare. RS5’s are a bit on the rare side round these parts, Walton’s be damned.
Ok, I need to make some progress. I make it across the bridge and into a good set of turns, uphill as I let the engine rev out, coast, downshift and repeat it all again. Things are looking good. There’s a spot or two on the windshield and it’s looking a bit misty. I begin another climb, round a corner and run into a wall of fog. It’s 30ft. fog, as in that’s my visibility. The car is dotted with condensed water vapor and I’m able to keep the windows and sunroof cracked.
I drive by an intersection where two young helmet-equipped kids are on a moped waiting for me to pass. I blast by thinking they really picked the wrong time to drive a road like this. I need more pictures and pull into a mislabeled scenic overlook. With the fog I can’t see a damn thing but it makes an interesting backdrop for the red RS5. I spend 10 minutes shooting a few photos and see the two on the moped pass by. Shit. I’m going to get stuck behind them. I snap some more photos and begin to make my way uphill again.

I never see those kids again. In fact, except for one small stretch, I don’t see anyone. No mind. I tackle the task at hand with eyes wide open and begin to push harder and harder. The car responds and it is in all honestly, unflappable. I could probably double my pace but I have a LONG way to go.
The descent is every bit as fun and I almost never have to rely on the 380mm carbon ceramic brakes. Looking back, I honestly couldn’t tell you if they were any good or not. The car and the road flowed for miles on end.
The wet mountain roads turned into sunny b-roads, the sort you find in the English countryside, minus the sunshine. The pavement is less than perfect, not that wide but twisty none-the-less. Farm-lined, the carbon ceramics are ready to keep the front end out of a tractor’s rear end.
Like all deer, the buck in the middle of the road appeared out of nowhere. I scrubbed 30mph of speed, put five inches of my two passenger wheels (they’re 10 inches wide) off the non-existent shoulder and could have slapped him on the ass as I passed. F*ck.
The road straightens out and I let myself and the car relax. I also take that first sip of coffee. It was still hot.
To be continued….